Introduction
Uninstalling Google Chrome may seem like a straightforward task, but there are various methods to consider. Whether you're switching to a different browser or troubleshooting issues, knowing how to effectively remove Chrome from your system is essential. In this article, we'll explore three distinct methods to uninstall Chrome, catering to different preferences and technical abilities.
Each method offers a unique approach, allowing users to choose the one that best suits their needs. From utilizing the Control Panel to directly accessing Chrome's settings or employing third-party uninstaller software, there's a solution for everyone. By understanding these methods, you can confidently navigate the process of uninstalling Chrome, ensuring a seamless transition or troubleshooting experience.
Now, let's delve into the step-by-step procedures for each method, providing you with the knowledge and confidence to uninstall Google Chrome efficiently. Whether you're a tech-savvy individual or someone who prefers a simpler approach, this guide has you covered. Let's embark on this uninstallation journey and empower you with the necessary skills to bid farewell to Chrome when the need arises.
Method 1: Using Control Panel
Uninstalling Google Chrome through the Control Panel is a conventional yet effective method for Windows users. This approach provides a systematic way to remove the browser from your system. Here's a step-by-step guide to walk you through the process:
-
Accessing the Control Panel: To initiate the uninstallation process, navigate to the Control Panel on your Windows system. You can do this by clicking on the Start menu and typing "Control Panel" in the search bar. Once located, open the Control Panel to proceed.
-
Locating "Programs and Features": Within the Control Panel, look for the "Programs" section, where you'll find the "Uninstall a program" option. Click on this to access the list of installed programs on your computer.
-
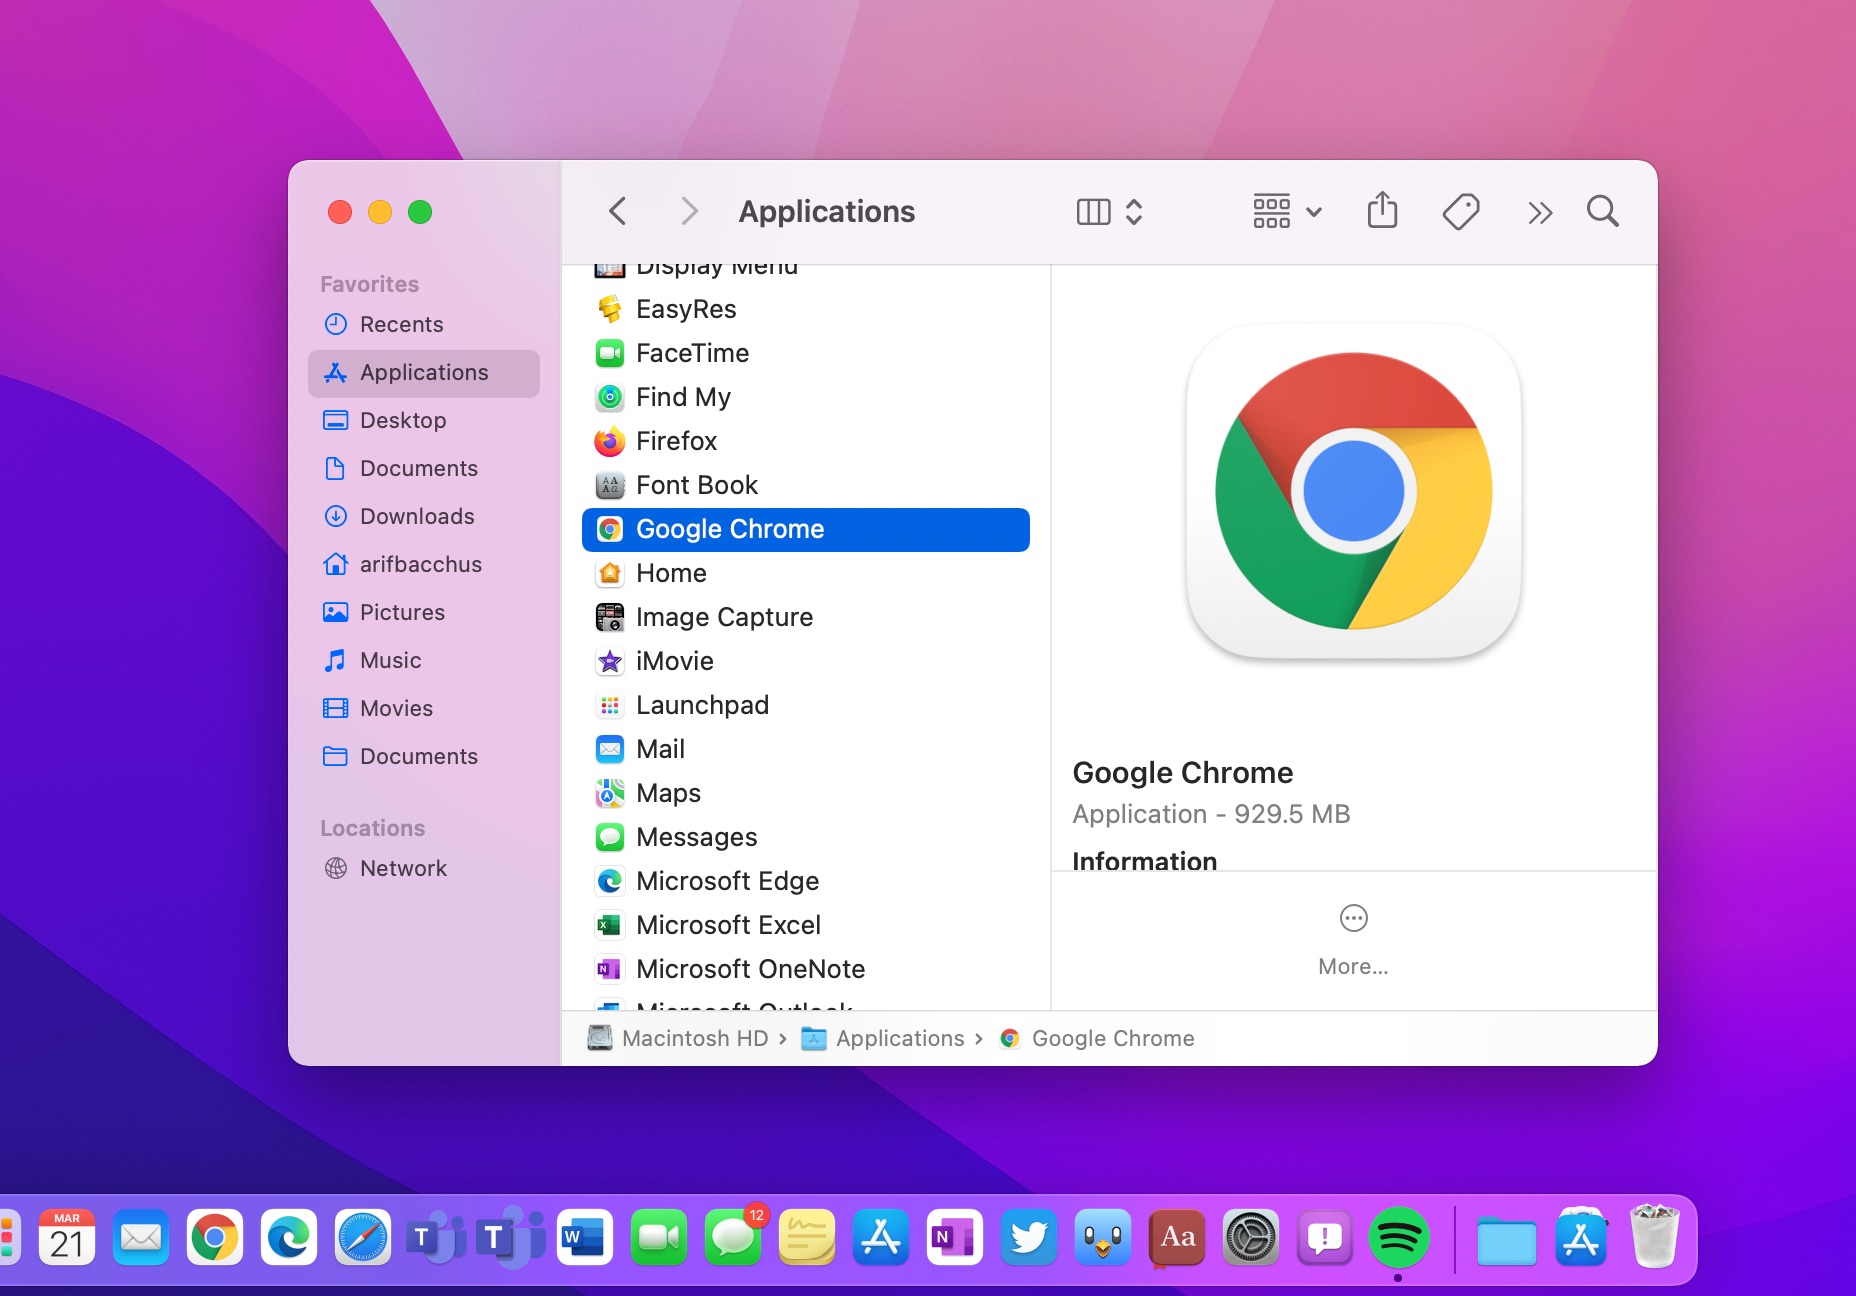
Selecting Google Chrome: Scroll through the list of installed programs to locate Google Chrome. Once found, click on it to select the application.
-
Initiating Uninstallation: After selecting Google Chrome, click on the "Uninstall" option at the top of the list. This action will prompt a confirmation dialog, asking if you're sure about uninstalling the program. Confirm your decision to proceed with the uninstallation process.
-
Completing the Uninstallation: Follow the on-screen instructions to complete the uninstallation process. This may involve confirming additional prompts and waiting for the system to remove Chrome from your computer.
-
Verifying Uninstallation: Once the process is complete, it's advisable to verify that Google Chrome has been successfully uninstalled. You can do this by checking the list of installed programs in the Control Panel to ensure that Chrome is no longer present.
Uninstalling Google Chrome via the Control Panel offers a straightforward and familiar approach for Windows users. By following these steps, you can seamlessly remove the browser from your system, making way for alternative browsers or addressing specific troubleshooting needs. This method provides a reliable way to manage your installed programs, ensuring a smooth and efficient uninstallation process.
Method 2: Using Chrome Settings
Uninstalling Google Chrome directly through its settings provides a convenient and user-friendly method for individuals who prefer a more browser-centric approach. This method is particularly suitable for users who are comfortable navigating the browser's interface and prefer a streamlined uninstallation process. Here's a detailed walkthrough of the steps involved in uninstalling Chrome using its settings:
-
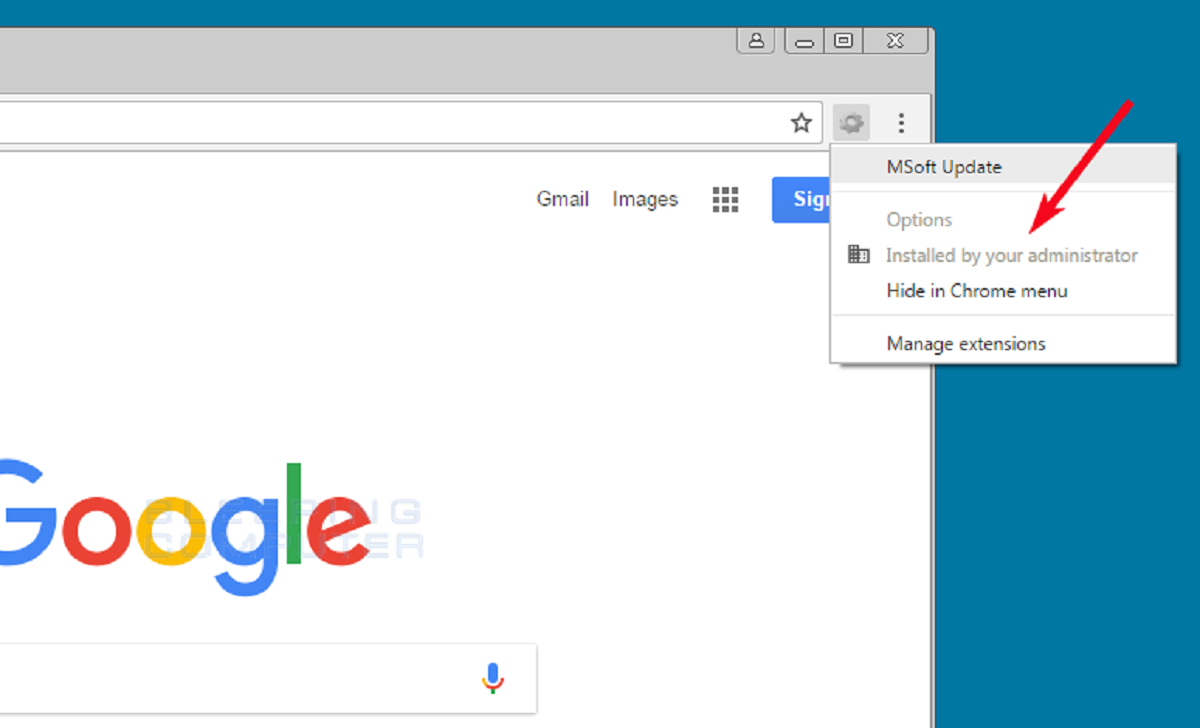
Accessing Chrome Settings: Open Google Chrome on your computer. Click on the three-dot menu icon located in the top-right corner of the browser window. From the dropdown menu, select "Settings" to access the browser's configuration options.
-
Navigating to "Advanced" Settings: Within the Settings menu, scroll down to the bottom and click on the "Advanced" option. This will expand the settings menu, providing access to additional browser configurations and options.
-
Locating "Reset and Clean Up": Under the "Advanced" settings, locate the "Reset and clean up" section. This section contains options for restoring Chrome to its default settings, as well as the ability to clean up the browser by removing unwanted extensions and other elements.
-
Selecting "Clean Up Computer": Within the "Reset and clean up" section, click on the "Clean up computer" option. This feature is designed to help users remove software that may be causing issues with Chrome, including potentially unwanted programs and harmful software.
-
Initiating the Cleanup Process: Upon selecting "Clean up computer," Chrome will prompt you to find and remove harmful software. Click on the "Find" button to allow Chrome to scan your computer for potentially harmful programs that may be affecting the browser's performance.
-
Reviewing and Removing Harmful Software: After the scan is complete, Chrome will display a list of potentially harmful software found on your computer. Review the list and select the software you want to remove. Click on the "Remove" button to initiate the removal process.
-
Verifying Uninstallation: Once the removal process is complete, it's advisable to verify that Google Chrome has been successfully uninstalled. You can do this by checking your list of installed programs or attempting to open Chrome to ensure that it no longer launches.
Uninstalling Google Chrome through its settings offers a seamless and browser-centric approach for users who prefer a more direct method. By following these steps, you can efficiently remove Chrome from your system, catering to your preferences and technical comfort level. This method empowers users to manage the uninstallation process directly within the browser, providing a user-friendly and intuitive experience.
Method 3: Using Third-Party Uninstaller Software
Uninstalling Google Chrome using third-party uninstaller software offers a comprehensive and efficient approach for users seeking advanced uninstallation capabilities. These specialized tools are designed to thoroughly remove applications from your system, ensuring a clean and complete uninstallation process. Here's a detailed exploration of the steps involved in using third-party uninstaller software to remove Google Chrome:
-
Selecting a Reliable Uninstaller Software: Begin by researching and selecting a reputable third-party uninstaller software that aligns with your preferences and system requirements. There are various options available, each offering unique features such as deep scanning capabilities, leftover file removal, and system optimization tools. Choose a well-reviewed and trusted uninstaller software to proceed with the uninstallation process.
-
Downloading and Installing the Software: Once you've identified a suitable uninstaller software, download it from the official website or a trusted software repository. Follow the installation instructions provided by the software developer to install the application on your computer. Ensure that you download the software from a reputable source to avoid potential security risks.
-
Launching the Uninstaller Software: After the installation is complete, launch the third-party uninstaller software. Familiarize yourself with the software's interface and navigation to prepare for the uninstallation process. Many uninstaller tools offer user-friendly interfaces with intuitive controls for managing installed applications.
-
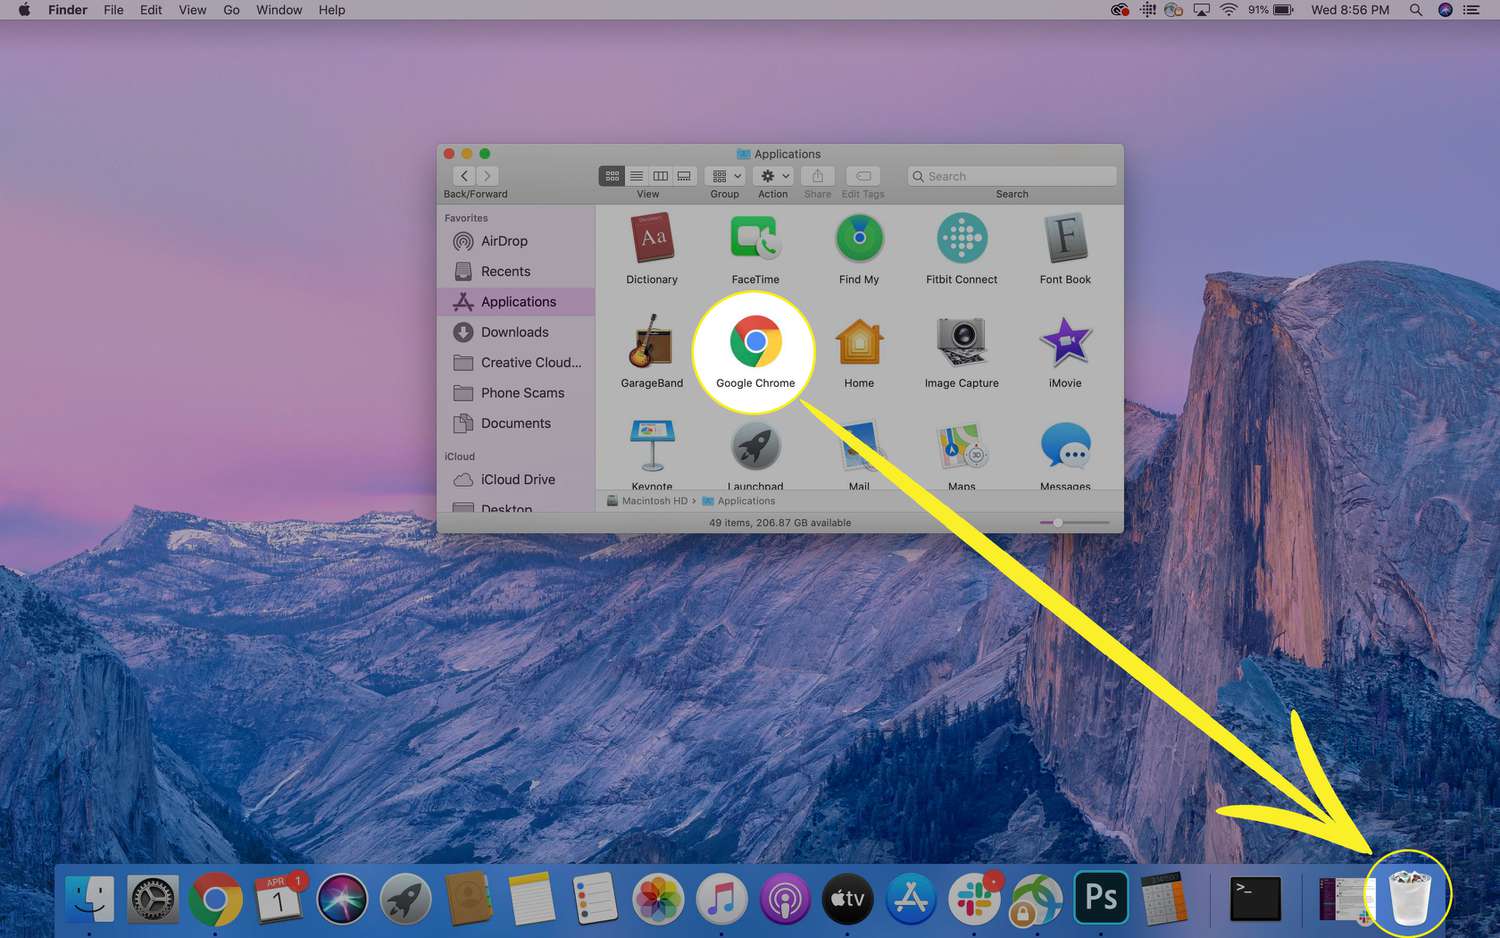
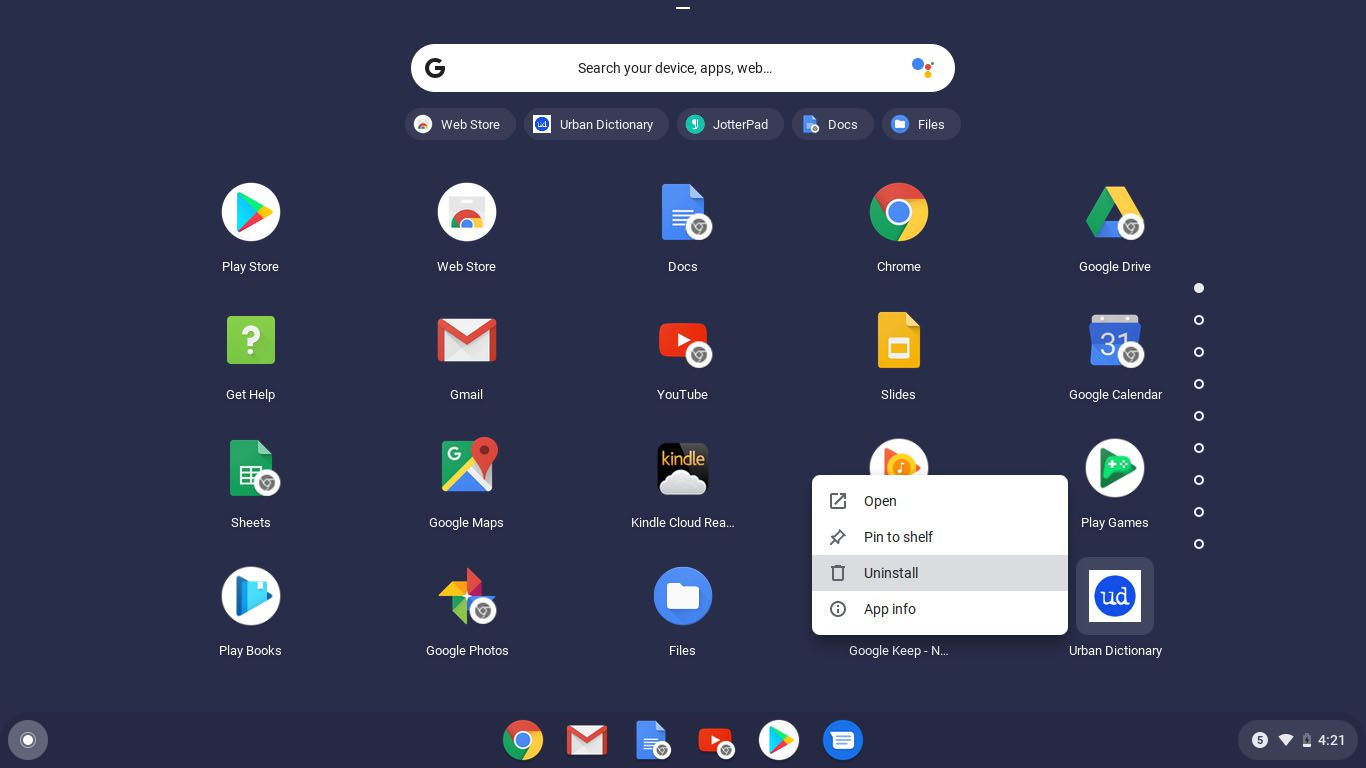
Locating Google Chrome in the Application List: Within the uninstaller software, locate Google Chrome in the list of installed applications. The software should provide a comprehensive view of all installed programs on your system, allowing you to easily identify and select Google Chrome for uninstallation.
-
Initiating the Uninstallation Process: Once Google Chrome is selected, initiate the uninstallation process through the third-party uninstaller software. Depending on the software you're using, this process may involve advanced scanning for leftover files, registry entries, and other remnants of the application to ensure a thorough removal.
-
Following Prompts and Confirmations: During the uninstallation process, the third-party uninstaller software may prompt you to confirm the removal of Google Chrome. Follow the on-screen instructions and confirm your decision to proceed with the uninstallation. This may involve acknowledging the removal of associated files and components.
-
Verifying Uninstallation Completion: After the uninstallation process is complete, verify that Google Chrome has been successfully removed from your system. You can do this by checking the list of installed programs in the uninstaller software or attempting to launch Chrome to ensure that it no longer exists on your computer.
Uninstalling Google Chrome using third-party uninstaller software provides a robust and thorough approach, ensuring that all associated files and components are effectively removed from your system. By following these steps, you can leverage the advanced capabilities of uninstaller software to achieve a comprehensive and meticulous uninstallation of Google Chrome, catering to your desire for a thorough and efficient removal process.
Conclusion
In conclusion, the process of uninstalling Google Chrome encompasses various methods, each tailored to meet the diverse needs and preferences of users. Whether you opt for the familiar route of using the Control Panel, the browser-centric approach through Chrome settings, or the advanced capabilities of third-party uninstaller software, the goal remains the same: to seamlessly remove Chrome from your system when the need arises.
By exploring these distinct methods, users gain a comprehensive understanding of the uninstallation process, empowering them to make informed decisions based on their technical comfort level and specific requirements. The Control Panel method offers a traditional and systematic approach, ideal for users who prefer a familiar interface and step-by-step guidance. On the other hand, the Chrome settings method caters to individuals who favor a more direct and browser-centric approach, providing a user-friendly experience within the Chrome interface itself. Additionally, the utilization of third-party uninstaller software presents an advanced and meticulous approach, ensuring a thorough removal of Chrome and its associated components.
Regardless of the chosen method, the ability to efficiently uninstall Google Chrome is essential for maintaining a well-organized system, addressing troubleshooting needs, or transitioning to alternative browsers. Each method provides a pathway to achieve this goal, allowing users to navigate the uninstallation process with confidence and ease.
As technology continues to evolve, the flexibility and diversity of uninstallation methods cater to the dynamic needs of users, ensuring that the process remains accessible and efficient. Whether you're a tech-savvy individual or someone who prefers a simpler approach, the availability of multiple uninstallation methods empowers users to manage their software with flexibility and precision.
In essence, the knowledge and proficiency gained from understanding these methods not only facilitate the seamless removal of Google Chrome but also contribute to a broader understanding of software management. By embracing the diverse approaches outlined in this guide, users are equipped to navigate the uninstallation process with confidence, efficiency, and a deeper appreciation for the flexibility offered by modern software management tools.