Introduction
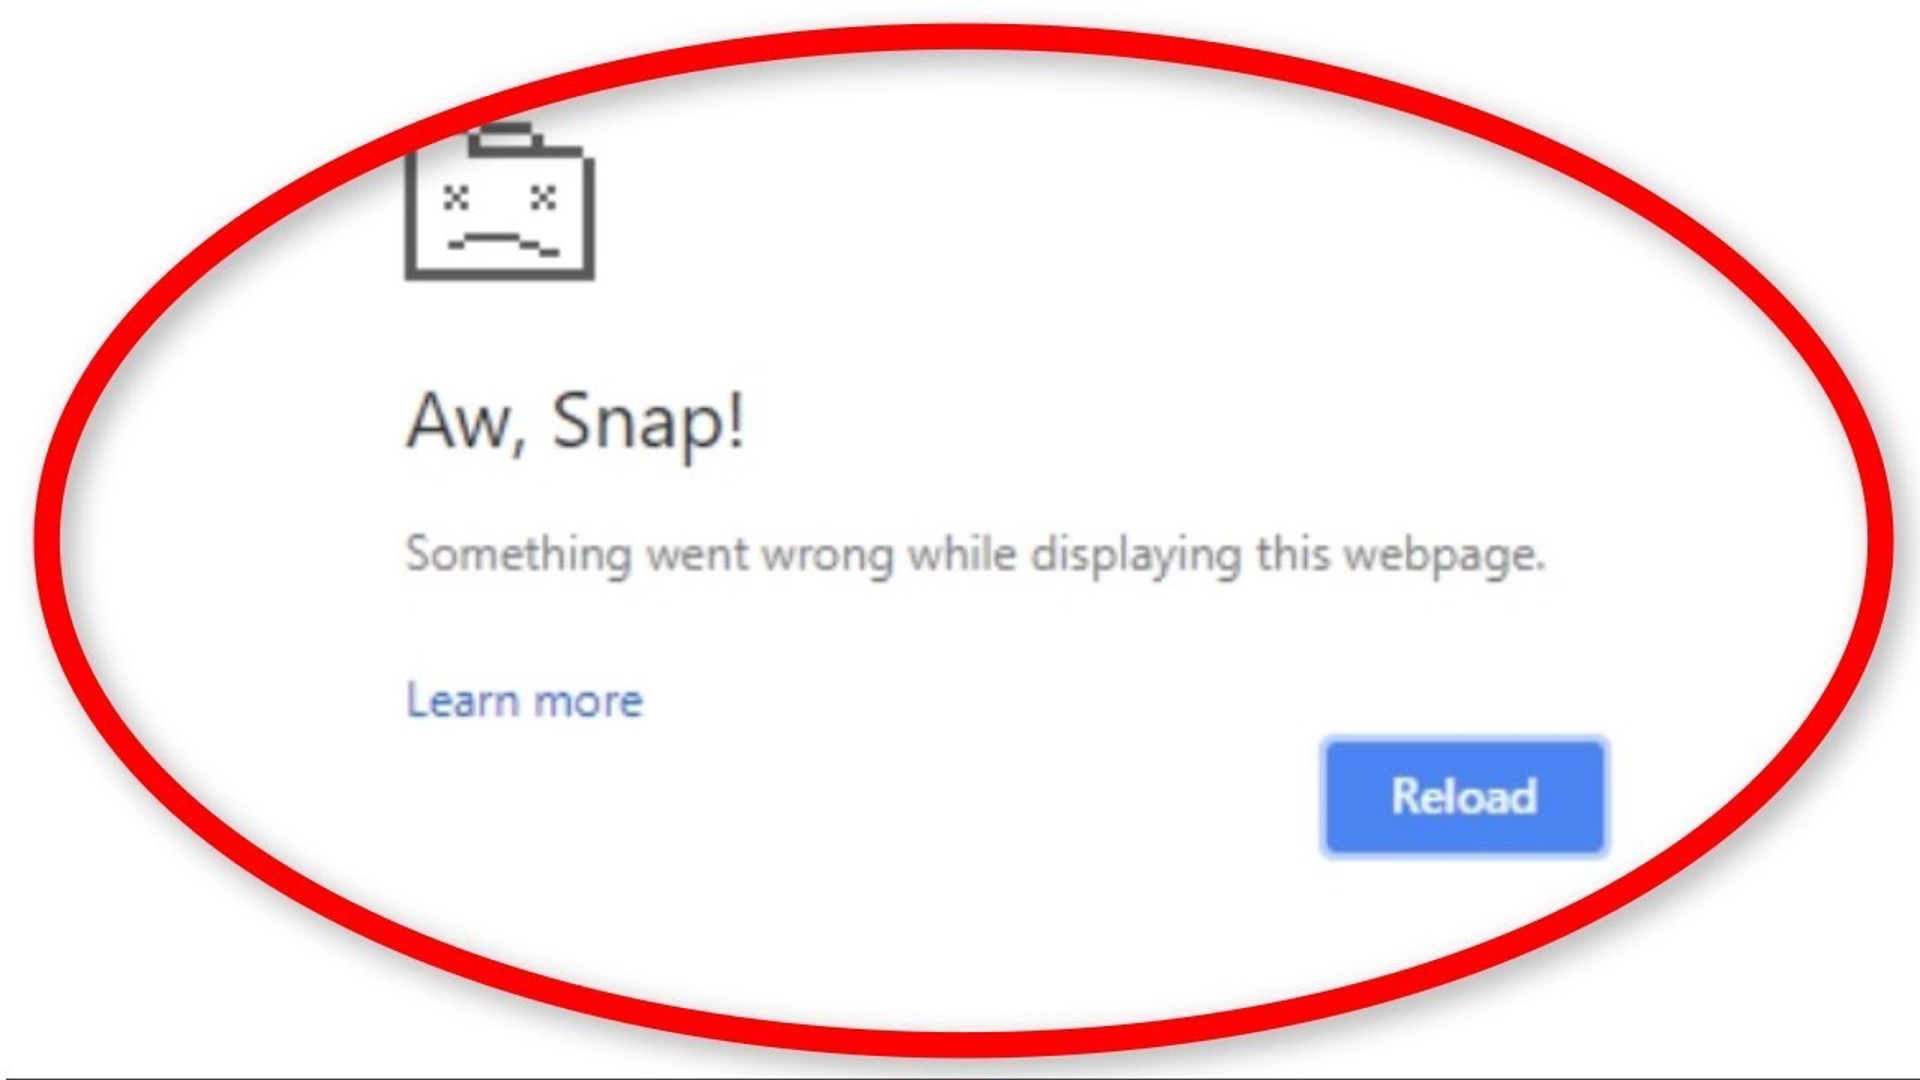
Uninstalling and reinstalling Google Chrome can be a necessary troubleshooting step to resolve various issues, such as performance glitches, unresponsive tabs, or unexpected errors. Whether you're experiencing slow browsing speeds, frequent crashes, or simply wish to start afresh with a clean installation, the process of uninstalling and reinstalling Chrome is relatively straightforward. This article will guide you through the step-by-step process, ensuring a smooth transition from removal to reinstallation.
Uninstalling Chrome can help resolve issues related to corrupted installation files, conflicting extensions, or outdated browser versions. By completely removing the existing installation, you can eliminate any underlying issues that may be impacting the browser's performance. Additionally, reinstalling Chrome provides an opportunity to start anew, ensuring that you have the latest version and a clean slate to work with.
In the following sections, we will delve into the precise steps required to uninstall Google Chrome from your system and subsequently reinstall it. Whether you're using a Windows, Mac, or Linux operating system, the process remains consistent, with slight variations in the specific steps for each platform. By following these instructions, you can effectively troubleshoot Chrome-related issues and enjoy a seamless browsing experience. Let's dive into the step-by-step guide to uninstalling and reinstalling Google Chrome.
Step 1: Uninstalling Chrome
Uninstalling Google Chrome from your computer is a straightforward process that can be accomplished using the built-in uninstallation tools provided by your operating system. Whether you're using Windows, Mac, or Linux, the steps for removing Chrome are relatively similar. Here's a detailed guide on how to uninstall Chrome from your system:
Windows:
- Open the Control Panel: Click on the "Start" button, then select "Control Panel."
- Access Programs and Features: In the Control Panel, navigate to "Programs" and then click on "Programs and Features."
- Locate Google Chrome: Scroll through the list of installed programs to find Google Chrome.
- Uninstall Chrome: Right-click on Google Chrome and select "Uninstall." Follow the on-screen prompts to complete the uninstallation process.
Mac:
- Quit Google Chrome: Ensure that Google Chrome is not running. If it is, click on "Chrome" in the menu bar and select "Quit Google Chrome."
- Open Finder: Navigate to the "Applications" folder using Finder.
- Move Chrome to Trash: Locate Google Chrome in the "Applications" folder, drag it to the Trash icon in the Dock, and then empty the Trash.
Linux:
- Open Terminal: Launch the Terminal application on your Linux system.
- Run Uninstallation Command: Enter the appropriate command to uninstall Chrome based on your Linux distribution. For example, on Ubuntu, you can use the command "sudo apt-get remove google-chrome-stable."
Regardless of your operating system, it's important to ensure that all instances of Chrome are closed before proceeding with the uninstallation process. Once Chrome has been successfully uninstalled, you can proceed to the next step of reinstalling the browser.
By following these steps, you can effectively remove Google Chrome from your system, paving the way for a clean reinstallation. Uninstalling Chrome can help resolve various issues, such as persistent crashes, unresponsive tabs, or compatibility conflicts with other software. With Chrome successfully uninstalled, you're now ready to move on to the next phase: reinstalling Google Chrome on your computer.
Step 2: Reinstalling Chrome
Reinstalling Google Chrome is a relatively simple process that involves downloading the latest version of the browser and installing it on your system. Whether you're using Windows, Mac, or Linux, the steps for reinstalling Chrome are consistent, ensuring a seamless experience across different operating systems. Here's a detailed guide on how to reinstall Google Chrome on your computer:
Windows:
-
Download Chrome Installer: Open your preferred web browser (other than Chrome) and navigate to the official Google Chrome website. Click on the "Download Chrome" button to obtain the installation file.
-
Run the Installer: Once the download is complete, locate the installation file (usually named "ChromeSetup.exe") and double-click on it to run the installer.
-
Follow Installation Prompts: Follow the on-screen prompts to complete the installation process. You may be asked to confirm the installation and choose your preferences, such as setting Chrome as the default browser.
-
Launch Chrome: After the installation is complete, launch Google Chrome to ensure that the browser is functioning as expected.
Mac:
-
Download Chrome DMG File: Using a web browser other than Chrome, visit the official Google Chrome website and download the DMG file for Mac.
-
Install Chrome: Locate the downloaded DMG file and double-click on it to mount the disk image. Drag the Chrome icon to the Applications folder to install the browser.
-
Launch Chrome: Once the installation is complete, open the Applications folder, locate Google Chrome, and launch the browser to verify the successful reinstallation.
Linux:
-
Download Chrome Package: Depending on your Linux distribution, visit the official Google Chrome website and download the appropriate package for your system, such as a .deb file for Debian-based distributions or a .rpm file for Red Hat-based distributions.
-
Install Chrome: Use the package manager or terminal commands to install Google Chrome from the downloaded package. For example, on Ubuntu, you can use the command "sudo dpkg -i google-chrome-stable_current_amd64.deb" to install the .deb package.
-
Launch Chrome: Once the installation is complete, launch Google Chrome from the applications menu or using the terminal to ensure that the browser has been successfully reinstalled.
By following these steps, you can reinstall Google Chrome on your computer, ensuring that you have the latest version of the browser with all the necessary updates and security patches. Reinstalling Chrome can help resolve issues related to outdated installations, corrupted files, or unexpected errors, providing you with a fresh start for your browsing experience.
Whether you're a Windows user, a Mac enthusiast, or a Linux aficionado, the process of reinstalling Google Chrome is designed to be user-friendly and consistent across different platforms. With Chrome successfully reinstalled, you can now enjoy a seamless browsing experience, free from the issues that may have prompted the need for a reinstall.
Conclusion
In conclusion, the process of uninstalling and reinstalling Google Chrome is a valuable troubleshooting technique that can effectively address a myriad of issues, ranging from performance hiccups to unexpected errors. By following the step-by-step guide outlined in this article, users can confidently navigate through the uninstallation and reinstallation process, ensuring a seamless transition to a fresh installation of Chrome.
Uninstalling Chrome provides an opportunity to eliminate underlying issues that may be impacting the browser's performance. Whether it's persistent crashes, unresponsive tabs, or compatibility conflicts with other software, a clean uninstallation sets the stage for a fresh start. By removing the existing installation, users can effectively address issues related to corrupted files, outdated versions, or conflicting extensions, ultimately paving the way for a smoother browsing experience.
Reinstalling Chrome complements the uninstallation process by ensuring that users have the latest version of the browser with all the necessary updates and security patches. This step is crucial in addressing issues related to outdated installations, corrupted files, or unexpected errors, providing users with a clean slate for their browsing activities. Whether it's on Windows, Mac, or Linux, the process of reinstalling Chrome is designed to be user-friendly and consistent across different platforms, ensuring a seamless experience for all users.
By seamlessly transitioning from the uninstallation to the reinstallation phase, users can effectively troubleshoot Chrome-related issues and enjoy an optimized browsing experience. Whether it's for personal use, professional tasks, or leisurely web surfing, having a well-functioning browser is essential in today's digital landscape. Uninstalling and reinstalling Chrome serves as a valuable tool in maintaining the browser's performance and addressing any unforeseen challenges that may arise during regular usage.
In essence, the ability to uninstall and reinstall Google Chrome empowers users to take control of their browsing experience, ensuring that they can address issues proactively and maintain a smooth and efficient workflow. With the comprehensive guide provided in this article, users can confidently navigate through the process, armed with the knowledge to troubleshoot and optimize their Chrome installation as needed.


