Introduction
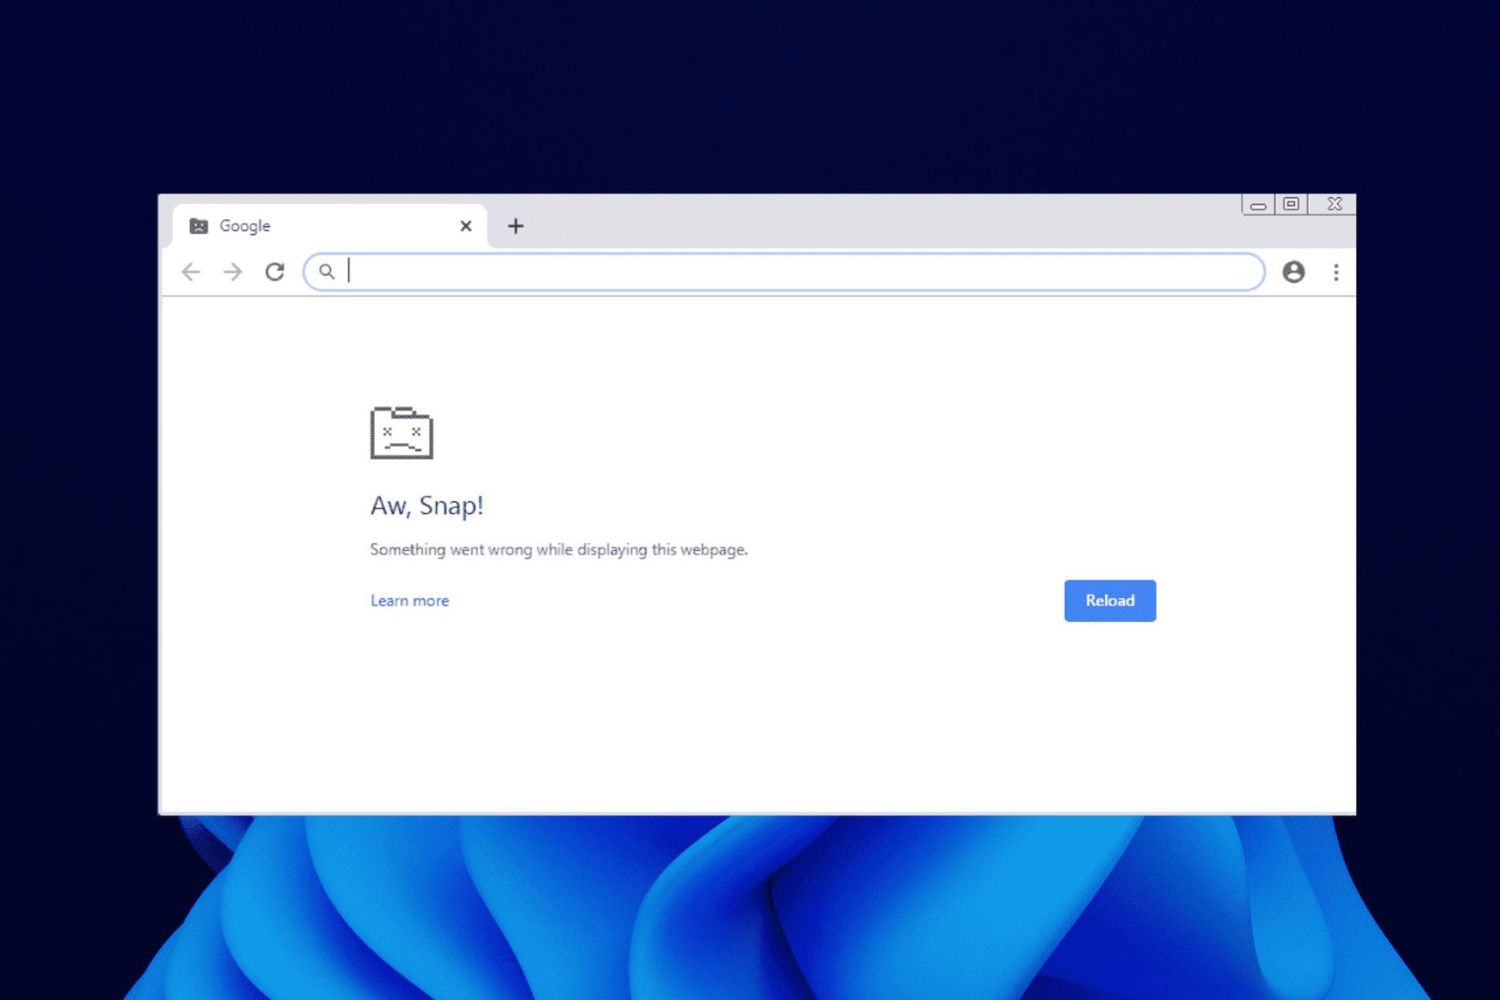
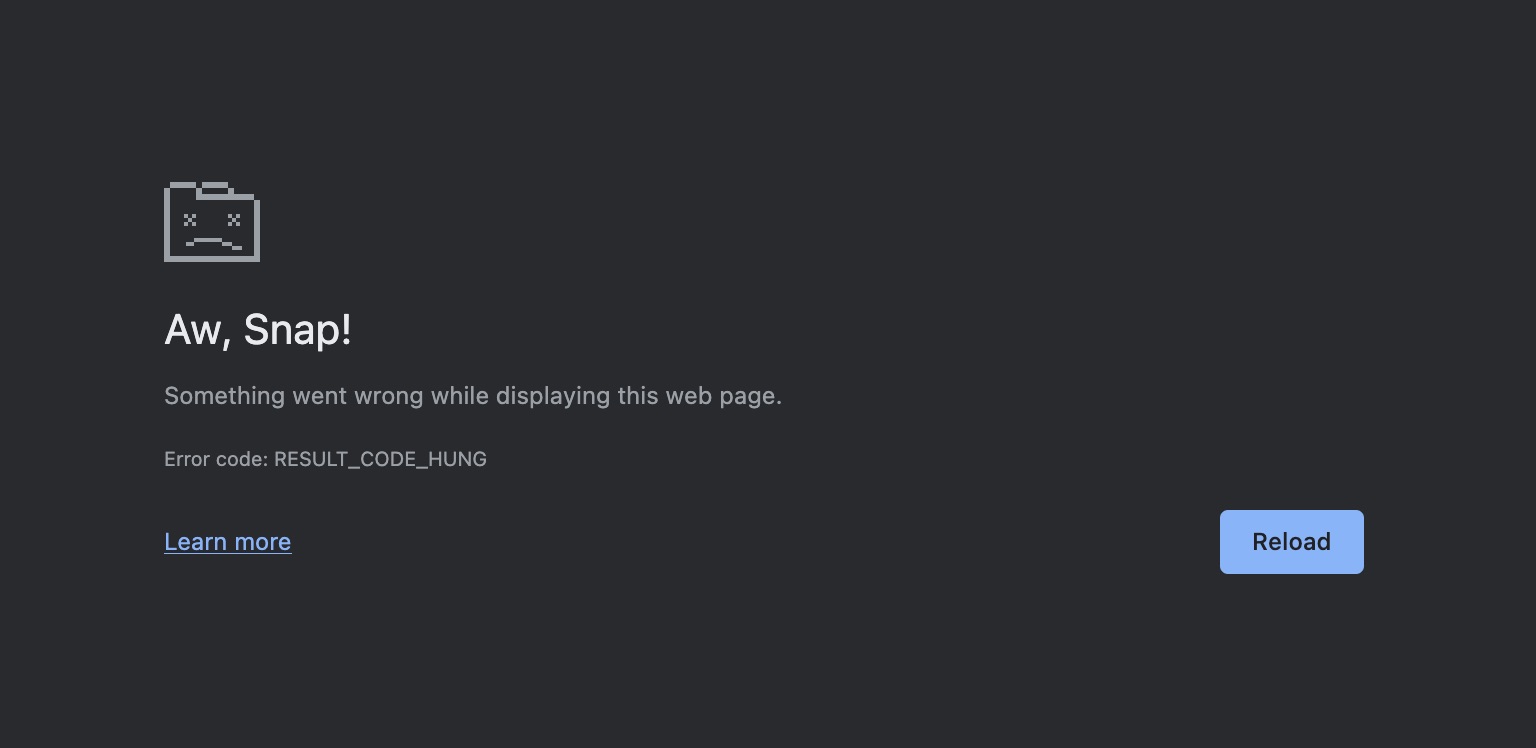
If you're an avid user of Google Chrome, you may have encountered the dreaded "Aw, Snap!" error message at some point. This frustrating issue can abruptly disrupt your browsing experience, leaving you feeling perplexed and exasperated. However, fear not, as there are several effective strategies to address this vexing problem and restore seamless functionality to your Chrome browser.
In the following sections, we will delve into a series of practical steps to help you permanently resolve the "Aw, Snap!" error in Chrome. From clearing browsing data to checking for malware and reinstalling Chrome, we will explore each method in detail, equipping you with the knowledge and confidence to tackle this issue head-on.
So, if you're tired of encountering the "Aw, Snap!" error and longing for uninterrupted browsing sessions, join us as we embark on a journey to troubleshoot and conquer this common Chrome dilemma. Let's dive into the solutions and bid farewell to the exasperating "Aw, Snap!" error once and for all.
Clear Browsing Data
One of the initial steps to troubleshoot the "Aw, Snap!" error in Chrome involves clearing your browsing data. Over time, accumulated cache, cookies, and browsing history can potentially lead to conflicts and hinder the smooth operation of the browser. By clearing this data, you can effectively eliminate any corrupt or outdated information that might be contributing to the error.
To clear your browsing data in Chrome, follow these simple steps:
-
Access Chrome Settings: Click on the three-dot menu icon in the top-right corner of the browser window, then select "Settings" from the dropdown menu.
-
Navigate to Privacy and Security: In the Settings menu, scroll down and click on "Privacy and security" in the left-hand sidebar.
-
Choose Clear Browsing Data: Under the "Privacy and security" section, select "Clear browsing data." This will open a new tab where you can customize the data you want to clear.
-
Select Data Types: You can choose the time range for which you want to clear data, such as the past hour, day, week, month, or all time. Additionally, you can select the types of data to clear, including browsing history, cookies and other site data, cached images and files, and more.
-
Clear Data: Once you have selected the desired options, click on the "Clear data" button to initiate the process.
By clearing your browsing data, you effectively refresh your browser and remove any potentially problematic data that may be causing the "Aw, Snap!" error. This simple yet powerful solution can often resolve the issue and restore your browsing experience to its optimal state.
In addition to addressing the "Aw, Snap!" error, regularly clearing your browsing data can also enhance your privacy and security while using Chrome. It ensures that your browser is free from clutter and outdated information, promoting a smoother and more secure browsing environment.
In the next sections, we will explore additional strategies to tackle the "Aw, Snap!" error, providing you with a comprehensive toolkit to overcome this common Chrome challenge.
Disable Extensions
Another potential culprit behind the "Aw, Snap!" error in Chrome is a problematic browser extension. While extensions can greatly enhance your browsing experience by adding useful features and functionality to Chrome, they can also introduce conflicts and instability, leading to error messages such as "Aw, Snap!" Disabling extensions can help identify if any of them are causing the issue and provide a temporary workaround while troubleshooting.
To disable extensions in Chrome, follow these steps:
-
Access Chrome Extensions: Click on the three-dot menu icon in the top-right corner of the browser window, then navigate to "More tools" and select "Extensions" from the expanded menu. This will open the Extensions page where you can manage your installed extensions.
-
Disable Extensions: On the Extensions page, you will see a list of all the extensions currently installed in Chrome. To disable an extension, simply toggle off the switch next to the respective extension. This action temporarily deactivates the extension without uninstalling it.
-
Test Chrome: After disabling the extensions, relaunch Chrome and check if the "Aw, Snap!" error persists. If the error no longer occurs, it indicates that one or more of the disabled extensions may be contributing to the problem.
-
Enable Extensions: To further isolate the problematic extension, you can systematically re-enable the extensions one by one, relaunching Chrome after each activation. This process helps pinpoint the specific extension causing the error when it reoccurs upon enabling a particular extension.
By disabling extensions, you can effectively troubleshoot the "Aw, Snap!" error and identify any problematic extensions that may be disrupting your browsing experience. Once the problematic extension is identified, you can choose to either remove it from Chrome or seek an updated version or alternative extension that resolves the compatibility issues.
In addition to addressing the immediate error, managing your extensions can also streamline your browsing environment, ensuring that only necessary and reliable extensions are active in Chrome. This approach can contribute to a more stable and efficient browsing experience, minimizing the likelihood of encountering errors and disruptions.
As we continue our exploration of troubleshooting methods for the "Aw, Snap!" error, we will delve into additional strategies to comprehensively address and resolve this common Chrome issue.
Update Chrome
Keeping your Chrome browser up to date is crucial for ensuring optimal performance and security. Outdated versions of Chrome may contain known bugs and vulnerabilities that can contribute to errors such as the "Aw, Snap!" message. By regularly updating Chrome to the latest version, you can benefit from bug fixes, performance enhancements, and security patches, thereby reducing the likelihood of encountering browsing issues.
To update Chrome to the latest version, follow these simple steps:
-
Access Chrome Settings: Click on the three-dot menu icon in the top-right corner of the browser window, then select "Settings" from the dropdown menu.
-
Navigate to About Chrome: In the Settings menu, scroll down and click on "About Chrome" in the left-hand sidebar. This will automatically trigger Chrome to check for updates.
-
Update Chrome: If a new version of Chrome is available, the browser will begin downloading and installing the update. Once the update is complete, you will be prompted to relaunch Chrome to apply the changes.
-
Relaunch Chrome: After the update is installed, click the "Relaunch" button to restart Chrome with the latest version.
By following these steps, you ensure that your Chrome browser is running the most recent version, equipped with the latest features, performance improvements, and security enhancements. This proactive approach to updating Chrome can effectively mitigate the "Aw, Snap!" error and other potential browsing issues associated with outdated software.
In addition to manually checking for updates through the Chrome Settings, you can enable automatic updates to ensure that Chrome stays current without requiring manual intervention. Automatic updates streamline the process, ensuring that your browser is consistently equipped with the latest improvements and security patches.
By prioritizing the regular updating of Chrome, you not only safeguard your browsing experience against errors like "Aw, Snap!" but also benefit from the ongoing advancements and optimizations introduced by the Chrome development team. This proactive maintenance approach contributes to a more stable, secure, and enjoyable browsing environment, allowing you to make the most of Chrome's capabilities without the hindrance of outdated software.
As we continue our journey to address the "Aw, Snap!" error, we will explore additional strategies to comprehensively troubleshoot and resolve this common Chrome dilemma.
Reset Chrome Settings
Resetting Chrome settings can serve as a powerful troubleshooting tool to address persistent issues, including the frustrating "Aw, Snap!" error. This process effectively restores Chrome to its default state, eliminating potential conflicts, misconfigurations, and problematic settings that may be contributing to the error.
To reset Chrome settings, follow these steps:
-
Access Chrome Settings: Click on the three-dot menu icon in the top-right corner of the browser window, then select "Settings" from the dropdown menu.
-
Navigate to Advanced Settings: In the Settings menu, scroll down and click on "Advanced" to reveal additional options.
-
Choose Reset and Clean Up: Under the "Reset and clean up" section, select "Restore settings to their original defaults." This action will open a confirmation dialog outlining the changes that will occur when resetting Chrome.
-
Confirm Reset: Review the settings that will be restored to their original defaults, including search engine, homepage, new tab page, and pinned tabs. If you're ready to proceed, click the "Reset settings" button to initiate the process.
-
Restart Chrome: After resetting the settings, relaunch Chrome to experience the browser in its default state.
By resetting Chrome settings, you effectively eliminate potential sources of the "Aw, Snap!" error, such as conflicting configurations, corrupted settings, or unintended modifications. This approach provides a clean slate for your browser, allowing you to start afresh without the burden of underlying issues that may have been impacting your browsing experience.
It's important to note that resetting Chrome settings does not delete your bookmarks, browsing history, or saved passwords. Instead, it focuses on reverting various browser settings to their original defaults, offering a targeted approach to troubleshooting without sacrificing your personalized data.
In addition to addressing the "Aw, Snap!" error, resetting Chrome settings can also serve as a valuable maintenance practice, especially if you've encountered persistent issues or noticed unusual behavior in the browser. By periodically resetting settings, you can proactively mitigate potential conflicts and ensure that Chrome operates smoothly and efficiently.
As we continue our exploration of troubleshooting methods for the "Aw, Snap!" error, we will delve into additional strategies to comprehensively address and resolve this common Chrome issue.
Check for Malware
In some instances, the "Aw, Snap!" error in Chrome may be indicative of underlying malware or malicious software that has infiltrated your system. Malware can interfere with the normal operation of web browsers, leading to disruptive errors and compromising the security of your browsing activities. Therefore, conducting a thorough check for malware is a crucial step in troubleshooting the "Aw, Snap!" error and ensuring the overall integrity of your browsing environment.
To check for malware and safeguard your system, consider the following approaches:
Utilize Antivirus Software:
Deploy reputable antivirus software to perform a comprehensive scan of your system. Modern antivirus programs are equipped with advanced malware detection capabilities, enabling them to identify and neutralize a wide range of threats, including viruses, Trojans, spyware, and adware. Initiate a full system scan to thoroughly examine all files, applications, and system components for any signs of malicious activity.
Malware Removal Tools:
Supplement your antivirus scan with specialized malware removal tools designed to target and eliminate specific types of malware. These tools are adept at detecting and removing stubborn or deeply embedded malware that may evade conventional antivirus scans. Consider utilizing reputable malware removal utilities to bolster your system's defenses and eradicate any potential threats that could be triggering the "Aw, Snap!" error.
Browser-Specific Malware Checks:
Some malware variants are tailored to specifically target web browsers, including Chrome. As a result, they can cause persistent errors and disruptions in the browsing experience. Explore browser-specific malware detection and removal options that are designed to identify and eliminate threats that directly impact the functionality of Chrome. These tools are tailored to address browser-centric malware, providing targeted protection against threats that manifest within the browser environment.
By proactively checking for malware and promptly addressing any identified threats, you not only mitigate the "Aw, Snap!" error but also fortify your system against potential security risks. Regular malware checks and proactive security measures contribute to a safer and more reliable browsing experience, allowing you to navigate the web with confidence and peace of mind.
As we continue our journey to address the "Aw, Snap!" error, we will explore additional strategies to comprehensively troubleshoot and resolve this common Chrome dilemma.
Reinstall Chrome
When all other troubleshooting methods have been exhausted and the "Aw, Snap!" error persists, reinstalling Chrome can serve as the ultimate solution to resolve the issue. Reinstalling Chrome involves completely removing the existing installation, including all associated files and settings, and then installing a fresh copy of the browser. This process effectively eliminates any underlying issues or corrupted elements that may be contributing to the persistent error.
To reinstall Chrome, follow these steps:
-
Uninstall Chrome: Begin by uninstalling the existing Chrome browser from your system. On Windows, you can do this by accessing the "Control Panel," selecting "Programs," and then choosing "Uninstall a program." Locate Google Chrome in the list of installed programs, right-click on it, and select "Uninstall." Follow the on-screen prompts to complete the uninstallation process. On Mac, simply drag the Chrome application from the "Applications" folder to the Trash to uninstall it.
-
Remove Remaining Files: After uninstalling Chrome, it's important to remove any remaining files and folders associated with the browser. This includes user data, settings, and cache files. On Windows, navigate to the "AppData" and "ProgramData" folders in the system drive and delete any residual Chrome folders. On Mac, access the "Library" folder in the user's home directory and remove any Chrome-related files and folders.
-
Download and Install Chrome: Once all remnants of the previous installation have been removed, proceed to download the latest version of Google Chrome from the official website. After downloading the installation file, run it to install Chrome on your system. Follow the on-screen instructions to complete the installation process.
By reinstalling Chrome, you effectively start with a clean slate, free from any lingering issues or corrupted elements that may have been causing the "Aw, Snap!" error. This approach provides a comprehensive resolution to persistent browser issues, ensuring that you can resume browsing with a fresh and stable installation of Chrome.
In addition to addressing the immediate error, reinstalling Chrome can also serve as a valuable maintenance practice, especially if you've encountered recurring issues or observed unusual behavior in the browser. By starting afresh with a clean installation, you can mitigate potential conflicts and ensure that Chrome operates smoothly and efficiently.
Reinstalling Chrome represents the final step in troubleshooting the "Aw, Snap!" error, offering a definitive solution to persistent browsing issues. By following the outlined steps, you can confidently reinstall Chrome and bid farewell to the exasperating error, allowing for a seamless and uninterrupted browsing experience.