Introduction
Google Chrome is a versatile and powerful web browser that offers a seamless and intuitive browsing experience. However, encountering an "Access Denied" error while using Chrome can be frustrating and disruptive. This issue can manifest in various forms, such as being unable to access certain websites, encountering permission errors, or facing difficulties in performing specific actions within the browser.
Understanding the underlying causes of the "Access Denied" error is crucial in resolving this issue effectively. From cache and cookie conflicts to browser extensions and security settings, there are several potential culprits that can trigger this error. Fortunately, there are several troubleshooting steps that can help address and resolve the "Access Denied" error on Google Chrome.
In this comprehensive guide, we will explore various methods to troubleshoot and resolve the "Access Denied" error on Google Chrome. By following these steps, you can regain seamless access to websites and ensure a smooth browsing experience. Let's delve into the troubleshooting techniques that can help you overcome the "Access Denied" error and get back to enjoying the full functionality of Google Chrome.
Clearing Browser Cache and Cookies
One of the most common causes of the "Access Denied" error on Google Chrome is the accumulation of corrupted or outdated data in the browser's cache and cookies. The cache and cookies store information from websites you visit, including login credentials, site preferences, and temporary files. Over time, this data can become outdated or corrupted, leading to browsing issues such as the "Access Denied" error.
To address this, clearing the browser cache and cookies can often resolve the issue and restore normal browsing functionality. Here's how to perform this essential maintenance task:
-
Accessing Chrome Settings: Begin by opening Google Chrome and clicking on the three-dot menu icon in the top-right corner of the browser window. From the dropdown menu, select "Settings" to access the browser's settings panel.
-
Navigating to Clear Browsing Data: Within the Settings menu, scroll down and click on "Privacy and security" in the left-hand navigation pane. Then, select "Clear browsing data" to proceed to the data clearing options.
-
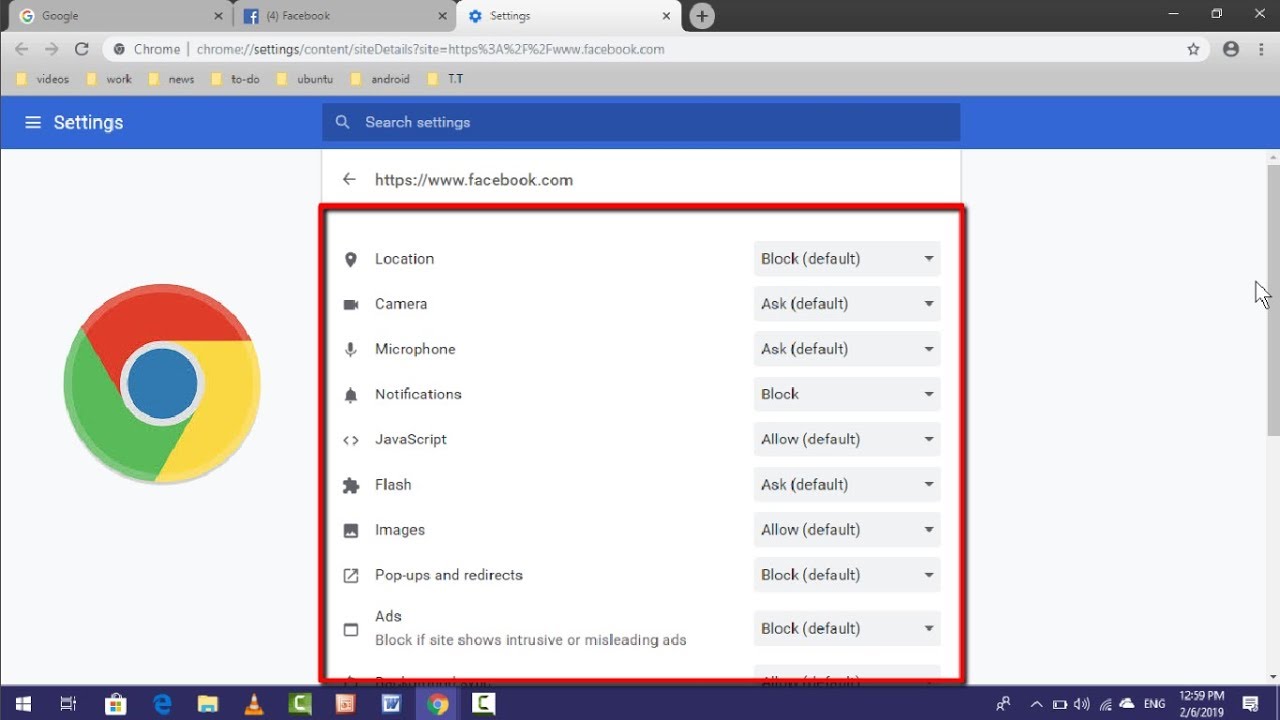
Selecting Data to Clear: In the Clear browsing data menu, ensure that the "Cookies and other site data" and "Cached images and files" options are checked. You can also choose the time range for which you want to clear the data, such as "Last hour," "Last 24 hours," "Last 7 days," or "All time."
-
Initiating Data Clearing: Once you have selected the data to clear, click on the "Clear data" button to initiate the process. Google Chrome will then proceed to clear the selected browsing data, including the cache and cookies.
-
Restarting Chrome: After the data clearing process is complete, it's advisable to restart Google Chrome to ensure that the changes take effect. Close the browser and reopen it to begin browsing with cleared cache and cookies.
By clearing the browser cache and cookies, you can effectively remove outdated or corrupted data that may be contributing to the "Access Denied" error. This simple yet powerful maintenance task can often resolve browsing issues and improve the overall performance of Google Chrome.
In the next section, we will explore the process of disabling browser extensions, another potential solution for addressing the "Access Denied" error on Google Chrome.
Disabling Browser Extensions
Browser extensions, also known as add-ons or plugins, are additional software components that enhance the functionality of web browsers. While these extensions can provide valuable features such as ad blocking, password management, and productivity tools, they can also be a source of browsing issues, including the "Access Denied" error on Google Chrome.
Disabling browser extensions is a crucial troubleshooting step to identify if any installed extensions are causing the access issues. Here's how to disable extensions in Google Chrome:
-
Accessing the Extensions Menu: Start by opening Google Chrome and clicking on the three-dot menu icon in the top-right corner of the browser window. From the dropdown menu, hover over "More tools" and select "Extensions" to access the extensions management page.
-
Disabling Extensions: On the Extensions page, you will see a list of all installed extensions. To disable an extension, simply toggle off the switch next to the respective extension. This action temporarily deactivates the extension without uninstalling it.
-
Testing Browsing Functionality: After disabling the extensions, revisit the website or action that previously triggered the "Access Denied" error. If the issue no longer occurs, it indicates that one or more extensions were contributing to the problem.
-
Enabling Extensions: To re-enable an extension, revisit the Extensions page and toggle the switch back on for the desired extension. You can then test the browsing functionality to determine if the issue reoccurs with the re-enabled extension.
-
Identifying Problematic Extensions: If you find that a specific extension consistently causes the "Access Denied" error, consider uninstalling it permanently to prevent future browsing issues.
Disabling browser extensions can help isolate the source of the "Access Denied" error and identify any problematic extensions that may be interfering with normal browsing. By systematically testing the extensions, you can pinpoint the culprit and take appropriate action to ensure a seamless browsing experience on Google Chrome.
In the subsequent sections, we will delve into additional troubleshooting methods, including checking firewall and antivirus settings, resetting Chrome settings, and updating the browser to address the "Access Denied" error effectively.
Checking Firewall and Antivirus Settings
When encountering the "Access Denied" error on Google Chrome, it's essential to consider the potential impact of firewall and antivirus settings on your browsing experience. Firewalls and antivirus software play a critical role in safeguarding your system from malicious threats and unauthorized network access. However, at times, these security measures can inadvertently block legitimate web content or disrupt the normal functioning of web browsers, leading to access issues such as the "Access Denied" error.
To address this, it's important to review and adjust the settings of your firewall and antivirus software to ensure that they are not unduly restricting Google Chrome's access to websites and online resources. Here's how you can check and modify these settings to mitigate the "Access Denied" error:
Checking Firewall Settings
-
Accessing Firewall Settings: Begin by accessing the control panel or settings interface of your firewall software. This can typically be done by searching for "firewall" in the Windows search bar and selecting the relevant firewall settings option.
-
Allowing Chrome Through Firewall: Within the firewall settings, look for options related to program permissions or application access. Locate Google Chrome in the list of installed applications and ensure that it is granted permission to access the internet and network resources. If Chrome is listed as blocked or restricted, modify the settings to allow full access.
-
Testing Browsing Functionality: After adjusting the firewall settings, revisit the websites or actions that previously triggered the "Access Denied" error. Verify if the issue persists or if the adjustments have resolved the access restrictions.
Reviewing Antivirus Settings
-
Accessing Antivirus Software: Open your antivirus software's control panel or settings interface. This can usually be accessed by clicking on the antivirus program's icon in the system tray or by searching for the program name in the Windows search bar.
-
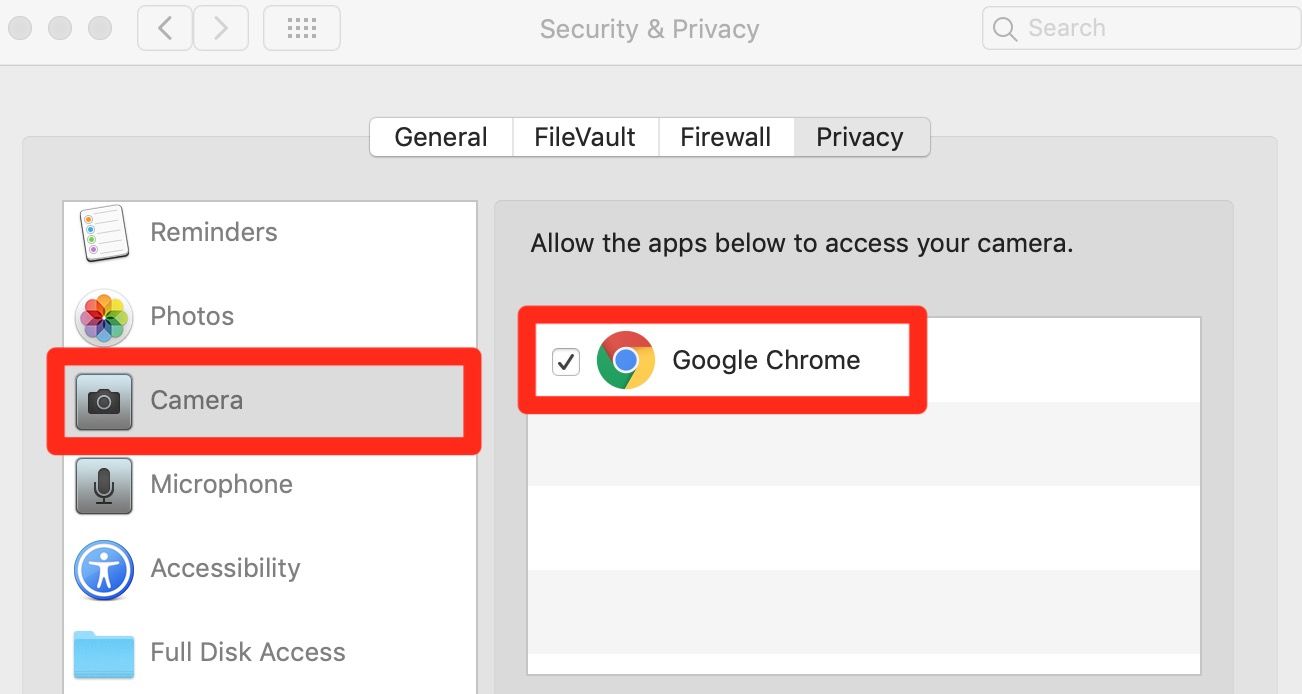
Excluding Chrome from Scans: Look for options related to real-time protection, web filtering, or site blocking. Ensure that Google Chrome is not being flagged or restricted by the antivirus software. You may need to add Chrome to the list of exclusions or trusted applications to prevent interference with its browsing capabilities.
-
Verifying Web Protection Settings: Some antivirus programs offer web protection features that can inadvertently block certain websites or online content. Review these settings to ensure that they are not impeding Chrome's access to legitimate web resources.
By reviewing and adjusting the firewall and antivirus settings, you can mitigate potential restrictions that may be contributing to the "Access Denied" error on Google Chrome. These proactive measures can help ensure that your browsing experience remains unhindered by unnecessary access restrictions imposed by security software.
In the subsequent sections, we will explore additional troubleshooting methods, including resetting Chrome settings and updating the browser to further address the "Access Denied" error effectively.
Resetting Chrome Settings
Resetting Chrome settings can serve as a comprehensive solution to address a wide range of browsing issues, including the persistent "Access Denied" error. This process effectively restores the browser to its default state, eliminating any potential misconfigurations or conflicting settings that may be causing access restrictions.
To initiate the reset of Chrome settings, follow these steps:
-
Accessing Chrome Settings: Open Google Chrome and click on the three-dot menu icon in the top-right corner of the browser window. From the dropdown menu, select "Settings" to access the browser's settings panel.
-
Navigating to Advanced Settings: Within the Settings menu, scroll down and click on "Advanced" to reveal additional configuration options.
-
Resetting Chrome Settings: Under the "Reset and clean up" section, select "Restore settings to their original defaults." This action will prompt a confirmation dialog outlining the changes that will occur as a result of the reset.
-
Initiating the Reset: Click on the "Reset settings" button to proceed with the reset process. Chrome will then revert to its default settings, clearing browsing data, disabling extensions, and restoring default search engine and homepage settings.
-
Restarting Chrome: After the reset is complete, it's advisable to restart Google Chrome to ensure that the changes take effect. Close the browser and reopen it to begin browsing with the restored default settings.
By resetting Chrome settings, you effectively eliminate any potential configuration conflicts or erroneous settings that may have been contributing to the "Access Denied" error. This comprehensive approach can help restore the browser to a clean and functional state, allowing for seamless access to websites and online resources.
It's important to note that resetting Chrome settings will clear browsing data, including cookies, cache, and site settings. As a result, you may need to re-enter certain website credentials and reconfigure specific settings after the reset. However, the trade-off is a fresh start for the browser, free from the issues that may have been causing access restrictions.
In the subsequent sections, we will delve into the importance of updating Google Chrome as a proactive measure to ensure optimal browsing performance and address potential access issues effectively.
Updating Google Chrome
Keeping Google Chrome updated is essential for maintaining optimal browsing performance and addressing potential access issues, including the "Access Denied" error. Regular updates ensure that the browser receives the latest security patches, bug fixes, and feature enhancements, thereby enhancing its stability and functionality.
To update Google Chrome to the latest version, follow these steps:
-
Accessing Chrome Settings: Open Google Chrome and click on the three-dot menu icon in the top-right corner of the browser window. From the dropdown menu, select "Settings" to access the browser's settings panel.
-
Navigating to About Chrome: Within the Settings menu, click on "About Chrome" in the left-hand navigation pane. This will initiate the process of checking for and installing available updates for the browser.
-
Checking for Updates: Upon accessing the About Chrome section, the browser will automatically check for available updates. If an update is found, Chrome will begin downloading and installing the latest version in the background.
-
Restarting Chrome: Once the update process is complete, you will be prompted to relaunch the browser to apply the changes. Click on the "Relaunch" button to restart Chrome with the updated version.
By ensuring that Google Chrome is running the latest version, you benefit from the most recent security enhancements and performance optimizations. This proactive approach not only mitigates potential access restrictions but also safeguards your browsing experience against security vulnerabilities and compatibility issues.
It's important to note that updating Google Chrome is a simple yet impactful measure that can significantly improve the browser's reliability and security. By staying current with the latest updates, you can enjoy a seamless and secure browsing experience while minimizing the likelihood of encountering access-related errors.
Incorporating regular checks for updates into your browsing routine is a proactive way to maintain the health and performance of Google Chrome, ensuring that you can access websites and online resources without encountering unnecessary access restrictions.
In the subsequent sections, we have explored various troubleshooting methods to address the "Access Denied" error effectively, empowering you to overcome browsing issues and optimize your experience with Google Chrome.
Conclusion
In conclusion, addressing the "Access Denied" error on Google Chrome involves a systematic approach to troubleshooting and resolving potential underlying causes. By implementing the methods outlined in this guide, users can effectively overcome access restrictions and restore seamless browsing functionality.
Clearing the browser cache and cookies serves as an essential maintenance task, eliminating outdated or corrupted data that may contribute to the "Access Denied" error. This simple yet powerful step can significantly improve the browser's performance and resolve browsing issues.
Disabling browser extensions allows users to identify and isolate problematic add-ons that may interfere with normal browsing. By systematically testing and managing extensions, users can pinpoint the source of access restrictions and take appropriate action to ensure a smooth browsing experience.
Reviewing firewall and antivirus settings is crucial in mitigating unnecessary access restrictions imposed by security software. By adjusting permissions and exclusions, users can prevent legitimate web content from being inadvertently blocked, thereby resolving the "Access Denied" error.
Resetting Chrome settings provides a comprehensive solution to address potential configuration conflicts or erroneous settings that may hinder browsing. This approach restores the browser to its default state, eliminating potential access restrictions and ensuring a clean and functional browsing environment.
Updating Google Chrome to the latest version is a proactive measure that enhances the browser's stability, security, and performance. By staying current with the latest updates, users can minimize the likelihood of encountering access-related errors and benefit from the latest security enhancements.
Incorporating these troubleshooting methods into the routine maintenance of Google Chrome empowers users to overcome the "Access Denied" error and enjoy a seamless browsing experience. By understanding and addressing the underlying causes of access restrictions, users can optimize their interaction with the web and leverage the full functionality of Google Chrome.