Introduction
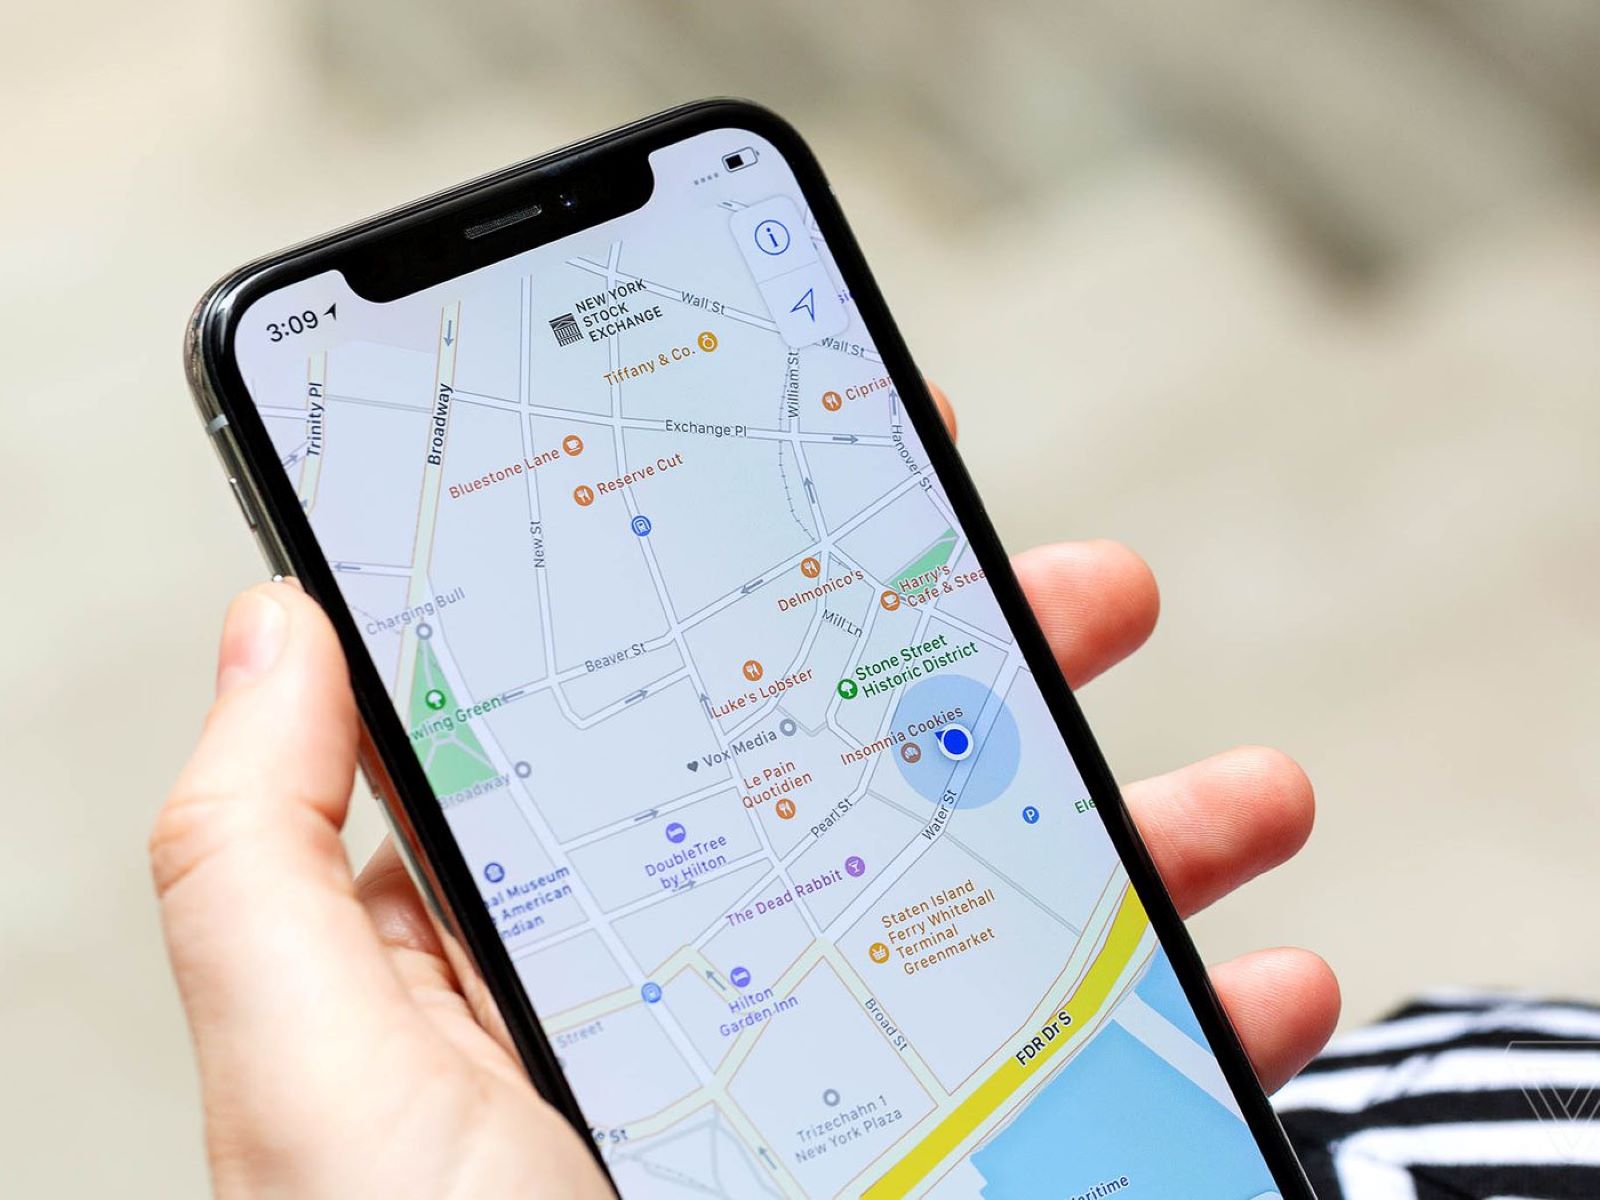
Welcome to our guide on enabling location permission in various web browsers. The ability to access location data is essential for many websites and applications, as it allows them to provide personalized content and services based on your geographical location. Whether you’re trying to find local businesses, receive weather updates, or use navigation services, enabling location permission is vital.
Each web browser has its own settings and options for managing location permissions. In this article, we will walk you through the steps to enable location permission in popular web browsers such as Google Chrome, Mozilla Firefox, Safari, Microsoft Edge, and Internet Explorer.
Before we dive into the specific browser settings, it’s important to note that location permission is a sensitive feature. It is designed to protect your privacy and data, so you have control over which websites can access your location information. By default, browsers often prompt you to grant or deny permission when a website requests access to your location.
Now, without further ado, let’s explore how you can enable location permission in your preferred web browser, starting with Google Chrome.
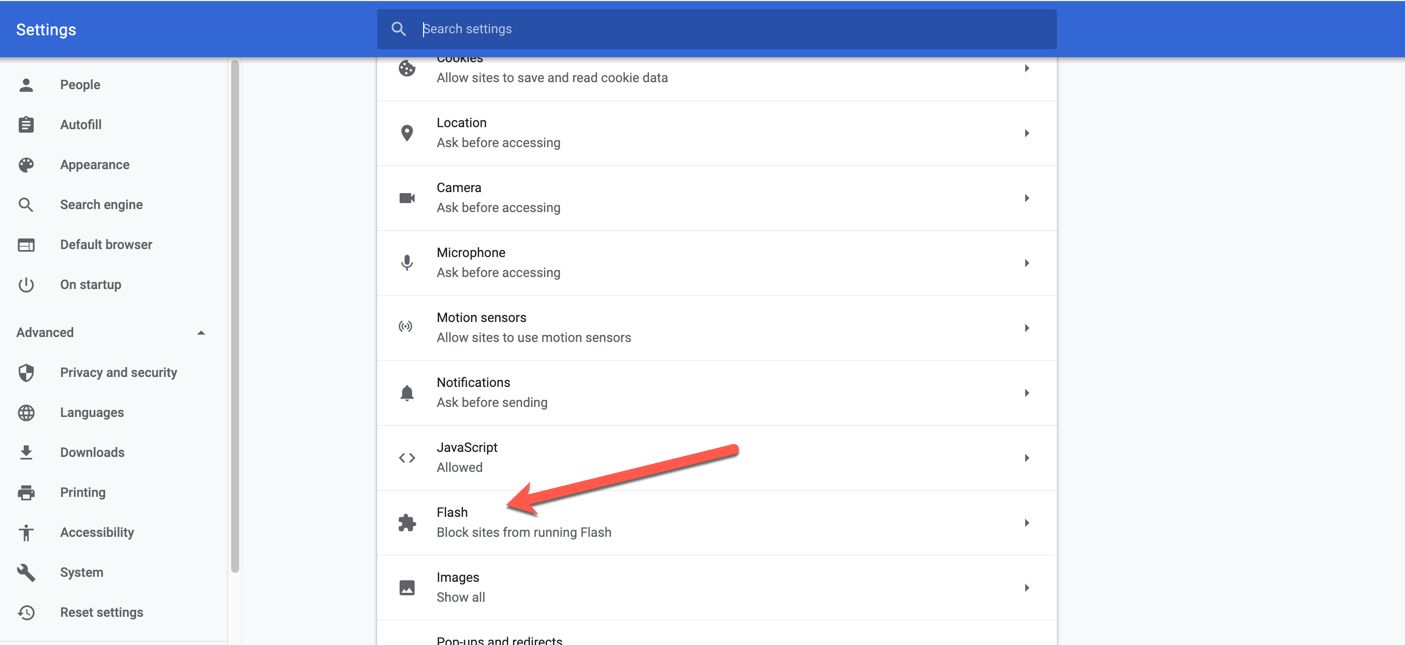
Enable Location Permission in Google Chrome
Google Chrome is one of the most popular web browsers, and enabling location permission in Chrome is a straightforward process. Here’s how you can do it:
- Open Google Chrome on your computer or mobile device.
- Click on the three vertical dots in the top-right corner of the browser window to open the menu.
- From the dropdown menu, select “Settings.”
- Scroll down and click on “Advanced” to expand additional settings.
- Under the “Privacy and security” section, click on “Site settings.”
- Scroll down and click on “Location.”
- Toggle the switch to enable location permissions for websites.
- You can also manage specific website permissions by clicking on the “Add” button next to the “Block” or “Allow” lists.
- To disable location permission entirely, toggle the main switch to the off position.
Once you have enabled location permission in Google Chrome, websites that request your location will display a popup asking for your consent. You can choose to grant or deny access to your location by clicking on the appropriate button on the popup.
Enabling location permission in Google Chrome allows you to take advantage of location-based services and receive personalized recommendations tailored to your region. It is worth noting that while enabling location permission can enhance your browsing experience, it is essential to be mindful of your privacy and only grant access to trusted websites.
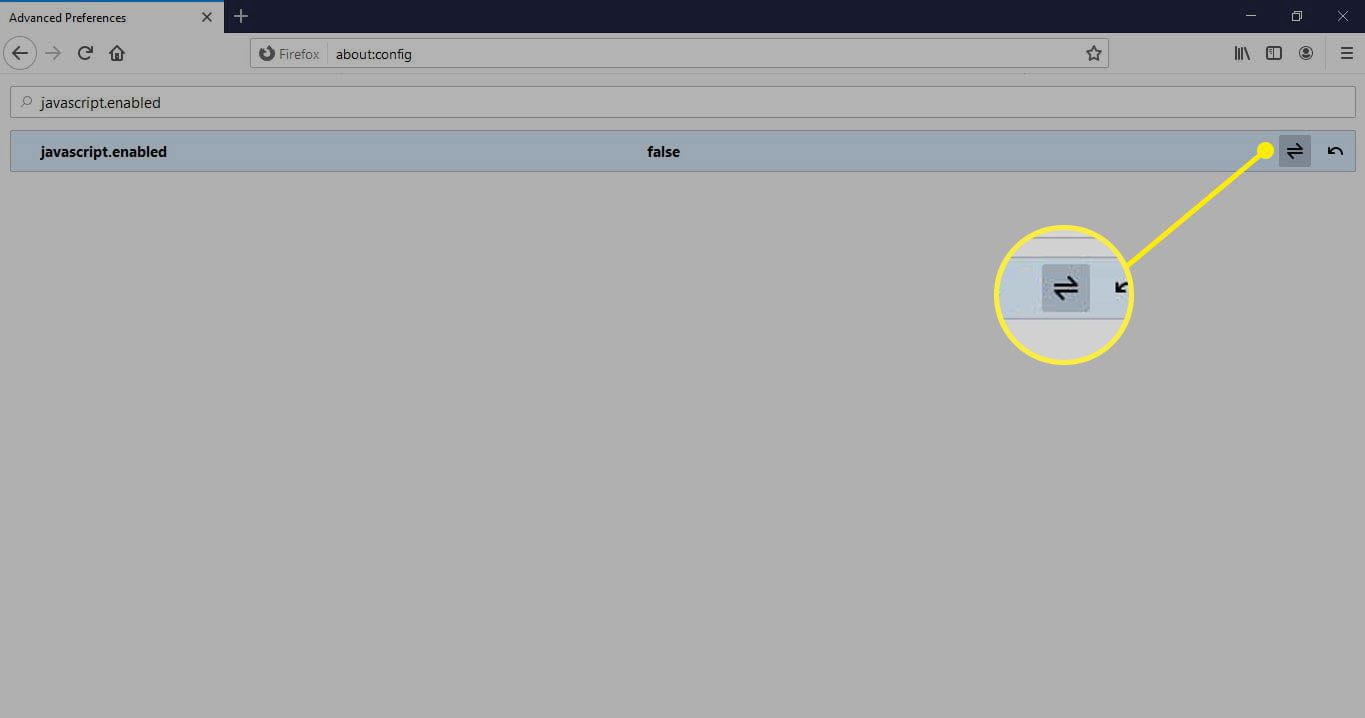
Enable Location Permission in Mozilla Firefox
Mozilla Firefox is another popular web browser known for its privacy-focused features. Enabling location permission in Firefox is a simple process. Follow the steps below to grant location access to websites:
- Launch Mozilla Firefox on your computer or mobile device.
- Click on the three horizontal lines in the top-right corner of the browser window to open the menu.
- From the dropdown menu, select “Preferences” (on Mac) or “Options” (on Windows).
- Click on “Privacy & Security” in the left-hand menu.
- Scroll down to the “Permissions” section and click on “Settings” next to “Location.”
- Enable the option that says “Allow websites to ask for your physical location.”
- You can also manage exceptions by clicking on the “Exceptions…” button.
Once you have enabled location permission in Mozilla Firefox, whenever a website requests your location information, a notification will appear at the top of the browser window. You can choose to allow or deny access to your location by clicking on the appropriate option.
Enabling location permission in Firefox ensures that you can benefit from location-based services and enjoy a tailored browsing experience. It’s important to remember that Firefox puts a strong emphasis on privacy and security, so you have control over which websites can access your location data.
Now that you know how to enable location permission in Firefox, you can comfortably browse websites that require location data with just a few clicks.
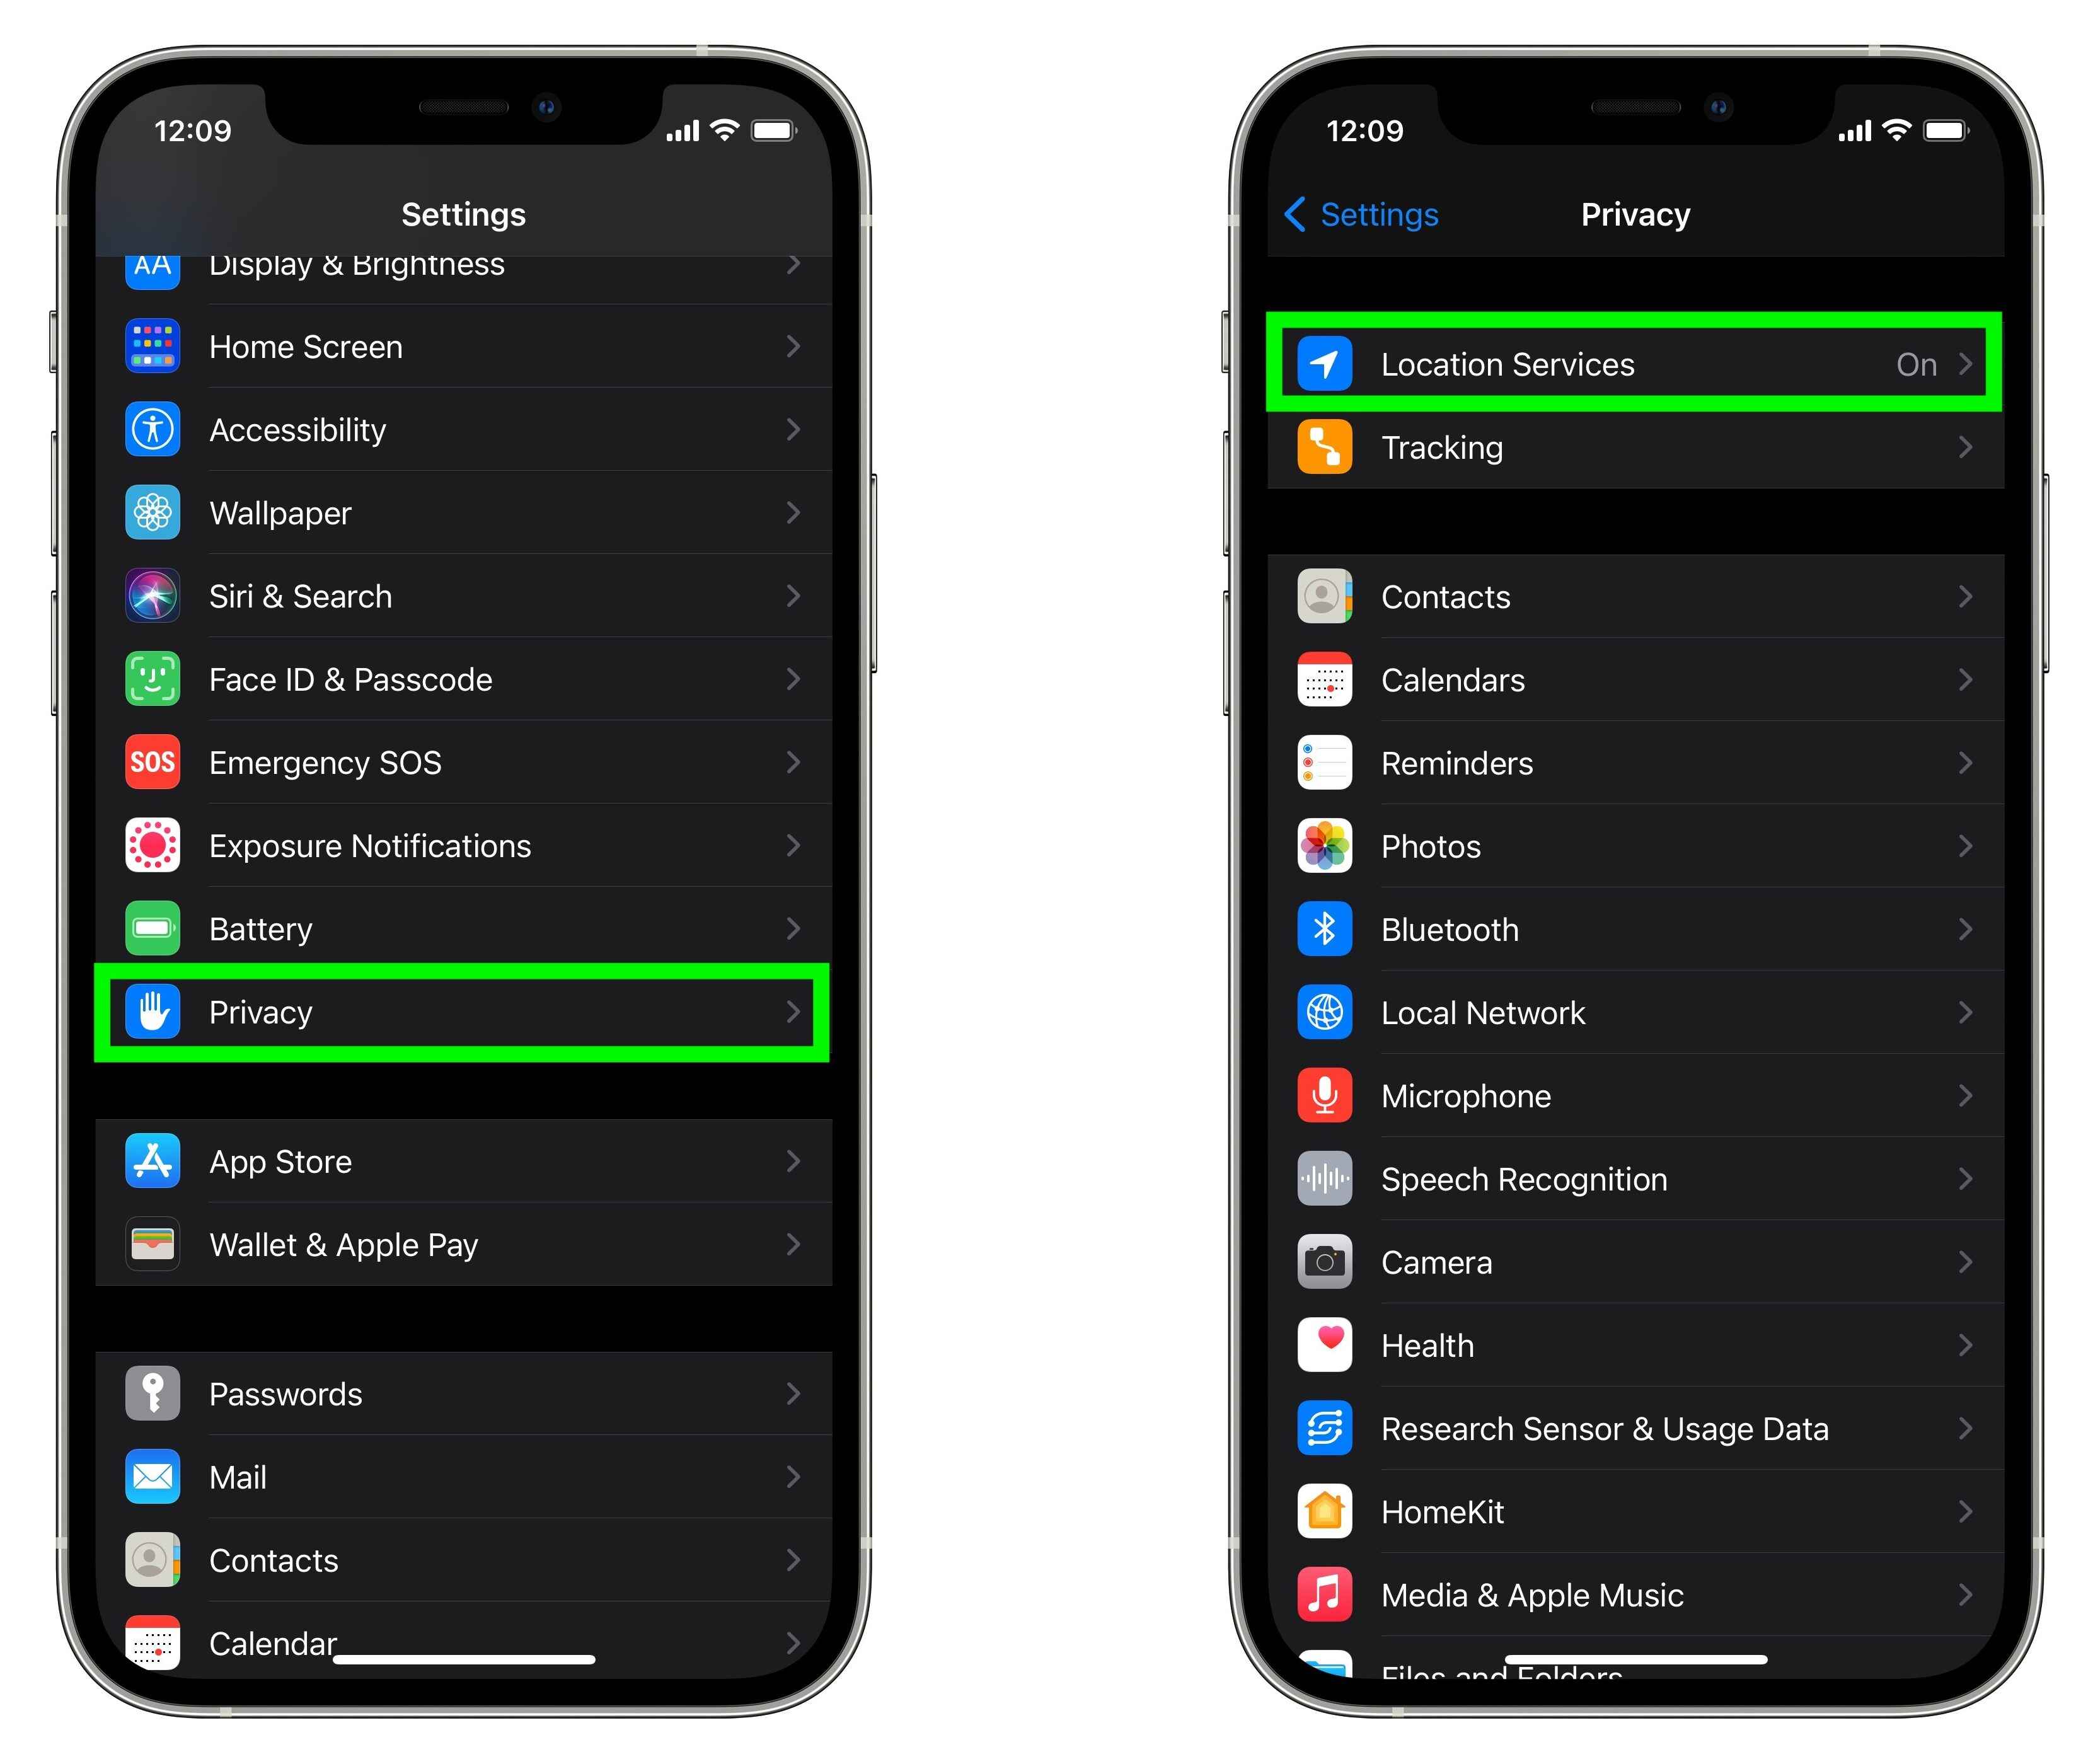
Enable Location Permission in Safari
Safari is the default web browser for Apple devices, and enabling location permission in Safari is necessary to make the most of location-based features. Follow the steps below to grant location access to websites in Safari:
- Open Safari on your Mac or iOS device.
- Click on “Safari” in the top menu bar and select “Preferences.”
- In the Preferences window, click on the “Websites” tab at the top.
- From the left-hand sidebar, select “Location.”
- Make sure the checkbox next to “Allow websites to request access to your location” is ticked.
- Choose whether you want to allow all websites or only specific ones to access your location.
- You can manage individual website settings by selecting them from the list and choosing “Deny,” “Prompt,” or “Allow.”
Once you have enabled location permission in Safari, websites that request your location will display a popup asking for your consent. You can choose to allow or deny access to your location for each website individually.
Enabling location permission in Safari ensures that websites can provide you with location-specific services, such as showing nearby businesses, weather information, or personalized recommendations tailored to your area. It’s important to note that Safari values your privacy and gives you control over which websites can access your location data.
Now that you know how to enable location permission in Safari, you can enjoy a seamless browsing experience with location-based features on your Apple devices.
Enable Location Permission in Microsoft Edge
Microsoft Edge, the default web browser for Windows 10 and later versions, allows you to enable location permission to make the most of location-based services. Here’s how you can grant location access to websites in Microsoft Edge:
- Launch Microsoft Edge on your Windows computer.
- Click on the three horizontal dots in the top-right corner of the browser window to open the menu.
- From the dropdown menu, select “Settings.”
- In the left-hand sidebar, click on “Privacy, search, and services.”
- Scroll down to the “Location” section.
- Click on the “Manage” button next to “Location permissions.”
- Toggle the switch to enable location permissions for websites.
- You can manage individual website permissions by clicking on the “+” icon and adding the website URL, then choosing to allow or block access.
Once you have enabled location permission in Microsoft Edge, websites that request your location will display a notification at the top of the browser window. You can choose to allow or block access by clicking on the notification and selecting your preference.
Enabling location permission in Microsoft Edge allows you to take advantage of location-based features offered by websites, such as finding nearby attractions, providing local news, or delivering personalized content based on your location. It’s important to note that Microsoft Edge prioritizes your privacy and provides options for managing individual website permissions.
Now that you know how to enable location permission in Microsoft Edge, you can make the most of location-based services while surfing the web on your Windows device.
Enable Location Permission in Internet Explorer
If you are using Internet Explorer as your web browser, enabling location permission can enhance your browsing experience by allowing websites to offer location-based services. Here is a step-by-step guide to enabling location permission in Internet Explorer:
- Open Internet Explorer on your computer.
- Click on the “Tools” icon (shaped like a gear) in the top-right corner of the browser window.
- From the dropdown menu, select “Internet Options.”
- In the Internet Options window, click on the “Privacy” tab.
- Under the “Location” section, click on the “Clear Sites” button.
- Click on the “Sites” button next to “Location.”
- Add the website URLs that you want to grant location permission to.
- Click on the “Allow” button for each website you added.
- Click on the “OK” button to save your changes and close the window.
Once you have enabled location permission in Internet Explorer, websites that request your location will be able to access it without any further prompts. However, if you want to revoke location permission for a specific site or modify your settings, you can follow the same steps and remove the websites or change the permissions accordingly.
Enabling location permission in Internet Explorer allows you to enjoy location-based services provided by websites, such as finding nearby events, getting localized news, or receiving personalized recommendations based on your area. It’s important to note that Internet Explorer values your privacy, and by managing your location settings, you have control over which websites can access your location information.
Now that you know how to enable location permission in Internet Explorer, you can make the most of location-based features while browsing the web using this Microsoft browser.
Conclusion
Enabling location permission in your web browser is crucial for accessing location-based services and enjoying a personalized browsing experience. In this guide, we explored how to enable location permission in various popular web browsers, including Google Chrome, Mozilla Firefox, Safari, Microsoft Edge, and Internet Explorer.
By granting location access to trusted websites, you can benefit from features like finding nearby businesses, receiving localized weather updates, getting personalized recommendations, and accessing other location-specific services.
Remember that each browser has its own settings and options for managing location permissions. Whether you’re toggling switches, adding exceptions, or modifying individual website permissions, you have control over which websites can access your location information.
However, it’s important to prioritize your privacy and ensure that you grant location permission only to websites that you trust. Be cautious when providing your location data and review each website’s privacy policy to understand how your information will be used.
With the steps provided in this guide, you can now easily enable location permission in your preferred web browser. Take the time to explore your browser’s settings and choose the option that suits your needs and comfort level best.
Now that you have the knowledge to enable location permission, you can make the most of location-based services and enjoy a personalized browsing experience with ease. Happy browsing!