Introduction
Clearing your search history on Safari for Mac is a simple yet essential task that can help protect your privacy and keep your browsing experience fresh and clutter-free. Whether you're looking to remove a specific set of searches or wipe your entire browsing history, Safari provides a straightforward method to accomplish this. By taking a few moments to clear your search history, you can ensure that your browsing habits remain private and secure.
In this guide, we'll walk you through the step-by-step process of clearing your search history on Safari for Mac. By following these instructions, you'll be able to maintain a clean browsing environment and safeguard your personal information. Whether you're sharing your device with others or simply want to keep your browsing habits discreet, regularly clearing your search history is a proactive measure that can contribute to a more secure and seamless browsing experience.
Let's dive into the simple yet effective steps that will enable you to clear your search history on Safari for Mac, empowering you to take control of your browsing privacy and maintain a clutter-free digital footprint.
Step 1: Open Safari
To begin the process of clearing your search history on Safari for Mac, you'll first need to open the Safari web browser on your device. Safari is the default browser for Mac, offering a seamless and intuitive browsing experience. Here's how you can easily access Safari:
-
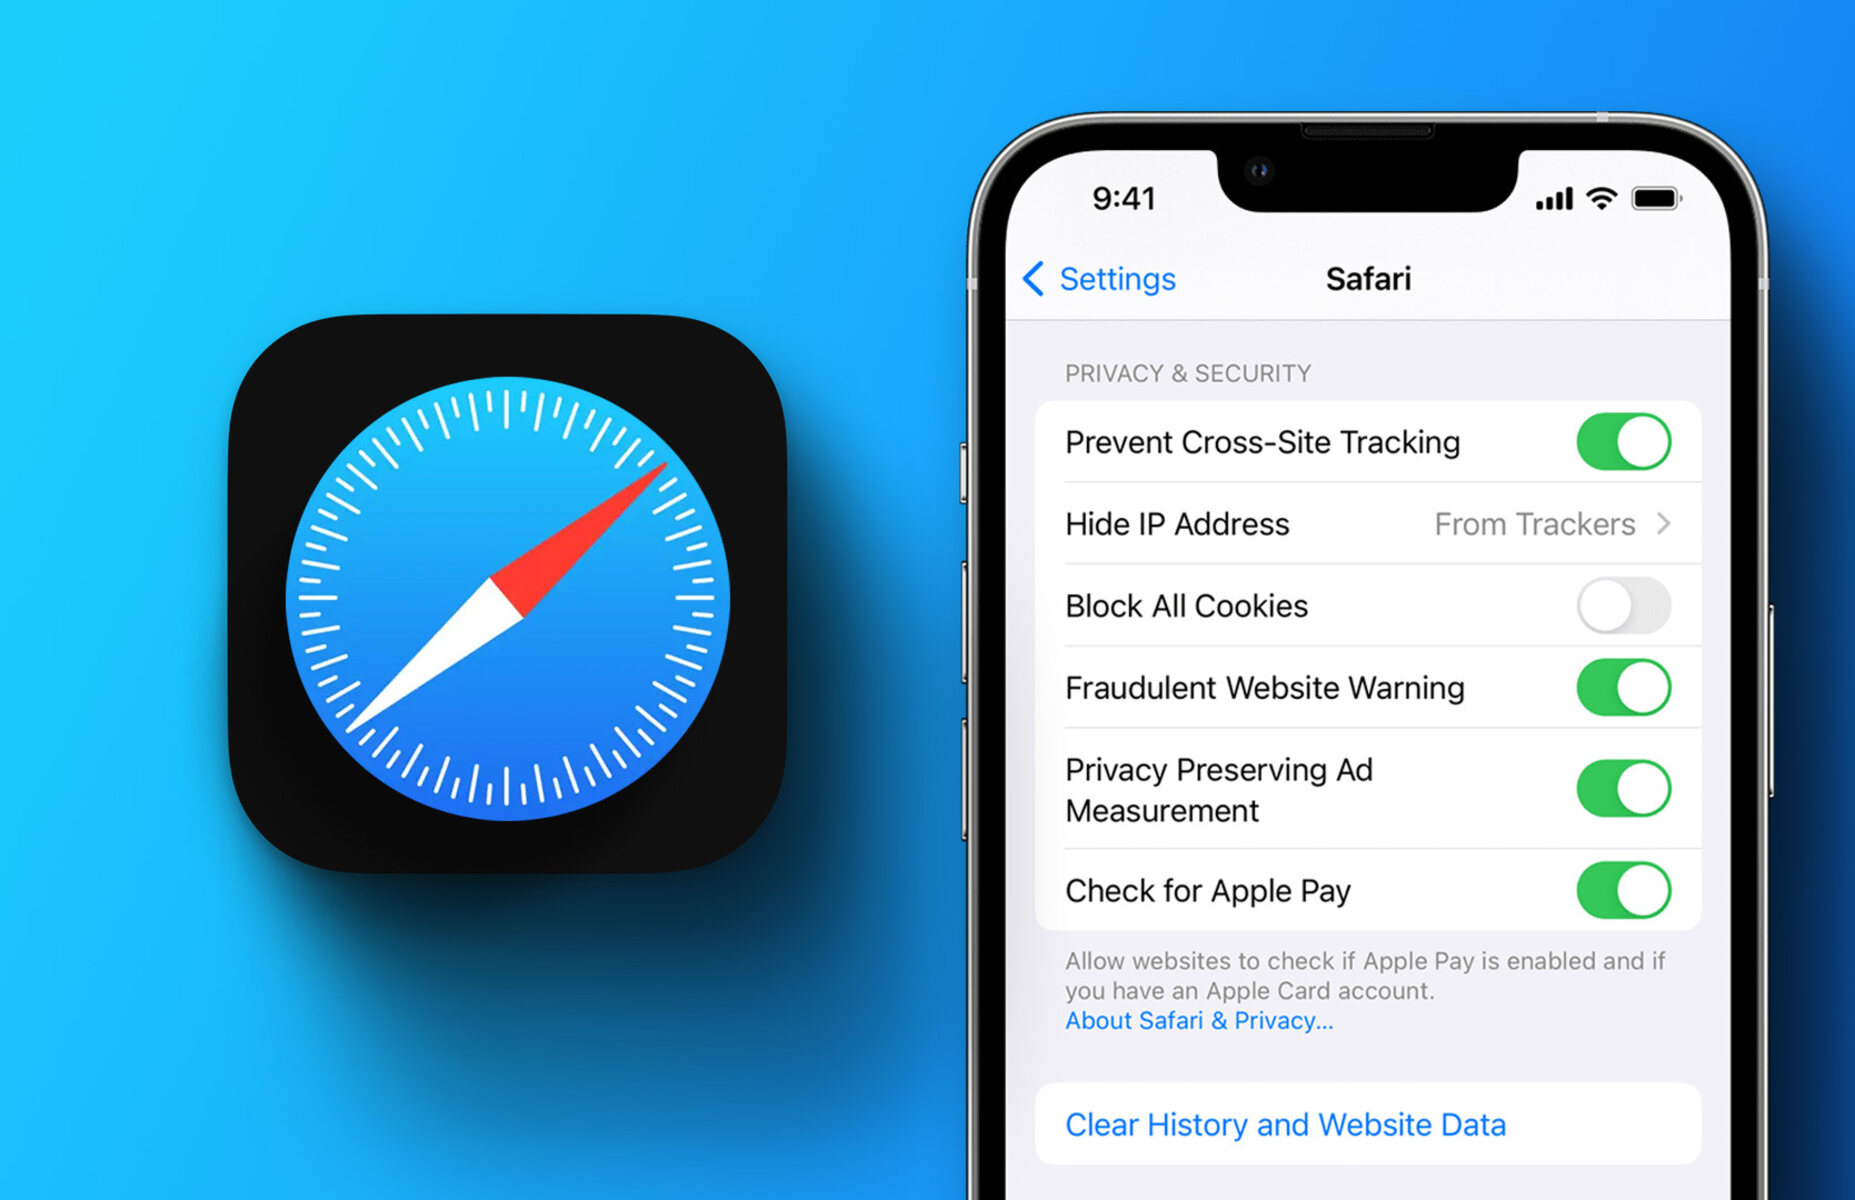
Locate the Safari Icon: Look for the distinctive blue compass icon with a white border, which represents the Safari browser. Typically, you can find this icon on your Mac's dock, making it easily accessible for quick browsing sessions.
-
Spotlight Search: If you don't see the Safari icon on your dock, you can use the Spotlight Search feature on your Mac. Simply click on the magnifying glass icon in the top-right corner of your screen or press Command + Spacebar to activate Spotlight Search. Then, type "Safari" into the search bar, and the Safari browser should appear as a top result. Click on it to launch the browser.
-
Launch from Applications: Another way to open Safari is by navigating to your Applications folder. You can do this by clicking on the Finder icon in your dock, selecting "Applications" from the sidebar, and then locating the Safari icon. Once you find it, double-click on the icon to launch the Safari browser.
Once you've successfully opened Safari, you're ready to proceed to the next step in clearing your search history. By familiarizing yourself with these simple methods of accessing Safari, you can seamlessly initiate the process of managing your browsing history and maintaining your privacy while using the Safari browser on your Mac.
Step 2: Access the History Menu
After successfully launching Safari on your Mac, the next step in clearing your search history involves accessing the History menu within the browser. The History menu serves as a gateway to your browsing activity, allowing you to view and manage your recently visited websites, as well as initiate the process of clearing your search history. Here's how you can easily access the History menu in Safari:
-
Navigate to the Menu Bar: At the top of your screen, you'll find the Menu Bar, which contains various options and features for customizing your browsing experience. Look for the "History" option in the Menu Bar, positioned between the "Bookmarks" and "Window" options. Click on "History" to reveal a dropdown menu that provides access to your browsing history and related functions.
-
Utilize Keyboard Shortcuts: Safari offers convenient keyboard shortcuts that enable quick access to the History menu. By pressing "Command" + "Y" on your keyboard, you can instantly open the History menu, streamlining the process of managing your browsing history without the need to navigate through multiple menu options.
-
Explore the History Submenu: Upon clicking on the "History" option in the Menu Bar, you'll notice a submenu that presents a list of recently visited websites, organized by date and time. This submenu provides a snapshot of your browsing activity, allowing you to review and select specific entries for further actions, such as clearing individual website data or removing entire browsing sessions.
-
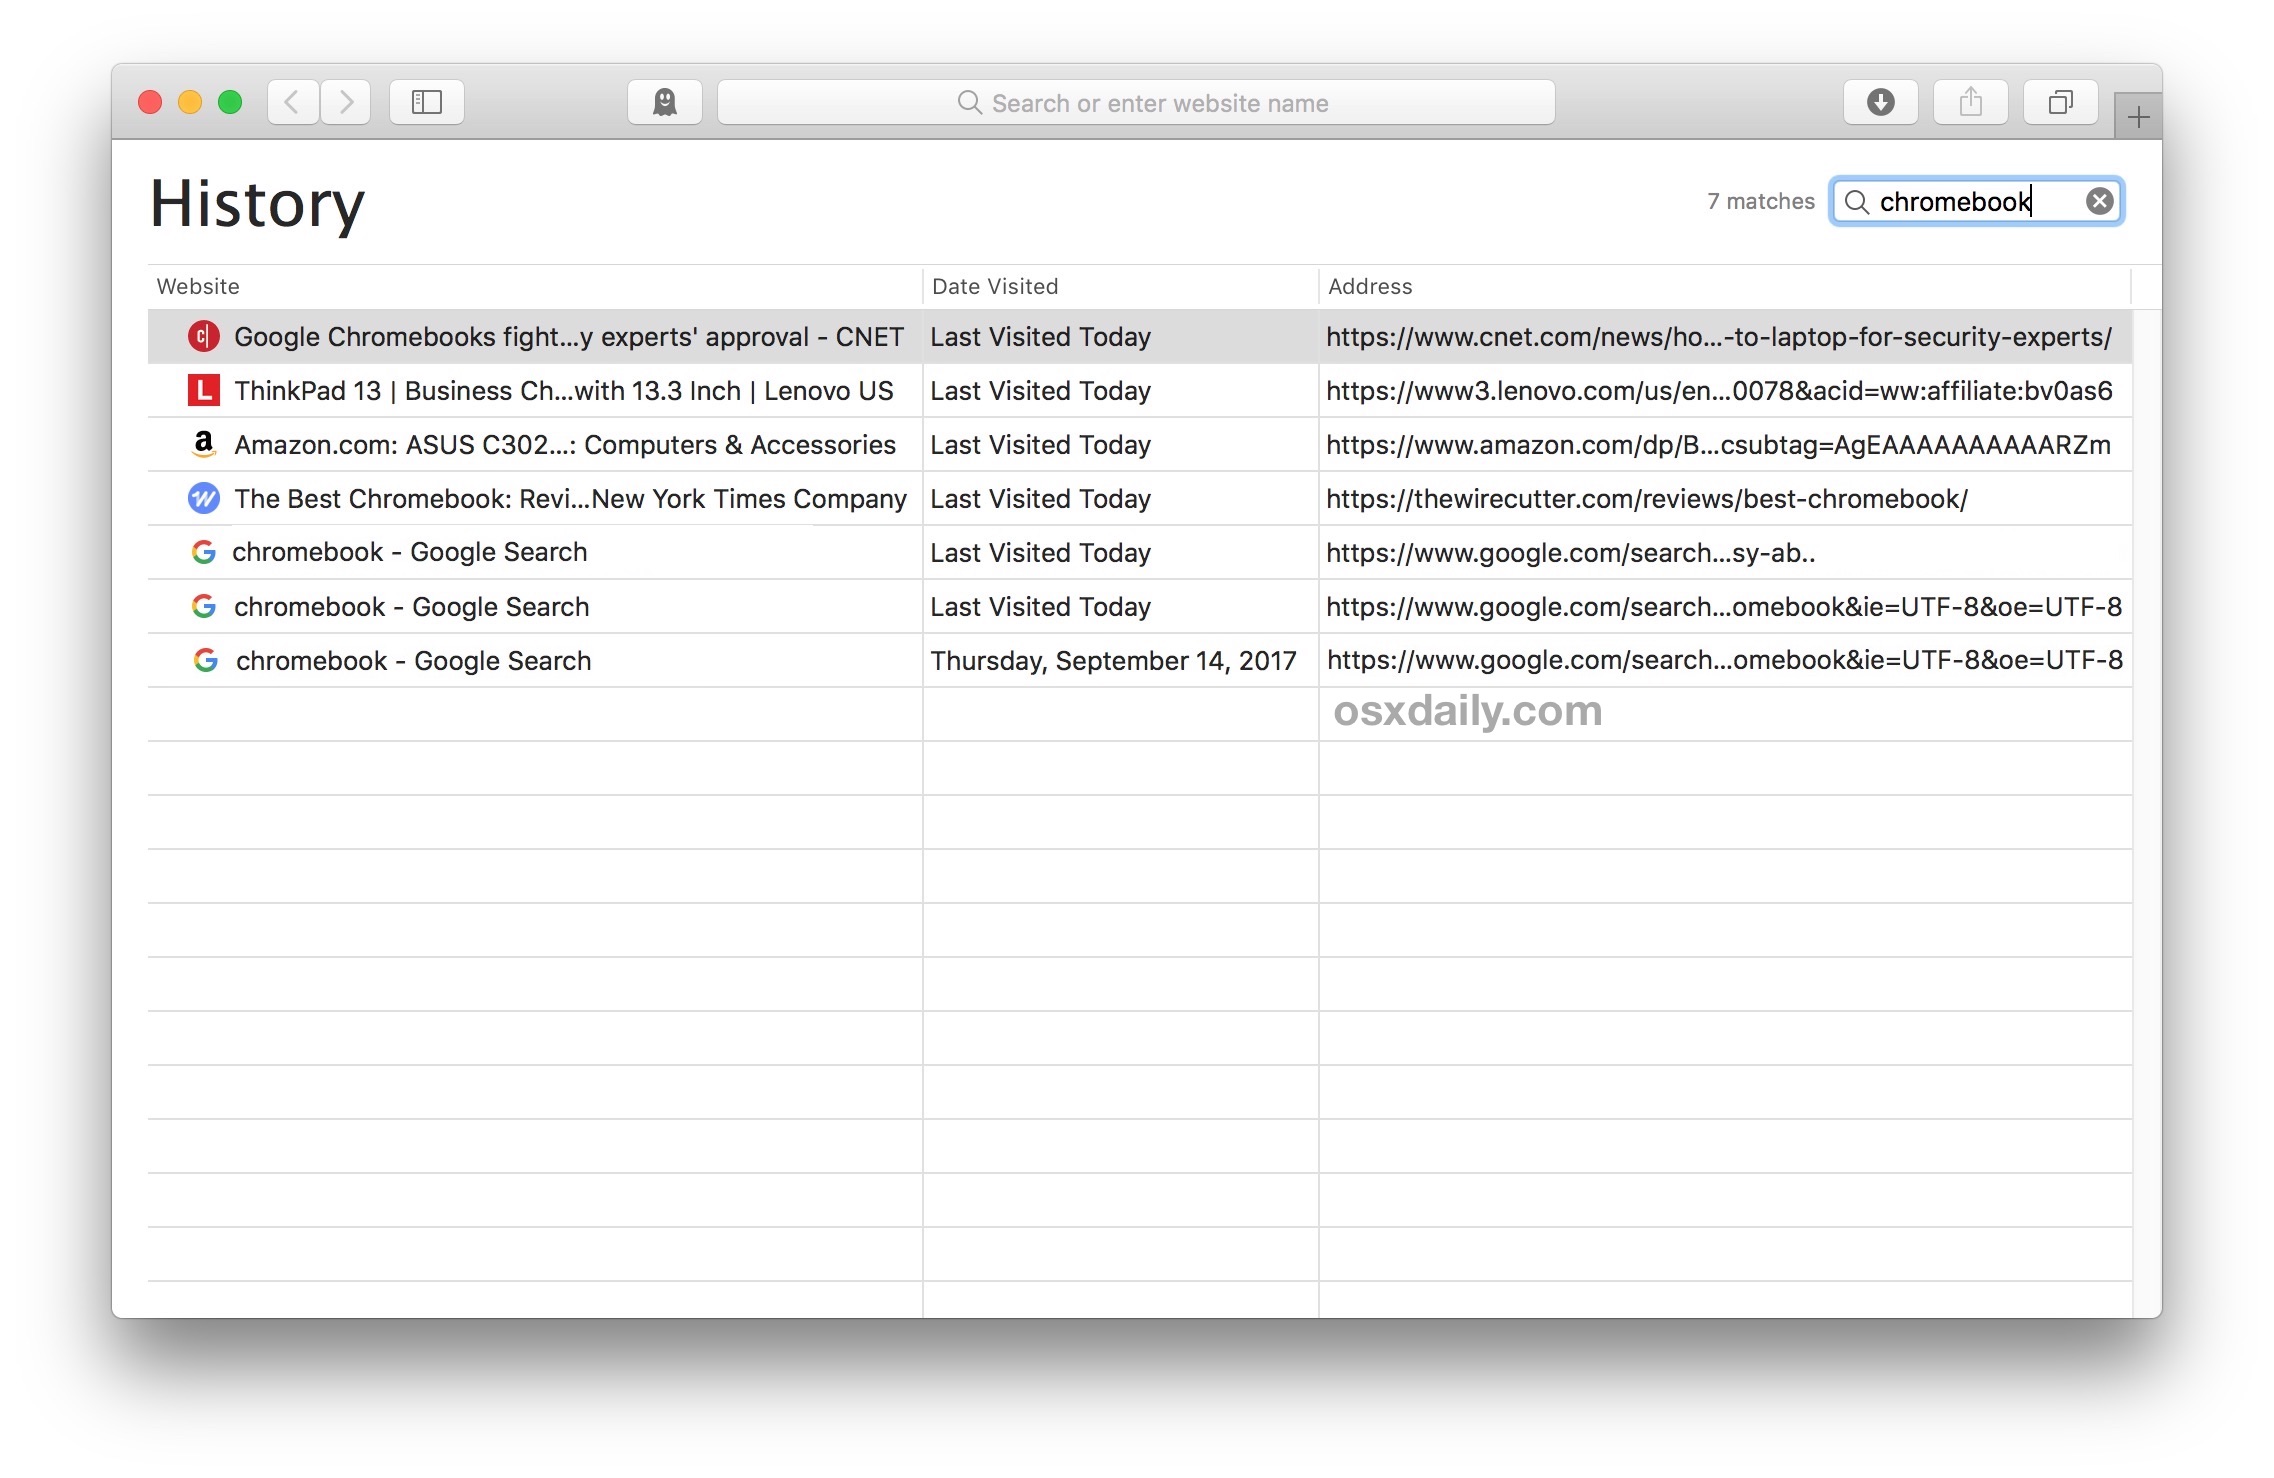
Customize Viewing Preferences: Within the History submenu, Safari offers additional features that allow you to customize how your browsing history is displayed. You can choose to view your history by date, site, or visit frequency, providing flexibility in how you interact with and manage your browsing activity.
Accessing the History menu in Safari is a fundamental step in the process of clearing your search history, granting you visibility and control over your browsing activity. By familiarizing yourself with the various methods of accessing the History menu, you can efficiently navigate your browsing history and proceed to the next steps of managing and maintaining your digital footprint within the Safari browser on your Mac.
Step 3: Clear History and Website Data
Once you have accessed the History menu in Safari, the next crucial step in clearing your search history on Safari for Mac involves clearing both your browsing history and website data. This process ensures that not only your visited websites are removed from the history log, but also any stored data related to those sites, such as cookies, cached files, and other browsing information. By clearing both history and website data, you can comprehensively manage your browsing privacy and maintain a clutter-free digital footprint.
Here's how you can effectively clear your history and website data in Safari for Mac:
-
Navigate to the History Menu: If you haven't already accessed the History menu, refer to the previous step to ensure you are in the appropriate section of the Safari browser.
-
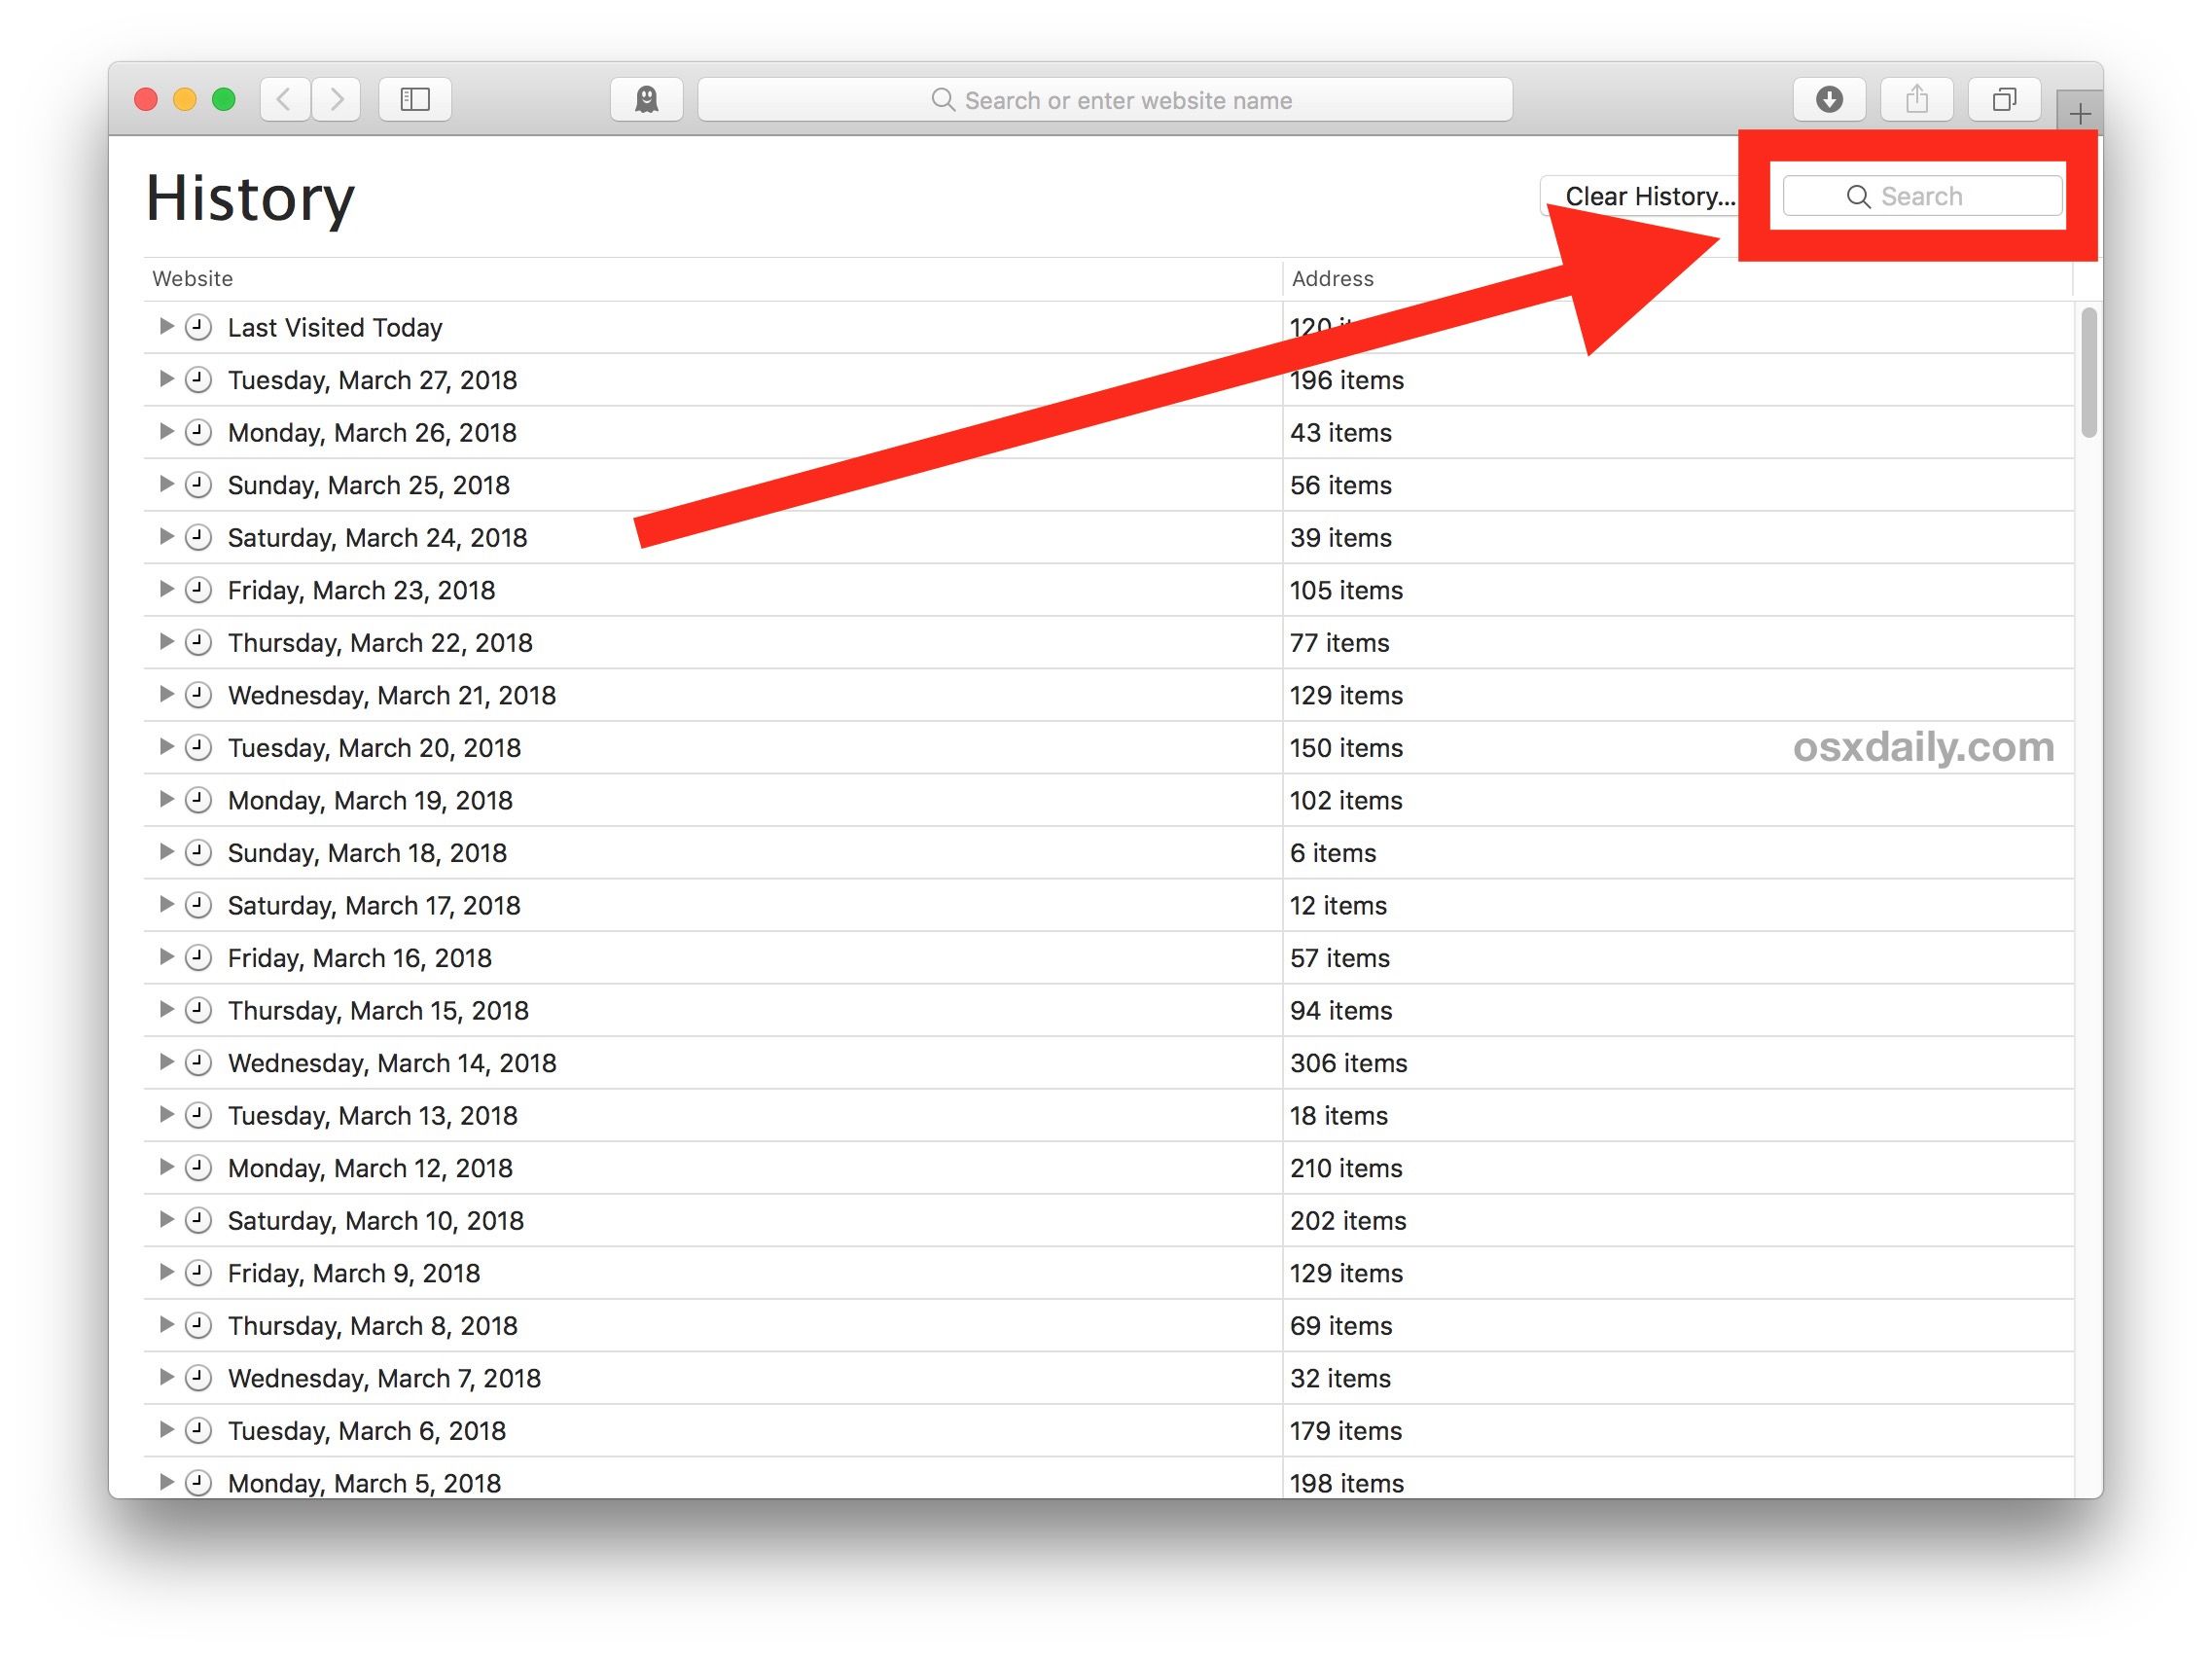
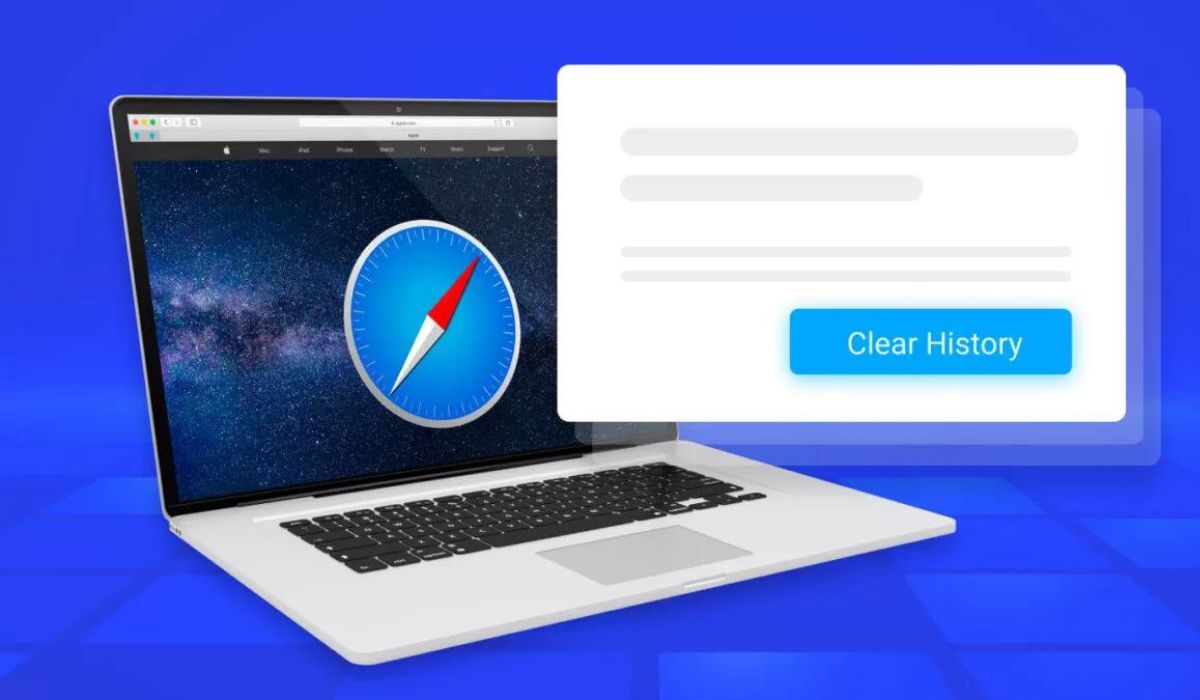
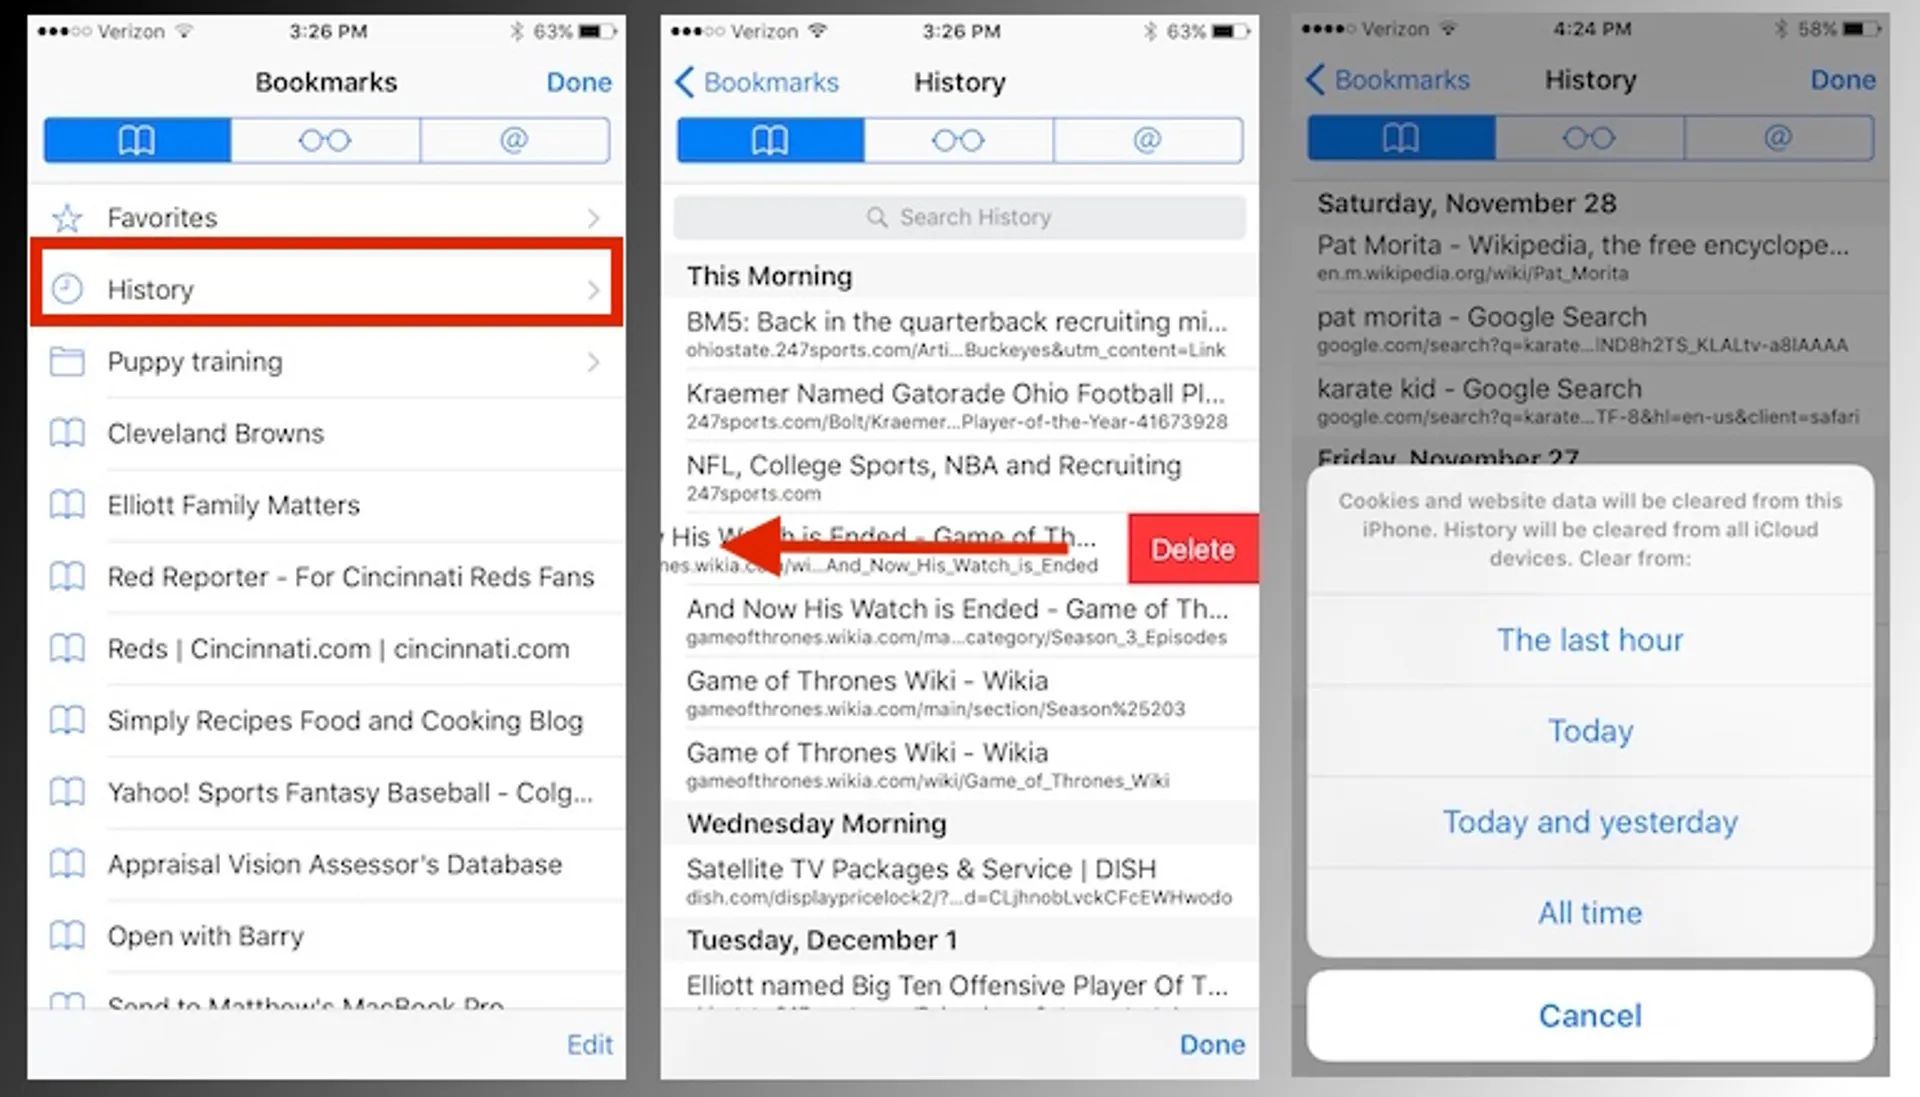
Select 'Clear History': Within the History menu, you will find the option to 'Clear History'. Click on this option to initiate the process of clearing your browsing history and website data. A dialog box will appear, allowing you to specify the time range for which you want to clear your history. You can choose to clear history from the last hour, today, today and yesterday, or all history. Select the desired time range based on your preferences and browsing habits.
-
Confirm the Clearing Process: After selecting the time range, click on the 'Clear History' button within the dialog box. Safari will then proceed to clear your browsing history and website data based on the specified time range. This action effectively removes the selected browsing history and associated website data from your Safari browser, ensuring that your privacy is maintained and your browsing experience remains streamlined.
By following these steps, you can confidently clear your browsing history and website data in Safari for Mac, empowering you to take control of your digital privacy and maintain a clean browsing environment. Regularly clearing your history and website data is a proactive measure that contributes to a secure and seamless browsing experience, allowing you to enjoy the benefits of Safari while safeguarding your personal information.
Step 4: Confirm Clearing History
After initiating the process of clearing your browsing history and website data in Safari for Mac, it is essential to confirm the clearing action to ensure that your selected history is successfully removed from the browser. The confirmation step provides a final checkpoint, allowing you to verify that your browsing history has been cleared according to your preferences. By confirming the clearing of history, you can gain peace of mind knowing that your digital footprint has been effectively managed and your privacy maintained.
Upon completing the previous steps to select the time range and initiate the clearing process, Safari will promptly execute the action based on your specifications. Once the clearing process is underway, a confirmation message will typically appear, indicating that your history and website data have been successfully cleared. This message serves as a reassurance that the selected browsing history has been removed from the browser's records, aligning with your intention to maintain a clean and private browsing environment.
In the confirmation message, Safari may provide a brief summary of the cleared history, such as the time range for which the history was cleared. This summary serves as a transparent acknowledgment of the executed action, offering clarity regarding the specific browsing data that has been removed. By presenting this summary, Safari ensures that users are informed about the impact of the clearing action, fostering transparency and accountability in managing browsing history and website data.
Upon receiving the confirmation message, you can confidently proceed with your browsing activities, knowing that your selected history has been successfully cleared from Safari for Mac. This confirmation step marks the culmination of the clearing process, signifying the proactive measures taken to maintain privacy and streamline the browsing experience. With a clutter-free digital footprint and enhanced privacy protection, you can continue to explore the web with confidence, knowing that your browsing history is managed in accordance with your preferences.
By confirming the clearing of history in Safari for Mac, you affirm your commitment to maintaining a secure and personalized browsing environment. This final step in the clearing process reinforces the importance of actively managing your digital footprint, empowering you to enjoy the benefits of Safari while upholding your privacy and security standards.