Introduction
Clearing your browsing history on Safari can be a simple yet essential task to maintain your privacy and keep your browsing experience fresh. Whether you want to remove traces of your online activity or simply declutter your browser, knowing how to clear your browsing history in Safari is a valuable skill. This process can be particularly useful when using a shared device or when you want to ensure that your browsing habits remain private.
In this guide, we will walk you through the step-by-step process of clearing your browsing history on Safari. By following these instructions, you can effectively remove the record of websites you've visited, searches you've conducted, and other browsing data from your Safari browser. This not only helps protect your privacy but also ensures that your browser runs smoothly without the burden of excessive stored data.
Whether you're using Safari on your Mac, iPhone, or iPad, the steps for clearing your browsing history remain consistent. By familiarizing yourself with this process, you can take control of your browsing data and enjoy a more streamlined and private browsing experience. So, let's dive into the simple yet impactful steps to clear your browsing history on Safari and take charge of your online privacy and browsing habits.
Step 1: Open Safari Browser
To begin the process of clearing your browsing history on Safari, you first need to open the Safari browser on your device. Whether you are using a Mac, iPhone, or iPad, the steps to open Safari are straightforward and consistent across devices.
Mac:
If you are using a Mac, you can easily open Safari by locating the Safari icon in your applications folder or by clicking on the Safari icon in your dock. Alternatively, you can use Spotlight Search by pressing Command + Space and typing "Safari" to quickly locate and open the browser.
Once Safari is open, you will see the familiar browser interface, including the address bar, bookmarks bar, and other navigation tools. This is where you will initiate the process of clearing your browsing history.
iPhone or iPad:
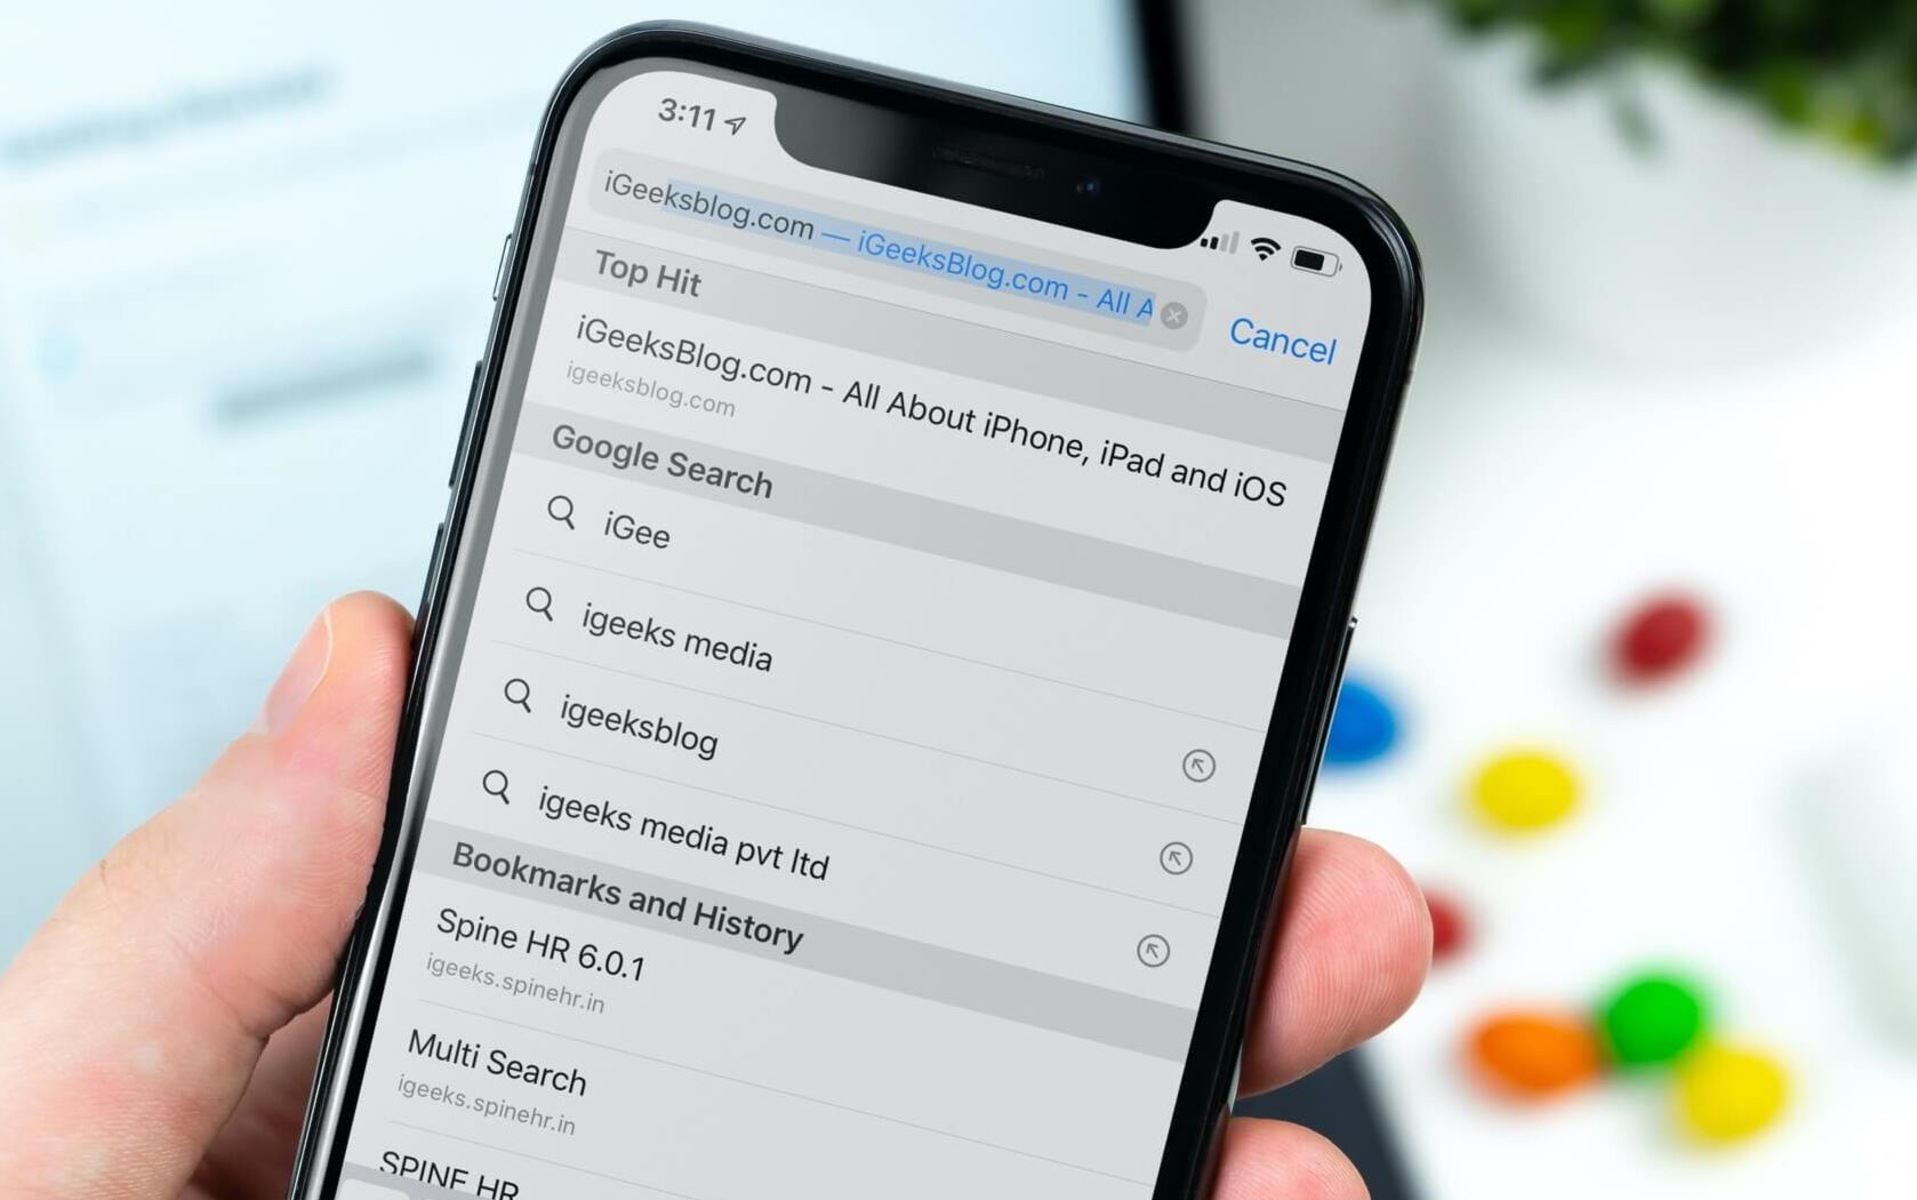
If you are using an iPhone or iPad, you can open Safari by tapping on the Safari icon on your home screen. Alternatively, you can use the search function by swiping down on your home screen and typing "Safari" to quickly locate and open the browser.
Upon opening Safari on your iPhone or iPad, you will be greeted with the Safari interface, which includes the address bar, tabs, and other browsing tools. This is where you will proceed to the next steps to clear your browsing history.
By ensuring that Safari is open and ready for use on your device, you have taken the first step towards managing your browsing history effectively. With Safari at your fingertips, you are now prepared to access your browsing history and initiate the process of clearing it to maintain your privacy and optimize your browsing experience.
Step 2: Access History
Accessing your browsing history in Safari is a fundamental step in the process of clearing it. By navigating to the history section, you can review your past browsing activity and proceed to remove specific entries or clear your entire browsing history. Whether you're using Safari on a Mac, iPhone, or iPad, the steps to access your browsing history are consistent and user-friendly.
Mac:
To access your browsing history in Safari on a Mac, you can utilize the following methods:
-
Menu Bar: At the top of your screen, you will find the menu bar. Click on the "History" option in the menu bar to reveal a dropdown menu. From this menu, you can select "Show All History" to access a comprehensive view of your browsing history.
-
Keyboard Shortcut: Alternatively, you can use the keyboard shortcut "Command + Y" to quickly access your browsing history in Safari.
Upon accessing your browsing history, you will be presented with a chronological list of websites you've visited, organized by date and time. This allows you to review your browsing activity and proceed to clear specific entries or your entire browsing history as needed.
iPhone or iPad:
Accessing your browsing history in Safari on an iPhone or iPad follows a straightforward process:
-
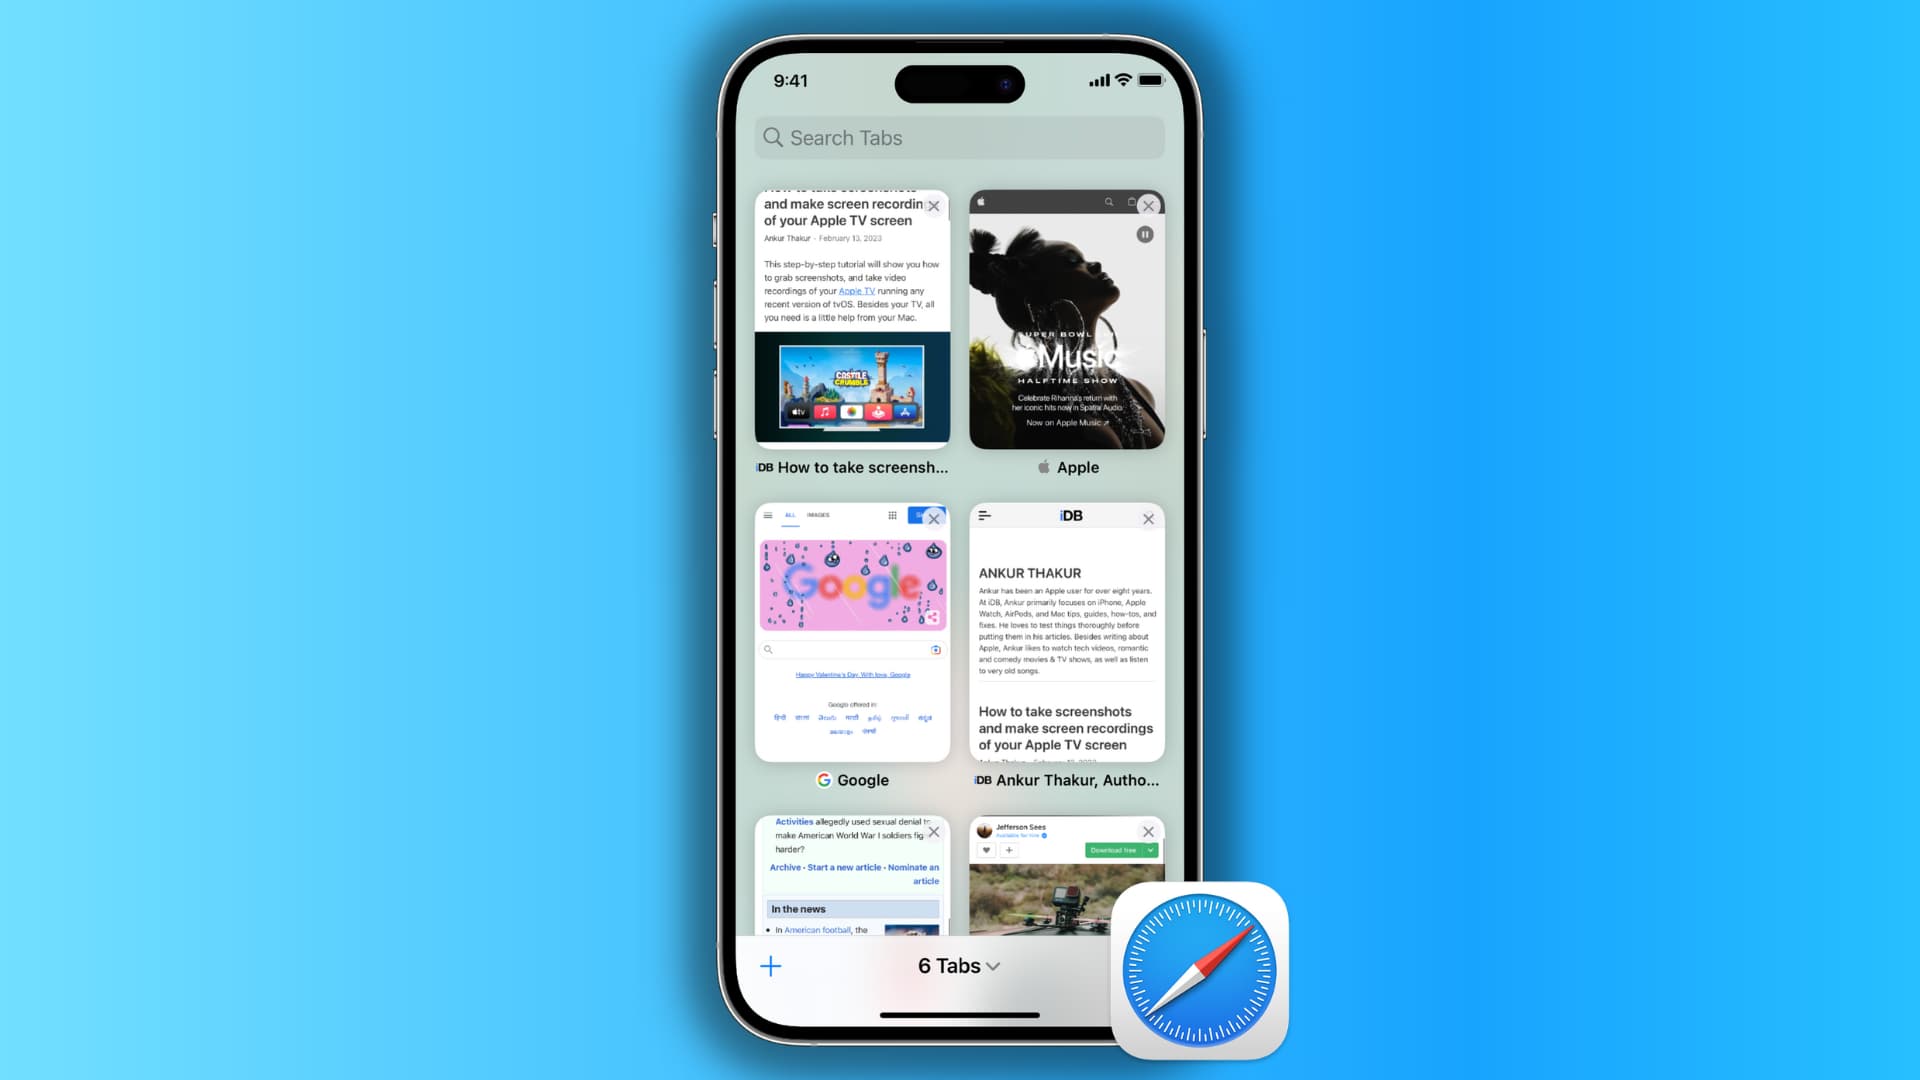
Tab View: While in Safari, tap the icon resembling two overlapping squares in the bottom right corner of the screen to access the tab view.
-
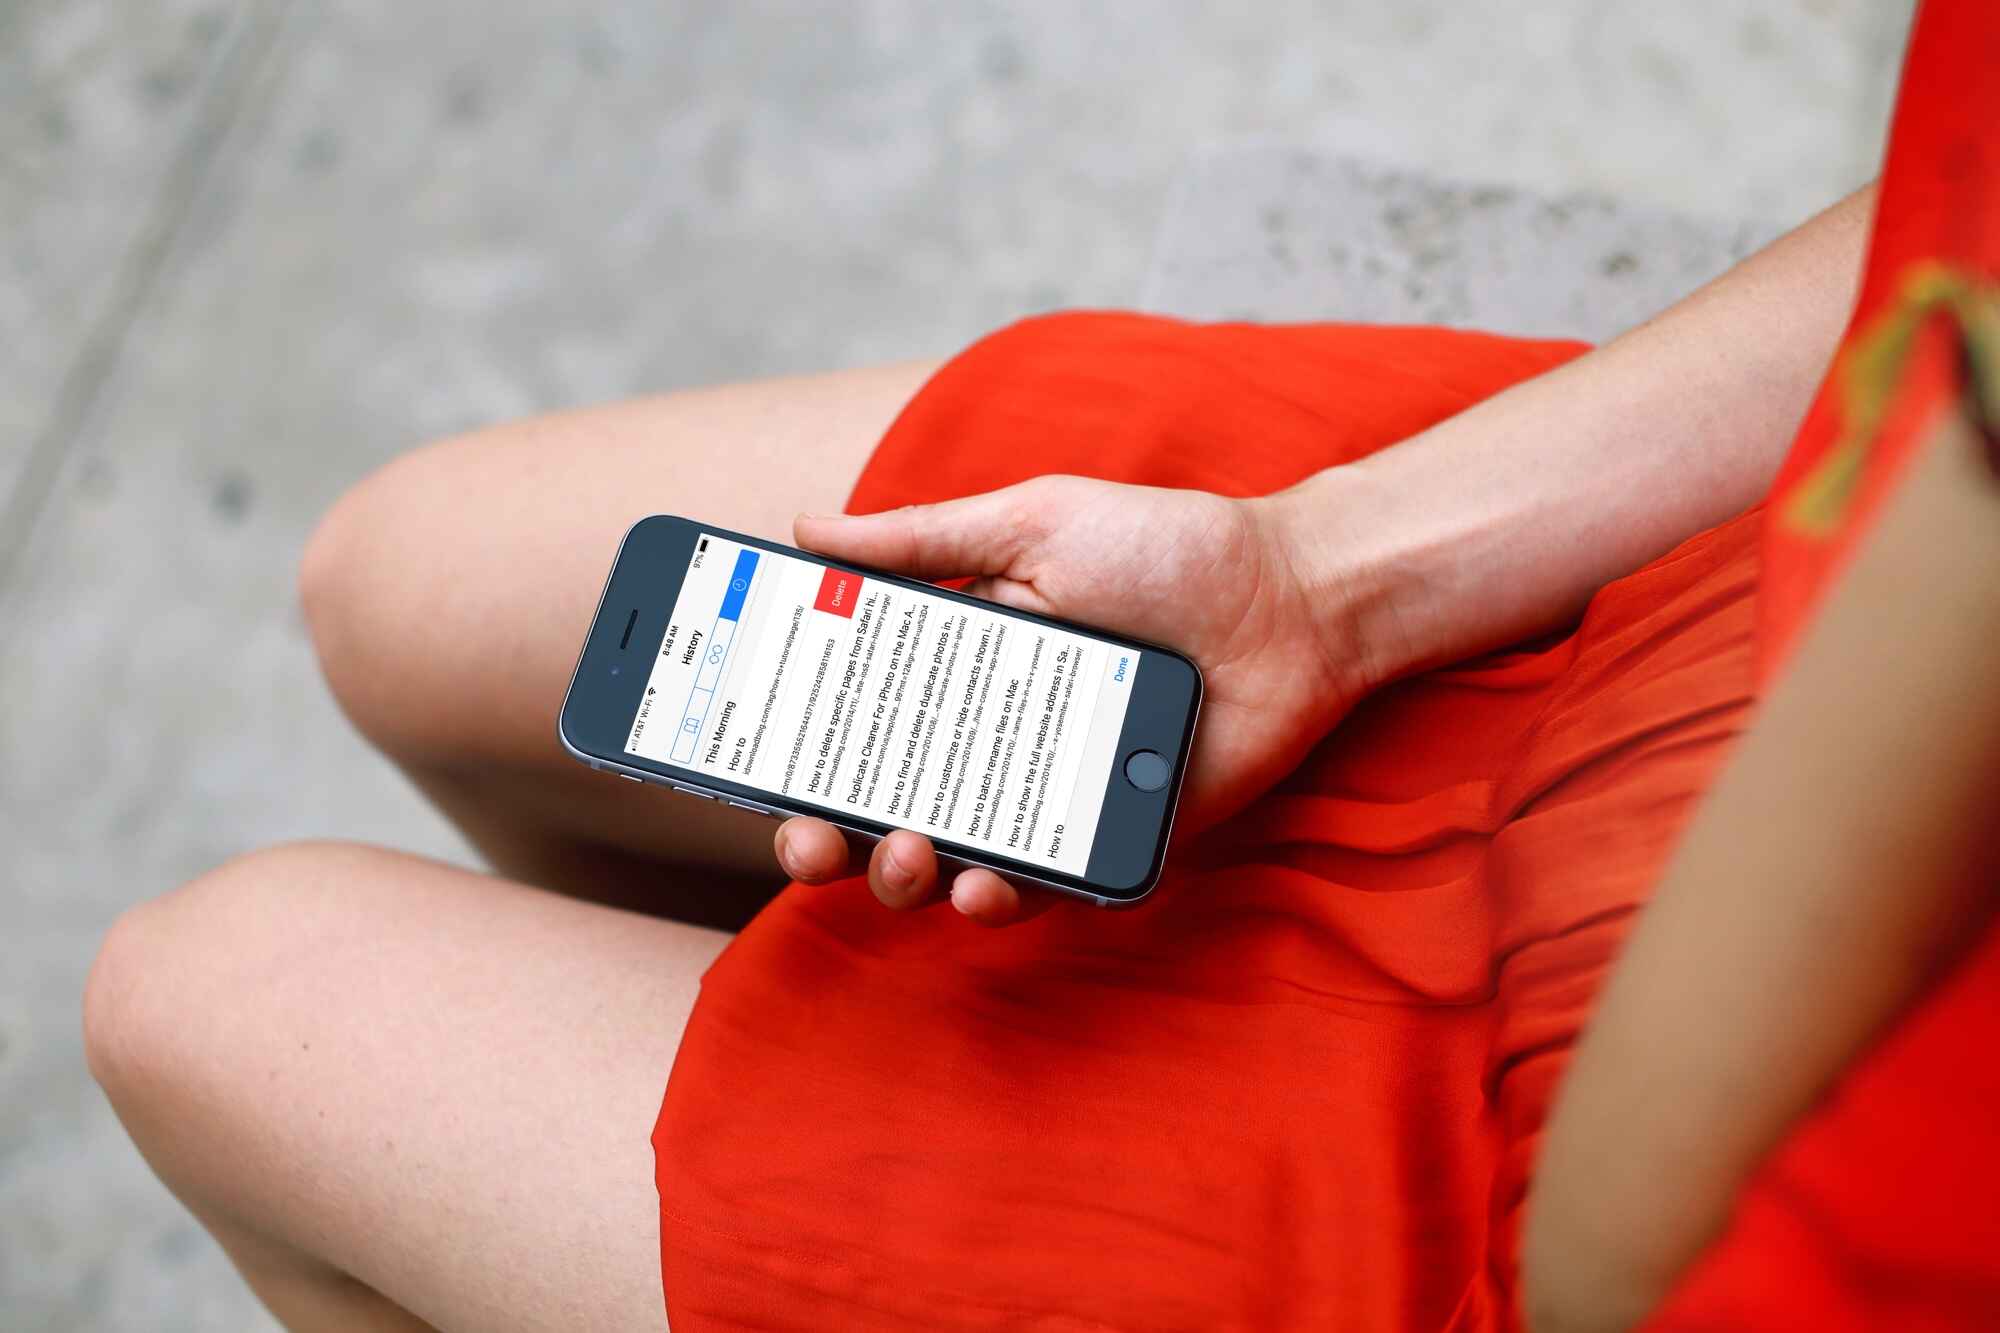
Clock Icon: Within the tab view, tap the clock icon located in the top right corner. This will reveal your browsing history, displaying a list of websites you've visited.
By accessing your browsing history, you gain insight into your past online activity and can proceed to manage this data by clearing specific entries or your entire browsing history. This step sets the stage for maintaining your privacy and optimizing your browsing experience on Safari.
Whether you're using Safari on a Mac, iPhone, or iPad, accessing your browsing history is a pivotal step in the process of managing your online activity. By familiarizing yourself with this step, you can effectively review and control your browsing history, ensuring that your online privacy remains safeguarded and your browsing experience remains tailored to your preferences.
Step 3: Clear History
Once you have accessed your browsing history in Safari, the next crucial step is to clear this data to maintain your privacy and optimize your browsing experience. Whether you want to remove specific entries or clear your entire browsing history, Safari offers user-friendly options to accomplish this task efficiently.
Mac:
To clear your browsing history in Safari on a Mac, you can follow these simple steps:
-
Menu Bar:
- In the menu bar at the top of your screen, click on the "History" option.
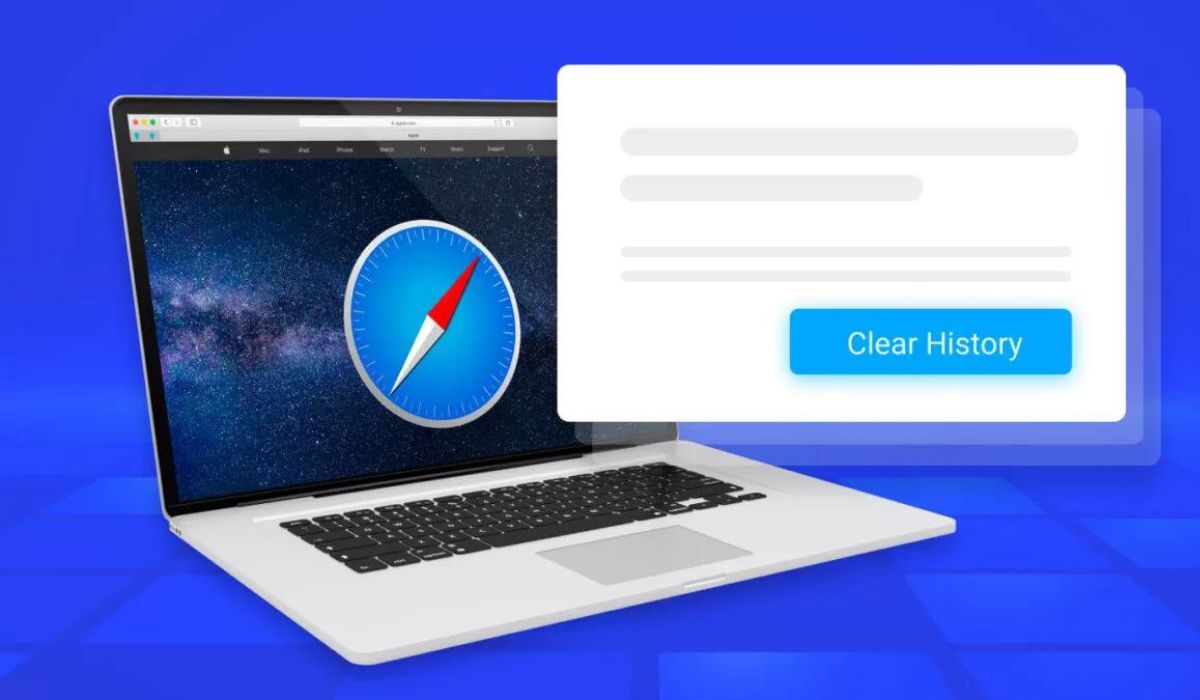
- From the dropdown menu, select "Clear History" to initiate the process of clearing your browsing history.
- A dialog box will appear, allowing you to choose the timeframe for which you want to clear your history, such as the last hour, today, today and yesterday, or all history.
- After selecting your preferred timeframe, click on "Clear History" to confirm and proceed with clearing your browsing history.
-
Keyboard Shortcut:
- Alternatively, you can use the keyboard shortcut "Command + Shift + Delete" to directly access the dialog box for clearing your browsing history.
iPhone or iPad:
Clearing your browsing history in Safari on an iPhone or iPad involves the following steps:
-
Tab View:
- While in Safari, tap the icon resembling two overlapping squares in the bottom right corner of the screen to access the tab view.
- Within the tab view, tap the clock icon located in the top right corner to reveal your browsing history.
-
Clear History:
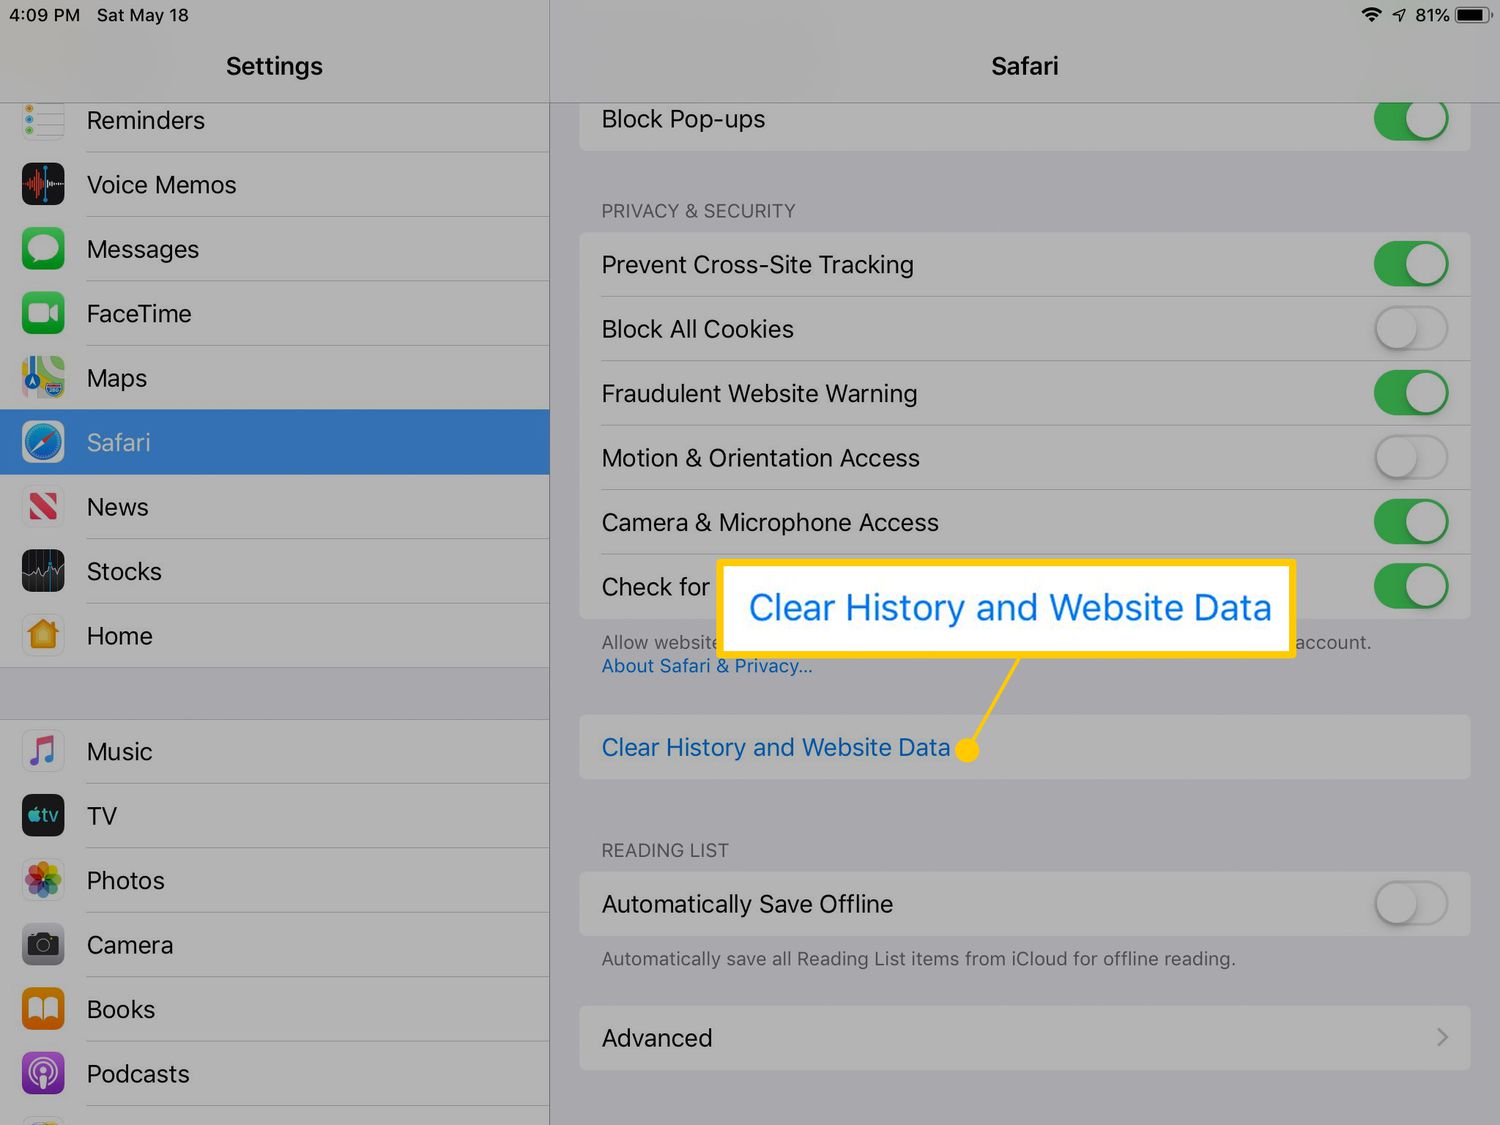
- To clear your browsing history, tap "Clear" at the bottom right of the browsing history interface.
- A prompt will appear, asking if you want to clear your history. Tap "Clear History" to confirm and proceed with clearing your browsing history.
By following these steps, you can effectively clear your browsing history on Safari, ensuring that your online activity remains private and your browser stays uncluttered. Whether you're using Safari on a Mac, iPhone, or iPad, the process of clearing your browsing history is designed to be intuitive and accessible, empowering you to take control of your online privacy and browsing habits.
Clearing your browsing history in Safari is a proactive step towards managing your online footprint and maintaining a streamlined browsing experience. By familiarizing yourself with the process of clearing your browsing history, you can confidently navigate Safari while prioritizing your privacy and optimizing your digital interactions.
Step 4: Confirm Clearing History
After initiating the process of clearing your browsing history on Safari, it is essential to confirm the action to ensure that your browsing data is effectively removed. This confirmation step provides an additional layer of control, allowing you to verify the clearance of your browsing history and proceed with confidence in managing your online privacy.
Mac:
Upon selecting the option to clear your browsing history in Safari on a Mac, a dialog box will appear, presenting you with the choice of the timeframe for which you want to clear your history. This timeframe can range from the last hour to all history, providing flexibility in managing your browsing data. Once you have chosen your preferred timeframe, clicking on "Clear History" confirms the action and initiates the process of clearing your browsing history.
iPhone or iPad:
When clearing your browsing history in Safari on an iPhone or iPad, a prompt will appear after selecting the "Clear History" option. This prompt serves as a confirmation step, ensuring that you are intentional about clearing your browsing history. By tapping "Clear History" within the prompt, you confirm the action and proceed to clear your browsing history effectively.
By confirming the clearance of your browsing history, you actively participate in managing your online privacy and maintaining a clutter-free browsing experience. This deliberate confirmation step empowers you to take control of your browsing data, ensuring that your online activity remains private and your browsing habits align with your preferences.
Whether you are using Safari on a Mac, iPhone, or iPad, the confirmation step for clearing your browsing history is designed to provide clarity and assurance. By confirming the clearance of your browsing history, you can navigate Safari with the confidence that your online privacy is prioritized and your browsing experience is tailored to your preferences.
By following through with the confirmation step, you complete the process of clearing your browsing history, allowing you to enjoy a fresh start in your online interactions. This final confirmation ensures that your browsing history is effectively cleared, providing you with peace of mind and control over your digital footprint.
Conclusion
In conclusion, mastering the art of clearing your browsing history on Safari empowers you to take charge of your online privacy and browsing experience. By following the simple yet impactful steps outlined in this guide, you can effectively manage your browsing history on Safari, whether you are using a Mac, iPhone, or iPad. Clearing your browsing history not only safeguards your privacy but also ensures that your browser runs smoothly without the burden of excessive stored data.
By opening Safari and accessing your browsing history, you gain valuable insight into your past online activity, allowing you to review and manage this data according to your preferences. Whether you choose to clear specific entries or your entire browsing history, Safari offers user-friendly options to accomplish this task efficiently.
The confirmation step after initiating the process of clearing your browsing history provides an additional layer of control, ensuring that your browsing data is effectively removed. This deliberate confirmation empowers you to take control of your online privacy, maintaining a clutter-free browsing experience aligned with your preferences.
By familiarizing yourself with the process of clearing your browsing history, you actively participate in managing your online privacy and maintaining a streamlined browsing experience. Whether you are clearing your browsing history to protect your privacy, declutter your browser, or simply start fresh, the ability to navigate Safari with confidence and control over your digital footprint is invaluable.
In a digital age where privacy and data management are paramount, knowing how to clear your browsing history on Safari is a valuable skill. By incorporating these steps into your browsing routine, you can navigate Safari with the assurance that your online privacy is prioritized and your browsing experience is tailored to your preferences.
Ultimately, by mastering the process of clearing your browsing history on Safari, you can enjoy a fresh start in your online interactions, ensuring that your browsing habits remain private and your browser operates efficiently. This proactive approach to managing your browsing history aligns with the evolving landscape of digital privacy, empowering you to navigate Safari with confidence and control over your online footprint.