Introduction
When it comes to browsing the web, Safari stands out as one of the most popular and user-friendly web browsers for Apple devices. Whether you're using Safari on your iPhone, iPad, or Mac, your browsing history can accumulate over time, revealing a trail of websites you've visited. While this history can be useful for quickly revisiting previously viewed sites, there are times when you might want to clear it for privacy or performance reasons.
Clearing your browsing history in Safari can help protect your privacy by removing any record of the websites you've visited. Additionally, it can free up storage space and potentially improve the browser's performance. Whether you're looking to erase a specific site from your history or wipe the slate clean entirely, Safari provides the tools to accomplish this task with ease.
In this guide, we'll walk you through the step-by-step process of deleting your browsing history on Safari. Whether you're using a Mac, iPhone, or iPad, the steps are relatively similar, making it convenient to manage your browsing history across different Apple devices. By the end of this tutorial, you'll have a clear understanding of how to effectively clear your browsing history and website data on Safari, ensuring a clean and private browsing experience. Let's dive in and explore the simple yet essential steps to achieve this.
Step 1: Open Safari
To begin the process of clearing your browsing history on Safari, you first need to open the Safari browser on your Apple device. Whether you're using a Mac, iPhone, or iPad, the steps to open Safari are straightforward and consistent across different devices.
On Mac:
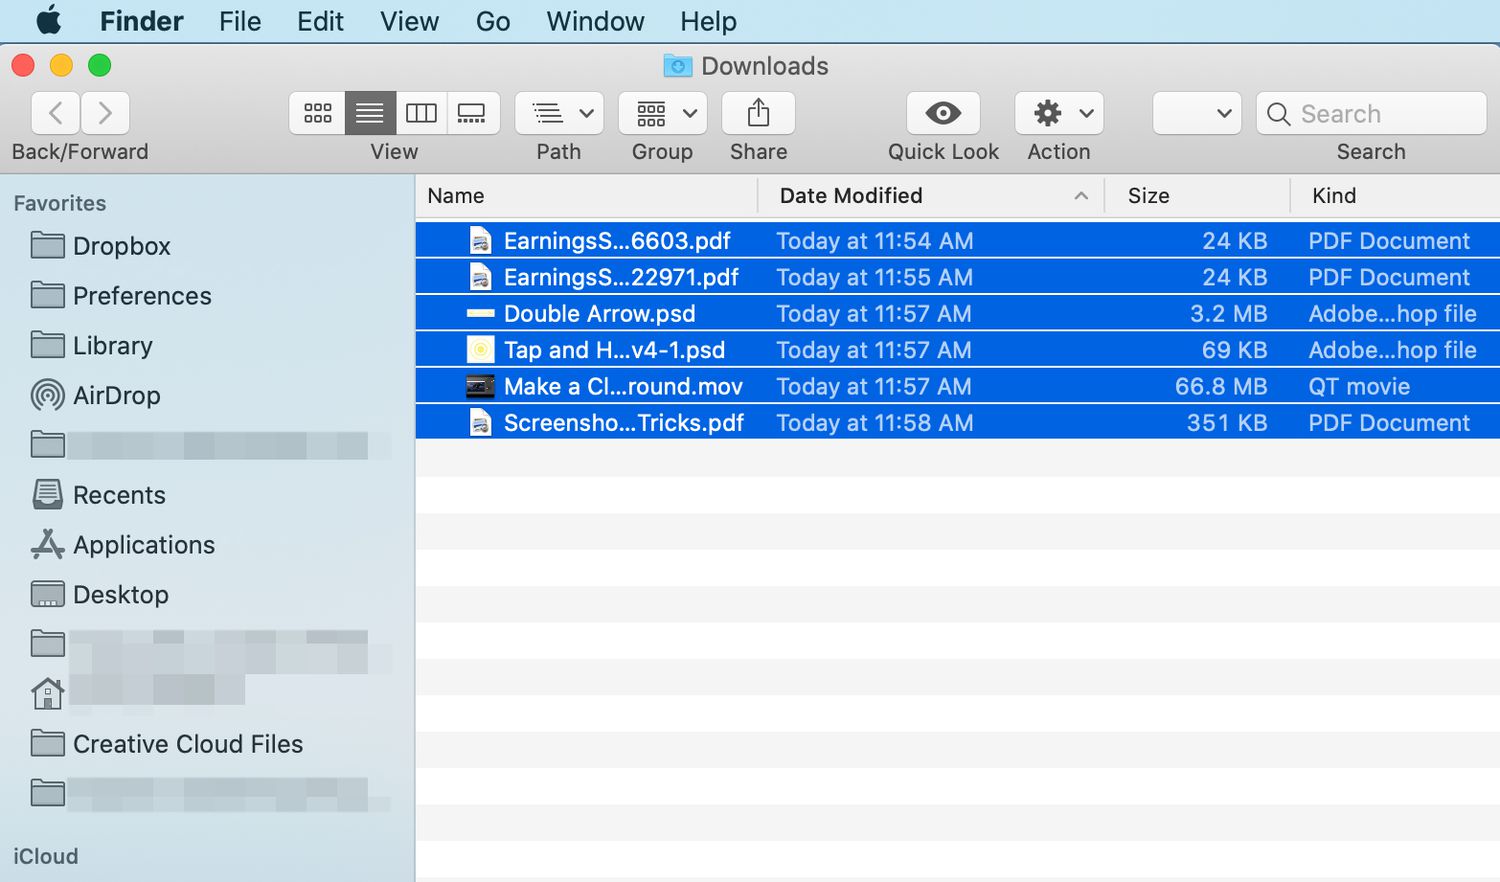
If you're using a Mac, you can easily open Safari by clicking on the Safari icon located in the Dock at the bottom of the screen. Alternatively, you can access Safari from the Applications folder in Finder. Simply navigate to the Applications folder, locate the Safari icon, and double-click to launch the browser.
On iPhone or iPad:
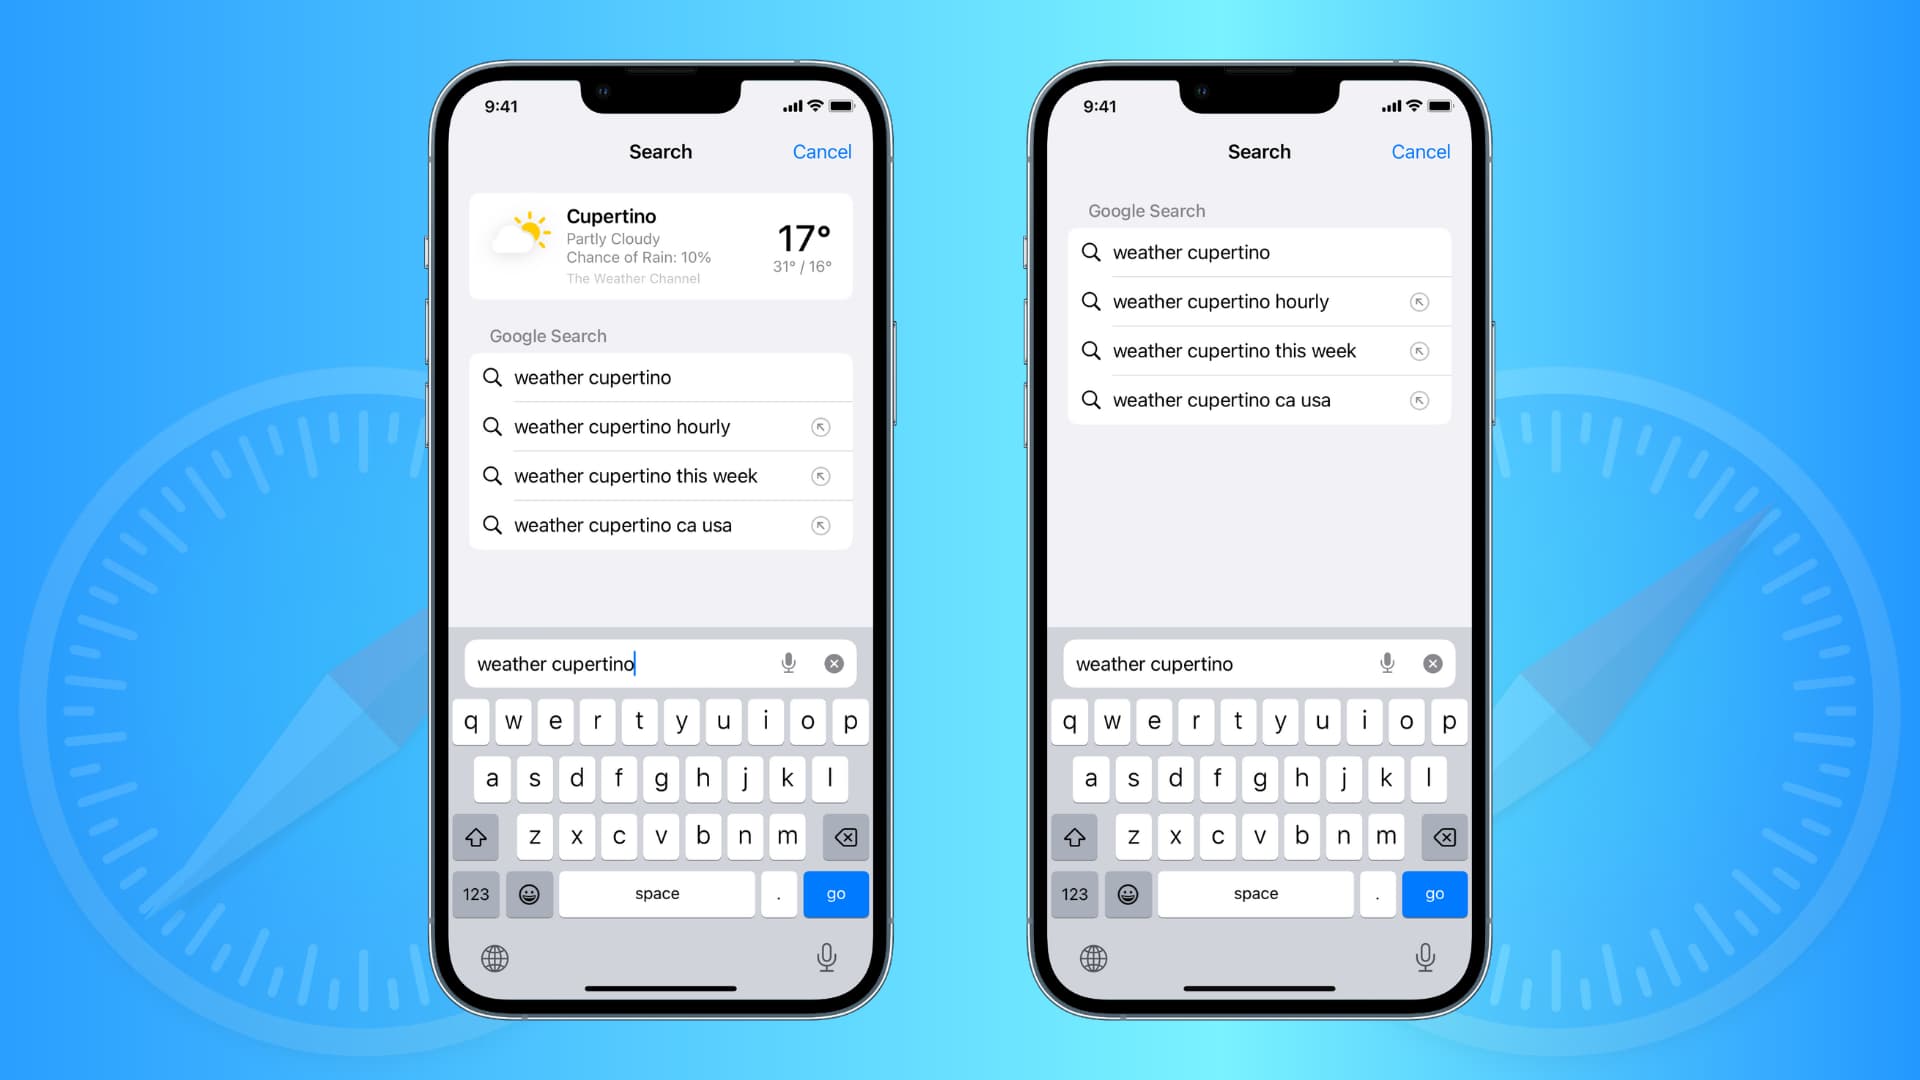
For iPhone or iPad users, opening Safari is as simple as tapping on the Safari icon on your home screen. The Safari icon typically features a compass design and is easily recognizable among your other apps. Once you tap the Safari icon, the browser will launch, and you'll be ready to proceed with the next steps to clear your browsing history.
Upon opening Safari, you'll be greeted by the familiar interface, featuring the address bar, bookmarks, and tabs. With Safari now open on your device, you're ready to move on to the next step in the process of clearing your browsing history and website data.
Opening Safari is the initial step in the process of managing your browsing history, and it sets the stage for the subsequent actions you'll take to ensure a clean and private browsing experience. With Safari launched on your device, you're now prepared to access your browsing history and take the necessary steps to clear it, thereby safeguarding your privacy and optimizing your browsing experience.
Step 2: Access the History
Accessing your browsing history in Safari is a fundamental step in the process of managing and clearing your browsing data. Whether you're looking to revisit a previously viewed website or delete specific entries from your history, Safari provides a seamless way to access this information across different Apple devices.
On Mac:
To access your browsing history in Safari on a Mac, you can utilize the browser's intuitive interface. At the top of the Safari window, you'll find the address bar, which also serves as a gateway to your browsing history. Simply click on the address bar, and a dropdown menu will appear, displaying your frequently visited sites and the option to view your full browsing history.
By selecting "Show All History" from the dropdown menu, a new window will open, presenting a comprehensive view of your browsing history. Here, you can browse through your visited sites, organized by date, and easily locate specific entries that you may want to remove. This accessibility allows for efficient management of your browsing history, empowering you to take control of your online privacy.
On iPhone or iPad:
For users of Safari on iPhone or iPad, accessing the browsing history is equally straightforward. Upon launching Safari on your iOS device, you can tap the address bar at the top of the screen. This action will reveal your frequently visited sites, along with the option to "Show All History" at the bottom of the list.
Tapping on "Show All History" will present you with a chronological list of the websites you've visited, allowing you to scroll through and locate specific entries. This user-friendly approach to accessing browsing history on iOS devices ensures that you can easily manage and clear your history whenever the need arises.
By accessing your browsing history in Safari, you gain visibility into the sites you've visited, empowering you to make informed decisions about managing this data. Whether you're looking to revisit a past site or remove specific entries, Safari's accessible history feature puts the control in your hands, enabling you to maintain a clean and private browsing experience across your Apple devices.
Step 3: Clear History and Website Data
Once you've accessed your browsing history in Safari, the next crucial step is to clear this data, ensuring that your online activities remain private and secure. Safari provides a straightforward method to accomplish this, allowing you to remove your browsing history and website data with ease.
On Mac:
To clear your browsing history and website data on a Mac, you can utilize the intuitive options within Safari. With the history window open, navigate to the top menu and click on "History." A dropdown menu will appear, presenting various options, including "Clear History." Clicking on "Clear History" will prompt a dialog box to appear, allowing you to select the time range for which you want to clear your history. You can choose to clear the history from the last hour, today, today and yesterday, or all history. Once you've made your selection, click "Clear History" to confirm the deletion. Additionally, Safari provides the option to clear website data, which includes cookies and cached files. To do this, navigate to "Safari" in the top menu, select "Preferences," go to the "Privacy" tab, and click on "Manage Website Data." Here, you can remove specific website data or choose to clear all data, further enhancing your privacy and security.
On iPhone or iPad:
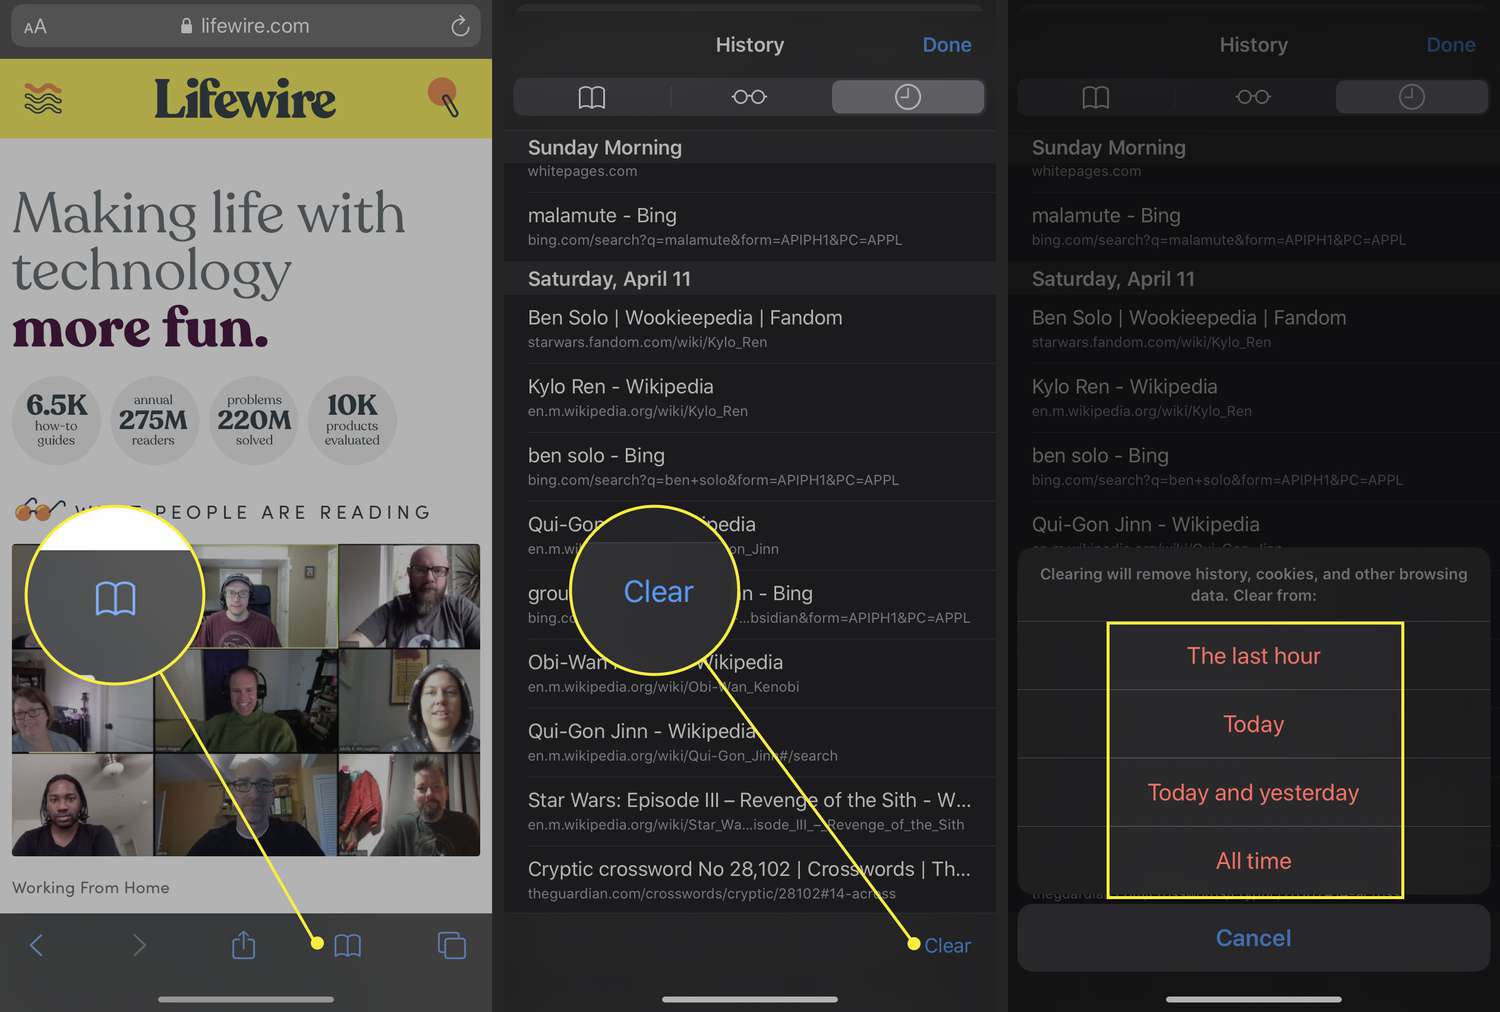
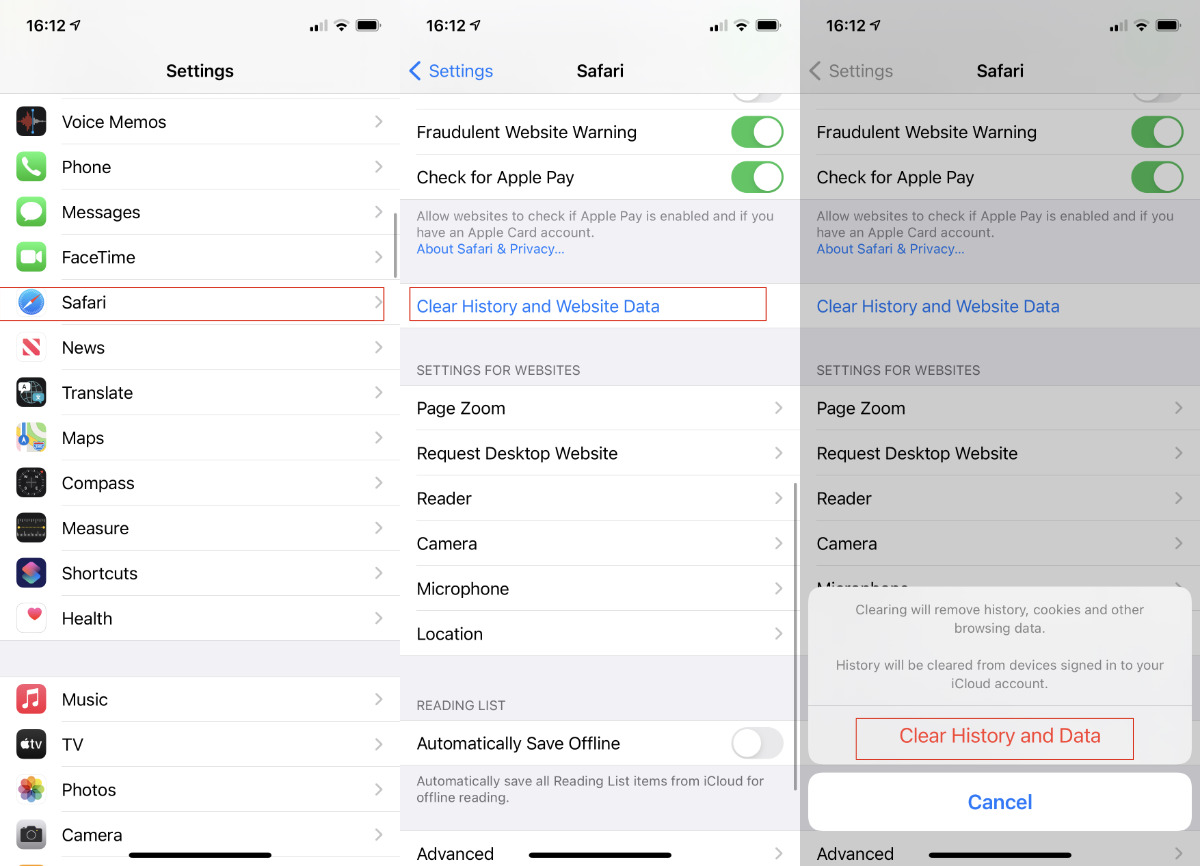
For users of Safari on iPhone or iPad, the process of clearing history and website data is equally straightforward. After accessing your browsing history, tap the "Clear" button at the bottom of the history list. A dialog box will appear, allowing you to confirm the deletion of your browsing history. Additionally, you can clear website data by going to "Settings" on your iOS device, scrolling down to find "Safari," and selecting "Clear History and Website Data." This action will remove your browsing history, cookies, and other site data, ensuring a clean slate for your browsing activities.
By clearing your browsing history and website data in Safari, you take proactive steps to safeguard your privacy and maintain a clutter-free browsing experience. Whether you're using a Mac, iPhone, or iPad, the process is designed to be user-friendly and effective, empowering you to manage your online activities with confidence. With your history and website data cleared, you can enjoy a renewed sense of privacy and security as you continue to explore the web using Safari.
Step 4: Confirm Deletion
After initiating the process of clearing your browsing history and website data in Safari, it's essential to confirm the deletion to ensure that your desired actions are carried out effectively. This final step provides a crucial opportunity to review and verify the deletion of your browsing history, reaffirming your commitment to maintaining a private and secure browsing experience.
On a Mac, upon selecting the option to clear your browsing history, a dialog box will appear, prompting you to confirm the deletion. Within this dialog box, you'll have the opportunity to select the time range for which you want to clear your history, such as the last hour, today, today and yesterday, or all history. This additional confirmation step allows you to tailor the deletion based on your specific preferences, providing flexibility and control over the process.
For iPhone or iPad users, tapping the "Clear" button at the bottom of the history list initiates the deletion process. A dialog box will then appear, prompting you to confirm the deletion of your browsing history. This simple yet essential confirmation step ensures that you have the opportunity to review and validate the deletion before it takes place, adding an extra layer of assurance to the process.
By confirming the deletion of your browsing history and website data, you actively participate in maintaining the privacy and security of your online activities. This deliberate confirmation step empowers you to take ownership of your browsing history management, allowing you to proceed with confidence, knowing that your desired actions have been successfully executed.
With the deletion confirmed, you can proceed with peace of mind, knowing that your browsing history and website data have been effectively cleared from Safari. This proactive approach to managing your online privacy and security reflects your commitment to maintaining a clean and private browsing experience across your Apple devices.
Conclusion
In conclusion, managing your browsing history and website data on Safari is a fundamental aspect of maintaining a private and secure browsing experience across your Apple devices. By following the simple yet essential steps outlined in this guide, you can effectively clear your browsing history, safeguard your privacy, and optimize the performance of the Safari browser.
Clearing your browsing history in Safari empowers you to take control of your online privacy, ensuring that your web activities remain confidential. Whether you're using a Mac, iPhone, or iPad, the consistent and user-friendly approach to accessing and clearing your browsing history reflects Apple's commitment to providing a seamless and secure browsing experience for its users.
Furthermore, the ability to clear website data, including cookies and cached files, enhances your privacy and security while using Safari. By removing this stored data, you can enjoy a clutter-free browsing experience and mitigate the risk of unauthorized tracking or data collection.
The confirmation step in the deletion process adds an extra layer of assurance, allowing you to review and validate the deletion of your browsing history and website data. This deliberate confirmation empowers you to make informed decisions about managing your online activities, reinforcing your commitment to maintaining a clean and private browsing experience.
Overall, the process of clearing your browsing history on Safari is designed to be intuitive, accessible, and effective. Whether you're looking to remove specific entries from your history or clear your entire browsing history, Safari provides the tools to accomplish this task with ease.
By taking proactive steps to manage your browsing history and website data, you contribute to a safer and more secure online environment for yourself. As you continue to explore the web using Safari, the peace of mind that comes with knowing your browsing history is cleared and your privacy is protected enhances your overall browsing experience.
In essence, by following the steps outlined in this guide, you can confidently navigate the online landscape, knowing that your browsing history and website data remain under your control, ensuring a private and secure browsing experience on Safari.