Introduction
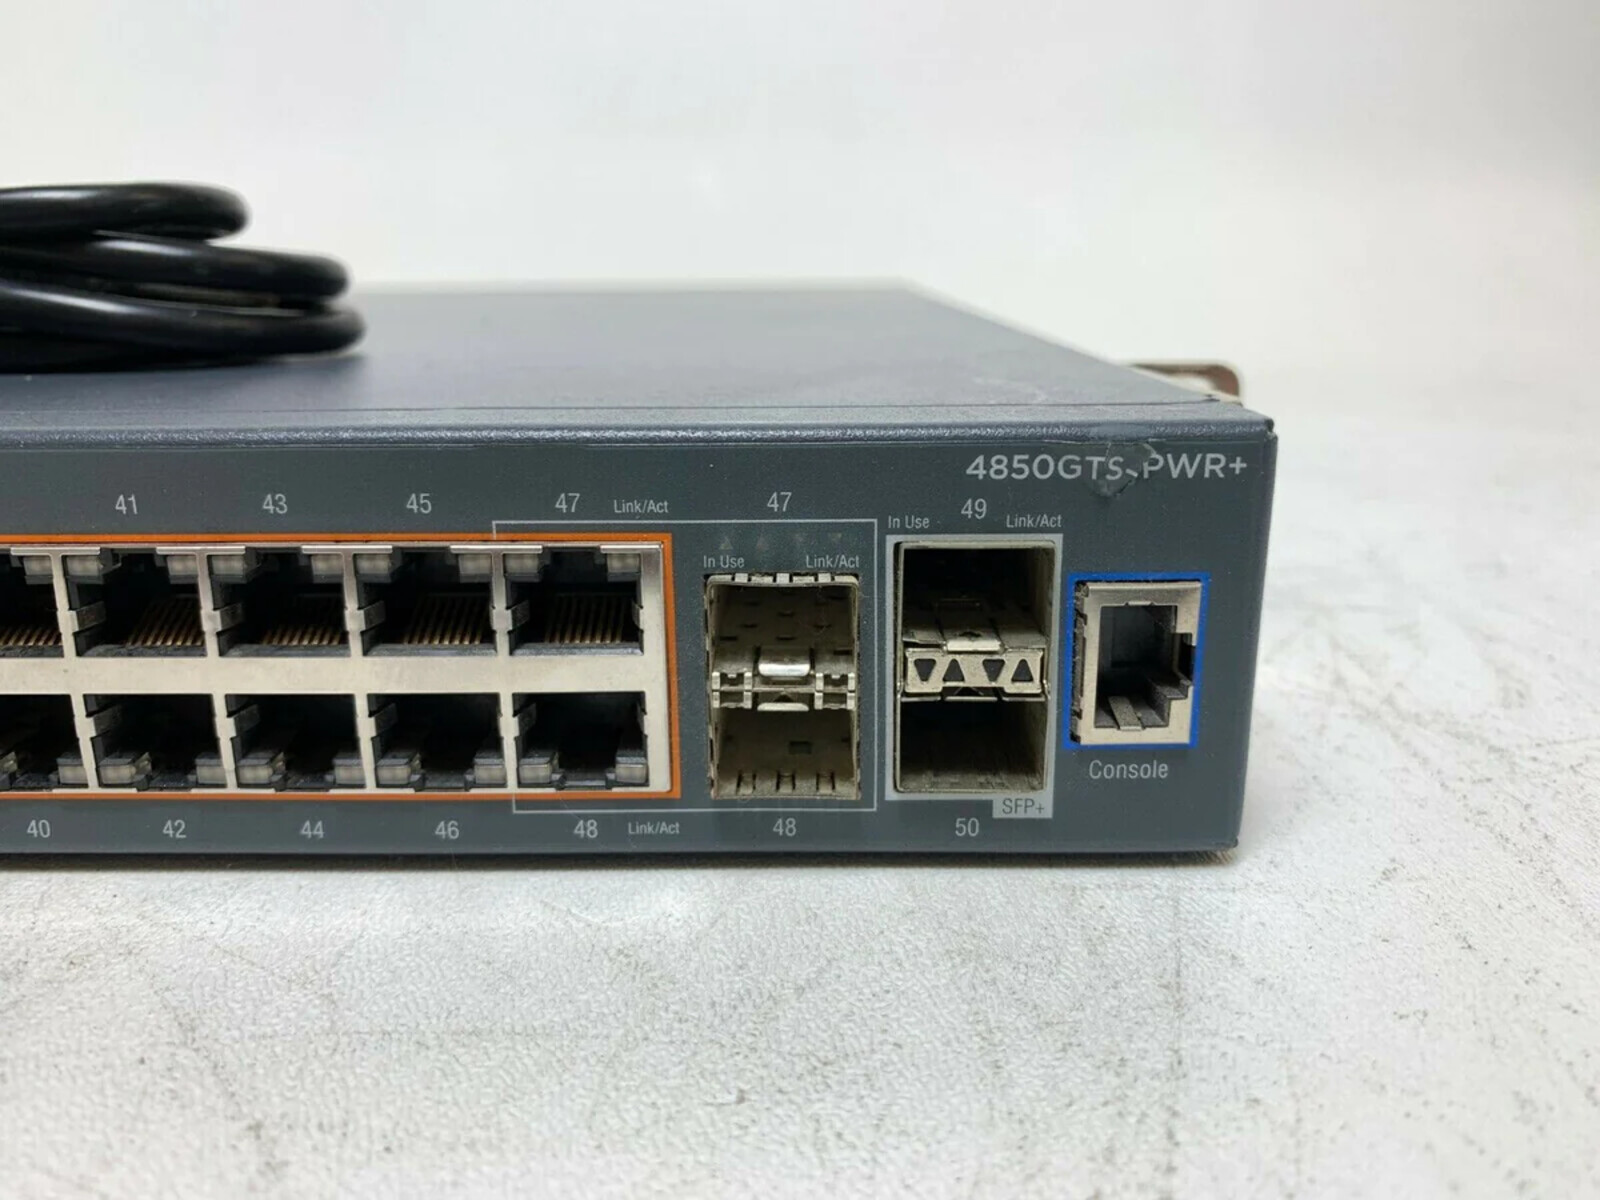
Welcome to the world of network management! Commissioning an Avaya Titan 4850GTS-PWR+ network switch using PuTTY is a crucial step in setting up and managing your network infrastructure. This process involves configuring the switch and ensuring it is ready for operation. By following the steps outlined in this guide, you will gain the knowledge and confidence to successfully commission your network switch, allowing for seamless integration into your network environment.
Commissioning a network switch involves setting it up for initial use, including configuring its settings and ensuring proper connectivity. This is a fundamental task in network administration, and understanding the process is essential for network reliability and security. The Avaya Titan 4850GTS-PWR+ network switch is a powerful and versatile device, and using PuTTY to commission it offers a flexible and efficient approach to network management.
Through this guide, you will learn how to access the network switch, configure PuTTY for SSH access, log in, and commission the switch to meet your network requirements. Additionally, you will verify the configuration to ensure that the switch is ready for operation. Whether you are a seasoned network administrator or a newcomer to the world of networking, this guide will equip you with the knowledge and skills to commission your Avaya Titan 4850GTS-PWR+ network switch using PuTTY effectively.
What You’ll Need
Before you begin the commissioning process, it’s essential to gather the necessary tools and information to ensure a smooth and successful configuration of the Avaya Titan 4850GTS-PWR+ network switch using PuTTY. Here’s what you’ll need:
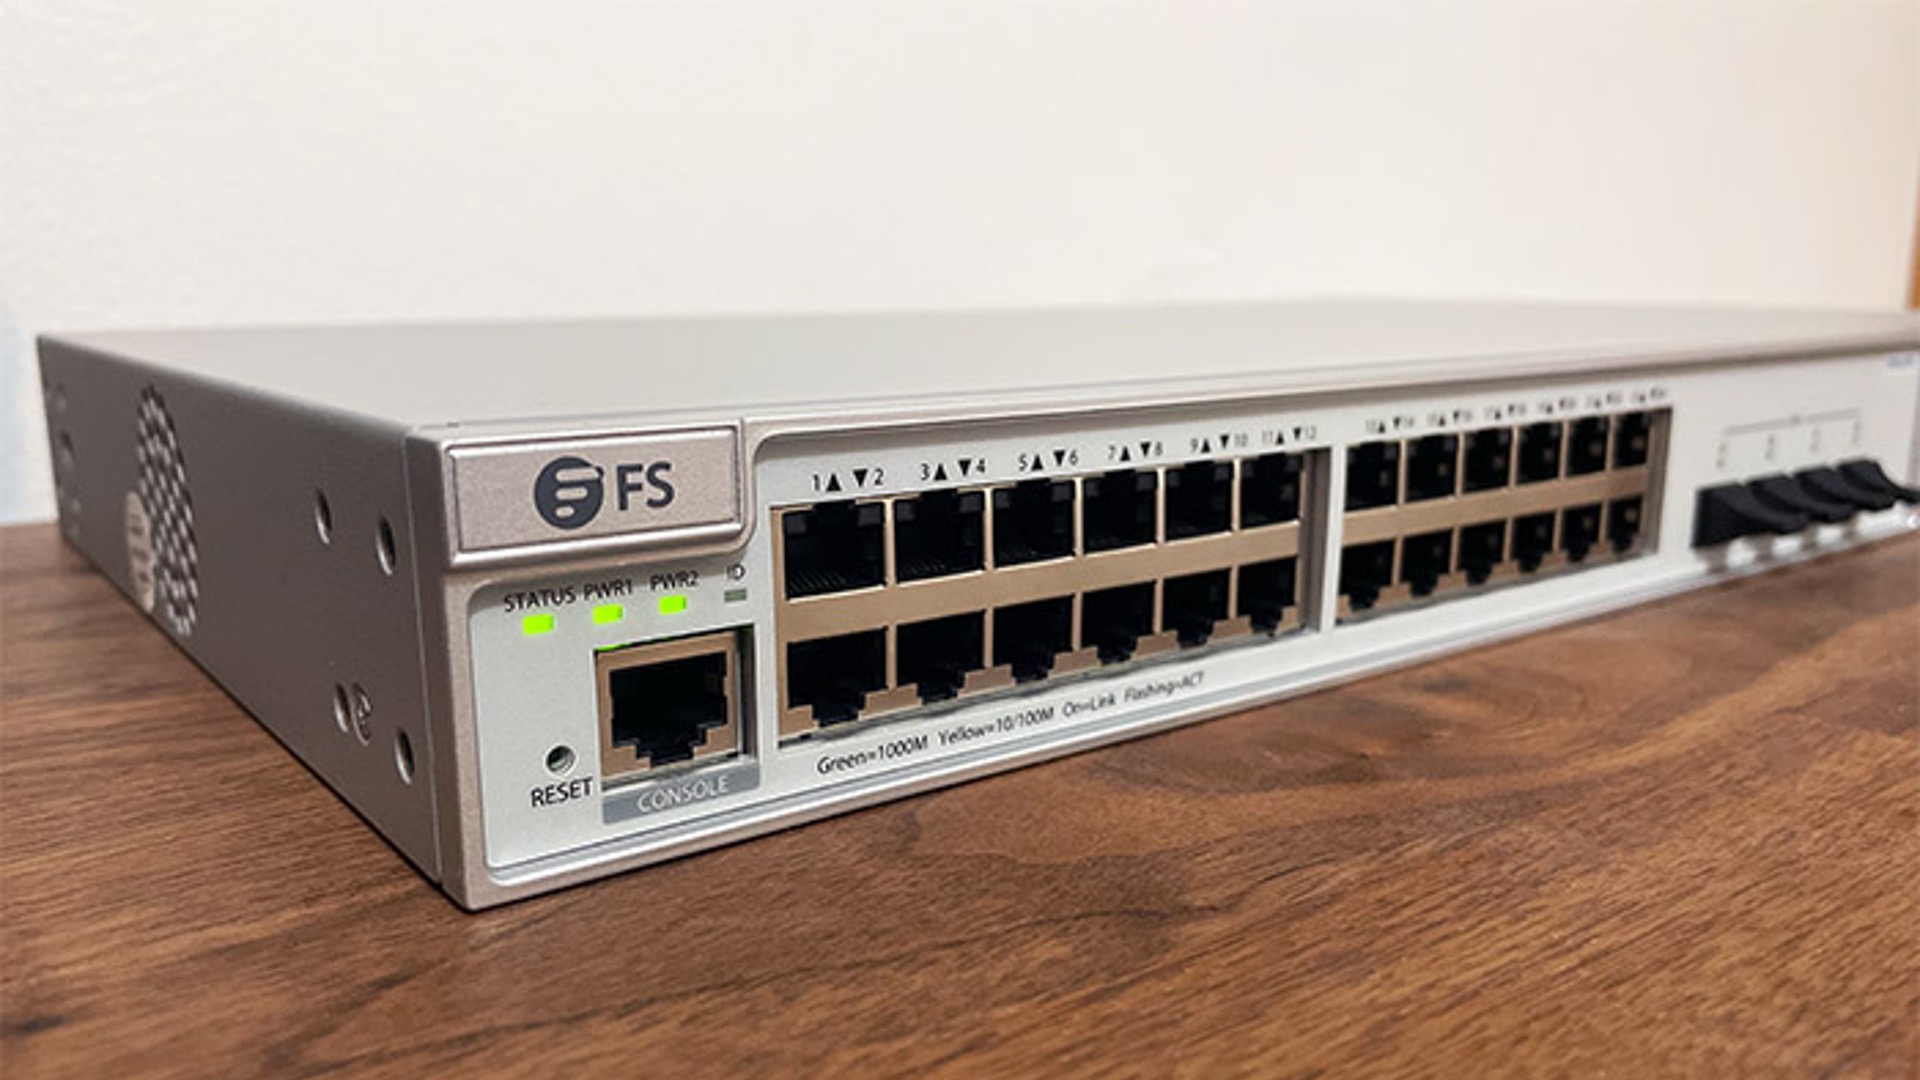
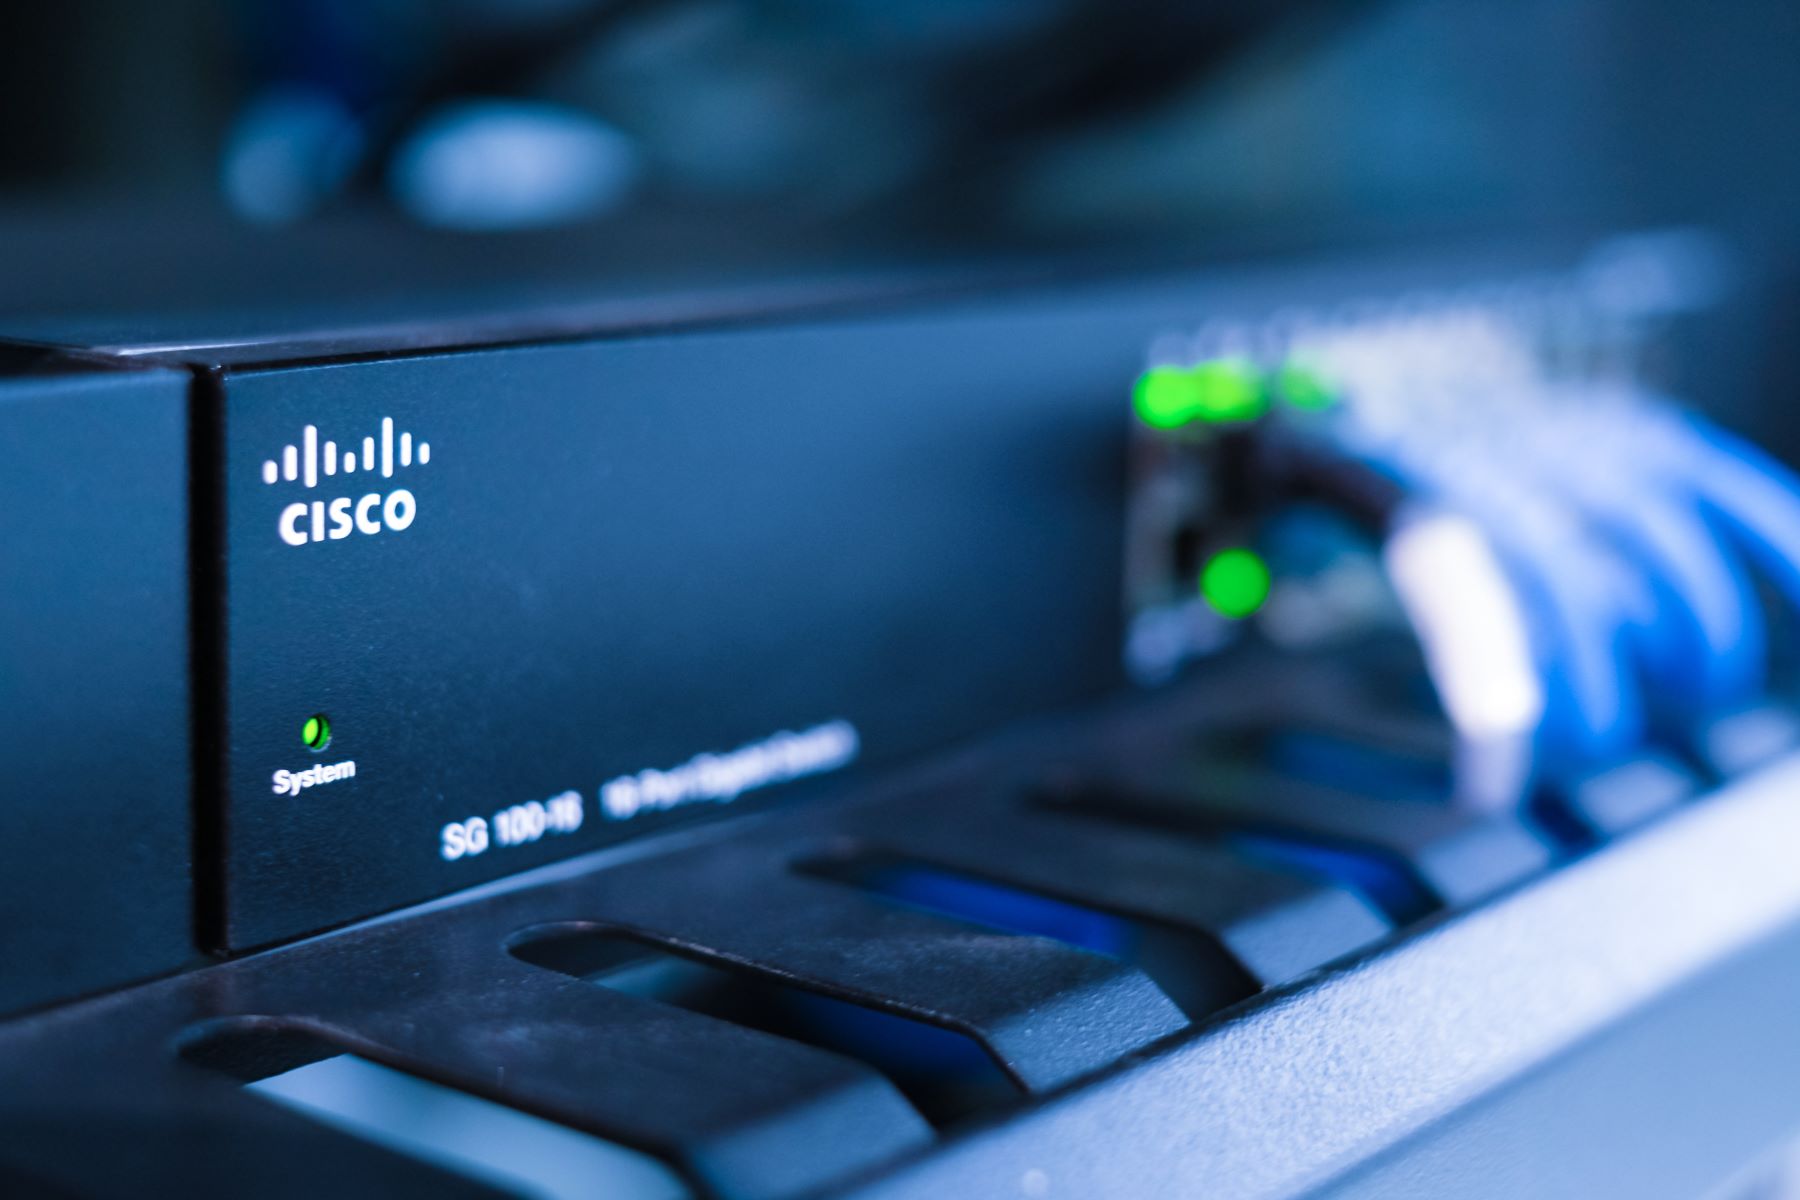
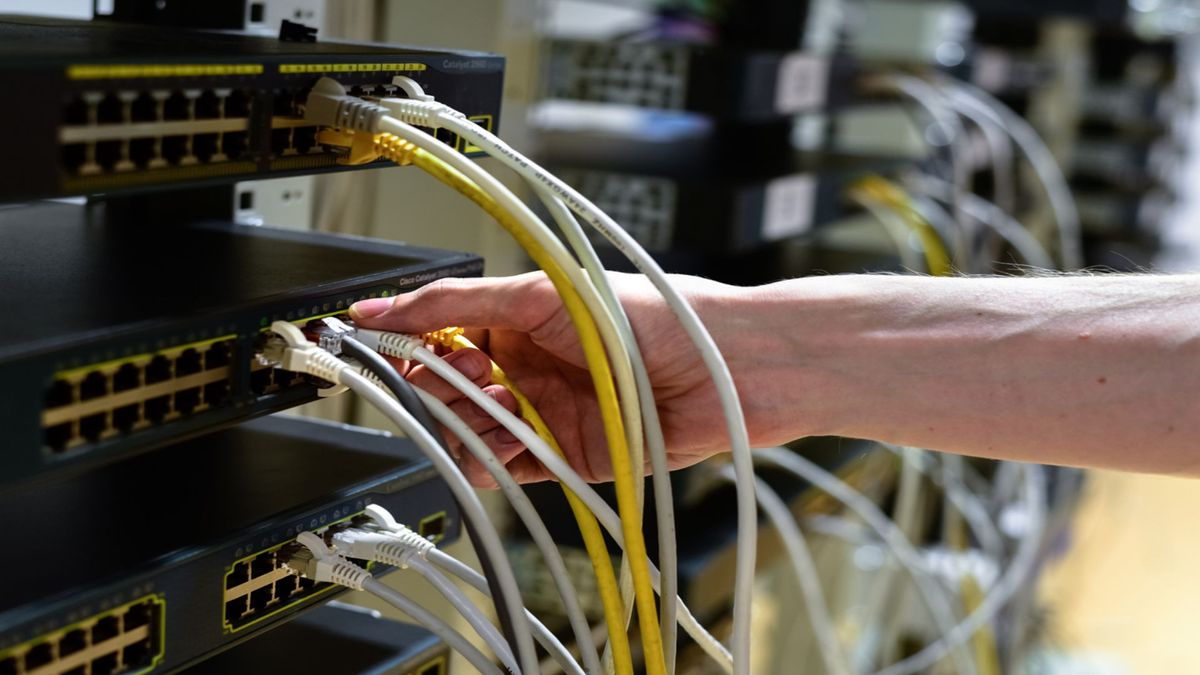
- Avaya Titan 4850GTS-PWR+ Network Switch: Ensure that the network switch is powered on and physically connected to your network infrastructure.
- Computer with PuTTY Installed: You will need a computer with PuTTY, a versatile SSH and telnet client, installed and ready for use.
- Network Connectivity: Ensure that your computer is connected to the same network as the Avaya Titan 4850GTS-PWR+ switch, allowing for seamless communication between the devices.
- Administrative Credentials: Have the administrative credentials, including the username and password, ready for accessing the network switch.
- Configuration Details: Gather any specific configuration details or requirements for the network switch to ensure a tailored setup that aligns with your network environment.
- Understanding of Network Topology: Familiarize yourself with the network topology and the role the Avaya Titan 4850GTS-PWR+ switch will play within the network infrastructure.
By ensuring that you have the necessary hardware, software, and information at your disposal, you will be well-prepared to proceed with the commissioning process. Having a clear understanding of your network environment and the specific requirements for the network switch will contribute to a successful configuration and integration into your network infrastructure.
Accessing the Avaya Titan 4850GTS-PWR+ Network Switch
Before you can begin the commissioning process, you need to access the Avaya Titan 4850GTS-PWR+ network switch. This involves establishing a connection to the switch using PuTTY, a powerful and versatile SSH and telnet client. Here’s how to access the network switch:
- Ensure Network Connectivity: Confirm that your computer is connected to the same network as the Avaya Titan 4850GTS-PWR+ switch. This is essential for establishing communication between your computer and the network switch.
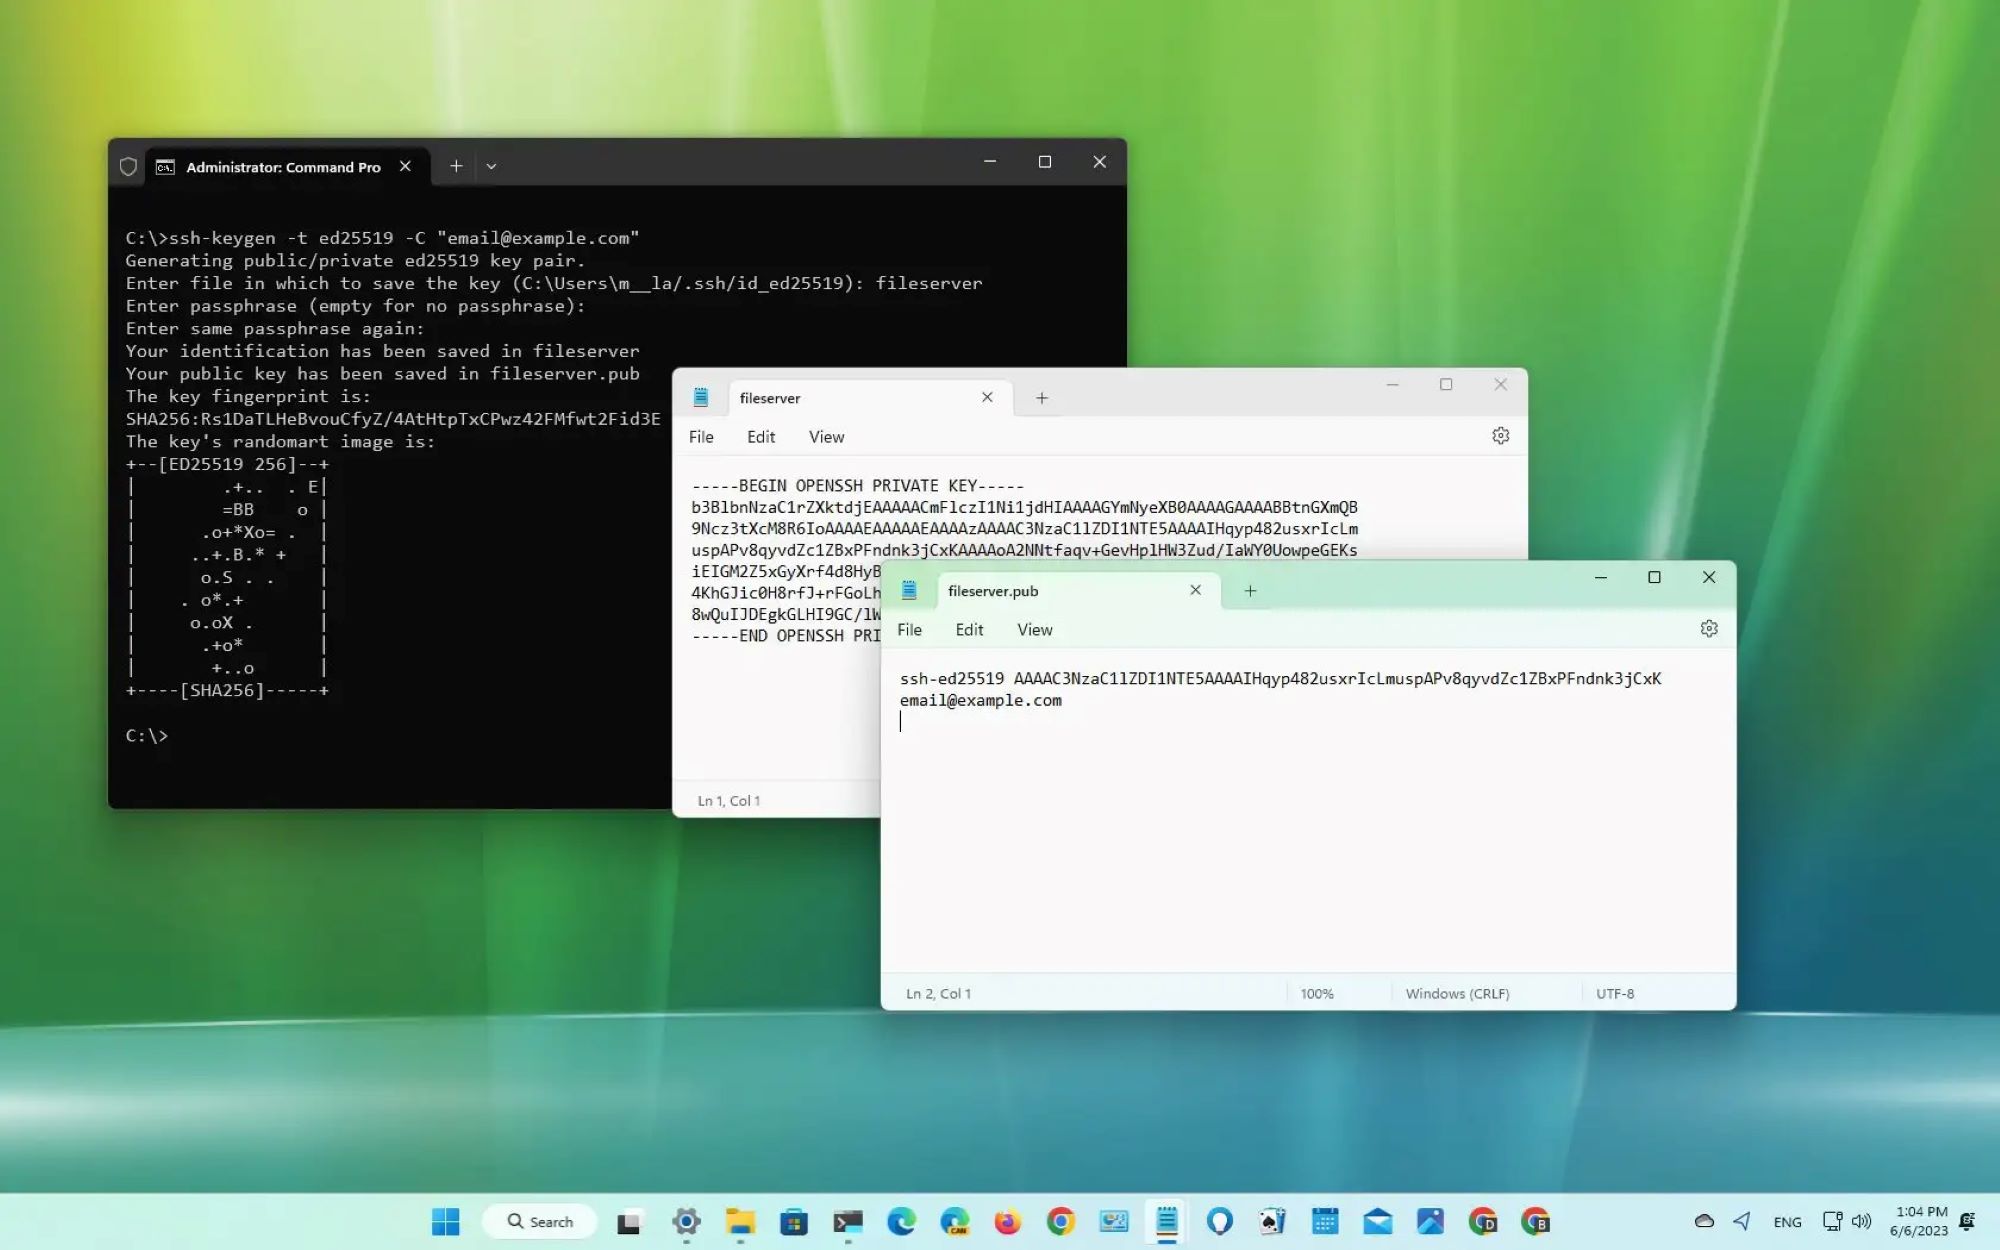
- Open PuTTY: Launch the PuTTY application on your computer. PuTTY provides a user-friendly interface for connecting to network devices using SSH, telnet, or other protocols.
- Enter the IP Address: In the PuTTY configuration window, enter the IP address of the Avaya Titan 4850GTS-PWR+ network switch in the “Host Name (or IP address)” field. Ensure that the correct protocol (SSH) is selected.
- Configure Connection Settings: Verify that the port number for SSH (typically port 22) is specified. You can also save these connection settings for future use by providing a name for the session and clicking “Save.”
- Initiate the Connection: Click the “Open” button in the PuTTY configuration window to initiate the SSH connection to the Avaya Titan 4850GTS-PWR+ network switch.
- Authenticate Access: When prompted, enter the administrative username and password for the network switch to authenticate your access. Once authenticated, you will gain access to the command-line interface of the network switch.
By following these steps, you will successfully establish a secure SSH connection to the Avaya Titan 4850GTS-PWR+ network switch using PuTTY. This access is a crucial prerequisite for configuring and commissioning the network switch to meet your specific network requirements.
Configuring PuTTY for SSH Access
Configuring PuTTY to enable SSH access to the Avaya Titan 4850GTS-PWR+ network switch is a critical step in the commissioning process. PuTTY provides a user-friendly interface for establishing secure connections to network devices using various protocols, including SSH. Here’s how you can configure PuTTY for SSH access to the network switch:
- Launch PuTTY: Open the PuTTY application on your computer to begin the configuration process.
- Enter the IP Address: In the PuTTY configuration window, enter the IP address of the Avaya Titan 4850GTS-PWR+ network switch in the “Host Name (or IP address)” field. Select the SSH protocol to enable secure communication with the network switch.
- Configure Connection Settings: Verify that the port number for SSH (typically port 22) is specified. You can also save these connection settings for future use by providing a name for the session and clicking “Save.”
- Adjust SSH Settings (Optional): PuTTY allows you to configure advanced SSH settings, such as encryption algorithms, key exchange algorithms, and authentication methods. Depending on your network security requirements, you can modify these settings under the “SSH” category in the PuTTY configuration window.
- Save the Configuration: Once you have entered the necessary details and adjusted the settings, you can save the configuration by providing a name for the session and clicking the “Save” button. This allows you to quickly access the configuration in the future without re-entering the details.
- Initiate the Connection: With the configuration settings in place, click the “Open” button in the PuTTY configuration window to initiate the SSH connection to the Avaya Titan 4850GTS-PWR+ network switch.
By following these steps, you will configure PuTTY to establish a secure SSH connection to the Avaya Titan 4850GTS-PWR+ network switch. This configuration sets the stage for accessing the network switch and proceeding with the commissioning process to tailor its settings to your network environment.
Logging into the Avaya Titan 4850GTS-PWR+ Network Switch
After configuring PuTTY for SSH access, the next step is to log into the Avaya Titan 4850GTS-PWR+ network switch. This process allows you to access the command-line interface of the switch, where you can configure and manage its settings. Here’s how to log into the network switch using PuTTY:
- Initiate the SSH Connection: Open the PuTTY application on your computer and initiate the SSH connection to the Avaya Titan 4850GTS-PWR+ network switch by clicking the “Open” button in the PuTTY configuration window.
- Enter Administrative Credentials: When prompted, enter the administrative username and password for the network switch. These credentials are essential for authenticating your access to the switch’s command-line interface.
- Verify Successful Authentication: Upon entering the correct administrative credentials, the network switch will authenticate your access, and you will gain entry to the command-line interface. This interface provides a direct line of communication with the switch for configuration and management purposes.
- Explore Command-Line Interface: Once logged in, you can explore the command-line interface to view the switch’s current configuration, modify settings, and execute commands to commission the switch according to your network requirements.
- Execute Configuration Commands: Utilize the command-line interface to execute configuration commands that align the Avaya Titan 4850GTS-PWR+ switch with your network environment. This may include setting up VLANs, configuring port settings, and implementing security measures to enhance network functionality and security.
Logging into the Avaya Titan 4850GTS-PWR+ network switch using PuTTY grants you direct access to the switch’s command-line interface, empowering you to configure and manage its settings effectively. This access is instrumental in the commissioning process, allowing you to tailor the switch to meet your specific network requirements.
Commissioning the Network Switch
Commissioning the Avaya Titan 4850GTS-PWR+ network switch involves configuring its settings to align with your network environment and operational requirements. This crucial step ensures that the switch functions optimally and contributes to the overall efficiency and security of your network. Here’s how to commission the network switch using PuTTY:
- Review Current Configuration: Before making any changes, review the current configuration of the network switch by using commands within the command-line interface. This provides insight into the switch’s existing settings and allows you to plan necessary adjustments.
- Configure VLANs and Trunking: If applicable to your network environment, configure Virtual Local Area Networks (VLANs) and trunking settings to segment and manage network traffic effectively. This can enhance network security and performance by isolating traffic and optimizing bandwidth usage.
- Implement Quality of Service (QoS): Set up Quality of Service (QoS) parameters to prioritize network traffic based on specific criteria, such as voice or video data, ensuring optimal performance for critical applications and services.
- Configure Port Settings: Adjust port settings, including speed, duplex mode, and other parameters, to optimize connectivity and ensure seamless communication between network devices connected to the switch.
- Enhance Security Measures: Implement security measures such as port security, MAC address filtering, and access control lists to safeguard the network from unauthorized access and potential security threats.
- Test and Validate Configuration: After making the necessary configuration changes, test the switch’s functionality and validate the settings to ensure they align with your network requirements. This may involve verifying connectivity, traffic segmentation, and QoS prioritization.
By following these steps, you will effectively commission the Avaya Titan 4850GTS-PWR+ network switch using PuTTY, tailoring its settings to enhance network functionality, security, and performance. This process plays a pivotal role in integrating the switch into your network environment and ensuring its seamless operation.
Verifying the Configuration
After commissioning the Avaya Titan 4850GTS-PWR+ network switch, it is essential to verify the configuration to ensure that the settings align with your network requirements and operational expectations. Verification serves as a critical quality assurance step, allowing you to confirm that the switch is ready for seamless integration into your network environment. Here’s how to verify the configuration of the network switch:
- Review Configuration Parameters: Take a comprehensive look at the configured parameters, including VLAN settings, trunking configurations, QoS policies, port settings, and security measures implemented during the commissioning process.
- Test Connectivity and Traffic Segmentation: Verify connectivity between network devices connected to the switch and ensure that traffic segmentation through VLANs is functioning as intended. This step confirms that the switch effectively manages network traffic based on the configured VLAN settings.
- Validate Quality of Service (QoS): Test the QoS parameters to ensure that network traffic is prioritized according to the specified criteria. This validation step confirms that critical applications and services receive the necessary priority for optimal performance.
- Ensure Proper Port Functionality: Validate the port settings to guarantee that the switch’s ports are configured to support the required speed, duplex mode, and other parameters for seamless communication with connected network devices.
- Verify Security Measures: Confirm that the security measures, such as port security, MAC address filtering, and access control lists, are effectively safeguarding the network from unauthorized access and potential security threats.
- Perform End-to-End Testing: Conduct end-to-end testing of network connectivity, data transmission, and application performance to ensure that the configured switch settings contribute to the overall efficiency and reliability of the network.
By meticulously verifying the configuration of the Avaya Titan 4850GTS-PWR+ network switch, you can instill confidence in its readiness for operation within your network environment. This validation process ensures that the switch’s settings align with your network requirements and contribute to a secure, efficient, and well-optimized network infrastructure.
Conclusion
Commissioning the Avaya Titan 4850GTS-PWR+ network switch using PuTTY is a fundamental task in network administration, and the successful completion of this process ensures that the switch is ready to integrate seamlessly into your network environment. By following the steps outlined in this guide, you have gained the knowledge and skills to access, configure, and verify the settings of the network switch, empowering you to tailor its functionality to meet your specific network requirements.
Throughout the commissioning process, you accessed the network switch using PuTTY, configured SSH access, and logged into the switch’s command-line interface. Subsequently, you commissioned the switch by configuring VLANs, trunking, Quality of Service (QoS) parameters, port settings, and security measures, all of which contribute to the switch’s optimal performance and security within your network infrastructure.
Verifying the configuration served as a crucial step in ensuring that the settings align with your network requirements, and the thorough validation process instills confidence in the switch’s readiness for operation within your network environment. By adhering to best practices and leveraging PuTTY as a versatile and efficient tool for network management, you have successfully commissioned the Avaya Titan 4850GTS-PWR+ network switch to contribute to a reliable, secure, and well-optimized network infrastructure.
As you continue to manage and maintain your network environment, the knowledge and experience gained from commissioning the network switch using PuTTY will serve as a valuable asset, enabling you to adapt the switch’s settings as your network evolves and grows. Embracing the principles of effective network management and leveraging the capabilities of PuTTY will contribute to the ongoing success and reliability of your network infrastructure.