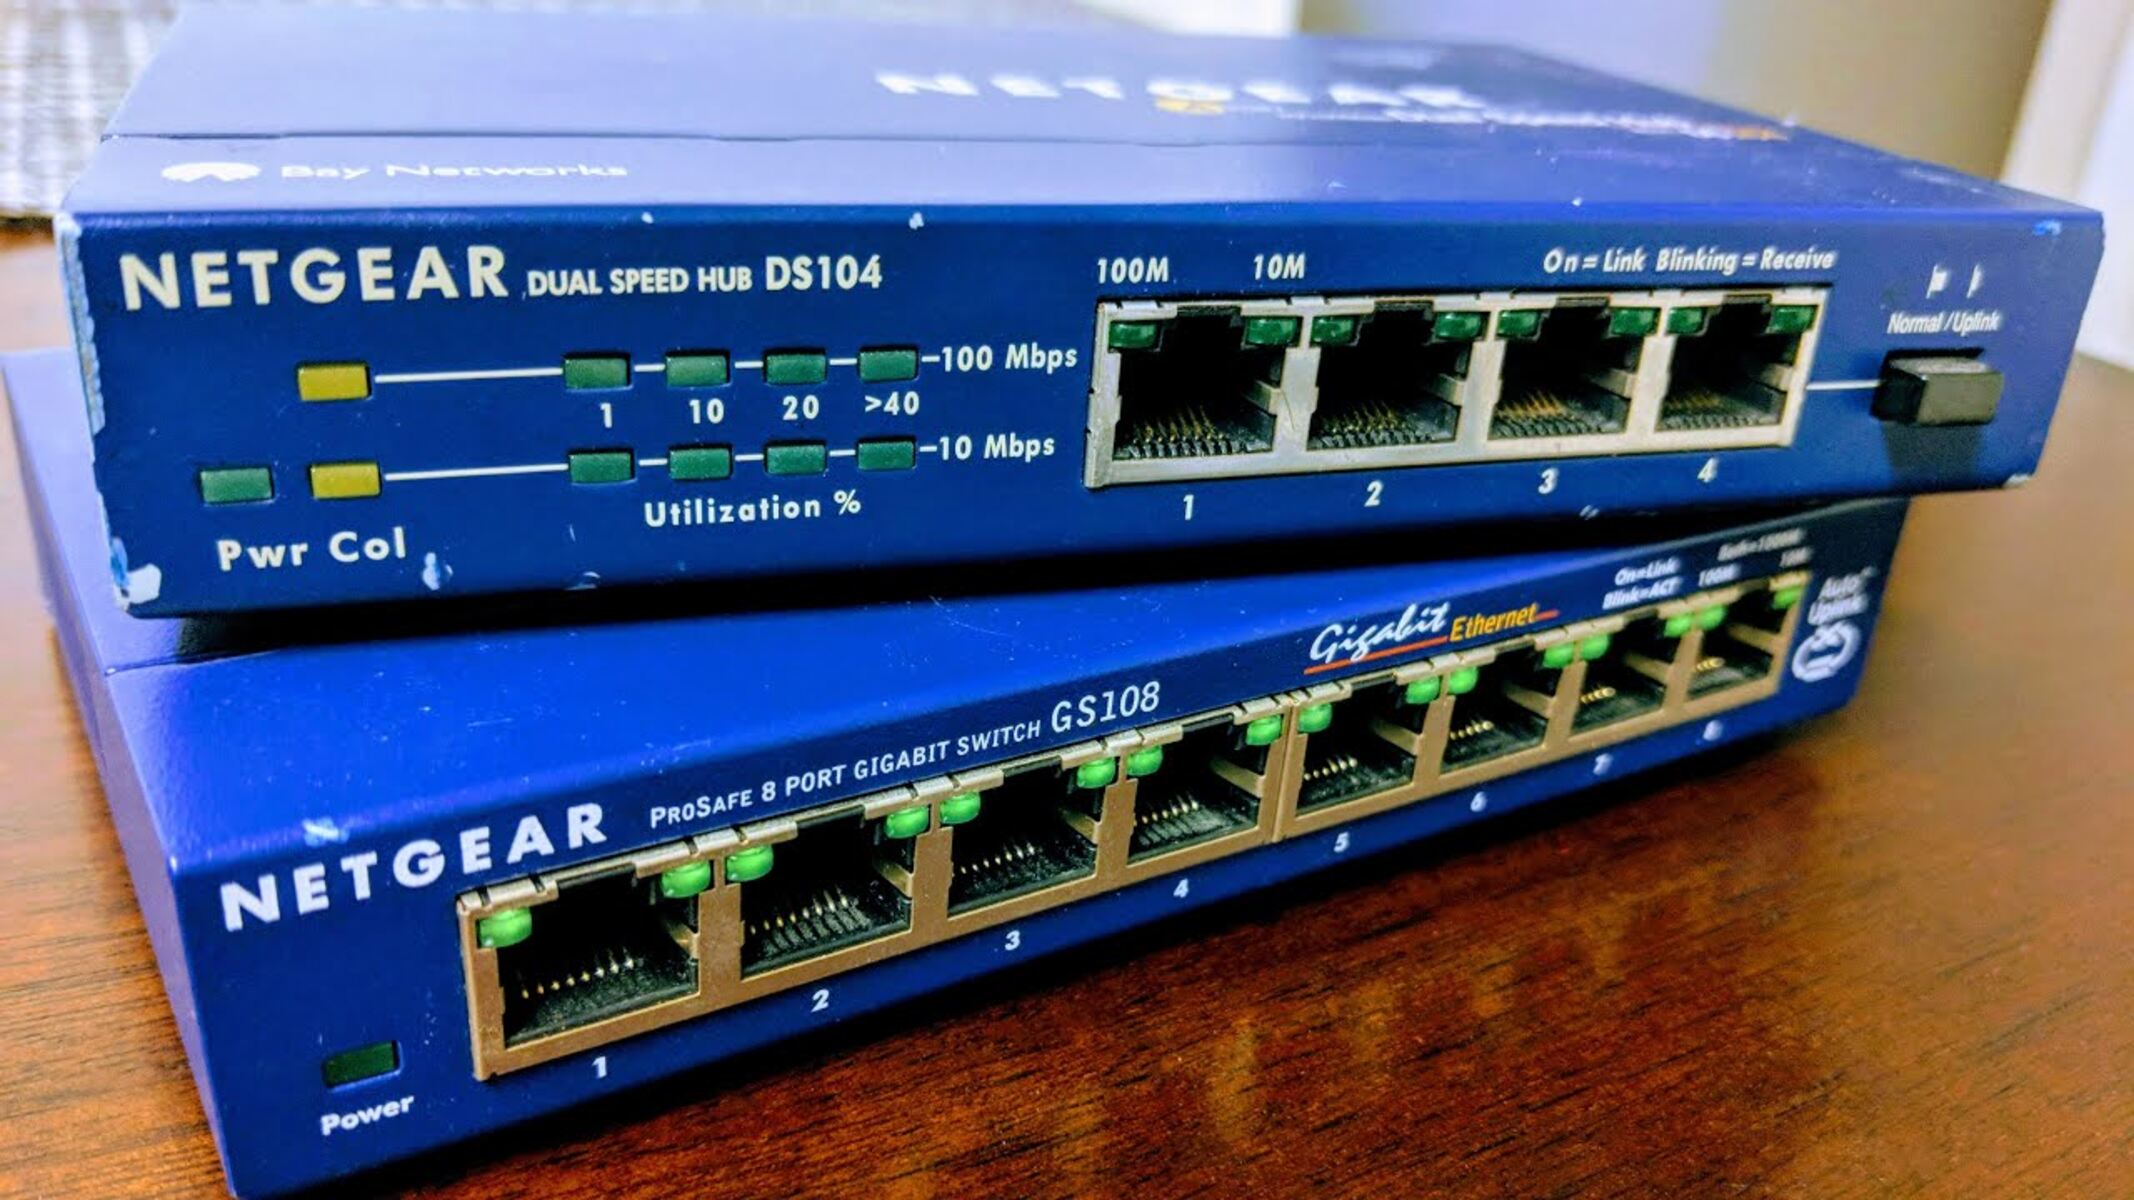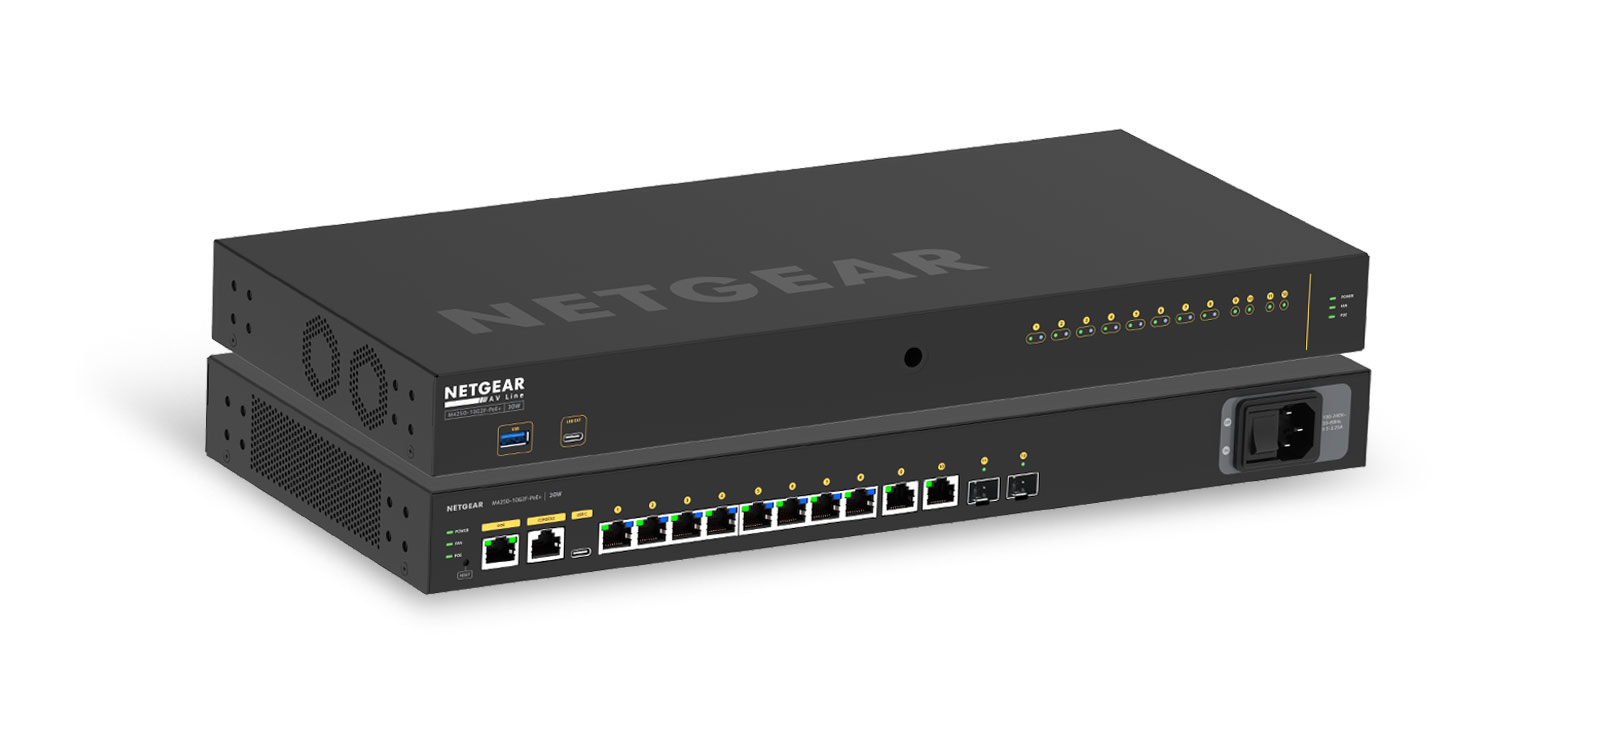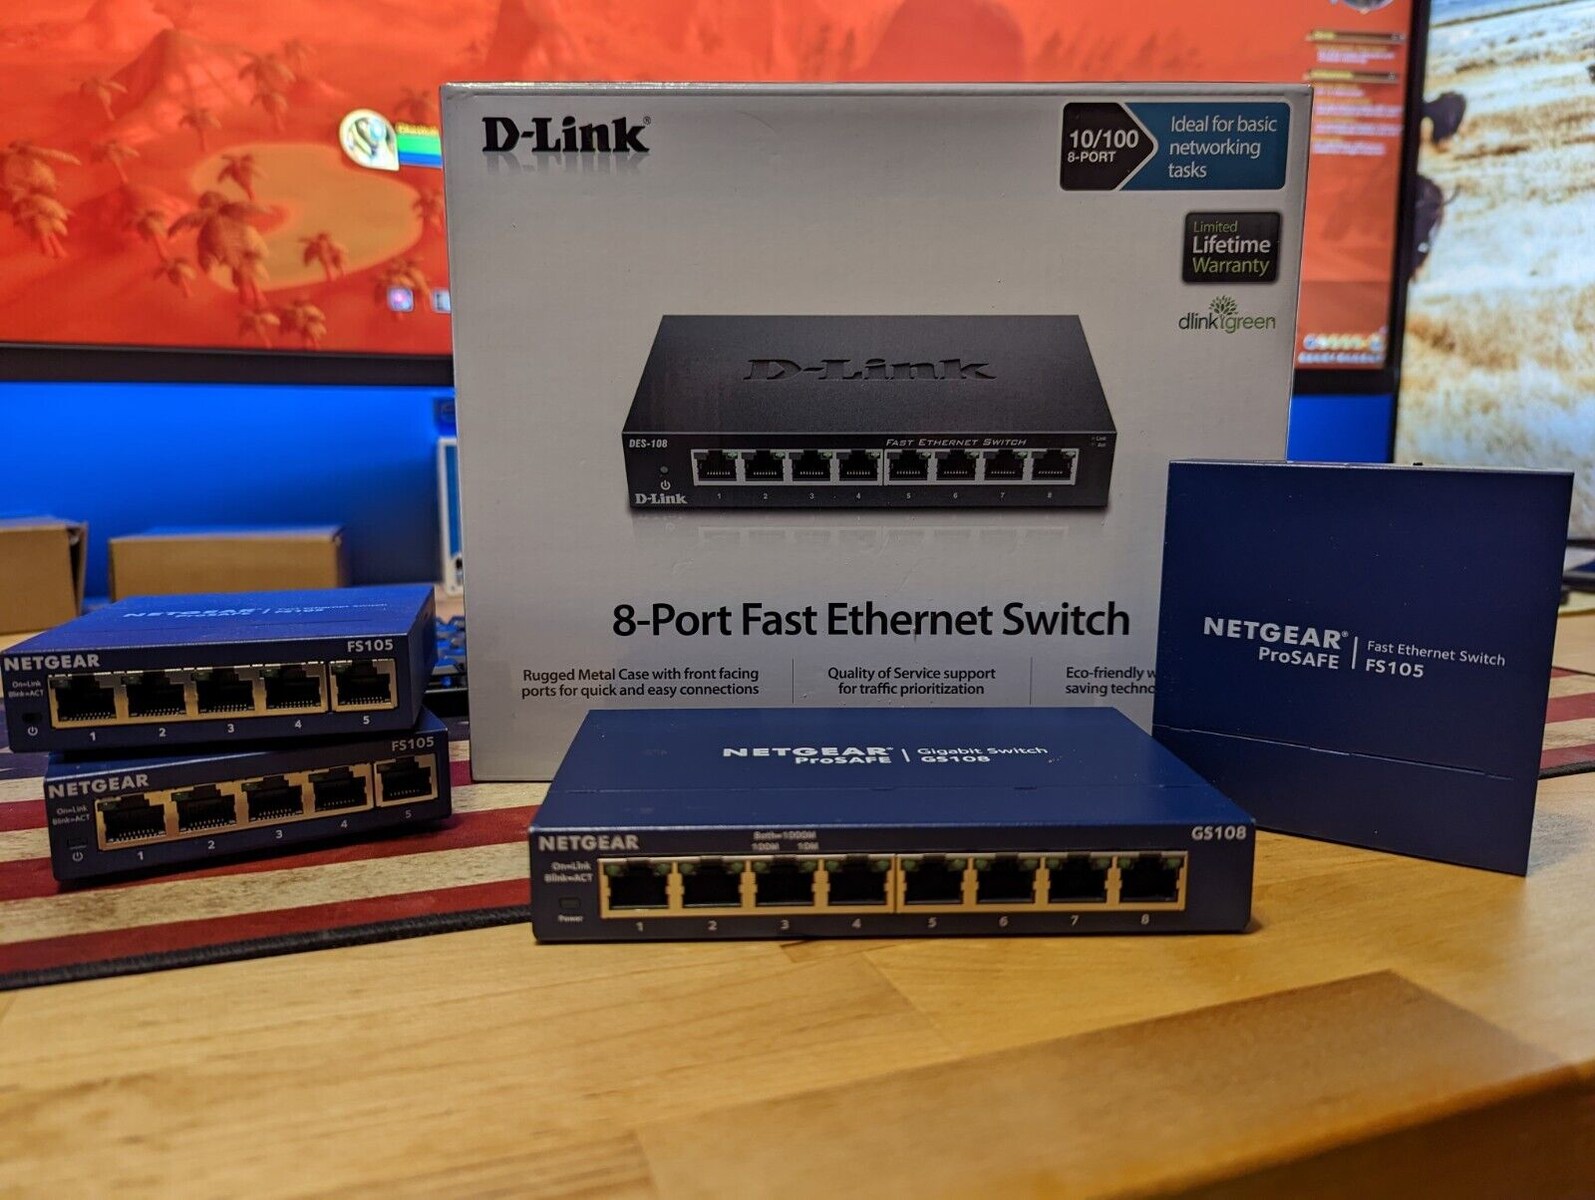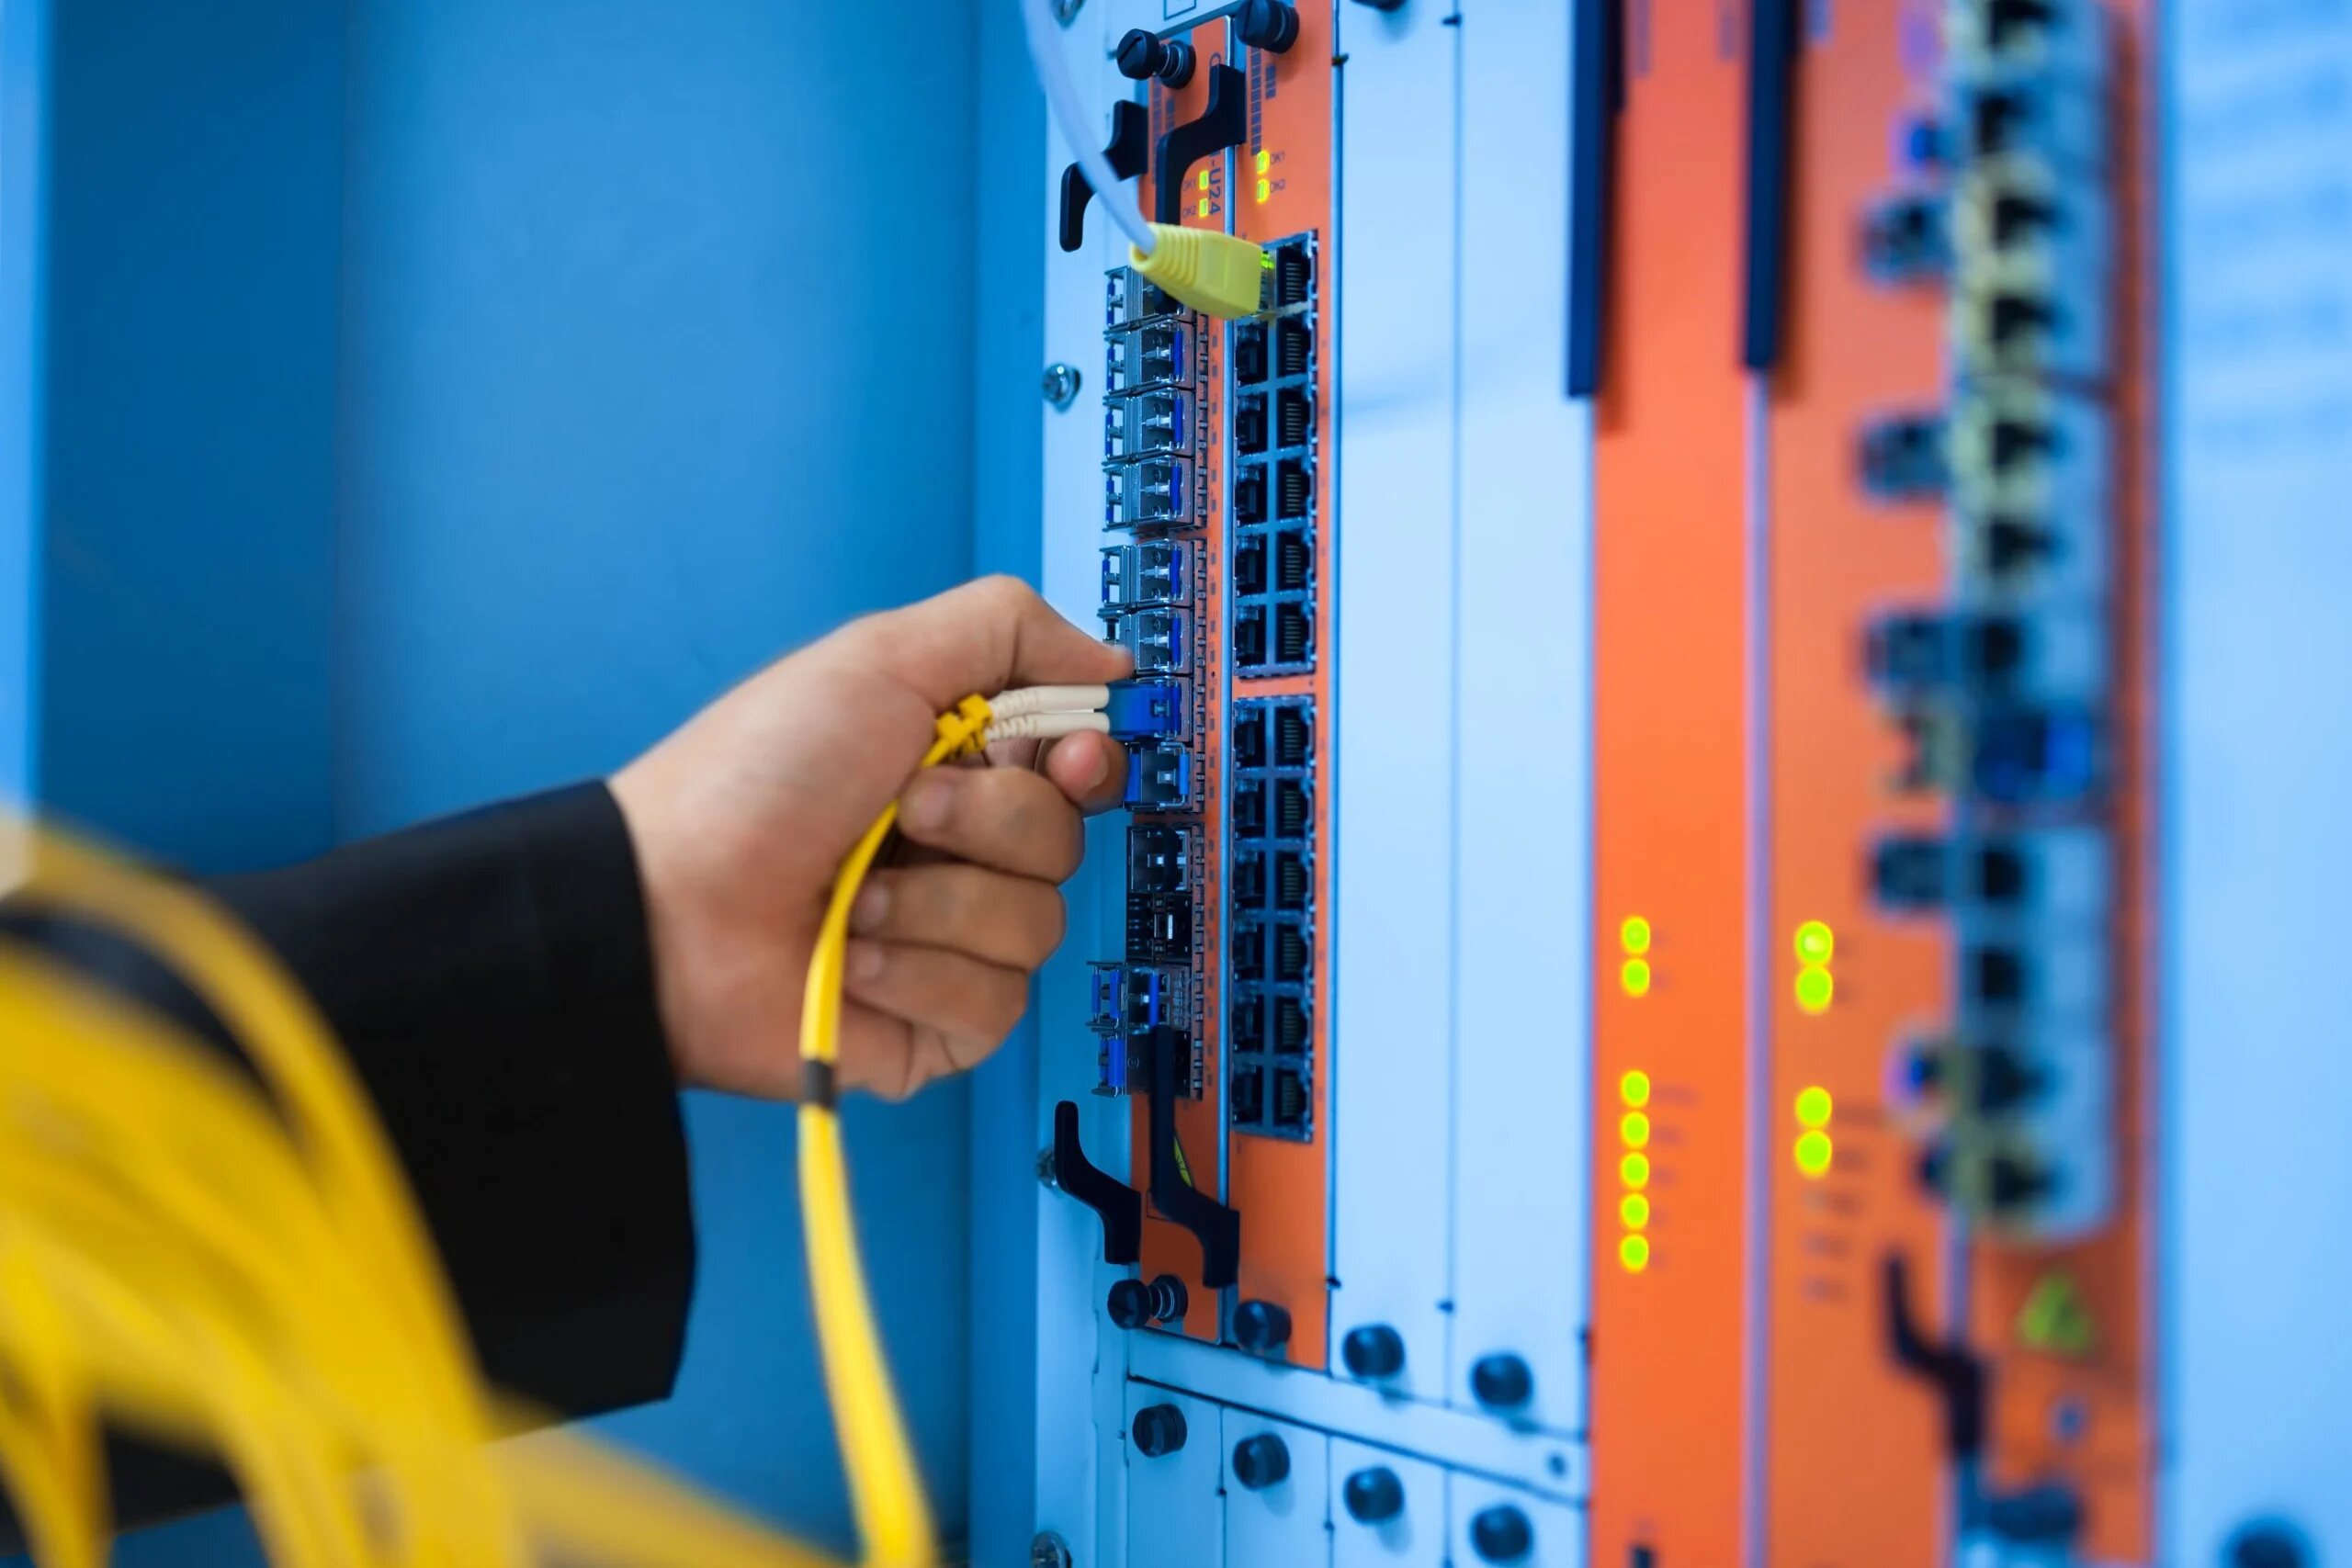
To configure a managed network switch, you connect to it directly, set a management IP address, segment traffic with VLANs, and harden security features to make the switch functional and secure on your network. Before any of that, you need to access netgear network switch hardware through its default IP or console port. This step-by-step guide walks you through the initial setup and security hardening of a new managed switch, from console access to ongoing monitoring.
Initial access to configure a managed network switch
Begin by connecting your computer directly to the switch's console port using a console cable (RJ-45 or USB) and a terminal emulator program. This direct connection ensures you can configure the switch even if it has no network configuration yet. After you log in with the default credentials, such as admin/admin or cisco/cisco, immediately change the default admin password for security. This prevents anyone with physical access from taking control of the switch.
Step 2: Configuring basic IP settings for remote access
Assign a management IP address, subnet mask, and default gateway to the switch. This enables future access via a web browser or SSH over the network, so you do not need to stay physically connected to the console port. Without these settings, the switch remains unreachable for remote management. If you need to use a network switch with 2 routers, a proper management IP ensures both routers can reach the switch for VLAN trunking and routing policies.
Step 3: Setting up VLANs to segment your network
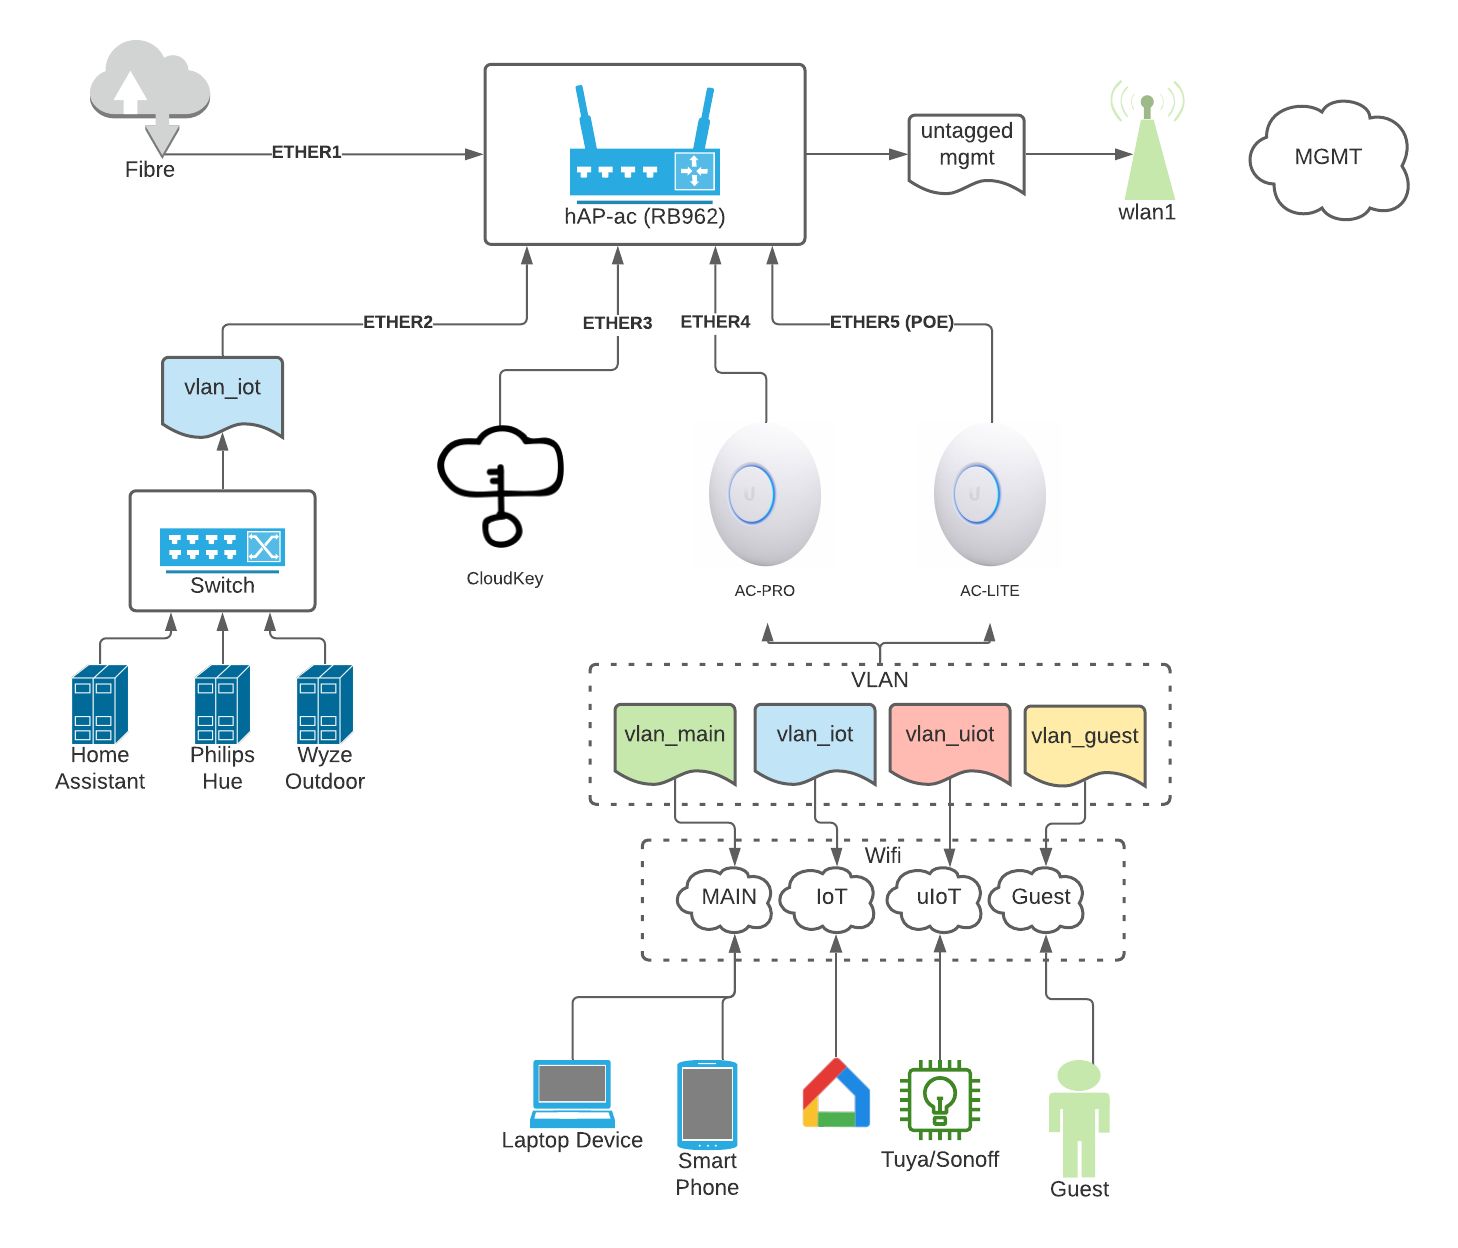
Create VLANs by assigning a unique VLAN ID (typically 2-4094) and an optional name. Then assign switch ports as either access ports or trunk ports. Access ports carry untagged traffic for a single VLAN to end devices, and you set the Port VLAN ID (PVID) on each access port to specify which VLAN untagged incoming traffic belongs to. Trunk ports carry tagged traffic for multiple VLANs to other switches or routers. Proper VLAN segmentation enhances security and efficiency by isolating broadcast domains.
Step 4: Optimizing port settings and preventing loops
Configure port speed and duplex to match connected devices, preventing mismatches that cause packet loss. If you are starting with a simpler unmanaged device, first set up TP-Link 5-port gigabit Ethernet network switch to establish basic connectivity before tackling these advanced features. Set up Link Aggregation (LAG) with Link Aggregation Control Protocol (LACP) to combine multiple physical ports into a single logical link, increasing bandwidth and providing redundancy. All member ports within a LAG must have identical speed and duplex settings. Enable Rapid Spanning Tree Protocol (RSTP) instead of traditional STP to prevent network loops from redundant links, which cause broadcast storms and instability. RSTP converges much faster, keeping your network resilient.
Step 5: Enabling port security features
Restrict input on an interface by limiting the MAC addresses allowed to access the port. Configure violation modes, protect, restrict, or shutdown, to determine the switch's action when an unauthorized MAC address is detected. The shutdown mode disables the port entirely, stopping the threat. Port security prevents unauthorized device connections, which is critical for enforcing access policies at the edge of any managed switch.
Step 6: Saving your configuration and ongoing management
Always save the running configuration to the startup configuration using a command such as copy running-config startup-config on Cisco switches. This ensures all changes persist after a reboot or power loss. For ongoing management, use SNMP to collect performance data like traffic statistics and port status, and configure Syslog for centralized event logging. These tools let you monitor the switch's health and activity proactively.
A properly configured managed switch is foundational to a secure, efficient, and resilient network. Regular maintenance, including firmware updates and configuration backups, keeps it performing optimally as your network grows.