Introduction
Setting up a network switch for home networking can significantly enhance the efficiency and performance of your home network. Whether you're a tech enthusiast, a remote worker, a gamer, or simply someone who wants a reliable and fast internet connection, a network switch can be a valuable addition to your setup. By effectively distributing network traffic, a network switch allows multiple devices to communicate simultaneously within your home network, reducing congestion and improving overall network speed.
In this guide, we will walk you through the process of setting up a network switch for your home network. We will cover everything from understanding the basics of network switches to choosing the right switch for your specific needs, and finally, the steps to set up and configure the switch. By the end of this guide, you will have the knowledge and confidence to optimize your home network with a network switch.
Whether you are a beginner looking to improve your home network or a seasoned tech enthusiast seeking to expand your networking capabilities, this guide will provide you with the essential information and practical steps to set up a network switch seamlessly. Let's dive into the world of home networking and discover how a network switch can elevate your digital experience.
Understanding Network Switches
Before delving into the setup process, it’s essential to grasp the fundamental role of network switches in home networking. A network switch is a device that acts as a central point of connection for multiple devices within a local area network (LAN). Unlike a hub, which simply broadcasts data to all connected devices, a switch intelligently forwards data only to the intended recipient, optimizing the network’s efficiency and bandwidth utilization.
Network switches operate at the data link layer (Layer 2) of the OSI model, allowing them to manage and direct network traffic based on MAC addresses. When a device connected to the switch sends data to another device on the same network, the switch uses the MAC address of the destination device to deliver the data directly to that device, minimizing unnecessary network congestion.
Modern network switches come in various types, including unmanaged, managed, and smart switches. Unmanaged switches are plug-and-play devices that require no configuration, making them suitable for basic home networking setups. Managed switches offer advanced configuration options, allowing users to have greater control over their network traffic, VLANs, and quality of service (QoS). Smart switches, also known as managed switches with a web interface, provide a balance between simplicity and customization, making them ideal for small to medium-sized home networks.
Understanding the role and capabilities of network switches is crucial for making informed decisions when selecting the right switch for your home network. By comprehending how switches manage network traffic and facilitate communication between devices, you can make the most appropriate choice to meet your specific networking requirements.
Choosing the Right Network Switch
When selecting a network switch for your home network, several factors should be taken into consideration to ensure that the switch aligns with your specific networking needs. Understanding the different types of switches and their capabilities is essential for making an informed decision.
Begin by assessing the size and demands of your home network. If you have a small network with only a few devices, an unmanaged switch may suffice, offering simplicity and ease of use. However, if you require more control over your network and the ability to prioritize certain types of traffic, a managed or smart switch may be a more suitable choice.
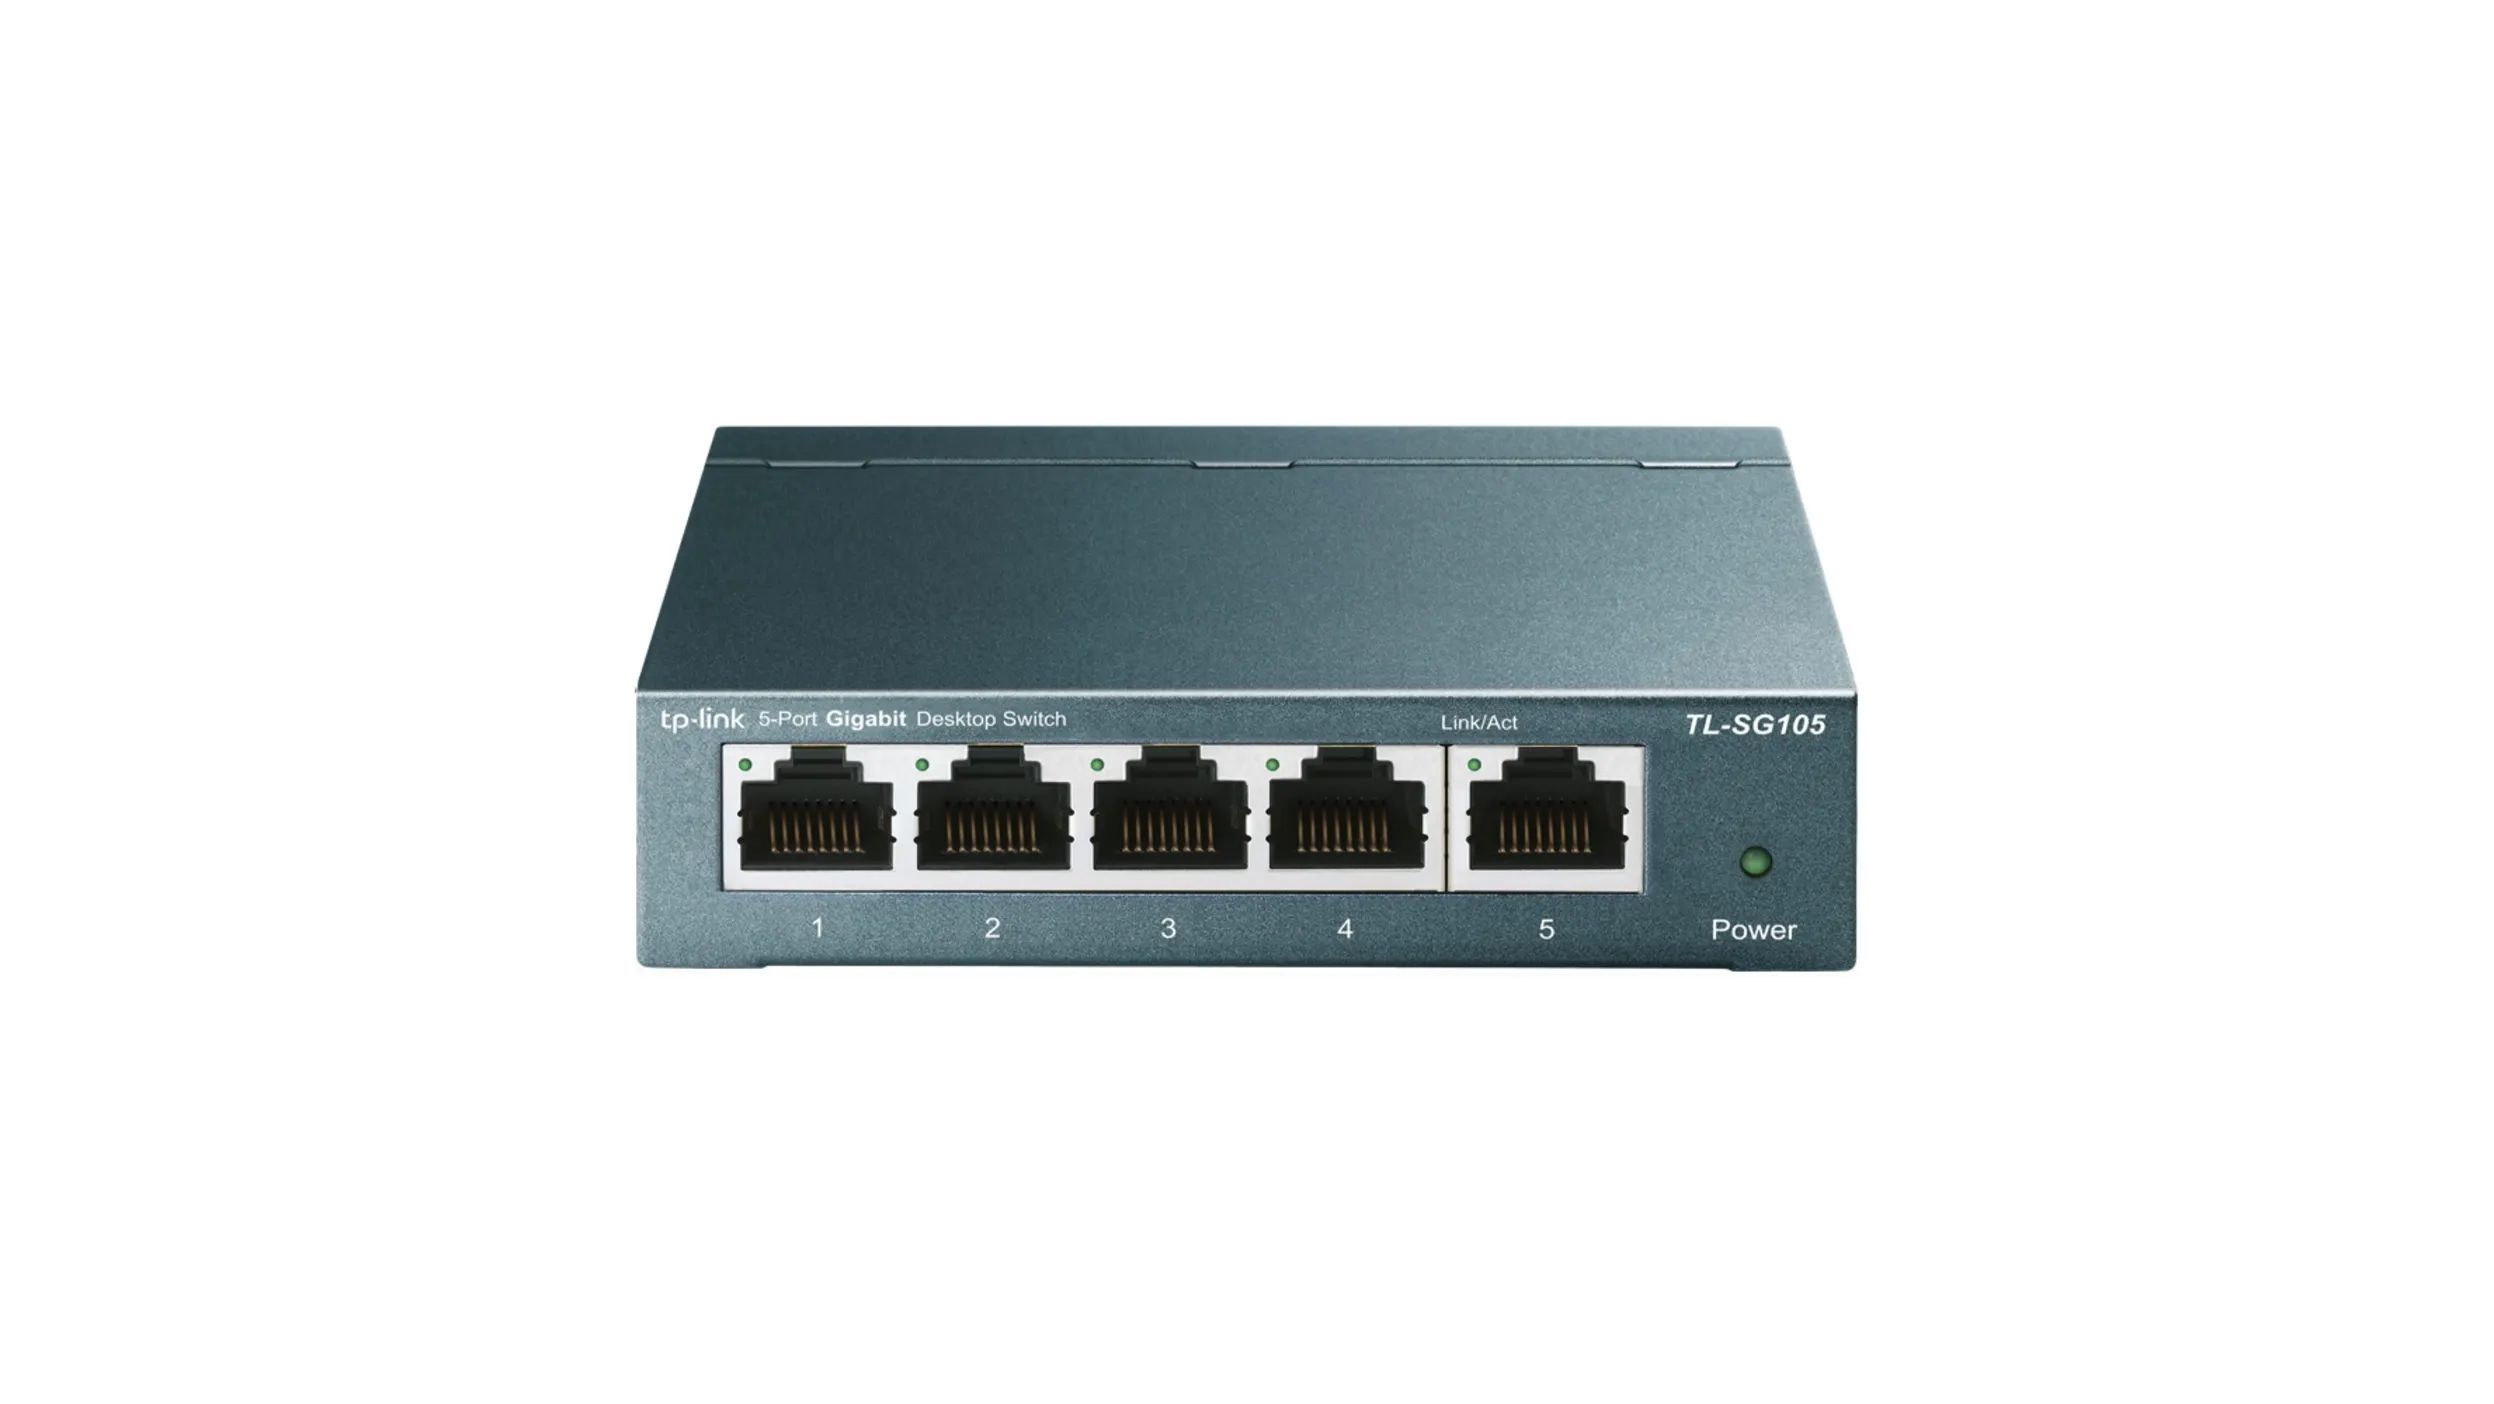
Consider the speed and capacity of the switch. Most modern switches support Gigabit Ethernet, providing high-speed connectivity for devices within the network. If you engage in activities that demand substantial bandwidth, such as gaming or streaming 4K content, opting for a Gigabit switch can significantly enhance your network’s performance.
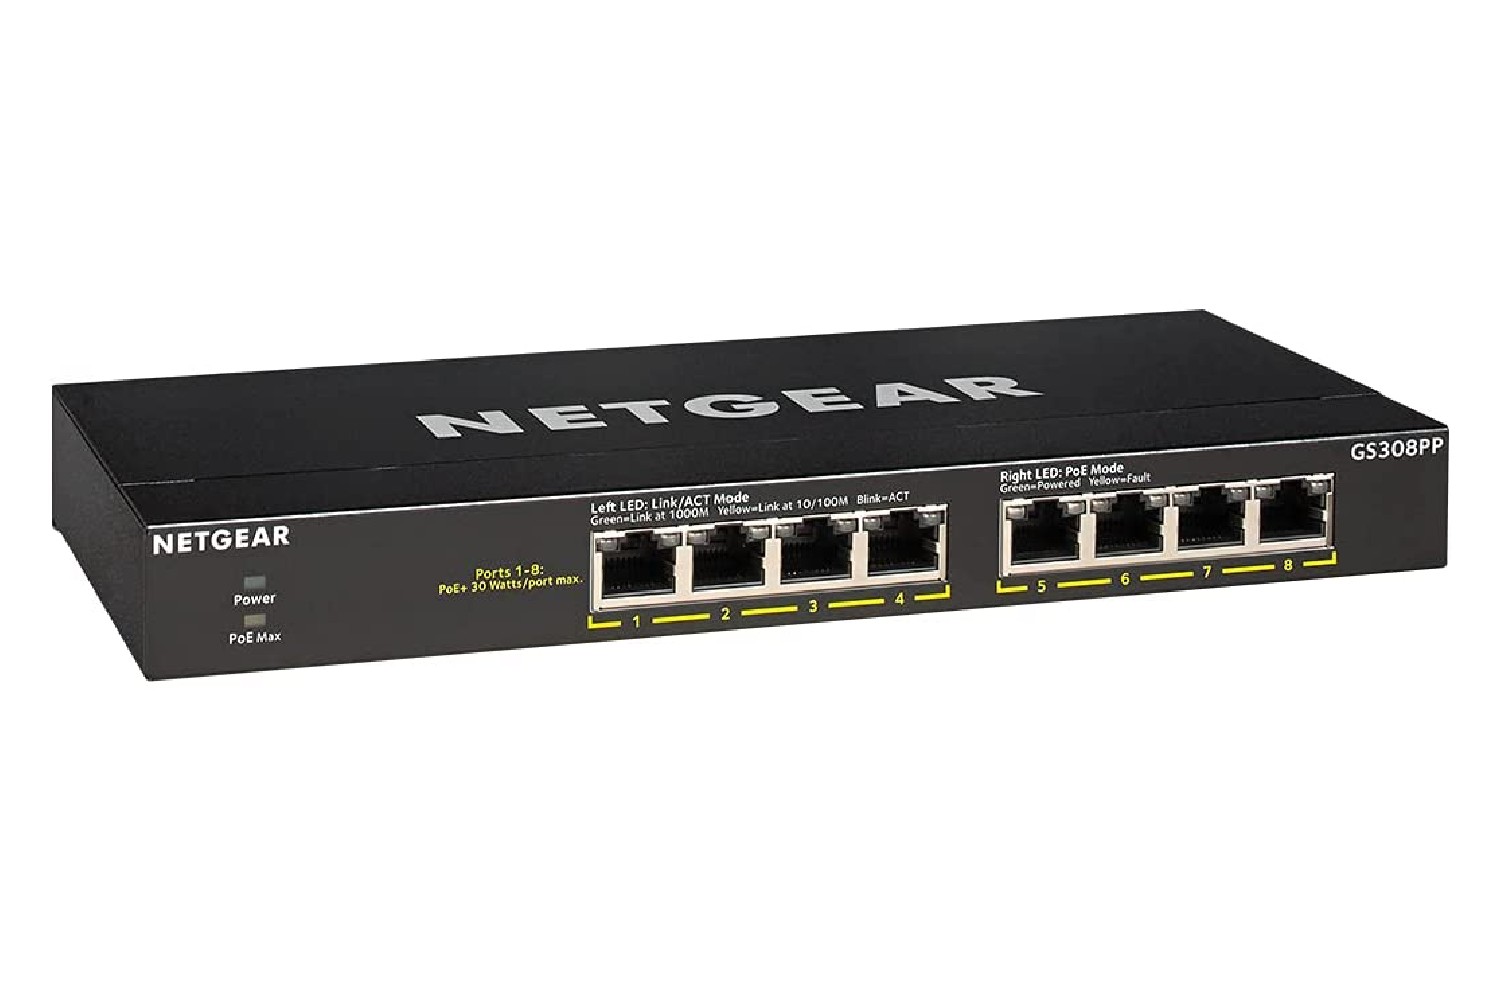
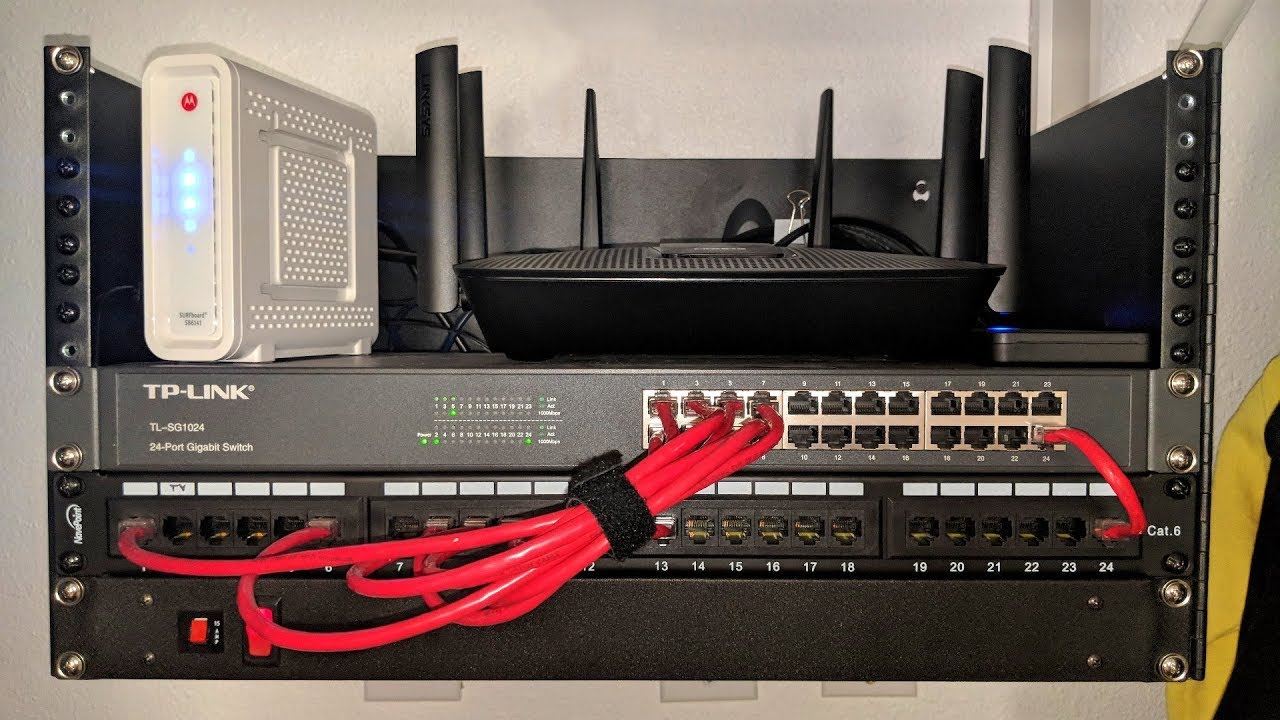
Another crucial factor is the number of ports the switch offers. Ensure that the switch has an adequate number of ports to accommodate all your wired devices, with room for future expansion if necessary. Additionally, if you have devices that support Power over Ethernet (PoE), such as IP cameras or wireless access points, consider a PoE switch to simplify power and data connectivity for these devices.
Reliability and brand reputation should also influence your decision. Choose a switch from a reputable manufacturer known for producing high-quality networking equipment. Reading user reviews and seeking recommendations can provide valuable insights into the reliability and performance of different switch models.
Lastly, consider the potential for future network growth. Investing in a switch with additional features, such as VLAN support or link aggregation, can future-proof your network and accommodate evolving connectivity requirements.
By carefully evaluating these factors, you can select a network switch that seamlessly integrates into your home network, providing the performance, control, and scalability needed to optimize your network infrastructure.
Setting Up the Network Switch
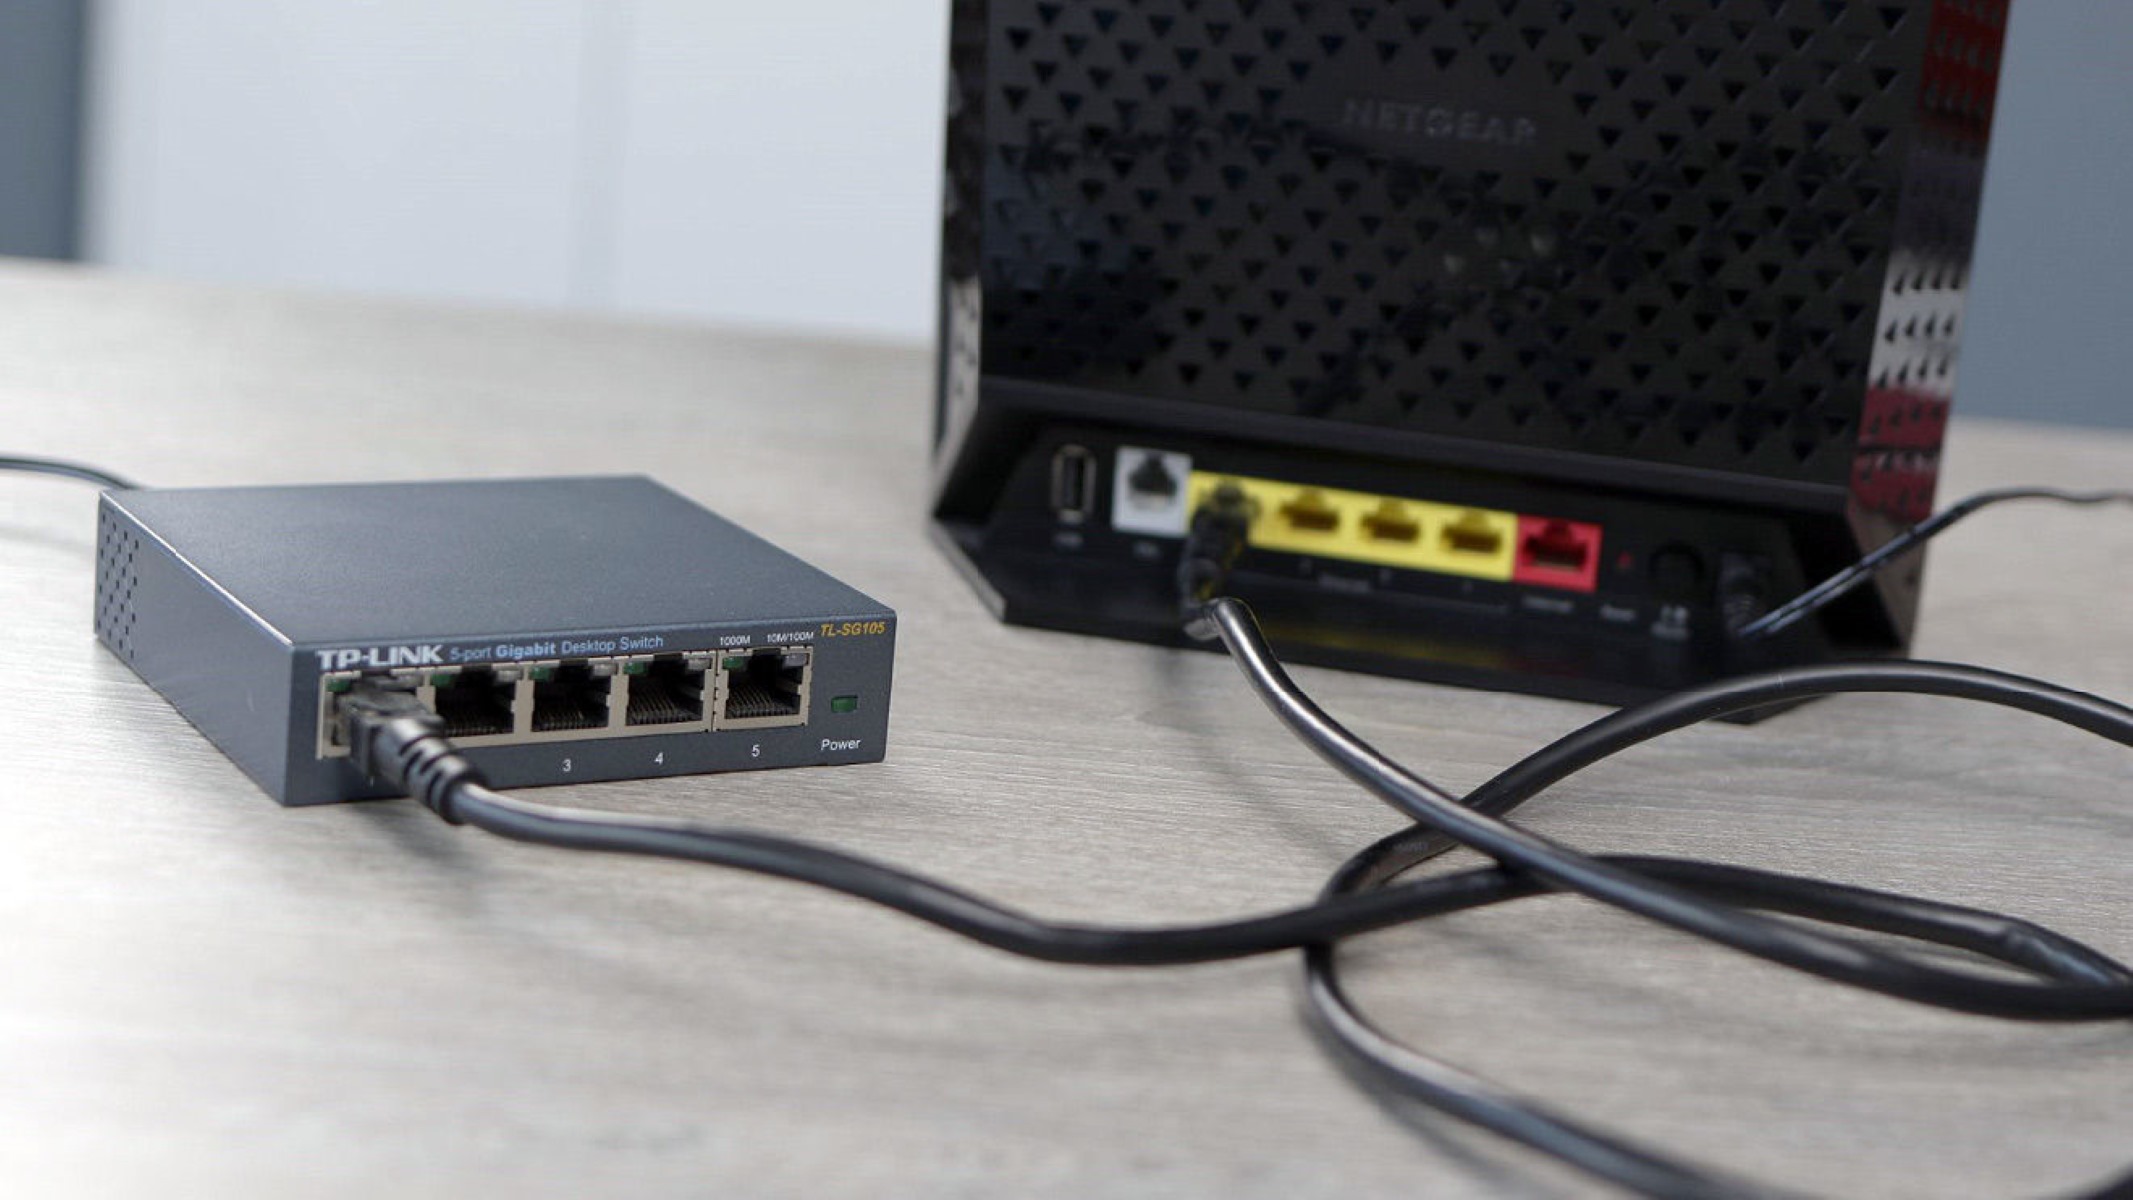
Setting up a network switch for your home network involves several straightforward steps to ensure proper connectivity and functionality. Before beginning the setup process, gather the necessary equipment, including the network switch, Ethernet cables, and a power source. Once you have everything ready, follow these steps to set up your network switch:
- Choose an Ideal Location: Select a suitable location for the network switch, preferably near the center of your home network to minimize cable lengths and optimize connectivity.
- Connect Power: Plug the network switch into a power outlet using the provided power adapter. Ensure that the power source is stable and easily accessible.
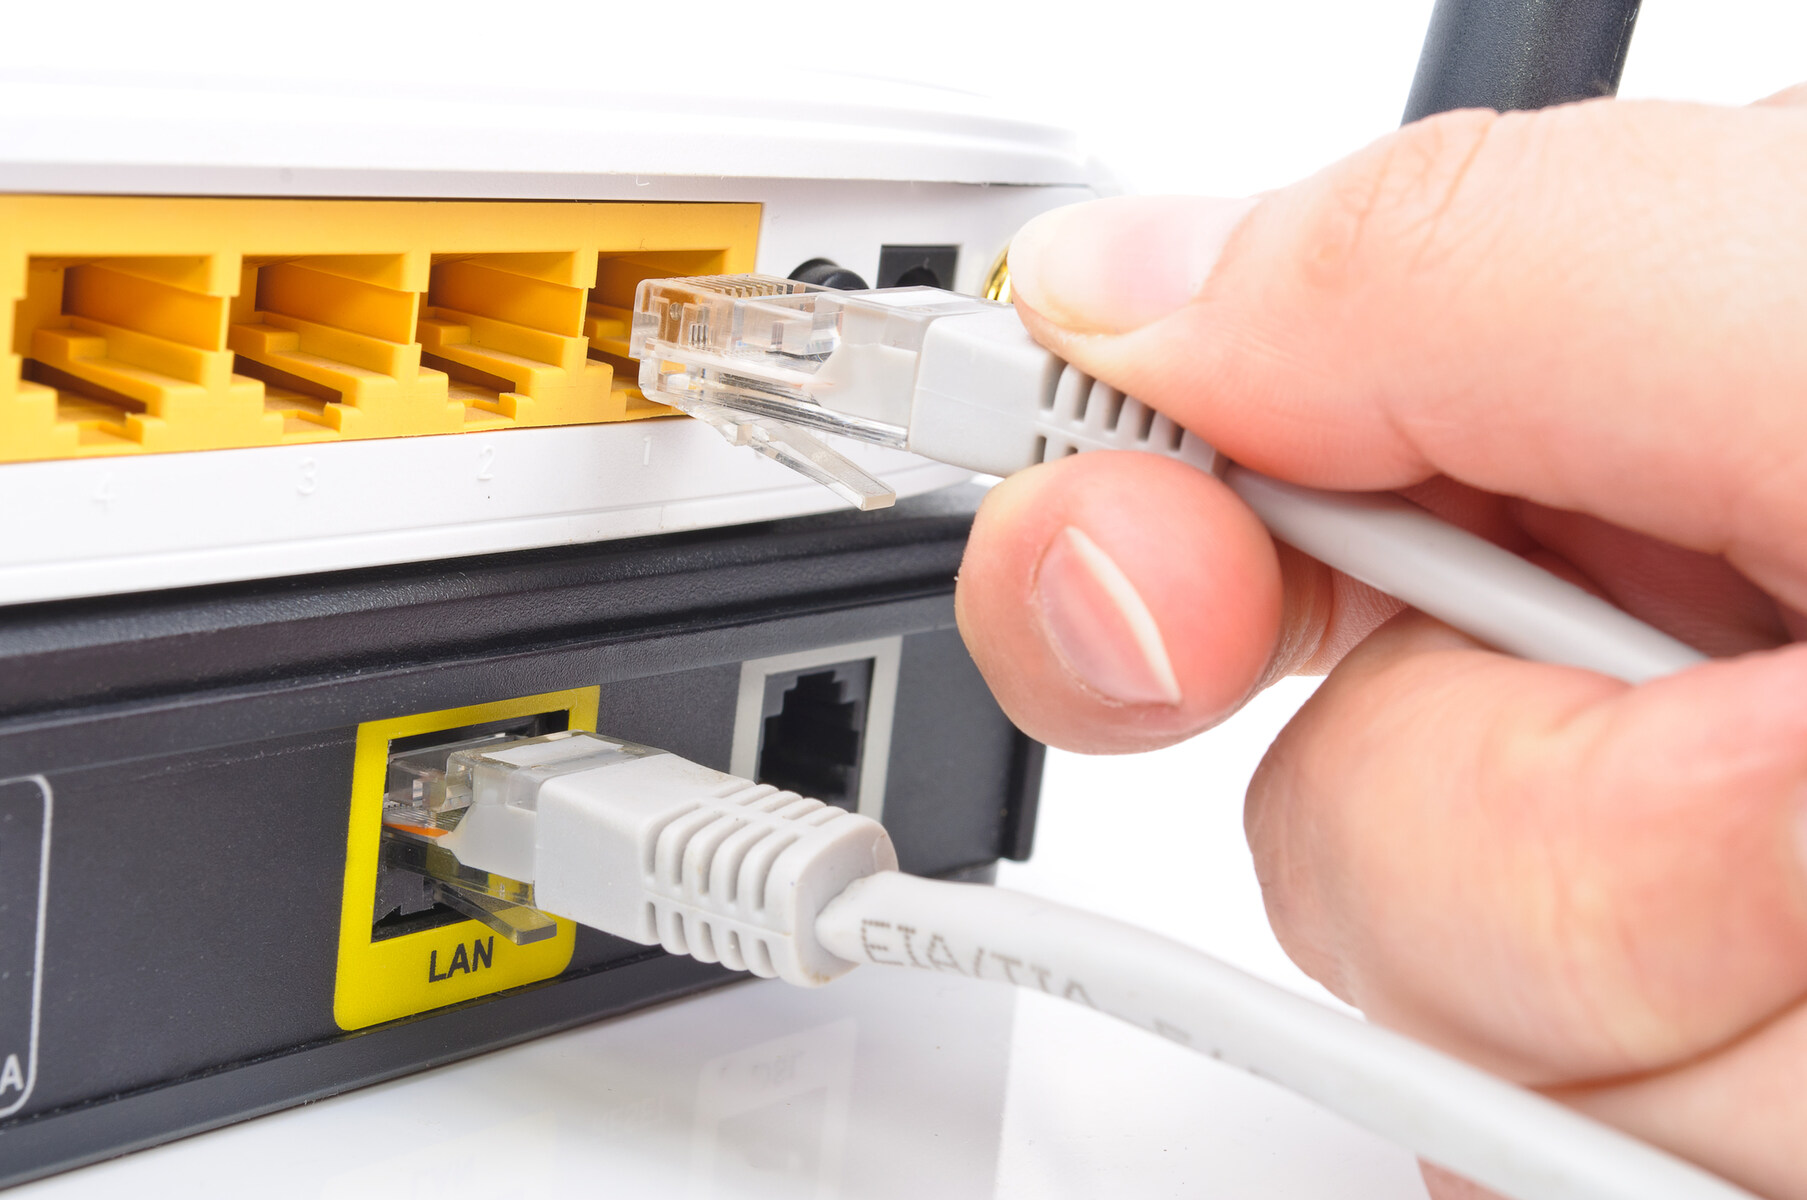
- Connect Devices: Using Ethernet cables, connect the devices in your home network, such as computers, printers, gaming consoles, and media streaming devices, to the available ports on the network switch.
- Establish Uplink Connectivity: If your network switch has an uplink port, connect it to your router or modem using an Ethernet cable. This allows the switch to access the internet and communicate with devices outside the local network.
- Power On and Verify Connectivity: Power on the network switch and connected devices. Verify that the devices are successfully communicating through the switch by checking for network connectivity and proper link status indicators on the switch and connected devices.
Once the network switch is physically set up and connected to the devices in your home network, you can proceed to configure the switch to optimize its performance and tailor its settings to your specific requirements. The next section will delve into the process of configuring the network switch to ensure seamless and efficient network operations.
Configuring the Network Switch
Configuring a network switch involves customizing its settings to suit the specific requirements of your home network. While unmanaged switches do not require configuration and operate as plug-and-play devices, managed and smart switches offer a range of customization options to optimize network performance and security.
Accessing the switch’s management interface is the first step in the configuration process. Managed switches typically feature a web-based interface or a command-line interface (CLI) for configuration. Smart switches often provide a user-friendly web interface that allows users to adjust settings without the complexity of a CLI.
Key configuration settings to consider include:
- VLAN Configuration: Virtual LANs (VLANs) enable the segmentation of a network into separate logical networks, enhancing security and network performance. By assigning devices to specific VLANs, you can control traffic flow and isolate devices for improved network management.
- Quality of Service (QoS): QoS settings allow you to prioritize certain types of network traffic, ensuring that critical applications, such as voice over IP (VoIP) or video streaming, receive sufficient bandwidth for optimal performance.
- Port Mirroring: This feature allows you to mirror the traffic from one port to another, facilitating network monitoring and troubleshooting.
- Link Aggregation: Also known as port trunking, link aggregation combines multiple physical links into a single logical link, increasing bandwidth and providing redundancy for critical connections.
- Security Settings: Implement security measures such as MAC address filtering, port security, and access control lists (ACLs) to safeguard the network against unauthorized access and potential threats.
After configuring the switch settings to align with your network requirements, it is essential to save the changes and test the network to ensure that the new configurations are functioning as intended. Periodically reviewing and adjusting the switch configurations based on evolving network needs and performance considerations can further optimize the network’s efficiency and security.
By effectively configuring the network switch, you can tailor its operation to suit your home network’s unique demands, empowering you to manage network traffic, enhance performance, and bolster security measures to create a robust and reliable networking environment.
Testing the Network Switch
After setting up and configuring the network switch, it is crucial to conduct thorough testing to ensure that the switch is functioning as expected and delivering the intended improvements to your home network. Testing the network switch involves verifying connectivity, assessing network performance, and confirming the successful implementation of any configured settings.
Here are the essential steps to test the network switch:
- Device Connectivity: Confirm that all devices connected to the network switch can communicate with each other seamlessly. Test the connectivity of wired devices by transferring data, accessing shared resources, and verifying internet access, if applicable.
- Bandwidth and Speed Tests: Evaluate the network switch’s impact on network performance by conducting bandwidth and speed tests. Compare the data transfer speeds before and after the switch installation to gauge any improvements in network efficiency and data transfer rates.
- QoS and VLAN Testing: If quality of service (QoS) settings and virtual LANs (VLANs) have been configured, test their functionality by prioritizing specific types of network traffic and ensuring that VLAN segmentation is effectively isolating and managing network traffic as intended.
- Security Checks: Verify that the security settings implemented on the network switch, such as MAC address filtering and port security, are effectively safeguarding the network against unauthorized access and potential security threats.
- Redundancy and Link Aggregation: If link aggregation has been configured, test the redundancy and load-balancing capabilities by simulating link failures and assessing the switch’s ability to maintain network connectivity and performance through alternate paths.
Throughout the testing process, document any issues, inconsistencies, or areas for improvement. Addressing any identified issues promptly can prevent potential disruptions and ensure the network switch operates optimally.
By conducting comprehensive testing, you can validate the successful integration of the network switch into your home network, confirm the implementation of desired performance enhancements, and identify any areas requiring further optimization or adjustments. Regular testing and monitoring of the network switch will contribute to a reliable and efficient home network environment.
Conclusion
Setting up a network switch for home networking can significantly improve the performance, efficiency, and management of your home network. By understanding the role of network switches, selecting the right switch, and following the setup and configuration processes, you can create a robust and reliable networking environment tailored to your specific needs.
Network switches play a pivotal role in directing network traffic, optimizing connectivity, and enhancing the overall performance of a home network. Whether you have a small network with basic connectivity requirements or a larger network with advanced traffic management needs, choosing the appropriate switch is crucial for achieving the desired network improvements.
After selecting and setting up the network switch, configuring its settings to prioritize traffic, enhance security, and manage network segments can further refine the network’s operation. Thorough testing of the switch’s connectivity, performance, and implemented configurations ensures that the switch seamlessly integrates into the home network and delivers the intended benefits.
By following the comprehensive guide provided in this article, you have gained the knowledge and insights necessary to set up, configure, and test a network switch for your home network. Embracing the capabilities of network switches empowers you to create a resilient and efficient networking infrastructure that supports your digital activities and connectivity requirements.
As technology continues to advance and networking needs evolve, staying informed about the latest networking trends and best practices will further enhance your ability to optimize and expand your home network. By leveraging the potential of network switches and staying attuned to emerging networking solutions, you can continue to elevate the performance and capabilities of your home network for years to come.