Introduction
Setting up a router connection to a hotspot can significantly expand your network connectivity options, providing flexibility and convenience for your internet usage. By leveraging the power of a hotspot, you can establish a reliable internet connection in locations where traditional wired connections may not be available. This step-by-step guide will walk you through the process of configuring your router to connect to a hotspot, allowing you to enjoy seamless internet access in various settings.
Whether you're at home, in a remote office, or on the go, connecting your router to a hotspot can ensure that you stay connected to the online world. This guide will empower you to harness the potential of your router and hotspot, enabling you to create a robust and versatile network environment.
In the following sections, we will delve into the essential steps required to set up your router connection to a hotspot. From accessing the router settings to configuring the connection and testing its functionality, each step will be thoroughly explained to provide you with a comprehensive understanding of the process. By following this guide, you will be equipped with the knowledge and skills to seamlessly integrate your router with a hotspot, unlocking a myriad of possibilities for internet connectivity.
Stay tuned as we embark on this journey to enhance your networking capabilities and elevate your internet experience through the seamless integration of your router with a hotspot. Let's dive into the step-by-step process of establishing a robust and reliable connection that aligns with your dynamic connectivity needs.
Step 1: Accessing the Router Settings
Accessing the router settings is the initial and crucial step in configuring your router to connect to a hotspot. This process allows you to enter the router's administrative interface, where you can make the necessary adjustments to establish a connection with the hotspot. Here's a detailed walkthrough of accessing the router settings:
-
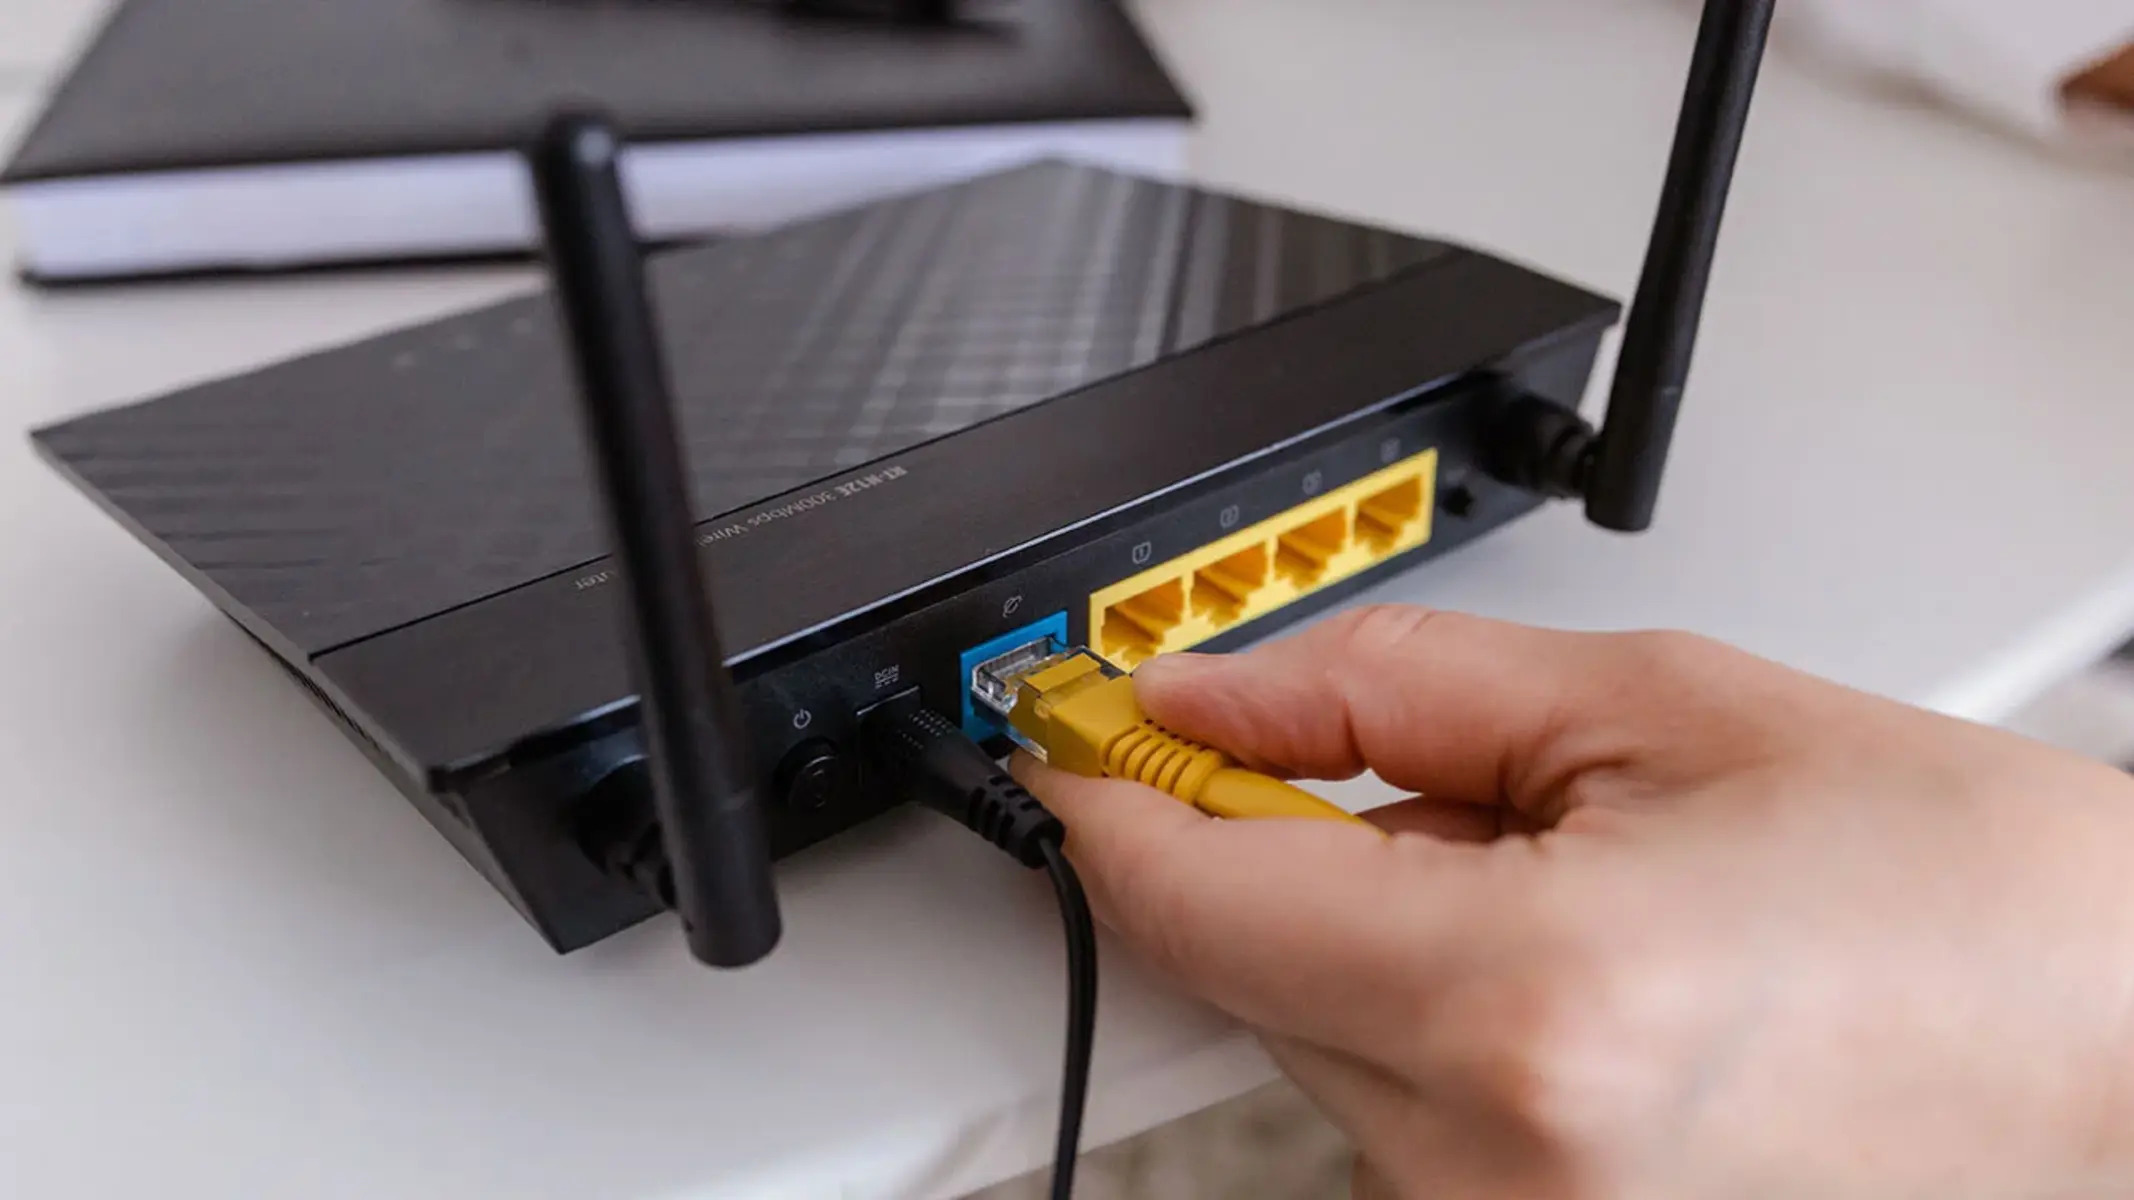
Connect to the Router: Begin by connecting your computer or device to the router either via a wired Ethernet connection or through a secure Wi-Fi network. Ensure that you are connected to the router's network to proceed with accessing its settings.
-
Open a Web Browser: Launch a web browser such as Google Chrome, Mozilla Firefox, or Microsoft Edge on your computer or device. In the address bar, type the default IP address of the router. Common default IP addresses for routers include 192.168.0.1, 192.168.1.1, or 192.168.2.1. Press Enter to navigate to the router's login page.
-
Enter Login Credentials: Upon reaching the router's login page, you will be prompted to enter the router's administrative credentials. These credentials typically include a username and password. Refer to the router's documentation or check the manufacturer's website for the default login credentials if you haven't customized them previously.
-
Access the Settings Interface: After successfully entering the correct login credentials, you will gain access to the router's settings interface. This interface serves as the control center for configuring various aspects of the router, including network connections, security settings, and firmware updates.
-
Navigate to Wireless Settings: Within the router's settings interface, locate the section related to wireless or Wi-Fi settings. This is where you will configure the router to connect to the hotspot. Depending on the router model and firmware, the specific location of the wireless settings may vary. Look for options related to wireless networks, SSID, and network modes.
By following these steps, you will successfully access the router settings, paving the way for the subsequent configuration of the router's connection to the hotspot. This foundational step sets the stage for seamless integration between your router and the hotspot, enabling you to harness the combined power of both networking components to expand your internet connectivity options.
Step 2: Connecting to the Hotspot
Connecting your router to a hotspot involves establishing a direct link between the router and the wireless network provided by the hotspot. This crucial step enables your router to effectively tap into the internet connectivity offered by the hotspot, expanding your network's reach and flexibility. Here's a detailed walkthrough of the process of connecting your router to the hotspot:
-
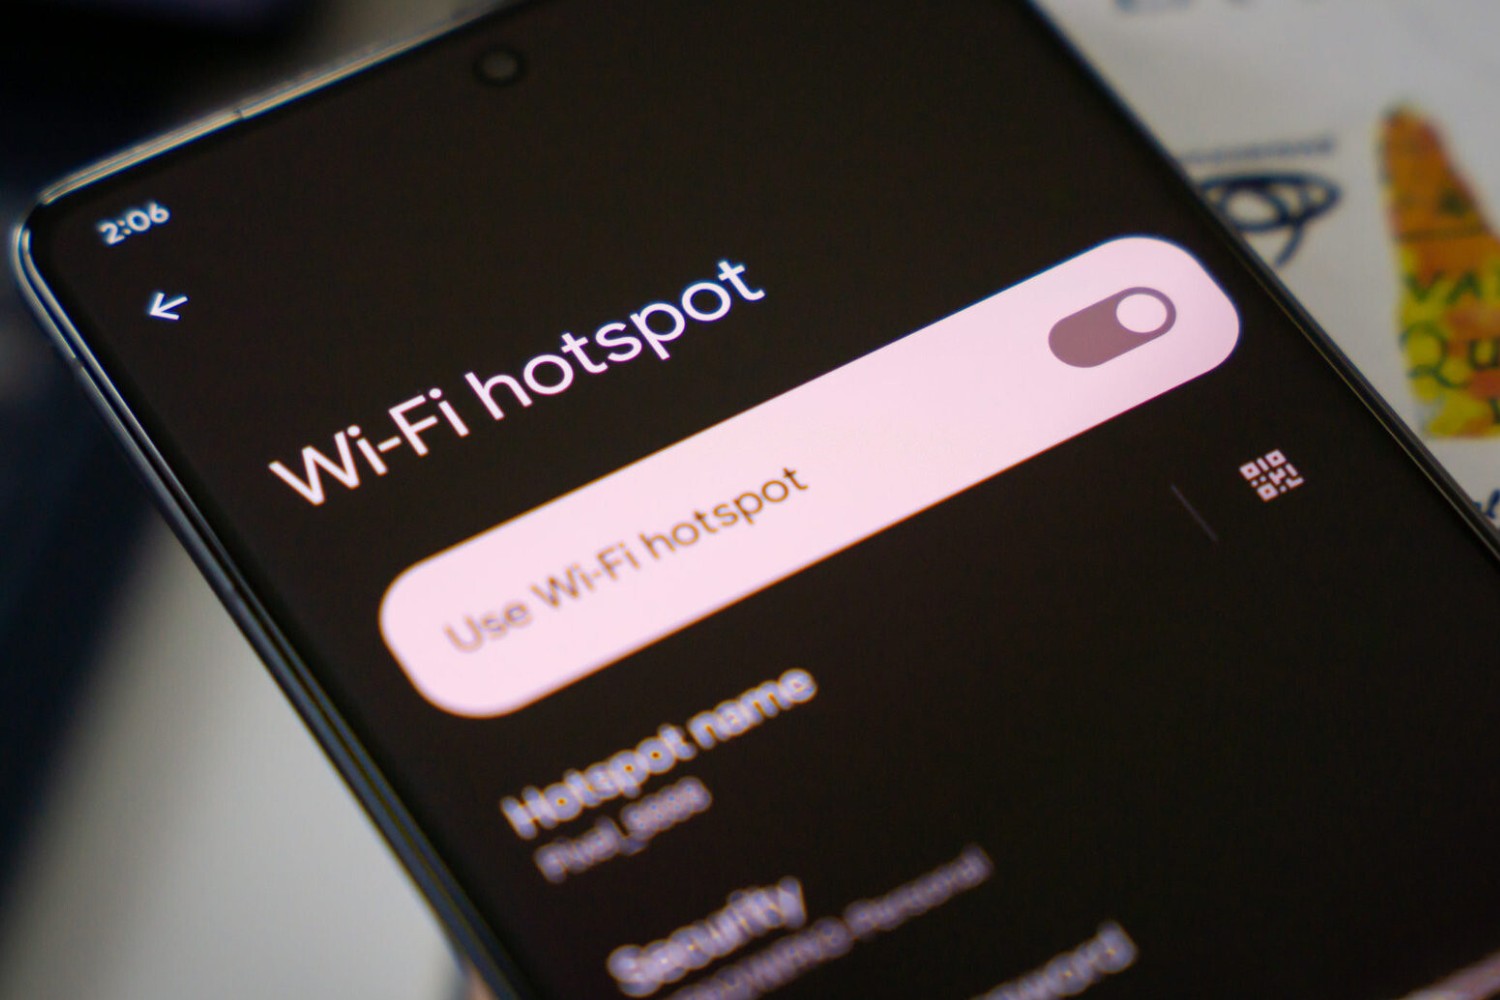
Identify the Hotspot Network: Begin by identifying the specific wireless network (SSID) associated with the hotspot. This information is typically available through the hotspot provider or can be found by scanning for available Wi-Fi networks on a device within range of the hotspot. Take note of the SSID and, if applicable, the security key or passphrase required to connect to the hotspot.
-
Access Router's Wireless Settings: Return to the router's settings interface, as accessed in the previous step, and navigate to the section dedicated to wireless or Wi-Fi settings. Locate the option to add a new wireless network or connect to an existing network. Depending on the router model, this may be labeled as "Wireless Setup," "Wi-Fi Configuration," or a similar designation.
-
Scan for Available Networks: Within the router's wireless settings, initiate a scan for available wireless networks. The router will search for nearby Wi-Fi networks, including the hotspot's network, and display a list of detected networks. Look for the SSID associated with the hotspot in the list of available networks.
-
Connect to the Hotspot: Once the hotspot's SSID is identified in the list of available networks, select it and proceed to establish a connection. If the hotspot is secured with a password, you will be prompted to enter the security key or passphrase. Input the required credentials to authenticate and connect the router to the hotspot.
-
Verify Connection Status: After entering the necessary credentials, the router will attempt to establish a connection to the hotspot. Monitor the connection status within the router's settings interface to ensure that the connection is successfully established. Upon successful connection, the router will be linked to the hotspot, allowing it to utilize the hotspot's internet connection for network activities.
By following these steps, you will effectively connect your router to the hotspot, enabling seamless integration between the two components. This connection opens up a myriad of possibilities for extending internet connectivity to areas within the range of the hotspot, enhancing the overall flexibility and reliability of your network. With the router now linked to the hotspot, you are ready to proceed with configuring the connection to ensure optimal performance and functionality.
Step 3: Configuring the Router Connection
Configuring the router connection to the hotspot is a pivotal stage in the process of integrating the two components seamlessly. This step involves adjusting the router's settings to optimize its connection to the hotspot, ensuring stable and efficient utilization of the hotspot's internet connectivity. Here's a comprehensive guide to configuring the router connection:
-
Access Router's Wireless Settings: Return to the router's settings interface, as accessed in the initial step, and navigate to the section dedicated to wireless or Wi-Fi settings. Look for options related to the connected hotspot network, including SSID, security settings, and network mode configurations.
-
Customize Wireless Network Settings: Within the router's wireless settings, locate the entry corresponding to the connected hotspot network. Here, you can customize various settings to enhance the router's connection to the hotspot. This may include adjusting the network mode (e.g., 802.11ac, 802.11n) and selecting the appropriate frequency band (2.4GHz or 5GHz) to optimize wireless performance.
-
Security and Encryption Settings: Ensure that the security and encryption settings for the hotspot connection are configured appropriately. This involves selecting the relevant security protocol (e.g., WPA2-PSK) and entering the corresponding security key or passphrase to authenticate and secure the connection between the router and the hotspot.
-
DHCP and IP Address Allocation: Review the router's DHCP (Dynamic Host Configuration Protocol) settings to manage the allocation of IP addresses within the network. Verify that the router is set to obtain an IP address dynamically from the hotspot's network, allowing seamless integration and communication between devices connected to the router and the hotspot.
-
Quality of Service (QoS) Configuration: Depending on the router model and firmware capabilities, consider configuring Quality of Service (QoS) settings to prioritize specific types of network traffic. This can ensure that critical applications or devices receive optimal bandwidth and network resources when utilizing the hotspot's internet connection through the router.
-
Save and Apply Settings: Once the necessary configurations have been adjusted, save the changes within the router's settings interface. Apply the updated settings to activate the optimized connection between the router and the hotspot, allowing the configured parameters to take effect and enhance the overall network performance.
By meticulously configuring the router's connection to the hotspot, you can maximize the potential of both networking components, creating a robust and reliable network environment. This tailored configuration ensures that the router effectively leverages the hotspot's internet connectivity, providing seamless access to online resources and enhancing the overall network experience. With the router connection now configured, you are ready to proceed to the next stage of testing the connection to validate its functionality and performance.
Step 4: Testing the Connection
After configuring the router's connection to the hotspot, it is essential to conduct thorough testing to validate the functionality and performance of the integrated network setup. This pivotal step allows you to ensure that the router effectively utilizes the hotspot's internet connectivity, providing seamless access to online resources and delivering a reliable network experience. Here's a detailed guide to testing the connection:
-
Internet Browsing: Open a web browser on a device connected to the router and navigate to various websites to verify the internet connectivity. Ensure that web pages load promptly and without interruptions, indicating that the router is successfully tapping into the hotspot's internet connection.
-
Streaming and Downloads: Test the capability of the network by streaming high-definition videos or initiating large file downloads. Monitor the streaming quality and download speeds to assess the network's ability to handle data-intensive tasks effectively.
-
Online Gaming: If applicable, engage in online gaming activities to gauge the network's performance in delivering low-latency and stable connectivity. Assess the responsiveness and stability of the network during gaming sessions to ensure a seamless gaming experience.
-
Device Connectivity: Verify the connectivity of multiple devices to the router and assess their ability to access the internet simultaneously. Ensure that all connected devices experience consistent and reliable internet connectivity without any notable performance degradation.
-
Network Stability: Monitor the network for an extended duration to assess its stability and reliability. Check for any fluctuations in internet connectivity, intermittent disconnections, or latency issues that may impact the overall network experience.
-
Signal Strength and Range: Evaluate the signal strength and coverage range of the router's wireless network, especially in areas where the hotspot's signal may vary. Identify potential dead zones or areas with weak signal reception and consider optimizing the router's placement for improved coverage.
-
Bandwidth Utilization: Assess the utilization of the hotspot's internet bandwidth by monitoring the router's data transfer rates and network usage. Ensure that the router effectively leverages the available bandwidth without imposing undue strain on the hotspot's network resources.
By conducting comprehensive testing of the router's connection to the hotspot, you can validate its performance and functionality, ensuring that it meets the desired standards for internet connectivity. Any identified issues or performance concerns can be addressed through further adjustments to the router's settings, optimizing the integration with the hotspot and enhancing the overall network experience.
With the successful testing of the connection, you have effectively established a robust and reliable network environment that leverages the combined capabilities of the router and the hotspot. This seamless integration empowers you to enjoy expanded internet connectivity options and enhanced network flexibility, catering to your dynamic connectivity needs.
This concludes the comprehensive guide to setting up a router connection to a hotspot, equipping you with the knowledge and skills to seamlessly integrate these networking components and elevate your internet experience.
Conclusion
In conclusion, the process of setting up a router connection to a hotspot entails a series of strategic steps that culminate in the seamless integration of these networking components. By following the step-by-step guide outlined in this article, you have gained the knowledge and insights necessary to establish a robust and reliable connection that expands your internet connectivity options.
The journey began with accessing the router settings, where you navigated the administrative interface to prepare the router for integration with the hotspot. This foundational step laid the groundwork for the subsequent stages, allowing you to proceed with confidence as you embarked on the process of connecting the router to the hotspot.
Connecting the router to the hotspot involved identifying and authenticating the wireless network provided by the hotspot, effectively establishing a direct link that enables the router to tap into the internet connectivity offered by the hotspot. This pivotal step opened up a myriad of possibilities for extending internet access to diverse settings, enhancing the overall flexibility and reach of your network.
The subsequent configuration of the router's connection to the hotspot allowed for the optimization of settings and parameters, ensuring that the router effectively leverages the hotspot's internet connectivity. By customizing wireless network settings, security configurations, and quality of service parameters, you tailored the connection to align with your specific networking requirements, enhancing the overall performance and reliability of the integrated setup.
Finally, thorough testing of the connection validated its functionality and performance, allowing you to assess the network's capabilities in handling a range of tasks, from internet browsing and streaming to online gaming and device connectivity. This comprehensive testing phase ensured that the integrated setup met the desired standards for seamless internet connectivity, providing confidence in the reliability and stability of the network.
As a result of your efforts, you have successfully established a resilient and versatile network environment that harmoniously integrates your router with a hotspot, unlocking a world of possibilities for internet access. Whether at home, in a remote office, or on the go, the seamless integration of your router with a hotspot empowers you to stay connected and productive in diverse settings, catering to your dynamic connectivity needs.
In embracing the process of setting up a router connection to a hotspot, you have not only expanded your internet connectivity options but also honed your skills in networking configuration and troubleshooting. This newfound expertise positions you to navigate the evolving landscape of networking technologies with confidence, empowering you to adapt to new connectivity challenges and opportunities as they arise.
With your router now seamlessly integrated with a hotspot, you are poised to embark on a journey of enhanced connectivity, productivity, and seamless internet access. Embrace the possibilities that this integrated setup offers, and continue to explore the boundless opportunities for leveraging the power of networking to enrich your digital experiences.


