Introduction
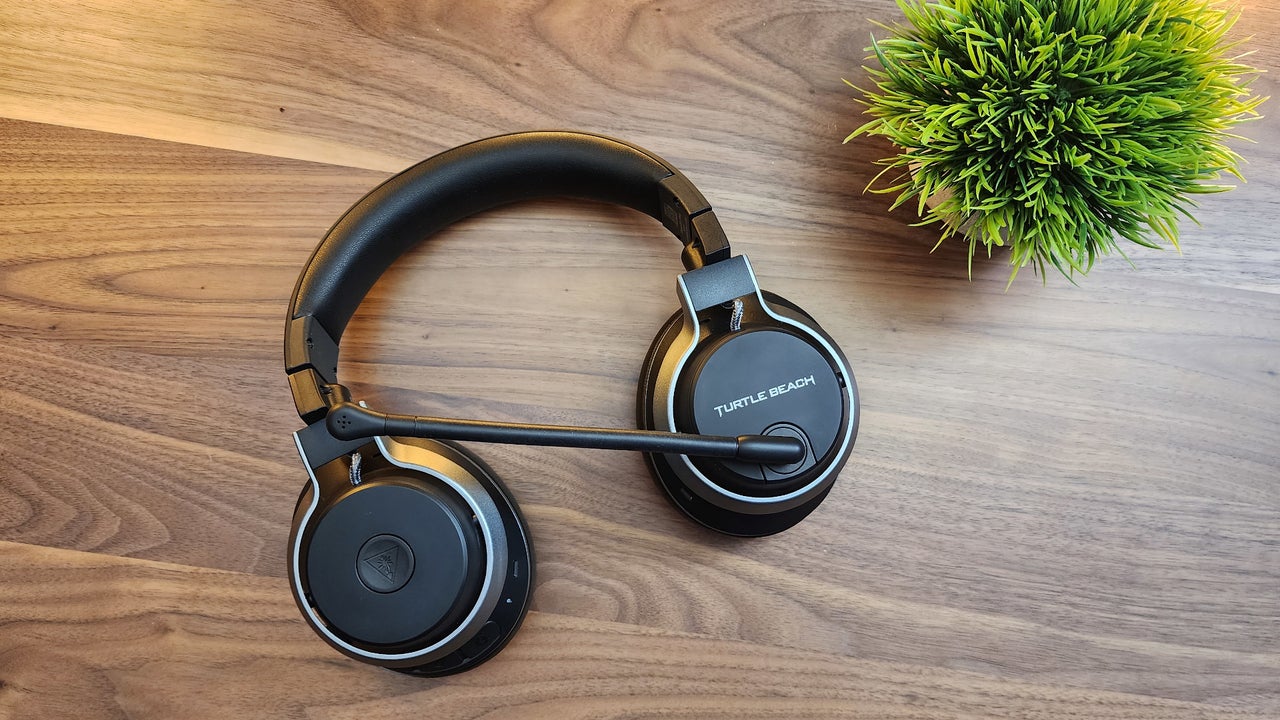
Pairing your Turtle Beach headset with your PS4 can significantly enhance your gaming experience by immersing you in high-quality audio and enabling clear communication with fellow players. The process of connecting your headset to your PS4 is relatively straightforward, but it's essential to follow the correct steps to ensure seamless compatibility and optimal performance.
In this quick guide, you'll learn how to pair your Turtle Beach headset with your PS4, allowing you to dive into your favorite games with exceptional sound quality and communication capabilities. Whether you're a seasoned gamer or new to the world of gaming accessories, this step-by-step tutorial will help you effortlessly set up your headset and make the most of your gaming sessions.
By the end of this guide, you'll have a deep understanding of how to connect your Turtle Beach headset to your PS4 and adjust the audio settings for an immersive and enjoyable gaming experience. So, grab your headset, power up your PS4, and let's get started on this exciting journey to elevate your gaming audio experience!
Step 1: Check Your Turtle Beach Headset Compatibility
Before diving into the process of pairing your Turtle Beach headset with your PS4, it's crucial to ensure that your specific headset model is compatible with the gaming console. While Turtle Beach is known for producing a wide range of high-quality gaming headsets, not all models are designed to work seamlessly with the PS4. To avoid any potential compatibility issues, follow these essential steps to verify the compatibility of your Turtle Beach headset:
-
Review the Headset's Packaging or Documentation: If you still have the original packaging or documentation that came with your Turtle Beach headset, take a moment to review it. Look for any specific indications or labels that highlight compatibility with the PS4. Manufacturers often provide clear information regarding the gaming platforms for which their headsets are optimized.
-
Visit the Official Turtle Beach Website: In case you no longer have the packaging or documentation, head over to the official Turtle Beach website. Navigate to the product page of your headset model and explore the detailed specifications. Look for explicit mentions of PS4 compatibility or any related information regarding console compatibility. Many manufacturers update their product pages to provide comprehensive compatibility details for their gaming accessories.
-
Check for Firmware Updates: Some Turtle Beach headsets may require firmware updates to ensure compatibility with the PS4. Visit the official Turtle Beach support page and search for your headset model. If there are any firmware updates available, follow the provided instructions to update your headset's firmware. This step can address any compatibility issues and optimize the performance of your headset when connected to the PS4.
-
Consult User Forums and Communities: Engaging with gaming communities and user forums can provide valuable insights into the compatibility of specific Turtle Beach headset models with the PS4. Browse through relevant discussions or create a new post to inquire about the compatibility of your headset. Fellow gamers and tech enthusiasts often share their experiences and knowledge, offering practical advice and recommendations.
By thoroughly checking the compatibility of your Turtle Beach headset with the PS4, you can proactively address any potential issues and ensure a smooth pairing process. Once you've confirmed compatibility, you'll be ready to proceed to the next steps and seamlessly connect your headset to your PS4, unlocking an immersive audio experience for your gaming adventures.
Step 2: Connect the Headset to the PS4 Controller
Connecting your Turtle Beach headset to the PS4 controller is a crucial step in establishing a direct audio link between your headset and the gaming console. This seamless connection allows you to experience immersive game audio and enables clear communication with other players during multiplayer sessions. Follow these detailed steps to effortlessly connect your headset to the PS4 controller:
-
Locate the 3.5mm Jack: Begin by identifying the 3.5mm audio jack on your PS4 controller. This is where you will plug in the audio cable of your Turtle Beach headset. The 3.5mm jack is typically located at the bottom of the controller, adjacent to the charging port.
-
Prepare the Audio Cable: Take the audio cable attached to your Turtle Beach headset and ensure it is untangled and free from any obstructions. Straighten the cable to prevent any tangling or twisting during the connection process.
-
Insert the Audio Cable: With the PS4 controller in hand, gently insert the audio cable's 3.5mm plug into the 3.5mm jack on the controller. Apply a steady, even pressure to ensure a secure connection without forcing the plug.
-
Secure the Connection: Once the audio cable is inserted, give it a slight tug to confirm that it is securely plugged into the 3.5mm jack. A secure connection is essential to prevent audio disruptions and ensure a stable link between the headset and the controller.
-
Adjust Cable Positioning: After connecting the audio cable, take a moment to adjust the positioning of the cable to minimize any strain on the connection point. Position the cable in a way that allows for comfortable handling of the controller while ensuring the cable remains securely plugged in.
-
Power On Your Headset: With the audio cable connected to the PS4 controller, power on your Turtle Beach headset according to the manufacturer's instructions. Once the headset is powered on, it should automatically recognize the connection to the PS4 controller and configure the audio settings accordingly.
By following these steps, you can seamlessly connect your Turtle Beach headset to the PS4 controller, establishing a direct audio link that enhances your gaming experience. With the headset successfully connected, you'll be ready to delve into your favorite games and enjoy immersive audio while engaging in multiplayer gameplay on your PS4.
Step 3: Adjust Audio Settings on the PS4
Once your Turtle Beach headset is connected to the PS4 controller, it's essential to fine-tune the audio settings on the gaming console to ensure an optimal audio experience. By adjusting the audio settings, you can customize the sound output, microphone input, and other relevant parameters to suit your preferences and gaming environment. Follow these detailed steps to adjust the audio settings on your PS4 and unlock the full potential of your Turtle Beach headset:
Access the Audio Devices Menu
Begin by accessing the "Audio Devices" menu on your PS4. To do this, navigate to the "Settings" menu on the PS4 home screen using your controller. Scroll down to the "Devices" section and select "Audio Devices." This menu provides access to various audio settings and configurations, allowing you to tailor the audio output and input according to your preferences.
Adjust Headset Volume and Mic Level
Within the "Audio Devices" menu, you can fine-tune the headset volume and microphone level to achieve the desired audio balance. Adjust the "Output to Headphones" setting to control the volume of the audio output through your Turtle Beach headset. You can choose between "All Audio" to hear all audio from the PS4 through the headset or "Chat Audio" to prioritize chat audio over game audio.
Additionally, the "Adjust Microphone Level" option allows you to set the microphone sensitivity for clear voice capture during online gaming sessions. Calibrating the microphone level ensures that your communication with other players is crisp and free from distortion.
Explore Audio Output Settings
Navigate to the "Audio Output Settings" within the "Audio Devices" menu to further customize the audio output on your PS4. Here, you can configure the primary output port for audio, adjust the audio format (e.g., Linear PCM or Bitstream), and optimize the audio channels based on your specific headset capabilities.
By exploring the audio output settings, you can tailor the audio output to align with your Turtle Beach headset's capabilities, ensuring that you experience high-quality sound reproduction and surround sound effects in compatible games.
Enable Virtual Surround Sound (If Applicable)
If your Turtle Beach headset supports virtual surround sound technology, such as Dolby Atmos or DTS Headphone:X, take advantage of these features by enabling virtual surround sound within the audio settings. Virtual surround sound enhances the spatial audio experience, delivering immersive directional cues and heightened realism during gameplay.
Test the Audio Configuration
After adjusting the audio settings on your PS4, it's essential to test the audio configuration to ensure that the changes have been applied successfully. Launch a game or multimedia content that allows you to experience various audio elements, including in-game effects, dialogue, and background music. Verify that the audio output through your Turtle Beach headset meets your expectations in terms of clarity, volume, and spatial positioning.
By meticulously adjusting the audio settings on your PS4, you can optimize the audio output and microphone input for your Turtle Beach headset, creating an immersive and personalized gaming audio experience. With the audio settings finely tuned, you're ready to embark on your gaming adventures with enhanced sound quality and seamless communication capabilities.
Step 4: Test the Headset
After completing the setup process and adjusting the audio settings for your Turtle Beach headset on the PS4, it's crucial to conduct a comprehensive test to ensure that the headset is functioning optimally and delivering the intended audio experience. Testing the headset allows you to verify the audio output quality, microphone performance, and overall functionality, providing the assurance that your gaming audio setup is ready for immersive gameplay. Follow these detailed steps to conduct a thorough test of your Turtle Beach headset on the PS4:
Verify Audio Output
Begin the testing process by launching a game or multimedia content on your PS4 that features a diverse range of audio elements. Pay close attention to the in-game sound effects, ambient noise, and character dialogue to assess the clarity, volume, and spatial positioning of the audio through your Turtle Beach headset. Engage in various gameplay scenarios that showcase different audio dynamics, such as intense action sequences, environmental sounds, and character interactions. By immersing yourself in the audio-rich environment of the game, you can verify that the headset accurately reproduces the intended sound effects and enhances your overall gaming experience.
Test Microphone Functionality
Next, initiate a test of the microphone functionality to ensure clear and distortion-free voice capture during online gaming sessions. Utilize the PS4's built-in microphone testing features or engage in a voice chat with friends or fellow players to evaluate the microphone's performance. Speak at varying volumes and distances from the microphone to assess its sensitivity and noise-cancellation capabilities. Request feedback from other participants regarding the clarity and intelligibility of your voice, confirming that the microphone of your Turtle Beach headset effectively facilitates seamless communication in multiplayer games.
Evaluate Comfort and Fit
During the testing phase, pay attention to the comfort and fit of your Turtle Beach headset, especially during extended gaming sessions. Assess the weight distribution, padding, and adjustability of the headset to ensure that it remains comfortable and securely positioned during gameplay. Take note of any pressure points or discomfort that may arise over time, as prolonged gaming sessions require a headset that offers both audio performance and ergonomic comfort. By evaluating the headset's comfort and fit, you can make informed adjustments or confirm that it meets your expectations for long-term wearability.
Confirm Feature Integration
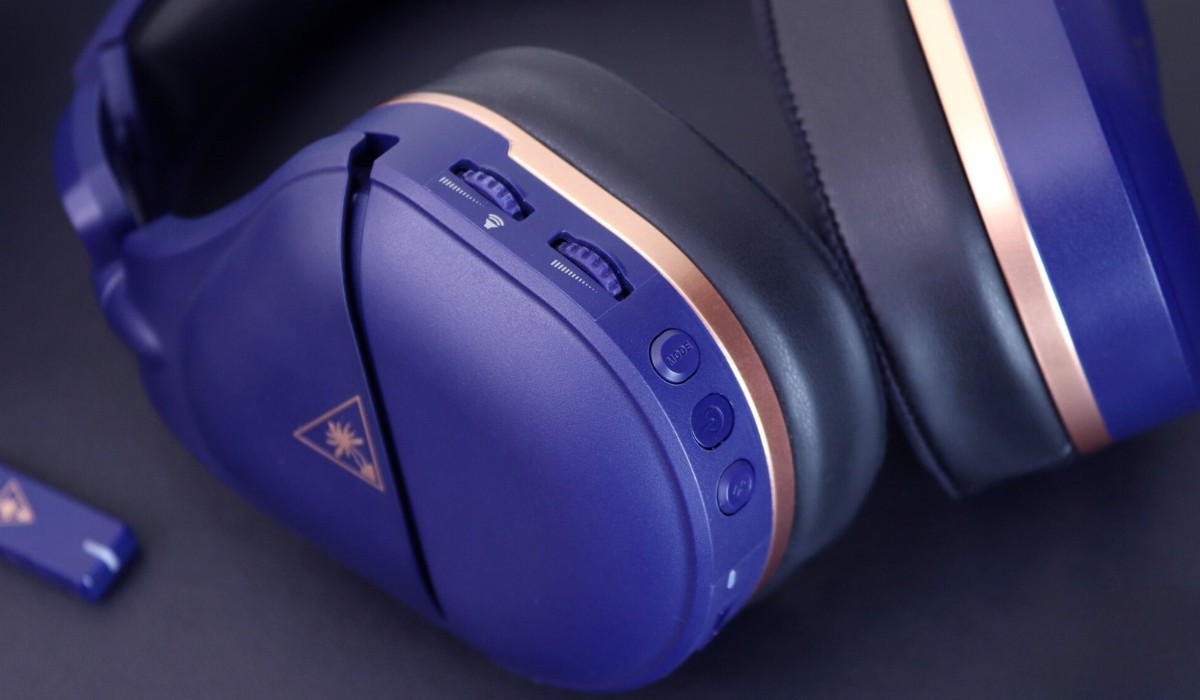
If your Turtle Beach headset includes additional features such as customizable audio presets, mic monitoring, or onboard controls, take the opportunity to confirm the seamless integration and functionality of these features during the testing phase. Experiment with different audio presets to identify the most suitable sound profile for your gaming preferences, and assess the responsiveness and effectiveness of any onboard controls or buttons. If mic monitoring is available, verify that it provides real-time feedback on your voice levels, enhancing your awareness of your own voice during gaming communication.
By conducting a comprehensive test of your Turtle Beach headset on the PS4, you can validate its audio performance, microphone functionality, comfort, and feature integration, ensuring that it aligns with your gaming requirements and elevates your overall gaming experience. With the headset successfully tested and optimized, you're now equipped to immerse yourself in captivating gameplay, leveraging the exceptional audio capabilities of your Turtle Beach headset for an unparalleled gaming adventure.
Conclusion
In conclusion, successfully pairing your Turtle Beach headset with your PS4 opens the door to a captivating gaming audio experience, enriching your gameplay with immersive soundscapes and seamless communication capabilities. By following the comprehensive steps outlined in this guide, you have gained valuable insights into the process of connecting and optimizing your headset for use with the PS4, setting the stage for an enhanced gaming journey.
Through meticulous verification of compatibility, precise connection to the PS4 controller, fine-tuning of audio settings, and comprehensive testing, you have established a robust audio setup that aligns with your gaming preferences. By ensuring that your Turtle Beach headset is seamlessly integrated with the PS4, you have unlocked the potential for crystal-clear audio reproduction, immersive virtual surround sound, and reliable voice communication during multiplayer gaming sessions.
As you embark on your gaming adventures with your newly paired Turtle Beach headset and PS4, you can expect to be immersed in the rich audio landscapes of your favorite games, where every sound effect, musical score, and dialogue comes to life with exceptional clarity and depth. The optimized microphone functionality enables seamless communication with fellow players, fostering teamwork and camaraderie in online multiplayer experiences.
Furthermore, the meticulous testing of your headset ensures that it not only delivers outstanding audio performance but also prioritizes comfort and ergonomic design, allowing you to indulge in extended gaming sessions without compromising on wearability or fatigue. The seamless integration of additional features, such as customizable audio presets and mic monitoring, further enhances the versatility and personalization of your gaming audio setup.
With your Turtle Beach headset seamlessly paired with your PS4 and optimized for exceptional audio performance, you are poised to elevate your gaming experiences to new heights, immersing yourself in captivating narratives, competitive multiplayer battles, and thrilling gameplay moments with unparalleled audio fidelity and communication clarity.
By embracing the seamless integration of your Turtle Beach headset with your PS4, you have unlocked the potential for a truly immersive and engaging gaming experience, where every audio nuance and communication interaction contributes to a dynamic and captivating gameplay environment. As you venture into the virtual worlds of your favorite games, the rich audio landscapes and seamless communication capabilities await, enhancing your gaming escapades with unparalleled audio fidelity and immersive realism.


