Introduction
Welcome to this guide on how to download Vshare on iOS 10! Vshare is a popular app that allows you to download and install a wide range of applications on your iOS device. Whether you’re looking for games, productivity tools, or entertainment apps, Vshare has got you covered.
With the release of iOS 10, many users are eager to explore the possibilities of this new operating system. However, Apple’s strict guidelines make it challenging to download apps that are not available on the official App Store. This is where Vshare comes in handy.
Vshare offers a vast library of apps that aren’t available on the App Store, including paid apps for free. It is a great alternative for users who want to explore a wider range of applications and customize their iOS experience. Additionally, Vshare provides a user-friendly interface and a seamless downloading and installation process.
In this guide, we will walk you through the step-by-step process of downloading Vshare on iOS 10. No matter if you are using an iPhone, iPad, or iPod touch, you can follow these simple instructions to start enjoying the benefits of Vshare.
So, if you’re ready to access a whole new world of apps and take your iOS experience to the next level, let’s get started with the download process.
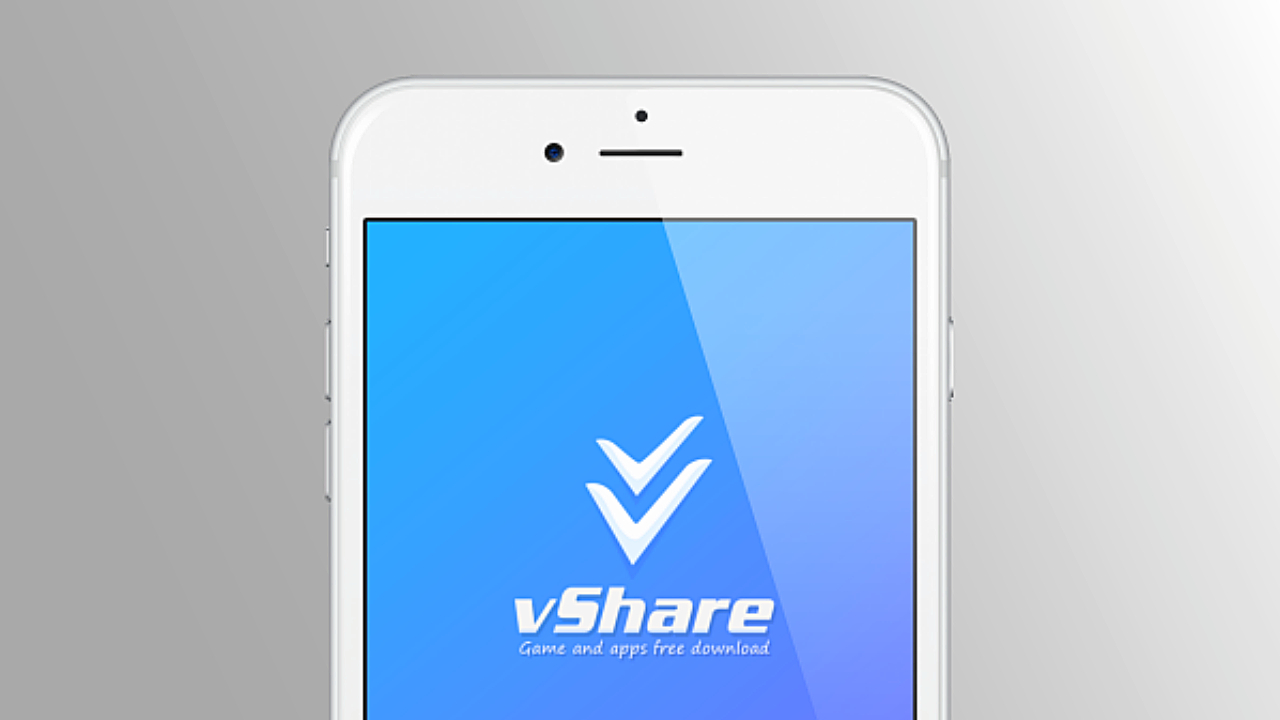
Overview of Vshare for iOS 10
Vshare is a third-party app store that provides a platform for iOS users to download and install applications that are not available on the official App Store. It offers a vast collection of apps, including games, utilities, and entertainment apps.
One of the key features of Vshare is that it allows users to download paid apps for free, providing them with an opportunity to explore premium applications without having to spend any money. This makes it a popular choice among iOS users who are looking for cost-effective ways to access a wide range of apps.
With Vshare, you can discover and download apps that are not approved by Apple’s strict guidelines. This gives you the freedom to explore unique and innovative applications that may not be available on the App Store. It also allows you to customize your iOS device and personalize your user experience according to your preferences.
Another advantage of using Vshare is its user-friendly interface, which makes the app store easy to navigate and search for desired apps. You can simply use the search bar to look for specific apps or browse through different categories to discover new and interesting applications.
Moreover, Vshare offers a seamless downloading and installation process. Once you find the app you want, you can download it directly to your iOS device without the need for complex software or additional steps. The installation process is also straightforward, ensuring that you can start using your chosen app in no time.
It is important to note that Vshare is not available on the official App Store due to Apple’s strict guidelines. However, by following the steps outlined in this guide, you can easily download and install Vshare on your iOS 10 device, gaining access to a wide variety of apps that are not available through traditional channels.
Now that we have provided an overview of Vshare for iOS 10, let’s dive into the step-by-step process of downloading and installing Vshare on your device.
Step 1: Check device compatibility
Before you begin the process of downloading Vshare on your iOS 10 device, it’s essential to ensure that your device is compatible with the app.
Vshare is compatible with a wide range of iOS devices, including iPhones, iPads, and iPod touches. However, it is worth noting that the compatibility may vary depending on the specific device model and the iOS version you are using.
To check if your device is compatible with Vshare, follow these steps:
- Unlock your iOS device and go to the home screen.
- Tap on the “Settings” app to access the device settings.
- Scroll down and tap on “General.”
- Next, tap on “About.”
- Under the “Software Version” section, you will see the iOS version currently running on your device.
- Now, go to your preferred search engine and search for the latest supported iOS version for Vshare. This information will help you determine if your iOS version is compatible with Vshare.
If your device is running an iOS version that is not supported by Vshare, you may need to consider updating your operating system to a compatible version or explore alternative methods to download similar apps that are compatible with your device.
Once you have confirmed that your device is compatible with Vshare, you can proceed to the next step and download the Vshare installer on your computer.
Step 2: Download Vshare installer on your computer
To download Vshare on your iOS 10 device, you will need to download the Vshare installer on your computer first. The installer will allow you to transfer and install Vshare on your iOS device.
Follow these steps to download the Vshare installer on your computer:
- Open your preferred web browser on your computer and go to the official Vshare website.
- Navigate to the download section or look for a prominent download button.
- Click on the download button to start downloading the Vshare installer.
- Wait for the download to complete. The download time may vary depending on your internet connection speed.
- Once the download is finished, navigate to the folder where you saved the Vshare installer.
- Double-click on the installer file to run it.
- Follow the on-screen instructions to complete the installation process. Make sure to read and accept any terms and conditions if prompted.
After the installation is complete, you will have the Vshare installer ready on your computer. Now, you are one step closer to downloading Vshare on your iOS 10 device.
With the Vshare installer in place, you can now proceed to the next step, which involves connecting your iOS device to the computer.
Step 3: Connect your iOS device to the computer
In order to install Vshare on your iOS 10 device, you need to connect your device to the computer using a USB cable. This will allow the Vshare installer to communicate with your device and transfer the necessary files.
Here are the steps to connect your iOS device to the computer:
- Locate the USB cable that came with your iOS device. If you don’t have the original cable, make sure to use a reliable and compatible USB cable.
- Connect one end of the USB cable to the USB port on your computer.
- Take the other end of the USB cable and connect it to the charging port on your iOS device.
- Once the cable is securely connected, your iOS device should prompt you with a “Trust This Computer” message.
- Unlock your iOS device and tap on “Trust” to establish a connection between your device and the computer.
- Your computer should now recognize your iOS device and display it as a connected device.
Now that your iOS device is successfully connected to the computer, you can move on to the next step, which involves using the Vshare installer to install Vshare on your device.
Note that it is essential to keep your iOS device connected to the computer throughout the installation process to ensure a smooth and uninterrupted installation.
Step 4: Install Vshare on your iOS device using the Vshare installer
Now that you have connected your iOS device to the computer, it’s time to use the Vshare installer to install Vshare on your device. This process will transfer the necessary files and settings to enable the functioning of Vshare.
Follow these steps to install Vshare on your iOS device:
- Locate the Vshare installer that you downloaded on your computer.
- Double-click on the Vshare installer file to launch the installation process.
- Follow the on-screen instructions provided by the installer. Make sure to read and understand each step before proceeding.
- When prompted, select your connected iOS device as the installation destination. This will ensure that Vshare is installed on the correct device.
- Allow the installation process to complete. This may take a few minutes, depending on your computer’s performance and the size of the Vshare installer.
Once the installation is finished, you will see a confirmation message indicating that Vshare has been successfully installed on your iOS device.
It’s important to note that during the installation process, you should not disconnect your iOS device from the computer. This could interrupt the installation and may cause potential issues.
Now that Vshare is installed on your iOS device, we can move on to the next step, where you will need to trust the Vshare certificate.
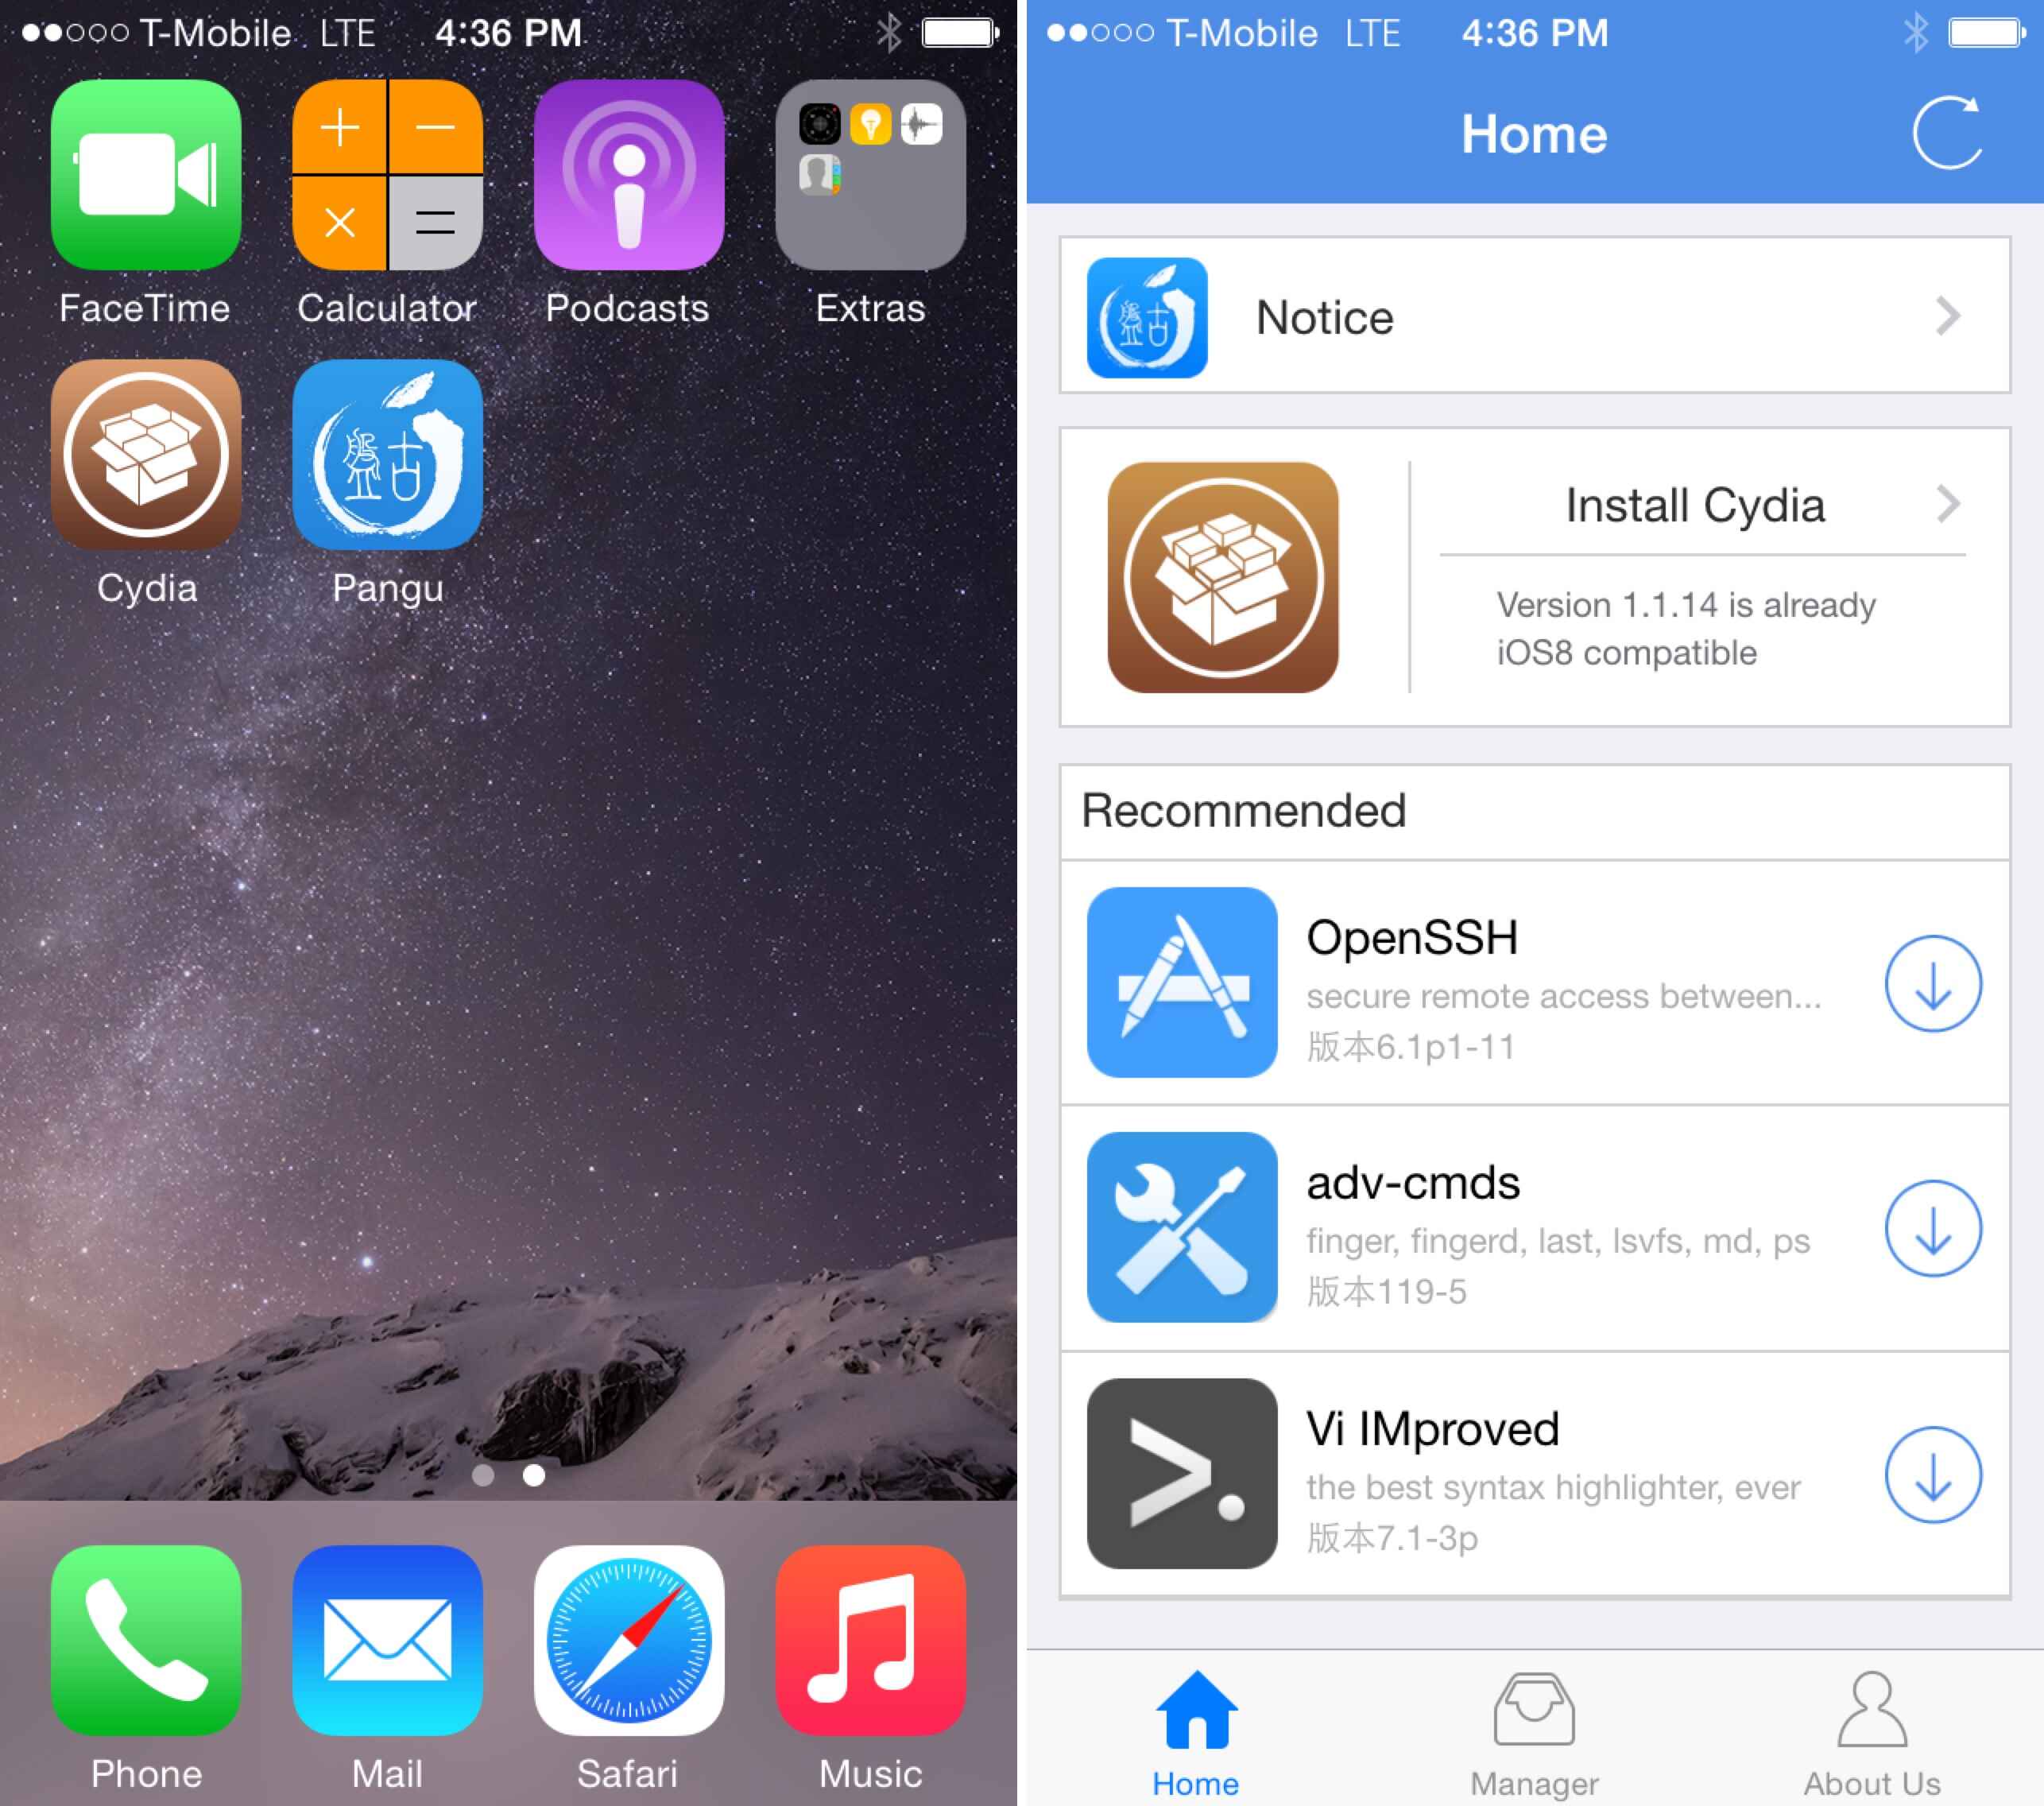
Step 5: Trust the Vshare certificate
After installing Vshare on your iOS device, it is important to trust the Vshare certificate to ensure that your device recognizes Vshare as a trusted source. This will allow you to use Vshare without any restrictions or interruptions.
Here are the steps to trust the Vshare certificate on your iOS device:
- Open the “Settings” app on your iOS device.
- Scroll down and tap on “General.”
- Scroll down again and tap on “Profiles & Device Management.”
- Under the “Enterprise App” section, you should see the Vshare profile listed.
- Tap on the Vshare profile to open it.
- A new screen will appear with details about the Vshare profile. Tap on “Trust” or “Verify.”
- You may be prompted to enter your passcode or provide your device’s security credentials.
- Tap on “Trust” again to confirm your decision.
- Once you have trusted the Vshare certificate, you can exit the settings and proceed to the next step.
By trusting the Vshare certificate, you are allowing your iOS device to run applications downloaded from Vshare without any security concerns. This step ensures a secure and seamless experience with Vshare and the apps you download from it.
With the Vshare certificate trusted, you can now move on to the next step, which involves launching Vshare on your iOS device and exploring the vast library of apps available.
Step 6: Launch Vshare on your iOS device
Now that you have successfully installed Vshare and trusted its certificate, it’s time to launch the app on your iOS device. Launching Vshare will give you access to its vast library of apps that are not available on the official App Store.
Follow these simple steps to launch Vshare on your iOS device:
- Locate the Vshare app icon on your device’s home screen. It should have been automatically added during the installation process.
- Tap on the Vshare app icon to open it.
- Wait for the app to load. This may take a few seconds, depending on your device’s performance.
- Once Vshare is fully loaded, you will be presented with a user-friendly interface listing different categories and featured apps.
- Explore the various categories or use the search bar to find specific apps you are interested in.
- Tap on any app to view more details, such as app screenshots, description, and user reviews.
- If you find an app that you would like to download, tap on the “Download” button next to it.
- Wait for the app to download and install on your device. The time it takes to download and install an app may vary depending on its size and your internet connection speed.
- Once the app is installed, you can find it on your home screen alongside your other apps.
With Vshare launched on your iOS device, you have unlocked a new world of apps and possibilities. Enjoy exploring the wide range of apps available on Vshare and make the most out of your iOS experience.
Now that you know how to launch Vshare and download apps from it, we can move on to the final step of this guide, which involves concluding the process.
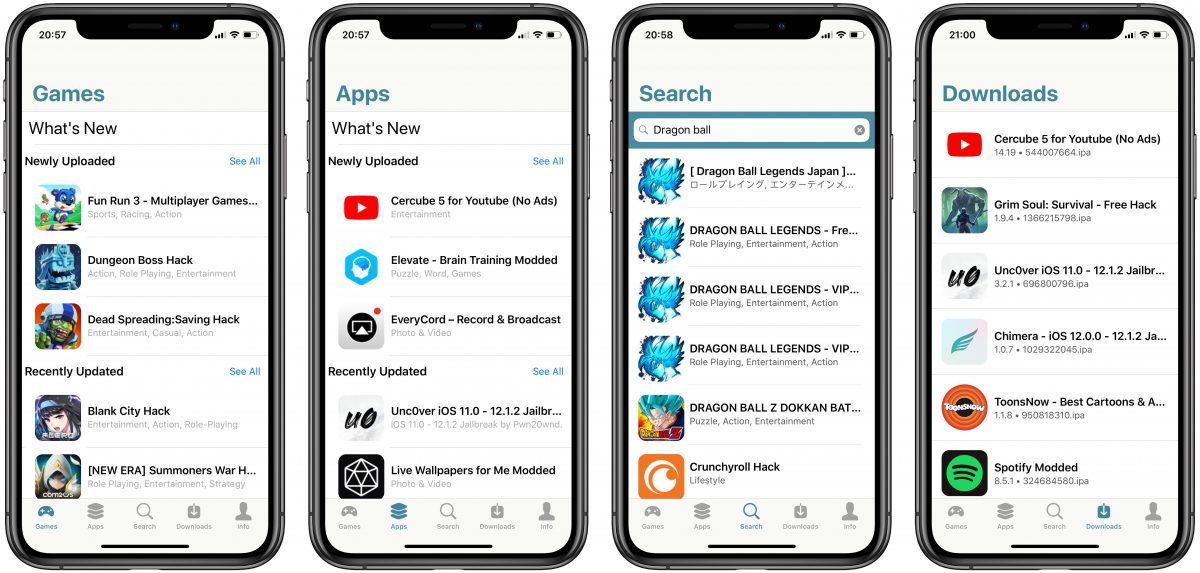
Step 7: Search and download apps from Vshare
Now that you have successfully launched Vshare on your iOS device, it’s time to explore the extensive library of apps available and download the ones that interest you. Vshare offers a wide range of applications, including games, utilities, productivity tools, and much more.
Follow these steps to search and download apps from Vshare:
- Open the Vshare app on your iOS device, and you will be greeted with the home screen.
- Use the search bar located at the top of the screen to search for specific apps. Simply type in the name of the app you are looking for and tap on the search icon.
- Browse through the search results and tap on the app you want to download.
- On the app details page, you will find information such as app description, screenshots, and user ratings. Take a moment to review the information to ensure the app meets your requirements.
- If you decide to download the app, tap on the “Download” button.
- Wait for the app to download and install on your iOS device. The download time will vary depending on the app’s size and your internet connection speed.
- Once the app is successfully installed, you can find it on your device’s home screen or in the app library, depending on your device’s settings.
- Tap on the app’s icon to launch the downloaded app and start using it.
Repeat these steps to search for and download as many apps as you like from Vshare. The wide variety of apps available ensures that you can find something for every interest and need.
Keep in mind that Vshare provides access to both free and paid apps. Make sure to review any pricing information associated with the app before downloading to avoid any unexpected charges.
With this final step completed, you have successfully learned how to search for and download apps from Vshare on your iOS 10 device. Enjoy exploring the vast world of apps that Vshare has to offer and make the most out of your iOS experience!
Conclusion
Congratulations! You have now successfully learned how to download Vshare on your iOS 10 device. Vshare provides you with a wide range of apps that are not available on the official App Store, giving you the ability to customize and enhance your iOS experience.
In this guide, we walked through the step-by-step process of downloading Vshare on your iOS device. We covered steps such as checking device compatibility, downloading the Vshare installer on your computer, connecting your iOS device to the computer, installing Vshare using the Vshare installer, trusting the Vshare certificate, launching Vshare on your iOS device, and finally, searching and downloading apps from Vshare.
By following these steps, you can now take advantage of the extensive app library provided by Vshare. Whether you are looking for games, utilities, or productivity tools, Vshare has you covered. Remember to explore the different categories, use the search function to find specific apps, and read app descriptions and user reviews to make informed decisions.
It’s important to note that Vshare is a third-party app store, and the responsibility for the apps downloaded from Vshare lies with the user. Make sure to exercise caution and review any app before downloading to ensure its safety and legitimacy.
Now that you have the knowledge and tools to download Vshare and discover new apps, go ahead and make the most out of your iOS 10 device. Unlock the potential of your iOS experience with Vshare, and enjoy the wide variety of apps that it has to offer.
Thank you for following this guide, and may your journey with Vshare on your iOS 10 device be filled with exciting and innovative apps!