Introduction
With the ever-increasing prevalence of smartphones and the cloud storage capabilities they offer, it’s no surprise that many of us rely on services like iCloud to store our precious photos and videos. However, there may come a time when you want to download all your photos and videos from iCloud to create backups, organize them on your computer, or simply free up some space on your iCloud storage.
In this article, we will guide you through the steps to download all your photos and videos from iCloud, ensuring that you have a local copy of your cherished memories. Whether you want to preserve your digital albums or safeguard your visual treasures, the process is fairly simple and can be done in just a few steps.
Before we begin, make sure you have a stable internet connection and enough storage space on your device to accommodate the downloaded files. Additionally, ensure that you are using an up-to-date web browser to access iCloud and follow along with this guide.
So, let’s dive in and learn how to download all your photos and videos from iCloud, preserving your memories for years to come!
Step 1: Sign in to iCloud
The first step to downloading all your photos and videos from iCloud is to sign in to your iCloud account. To do this, open your preferred web browser and visit the iCloud website at www.icloud.com.
Once on the iCloud homepage, you will need to enter your Apple ID and password to access your account. If you don’t have an Apple ID, you can create one by selecting the “Create Apple ID” option and following the on-screen instructions.
If you have two-factor authentication enabled for your Apple ID, you will receive a verification code on one of your trusted devices. Enter the verification code when prompted to proceed to the next step.
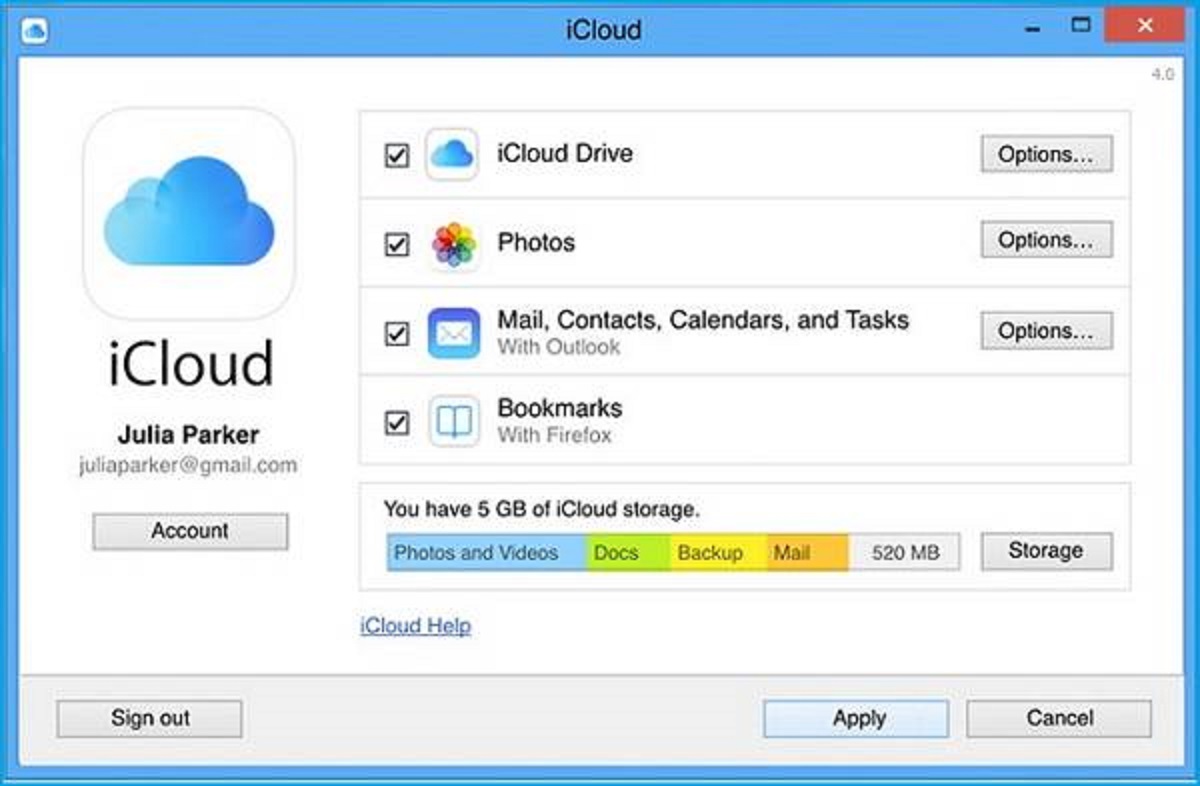
After successfully signing in, you will be directed to the main iCloud dashboard, where you can access various features and settings related to your Apple devices and services. Now, it’s time to move on to the next step and access your iCloud Photos.
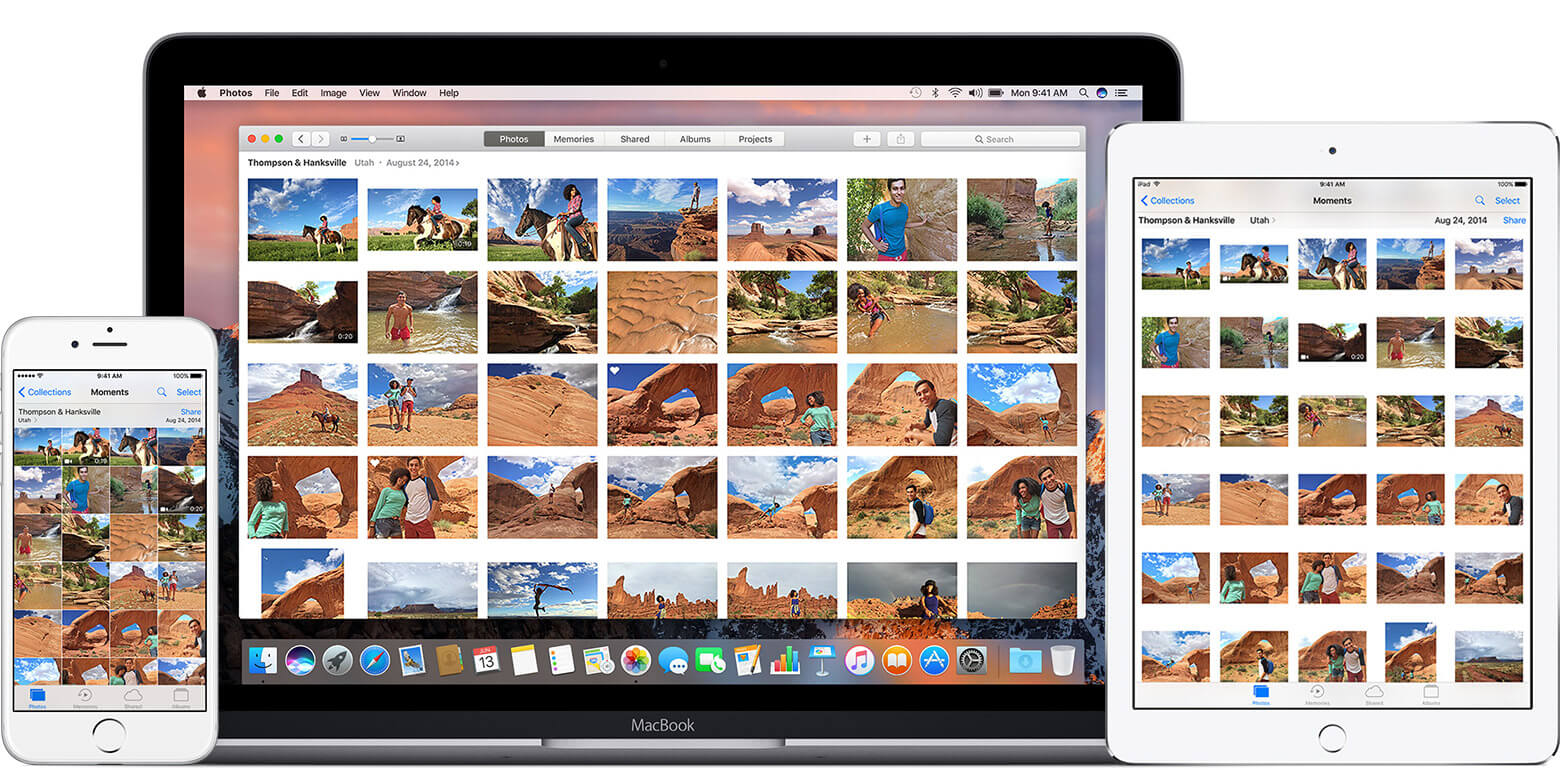
Step 2: Access the iCloud Photos
Once you have signed in to your iCloud account, the next step is to access the iCloud Photos feature. To do this, locate and click on the “Photos” icon on the iCloud dashboard.
After clicking on the Photos icon, you will be redirected to the iCloud Photos page, where you can view and manage your photo library. Here, you will find all your albums, memories, and shared folders.
On the left-hand side of the page, you will see the different albums that are stored on your iCloud account. These albums may include your main photo library, as well as any additional albums you have created or synced from other devices.
To proceed with downloading all your photos and videos, you will need to select the appropriate album. If you want to download all your photos and videos, make sure you are accessing the main album that contains all your media.
Once you have selected the desired album, you are ready to move on to the next step and start the process of downloading your photos and videos from iCloud.
Step 3: Select the All Photos Option
After accessing the iCloud Photos page and selecting the appropriate album, it’s time to choose the option to download all your photos and videos. To do this, look for the “Select Photos” or “Select All” button, usually located at the top or bottom of the album page.
Clicking on the “Select Photos” or “Select All” button will highlight all the media files within the album. This action tells iCloud that you want to download all the photos and videos contained in that specific album.
Keep in mind that if you have multiple albums and you want to download all your photos and videos, you will need to repeat this step for each album individually. This ensures that you download all your media from each album rather than just a single album.
Once you have selected all the photos and videos within the album(s), you are ready to move on to the next step and initiate the download process.
Step 4: Choose All Photos and Videos
Now that you have selected all the photos and videos within the album(s) you want to download, it’s time to choose the option that allows you to download all of them at once. This step ensures that all your media files are included in the download process.
Look for the “Download” or “Download All” button, typically located near the “Select Photos” or “Select All” button. Clicking on this button will initiate the download process for all the selected photos and videos.
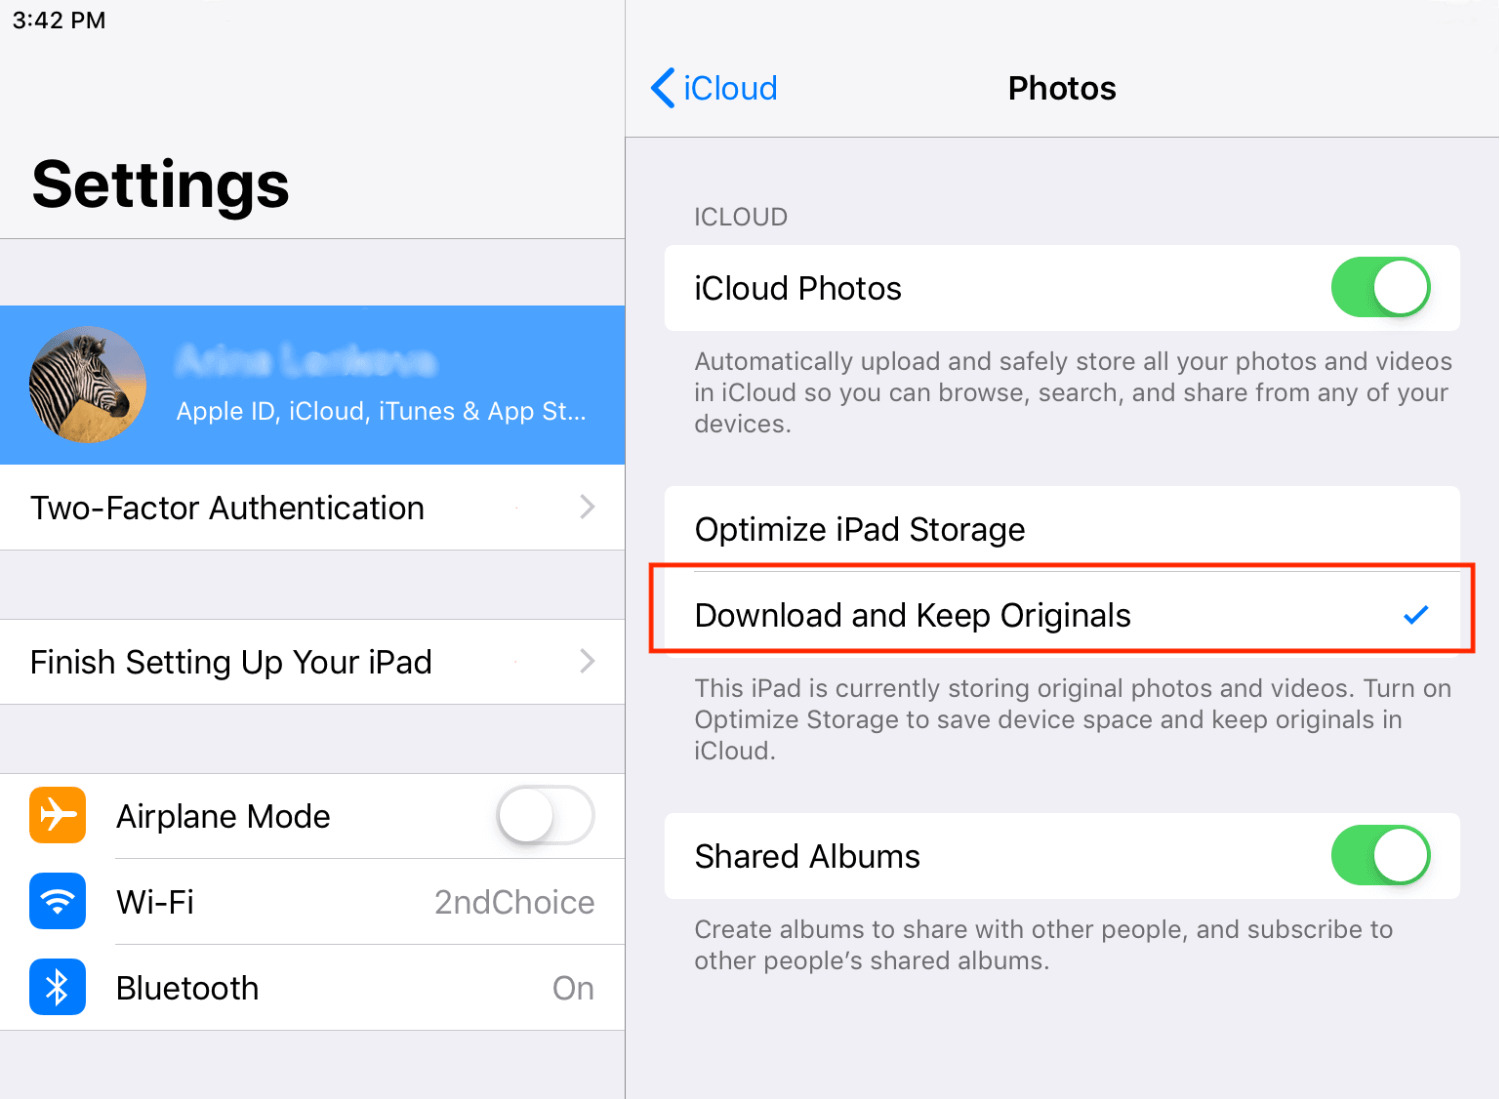
Before starting the download, you may be prompted to choose the format in which you want the photos and videos to be downloaded. iCloud usually provides options such as JPG for photos and MP4 for videos. Select the desired format or leave it as the default, depending on your preference.
Once you have chosen the format, click on the “Download” or “Download All” button. This will initiate the download process, and iCloud will start preparing your selected photos and videos for download.
Now, sit back and relax while iCloud performs its magic and prepares your files for download. The time this process takes will depend on the number and size of the media files you have selected.
Once the preparation is complete, you are ready to move on to the next step and wait for the download to finish, ensuring that you have successfully obtained all your precious memories from iCloud!
Step 5: Download All Photos and Videos
After initiating the download process in the previous step, it’s time to actually download all your selected photos and videos from iCloud. Now that your files have been prepared, you will be given the option to download them to your computer.
Look for the download prompt, which typically appears as a pop-up window or a notification on your screen. The prompt will let you know that your files are ready for download and provide a button or link to start the actual download.
Click on the “Download” button or link to begin the download process. Depending on your web browser settings, you may be prompted to choose the download location on your computer or the files may automatically save to your default download folder.
As the files start to download, you will see a progress indicator that shows the status of the download. The time it takes to complete the download will vary based on the size of the files and the speed of your internet connection.
It’s important to remain patient during this process, especially if you have a large number of photos and videos to download. Avoid interrupting the download or closing the browser until it is complete to ensure that you obtain all your files successfully.
Once the download is finished, you can move on to the next step and access the downloaded files on your computer, where you can organize, back them up, or use them however you need.
Step 6: Wait for the Download to Complete
After initiating the download of your selected photos and videos in the previous step, it’s time to be patient and wait for the download process to complete. The duration of the download will depend on various factors, including the number and size of the files, as well as the speed of your internet connection.
During the download, you may see a progress bar or indicator that shows the status of the download. This gives you an idea of how much has been downloaded and how much is remaining. It’s important to let the download process finish without interruption to ensure that you obtain all your files successfully.
If you have a large number of files or files with large sizes, the download may take some time. It’s advisable to connect to a stable and high-speed internet connection to expedite the process. Additionally, avoid running bandwidth-intensive tasks or streaming videos simultaneously to prevent any potential slowdown in the download speed.
While waiting for the download to complete, you can utilize this time to organize your files on your computer if needed. Consider creating a dedicated folder to store all the downloaded photos and videos or sorting them into subfolders based on the album they were originally in. This can help you maintain a well-organized library and easily locate specific files in the future.
Once the download is finished, you can move on to the next step and access the downloaded files on your computer, ready to enjoy your cherished memories or perform any necessary backup tasks.
Step 7: Access the Downloaded Files
Once the download of your photos and videos from iCloud is complete, it’s time to access the downloaded files on your computer. Navigate to the location where the files were downloaded or the default download folder, depending on your web browser settings.
Open the folder containing your downloaded files and you will find all the photos and videos that you selected and downloaded from iCloud. The files will be in the format you chose during the download process, such as JPG for photos and MP4 for videos.
If you have downloaded multiple albums, you may find that the photos and videos are organized into subfolders based on the album names. This can help you maintain a structured organization and make it easier to locate specific files in the future.
At this point, you have full access to the downloaded files on your computer. You can view, edit, organize, and share them as you would with any other media files. Additionally, you can consider backing up these files to an external hard drive, cloud storage service, or any other secure location to ensure their long-term preservation.
Take some time to go through your downloaded photos and videos, relive the memories, and make sure that everything transferred successfully. If you notice any missing or corrupted files, you may need to go back to the previous steps and repeat the download process for those specific files.
Now that you have successfully downloaded and accessed all your photos and videos from iCloud, you can enjoy the peace of mind of having a local copy of your cherished memories, organize them to your preference, and share them with your loved ones whenever you desire.
Conclusion
Downloading all your photos and videos from iCloud is a straightforward process that can be accomplished in just a few steps. By following the steps outlined in this guide, you can ensure that you have a local copy of your precious memories, allowing you to organize, back up, and enjoy them at your convenience.
Remember, before starting the download process, make sure you have a stable internet connection and enough storage space on your computer to accommodate the downloaded files. Additionally, ensure that you are using an up-to-date web browser to access iCloud and follow along with the guide.
We started by signing in to your iCloud account and accessing the iCloud Photos feature. From there, we selected the desired album(s) containing your photos and videos and chose the option to download all of them. After waiting for the download to complete, we accessed the downloaded files on our computer.
Now that you have successfully downloaded all your media files from iCloud, take the opportunity to organize and back them up to preserve your memories for years to come. Consider creating a backup plan to ensure the safety of your files and prevent any potential data loss.
With the downloaded files readily available, you can edit, share, and relive your memories at your leisure. Whether it’s creating photo albums, sharing them with loved ones, or using them for creative projects, having a local copy of your photos and videos provides you with more flexibility and control over your digital media.
Remember to periodically download and back up your photos and videos from iCloud to stay on top of your digital storage and prevent any accidental loss of your files. By following these practices, you can safeguard your memories and have peace of mind knowing that your cherished moments are secure.
So, take the time to download all your photos and videos from iCloud and unlock the full potential of your digital memories. Enjoy the convenience and accessibility of having your files readily available on your computer, ready to be enjoyed, shared, and preserved for years to come.