Introduction
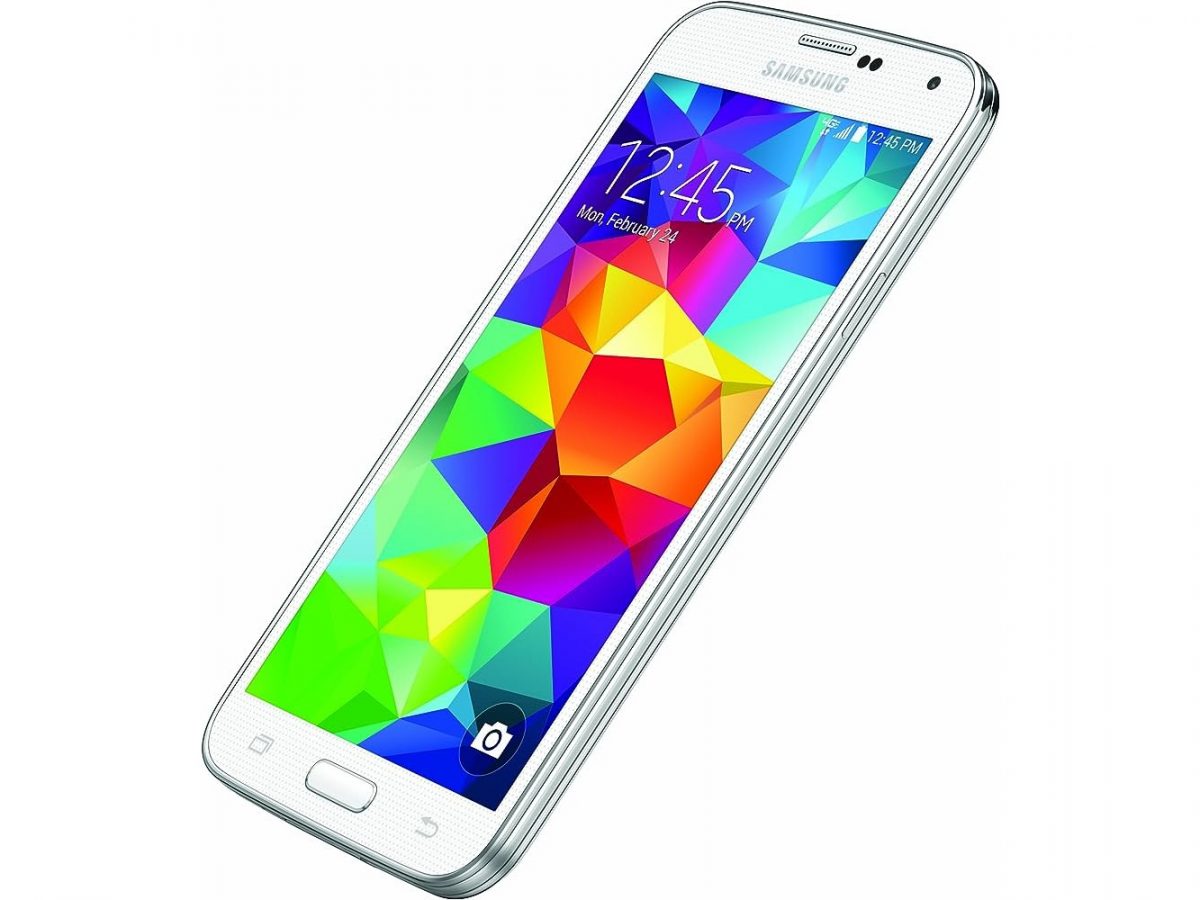
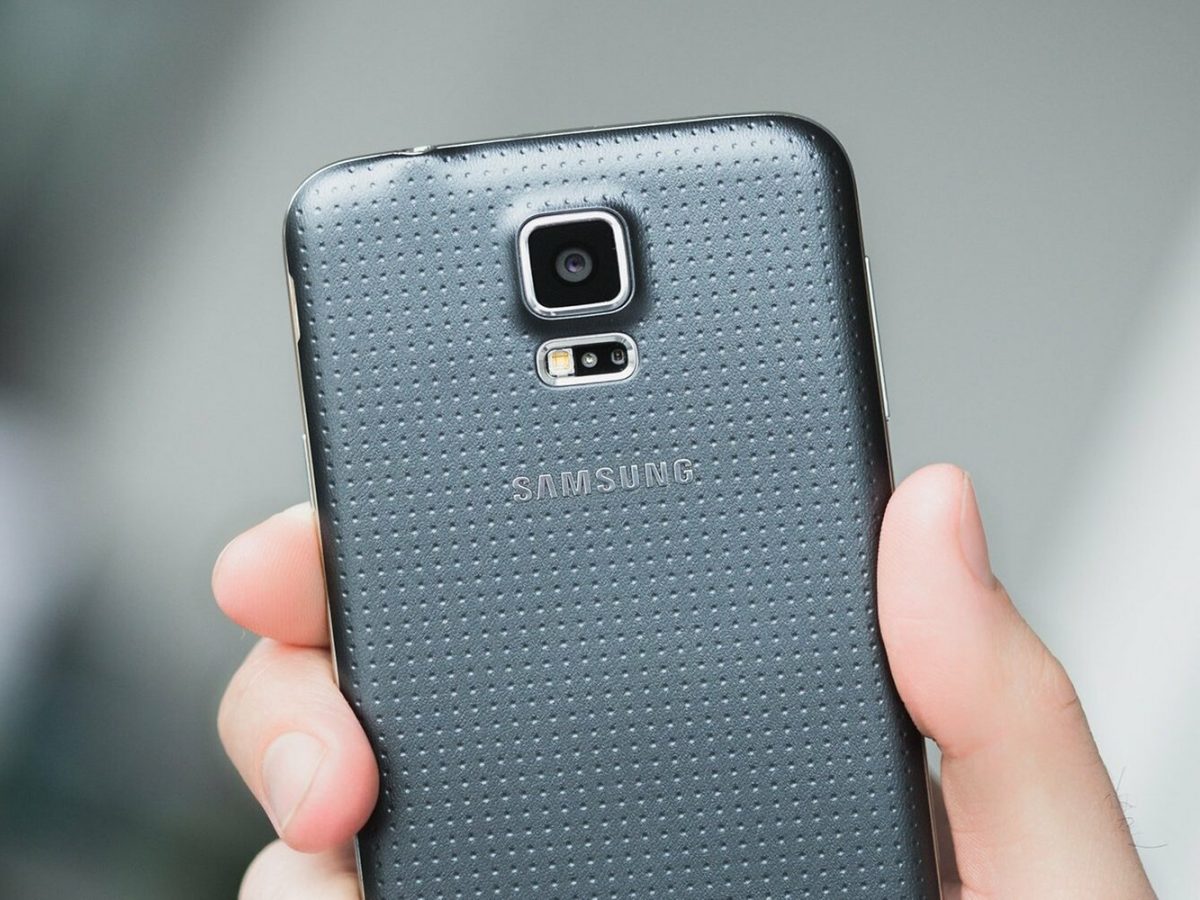
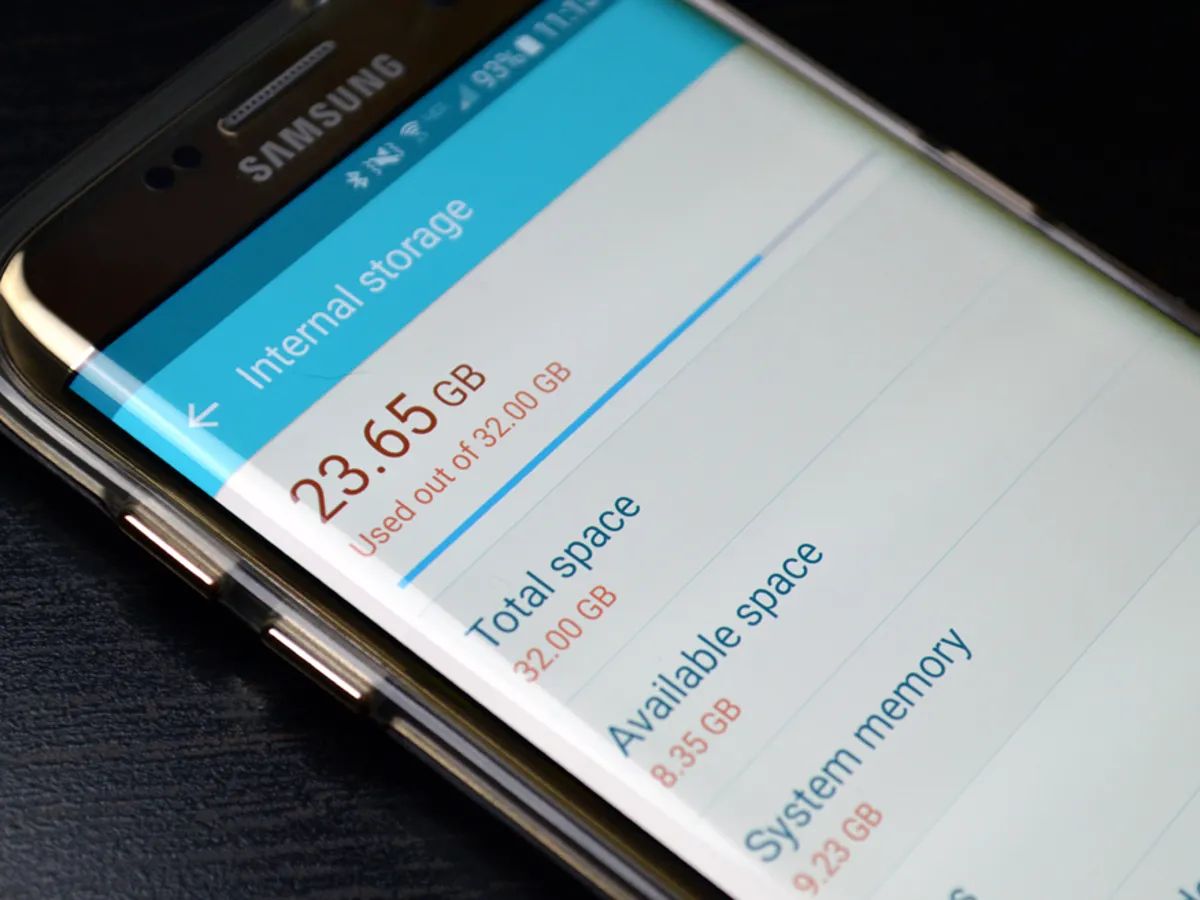
When it comes to capturing special moments or saving precious memories, smartphones have become our go-to devices. The Samsung Galaxy S5, with its incredible camera capabilities, allows users to take stunning photos and videos. However, storing all those memories on your phone can quickly consume storage space. Transferring photos from your Samsung Galaxy S5 to your PC is an ideal solution to free up space and ensure you have a backup of your precious moments. In this article, we will explore four different methods to help you download photos from your Samsung Galaxy S5 to your PC.
Whether you are a professional photographer or an amateur enthusiast, having a seamless and efficient way to transfer your photos is essential. With the methods outlined in this article, you can easily transfer your photos from your Samsung Galaxy S5 to your PC, enabling you to organize, edit, and share them with ease.
Before we dive into the methods, it is worth mentioning that these steps are specifically tailored for the Samsung Galaxy S5. However, some of the methods mentioned can be applied to other Samsung smartphones as well, albeit with slight variations.
So, if you are ready to transfer your photos from your Samsung Galaxy S5 to your PC, let’s delve into the various methods that you can use. Whether you prefer using a USB cable, Samsung Smart Switch, Samsung Kies, or Google Photos, we have you covered. Pick the method that suits you best, and let’s get started!
Method 1: Using a USB Cable
One of the most straightforward and common methods to download photos from your Samsung Galaxy S5 to your PC is by using a USB cable. This method allows for a direct and secure connection between your phone and computer, ensuring a fast and reliable transfer of files.
Here’s how you can use a USB cable to transfer photos:
- Start by connecting the USB cable to your Samsung Galaxy S5 and the other end to an available USB port on your PC.
- On your Samsung Galaxy S5, you may see a notification asking you to choose the USB connection type. Select “Transfer Files” or “Media Device (MTP)” to enable file transfer between your phone and PC.
- Once your phone is connected to your PC, open the “File Explorer” or “Windows Explorer” on your computer. You should see your Samsung Galaxy S5 listed as a connected device.
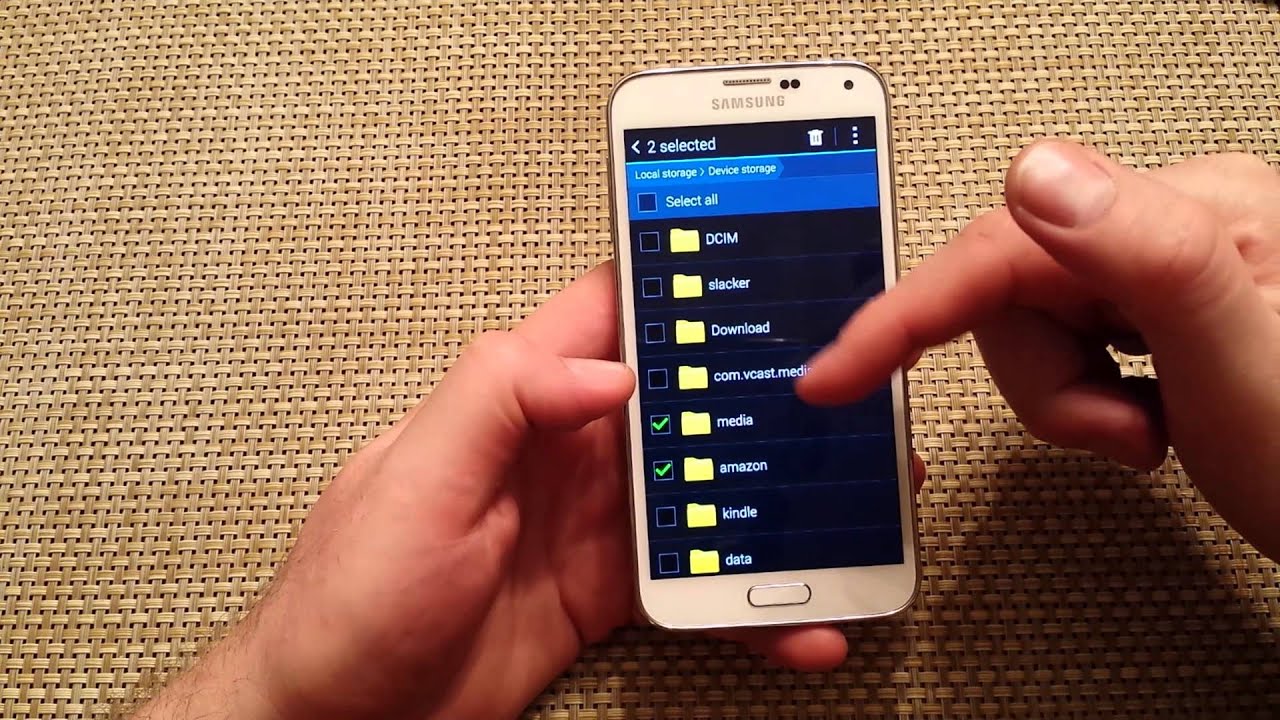
- Double-click on your Samsung Galaxy S5 to open it, and then navigate to the “DCIM” folder. This folder contains all the photos and videos captured by your phone’s camera.
- Select the photos you want to transfer to your PC. You can hold down the “Ctrl” key and click on individual photos or use “Ctrl+A” to select all photos in the folder.
- Once you have selected the photos, right-click and choose “Copy” from the context menu.
- Now, navigate to the desired location on your PC where you want to save the transferred photos.
- Right-click in the destination folder and choose “Paste” from the context menu. The selected photos will be transferred from your Samsung Galaxy S5 to your PC.
It is important to note that the steps may vary slightly depending on your PC’s operating system. However, the general process remains the same- connect your phone, access the DCIM folder, select the desired photos, and copy them to your PC.
By using a USB cable, you can quickly and effortlessly transfer your photos from your Samsung Galaxy S5 to your PC. This method is particularly useful when you need to transfer a large number of photos or if you prefer a more direct and secure connection between your devices.
Method 2: Using Samsung Smart Switch
If you prefer a more streamlined and automated approach to transferring photos from your Samsung Galaxy S5 to your PC, Samsung Smart Switch is an excellent option. Samsung Smart Switch is a free application developed by Samsung that allows users to transfer data between Samsung devices, including photos, videos, contacts, and more.
Here’s how you can use Samsung Smart Switch to transfer photos:
- First, you need to download and install Samsung Smart Switch on your PC. You can find the application on the official Samsung website or through app stores.
- Once installed, launch Samsung Smart Switch on your PC.
- Connect your Samsung Galaxy S5 to your PC using a USB cable.
- On your phone, you will be prompted to allow access to your data. Tap “Allow” or “OK” to proceed.
- In Samsung Smart Switch, you will see your connected Samsung Galaxy S5 displayed as the source device. Click on it to select it as the source device.
- Next, choose “Photos” or “Gallery” as the content type that you want to transfer.
- Select the specific photos that you want to transfer or choose “Select all” to transfer all photos.
- Click on the “Transfer” or “Import” button to start the transfer process.
- Samsung Smart Switch will transfer the selected photos from your Samsung Galaxy S5 to your PC. The progress of the transfer will be displayed on both your phone and PC.
- Once the transfer is complete, you can access the transferred photos on your PC by navigating to the destination folder specified in Samsung Smart Switch.
Using Samsung Smart Switch is a convenient and efficient way to transfer your photos from your Samsung Galaxy S5 to your PC. The application simplifies the process by automating the transfer and ensuring that all your photos are safely and accurately transferred. It is a great option for those who prefer a hassle-free approach to managing their photos.
Method 3: Using Samsung Kies
If you are looking for a comprehensive solution to manage and transfer files between your Samsung Galaxy S5 and your PC, Samsung Kies is the perfect tool. Samsung Kies is a desktop application developed by Samsung that allows users to sync and transfer various types of data, including photos, music, videos, contacts, and more.
Here’s how you can use Samsung Kies to transfer photos from your Samsung Galaxy S5 to your PC:
- Start by downloading and installing Samsung Kies on your PC. You can find the application on the official Samsung website.
- Launch Samsung Kies on your PC.
- Connect your Samsung Galaxy S5 to your PC using a USB cable.
- On your phone, you may see a notification asking you to choose the USB connection type. Select “Samsung Kies” or “Media Device (MTP)” to enable file transfer between your phone and PC.
- In Samsung Kies, your connected Samsung Galaxy S5 will be displayed on the screen. Click on it to select it as the connected device.
- Next, navigate to the “Photos” or “Gallery” section within Samsung Kies.
- Select the specific photos or albums that you want to transfer to your PC.
- Choose the destination folder on your PC where you want to save the transferred photos.
- Click on the “Transfer” or “Import” button to initiate the transfer process.
- Samsung Kies will transfer the selected photos from your Samsung Galaxy S5 to your PC. The progress of the transfer will be displayed on the screen.
- Once the transfer is complete, you can access the transferred photos on your PC by navigating to the destination folder specified in Samsung Kies.
Samsung Kies provides you with a comprehensive and user-friendly interface to manage and transfer photos from your Samsung Galaxy S5 to your PC. The application offers additional features, such as backing up and restoring your device, managing contacts and calendars, and updating software, making it a versatile tool for Samsung device users.
Method 4: Using Google Photos
If you’re looking for a cloud-based solution to transfer and store your photos from your Samsung Galaxy S5 to your PC, Google Photos is an excellent option. Google Photos offers free and unlimited storage for photos and videos, allowing you to access and manage your media from any device with an internet connection.
Here’s how you can use Google Photos to transfer photos from your Samsung Galaxy S5 to your PC:
- Start by downloading and installing the Google Photos app on your Samsung Galaxy S5 from the Google Play Store.
- Launch the Google Photos app and sign in to your Google account. If you don’t have one, you can create a new account for free.
- In the app’s settings, enable the option to back up your photos and videos to your Google account. You can choose to back up all photos or only specific albums.
- Ensure that your Samsung Galaxy S5 is connected to a stable Wi-Fi network to allow for the seamless backup of your photos to Google Photos.
- Wait for the backup process to complete. Depending on the number of photos and your internet connection speed, this process may take a while.
- On your PC, open a web browser and navigate to the Google Photos website (photos.google.com).
- Sign in to your Google account using the same credentials used on your Samsung Galaxy S5.
- Once signed in, you will have access to all the photos that were backed up from your Samsung Galaxy S5.
- To download the photos to your PC, select the desired photos or albums and click on the “Download” button.
- The selected photos will be downloaded to your PC and saved in the specified destination folder.
Using Google Photos allows you to not only transfer your photos from your Samsung Galaxy S5 to your PC but also provides a convenient way to access and manage your photos from any device with an internet connection. With its advanced search and organization features, you can easily find and share your favorite memories with friends and family.
Conclusion
Transferring photos from your Samsung Galaxy S5 to your PC is essential for freeing up storage space and ensuring that your precious memories are safely backed up. In this article, we explored four different methods for downloading photos from your Samsung Galaxy S5 to your PC: using a USB cable, Samsung Smart Switch, Samsung Kies, and Google Photos.
If you prefer a direct and secure connection, using a USB cable is a simple and convenient method. You can easily navigate to the DCIM folder on your phone and transfer the desired photos to your PC.
For a more streamlined and automated approach, Samsung Smart Switch is an excellent option. The application allows you to transfer photos and other data between your Samsung Galaxy S5 and your PC with just a few clicks.
If you’re looking for a comprehensive solution to manage and transfer files, Samsung Kies provides an intuitive interface with additional features like backup and restore capabilities.
Alternatively, Google Photos offers cloud-based storage and seamless synchronization, making it a convenient choice for accessing and managing your photos from any device with an internet connection.
Whichever method you choose, always remember to keep your photos safely backed up on your PC to prevent any loss or accidental deletion of your precious memories. Experiment with different methods and find the one that suits your preferences and needs the best.
Now that you have learned various methods to download photos from your Samsung Galaxy S5 to your PC, you can easily transfer and organize your photos with confidence. Enjoy having your memories readily available and shareable as you capture more moments with your Samsung Galaxy S5.


