Introduction
Are you looking to download pictures from your LG Tracfone to your computer? Whether you want to backup your precious memories, edit them, or share them with others, transferring your photos can be a convenient way to accomplish these tasks. In this guide, we will walk you through the step-by-step process of downloading pictures from your LG Tracfone to your computer.
Your LG Tracfone, with its built-in camera, allows you to capture special moments on the go. However, the limited storage capacity on your phone may prompt you to transfer these photos to your computer for safekeeping or to free up space. By transferring the pictures, you can also enjoy the larger viewing experience and additional editing options available on your computer.
To download pictures from your LG Tracfone to your computer, you will need to establish a connection between the two devices. This can be done using a USB cable, which allows data to be transferred between your phone and computer. Additionally, you will need to enable USB debugging on your LG Tracfone and install any necessary drivers on your computer.
Once the connection is established and the necessary settings are configured, you can access the photos stored on your LG Tracfone directly from your computer. This gives you the flexibility to select and transfer specific pictures or entire albums to your computer’s storage. Finally, you can safely disconnect your LG Tracfone from your computer to complete the process.
In the following sections, we will provide you with detailed instructions on each step, ensuring a seamless and successful transfer of pictures from your LG Tracfone to your computer. Remember, each device’s settings and interfaces may vary slightly, so adapt the instructions accordingly. Let’s get started!
Step 1: Connect your LG Tracfone to your computer
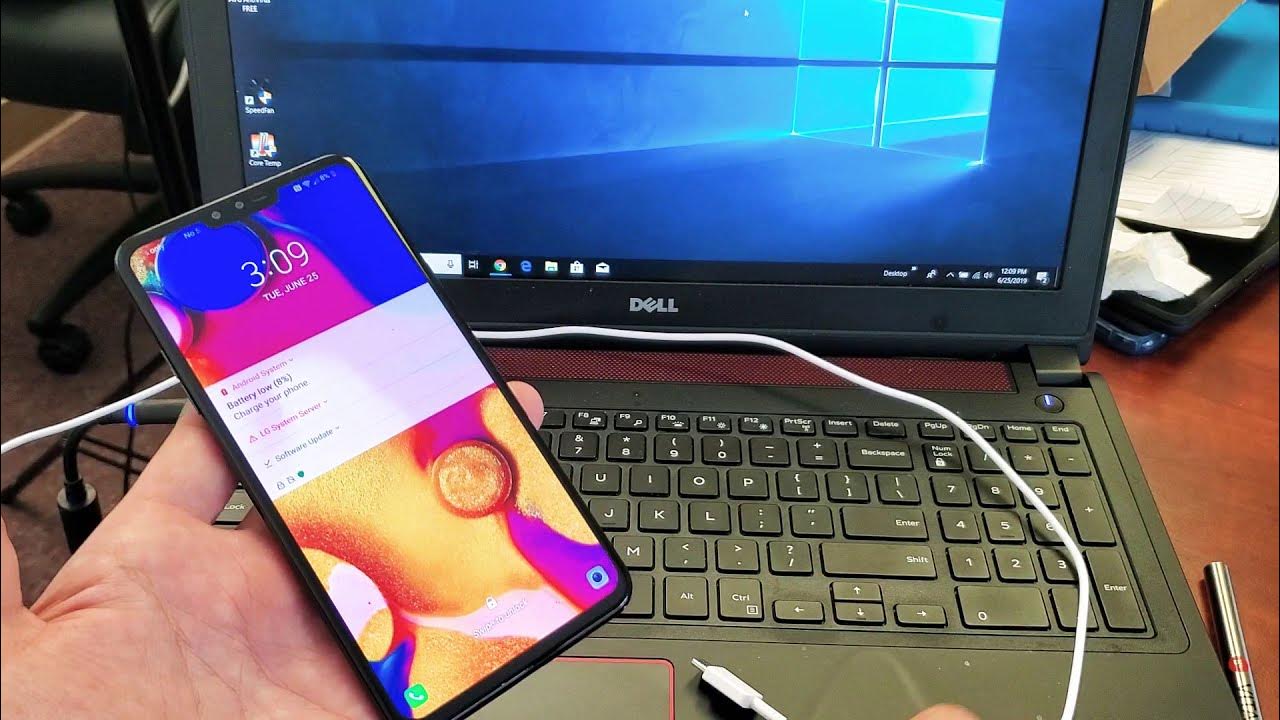
The first step in downloading pictures from your LG Tracfone to your computer is to establish a physical connection between the two devices. To do this, you will need a USB cable that is compatible with your LG Tracfone and your computer.
1. Locate the USB port on your LG Tracfone. It is usually located at the bottom or on the side of the device.
2. Connect one end of the USB cable to the USB port on your LG Tracfone. Ensure it is securely plugged in.
3. Connect the other end of the USB cable to an available USB port on your computer.
Note: Some newer computers may have USB-C ports. In this case, you will need a USB-C to USB-A adapter to connect your LG Tracfone to your computer. Make sure to use a reliable adapter that is compatible with your devices.
Once you have connected your LG Tracfone to your computer, your phone should notify you that it is connected via USB. You may also see a small mobile phone icon appear in the taskbar of your computer.
Now that your LG Tracfone is connected to your computer, you can proceed to the next step and enable USB debugging on your phone. USB debugging allows your computer to communicate with your phone and access its files and settings.
Step 2: Enable USB debugging on your LG Tracfone
In order to download pictures from your LG Tracfone to your computer, you need to enable USB debugging. USB debugging allows your computer to communicate with your phone and access its files and settings.
Follow these steps to enable USB debugging on your LG Tracfone:
1. Go to the “Settings” menu on your LG Tracfone. You can usually access the settings by swiping down from the top of the screen and tapping the gear icon.
2. Scroll down and tap on “About phone” or “About device”.
3. Look for the “Build number” or “Build version” in the About phone section. Tap on it repeatedly (usually around 7 times) until you see a message saying “You are now a developer!” or “Developer mode has been enabled”. This will unlock the developer options on your phone.
4. Now, go back to the main Settings menu and you should see a new option called “Developer options”. Tap on it.
5. In the Developer options menu, scroll down and find “USB debugging”. Toggle the switch next to it to enable USB debugging.
6. When prompted, confirm your action by tapping “OK”.
Once you have enabled USB debugging on your LG Tracfone, your computer will be able to recognize and interact with your phone. This will allow you to access and transfer the pictures stored on your device.
Now that USB debugging is enabled, you can proceed to the next step and install any necessary drivers on your computer to ensure a seamless connection between your LG Tracfone and your computer.
Step 3: Install necessary drivers on your computer
In order for your computer to recognize and communicate with your LG Tracfone, you may need to install specific drivers. These drivers allow your computer to establish a proper connection with your phone and ensure smooth data transfer.
Here’s how you can install the necessary drivers on your computer:
1. Make sure your computer is connected to the internet.
2. Open a web browser and navigate to the official LG website. Look for the “Support” or “Downloads” section.
3. Enter the model number of your LG Tracfone in the search bar or select your device from the provided list.
4. Find the appropriate driver for your operating system. Download the driver to your computer.
5. Once the driver is downloaded, locate the file on your computer and double-click on it to start the installation process.
6. Follow the on-screen prompts and instructions to install the driver.
7. Once the installation is complete, restart your computer to ensure that the newly installed driver is properly set up.
If you encounter any issues during the driver installation, refer to the documentation provided by LG or reach out to their customer support for further assistance. It’s important to have the correct drivers installed to ensure a seamless connection between your LG Tracfone and your computer.
With the necessary drivers installed on your computer, you are now ready to access the photos on your LG Tracfone and begin the process of transferring them to your computer. Let’s move on to the next step.
Step 4: Access the photos on your LG Tracfone
Now that your LG Tracfone is connected to your computer and the necessary drivers are installed, you can proceed to access the photos stored on your device. Here’s how you can do it:
1. On your computer, open the file explorer or file manager. This can typically be found by clicking on the “File Explorer” icon in the taskbar or by searching for “File Explorer” in the start menu.
2. In the file explorer, you should see a list of drives and devices. Look for your LG Tracfone, which may be labeled as “LG Tracfone” or display the device’s name.
3. Double-click on your LG Tracfone to open it and navigate to the folder where your photos are stored. This will typically be in the “DCIM” or “Pictures” folder.
4. Once you locate the folder with your desired photos, you can open it by double-clicking on it. This will display all the photos stored in that folder.
5. Now, you can browse through the photos and view them on your computer screen. If you have a large number of pictures, you can use the search functionality or sort them by date to locate specific photos.
With access to your LG Tracfone’s photos on your computer, you can now select which pictures you want to transfer. You can either choose specific photos or transfer entire albums depending on your preferences. Let’s move on to the next step to learn how to transfer the photos to your computer.
Step 5: Transfer the photos to your computer
Now that you have accessed the photos on your LG Tracfone from your computer, it’s time to transfer them to your computer’s storage. Follow these steps to transfer your photos:
1. Select the photos you want to transfer. You can hold down the “Ctrl” key (or “Command” key on Mac) to select multiple individual photos or hold down the “Shift” key to select a range of photos.
2. Once you have selected the desired photos, right-click on them and choose “Copy” from the context menu.
3. Navigate to the folder on your computer where you want to save the photos. You can create a new folder if desired.
4. Right-click inside the folder and choose “Paste” from the context menu. This will copy the selected photos from your LG Tracfone to your computer.
5. Depending on the size and number of photos, the transfer process may take some time. Be patient and avoid disconnecting your LG Tracfone or interrupting the transfer.
6. Once the transfer is complete, you can navigate to the folder on your computer and verify that the photos have been successfully transferred.
It’s important to note that the transfer process may vary depending on your computer’s operating system and file explorer. However, the general steps outlined above should guide you through the process regardless of the specific details.
Once the photos are transferred to your computer, you can organize them into folders, edit them using image editing software, or share them with others as desired. Remember to safely disconnect your LG Tracfone from your computer in the next step to ensure the integrity of your files.
Let’s move on to the final step and learn how to safely disconnect your LG Tracfone from your computer.
Step 6: Safely disconnect your LG Tracfone from your computer
After successfully transferring your photos from your LG Tracfone to your computer, it’s important to follow the proper procedure to safely disconnect your phone from your computer. This helps prevent any potential data corruption or damage to your files. Here’s how you can safely disconnect your LG Tracfone:
1. On your computer, locate the system tray in the taskbar. This is usually located in the bottom-right corner of the screen.
2. Look for the “Safely Remove Hardware” or “Eject” icon in the system tray. It might appear as a small USB icon or as a tool with a green checkmark.
3. Click on the “Safely Remove Hardware” or “Eject” icon.
4. A list of connected devices will appear. Locate your LG Tracfone in the list.
5. Click on your LG Tracfone to select it for removal.
6. After selecting your LG Tracfone, click on the “Stop” or “Eject” button. This initiates the safe removal process.
7. Wait for the system to notify you that it’s safe to remove your LG Tracfone. You may see a message confirming the safe removal or a notification that it’s now safe to disconnect your device.
8. Once you receive the safe removal confirmation, you can unplug the USB cable from your phone and computer.
It’s important to follow this process to ensure that all data transfer events are completed and that there is no risk of data loss or file corruption. Avoid simply unplugging the USB cable without going through the safe removal process.
With your LG Tracfone safely disconnected from your computer, you have successfully completed the process of downloading pictures from your phone to your computer. Your photos are now safely stored on your computer, ready for you to access, edit, share, or back up as needed.
By following these steps, you can easily transfer your cherished memories from your LG Tracfone to your computer, enhancing their accessibility and security. Enjoy the convenience and peace of mind that comes with having your photos safely stored on your computer.
Conclusion
Transferring pictures from your LG Tracfone to your computer is a simple and effective way to backup and manage your photos. By following the step-by-step instructions outlined in this guide, you can easily download your pictures and ensure their safety and accessibility.
Through the process of connecting your LG Tracfone to your computer, enabling USB debugging, installing necessary drivers, accessing your photos, transferring them to your computer, and safely disconnecting your phone, you can seamlessly transfer your cherished memories to a more secure and convenient storage solution.
Remember to double-check that you have installed the correct drivers and enabled USB debugging on your LG Tracfone before accessing and transferring your photos. This will ensure a smooth connection and prevent any potential issues during the transfer process.
Once your photos are safely stored on your computer, you can organize, edit, and share them according to your preferences. Additionally, by freeing up space on your LG Tracfone, you can continue capturing new moments and experiences without worrying about running out of storage.
Now that you have successfully completed the process of downloading pictures from your LG Tracfone to your computer, you can enjoy the convenience of accessing and managing your photos on a larger screen. Whether you want to create backups, share with friends and family, or unleash your creative side through editing, having your photos on your computer opens up a world of possibilities.
Remember, the specific steps and processes may vary depending on your LG Tracfone model and computer operating system, so be sure to refer to your device’s user manual or seek further assistance if needed. With a little practice, you’ll become proficient in transferring photos from your LG Tracfone to your computer.
So go ahead and start preserving your memories by transferring your pictures from your LG Tracfone to your computer today!