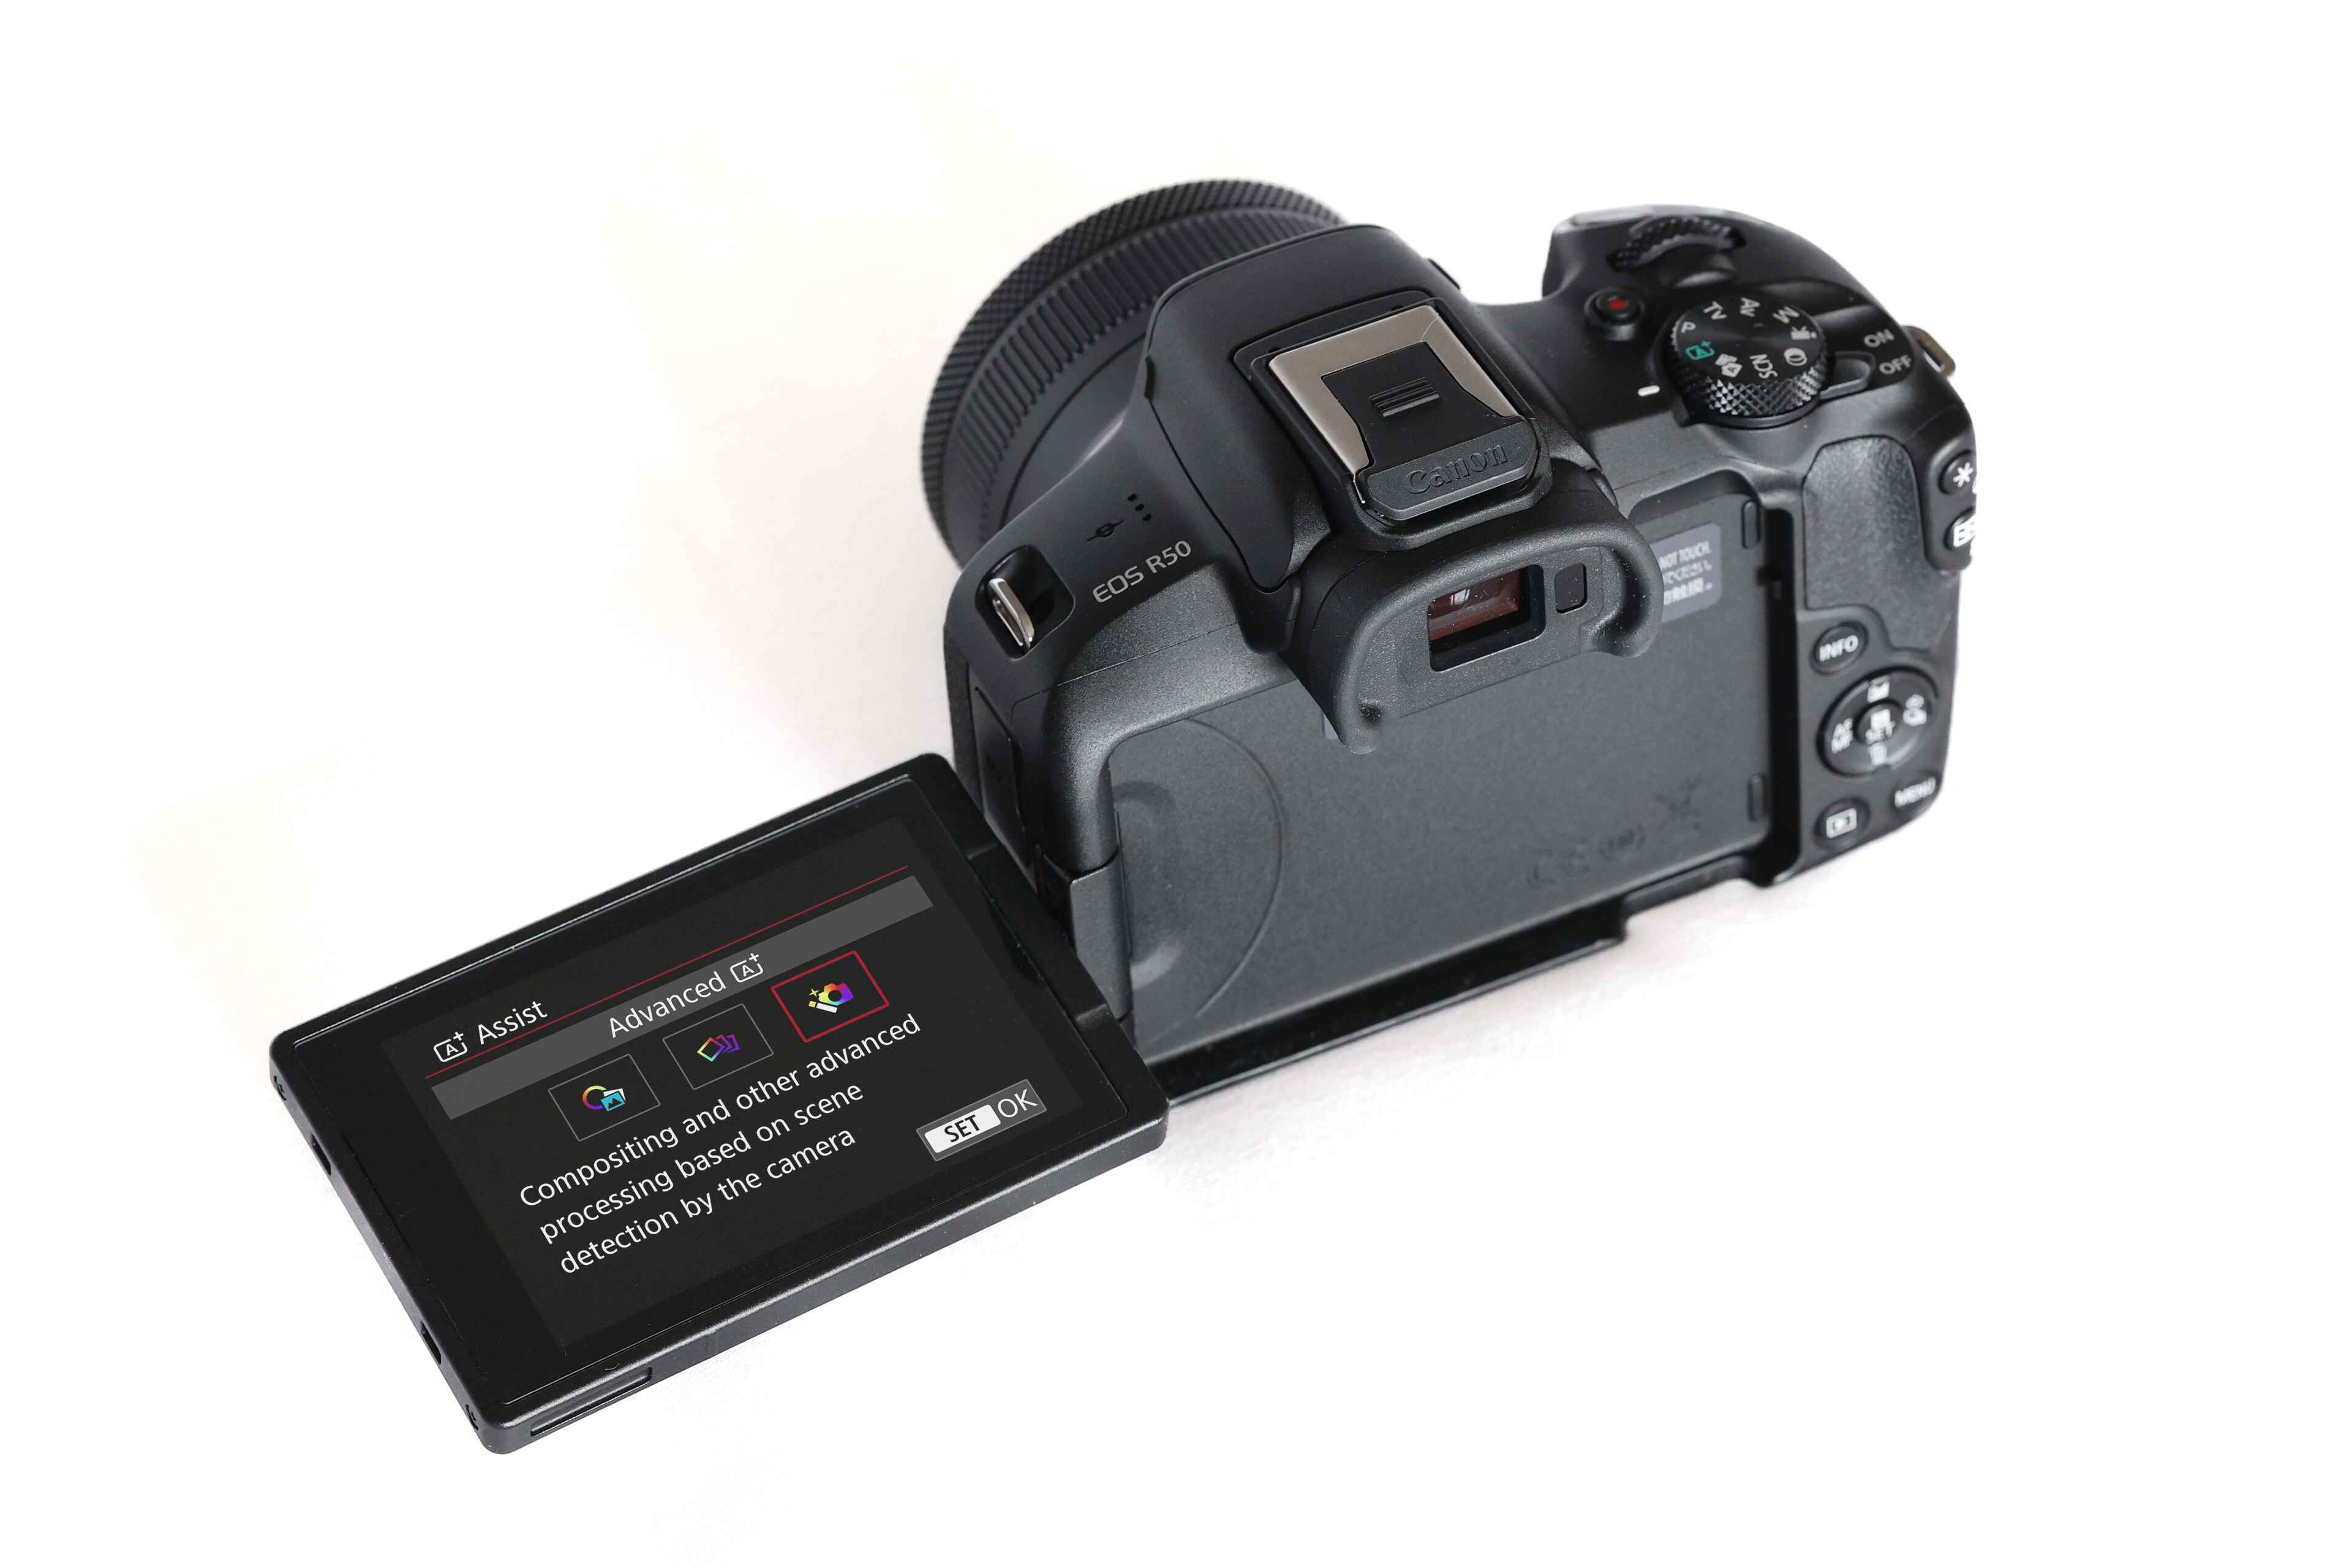
Introduction
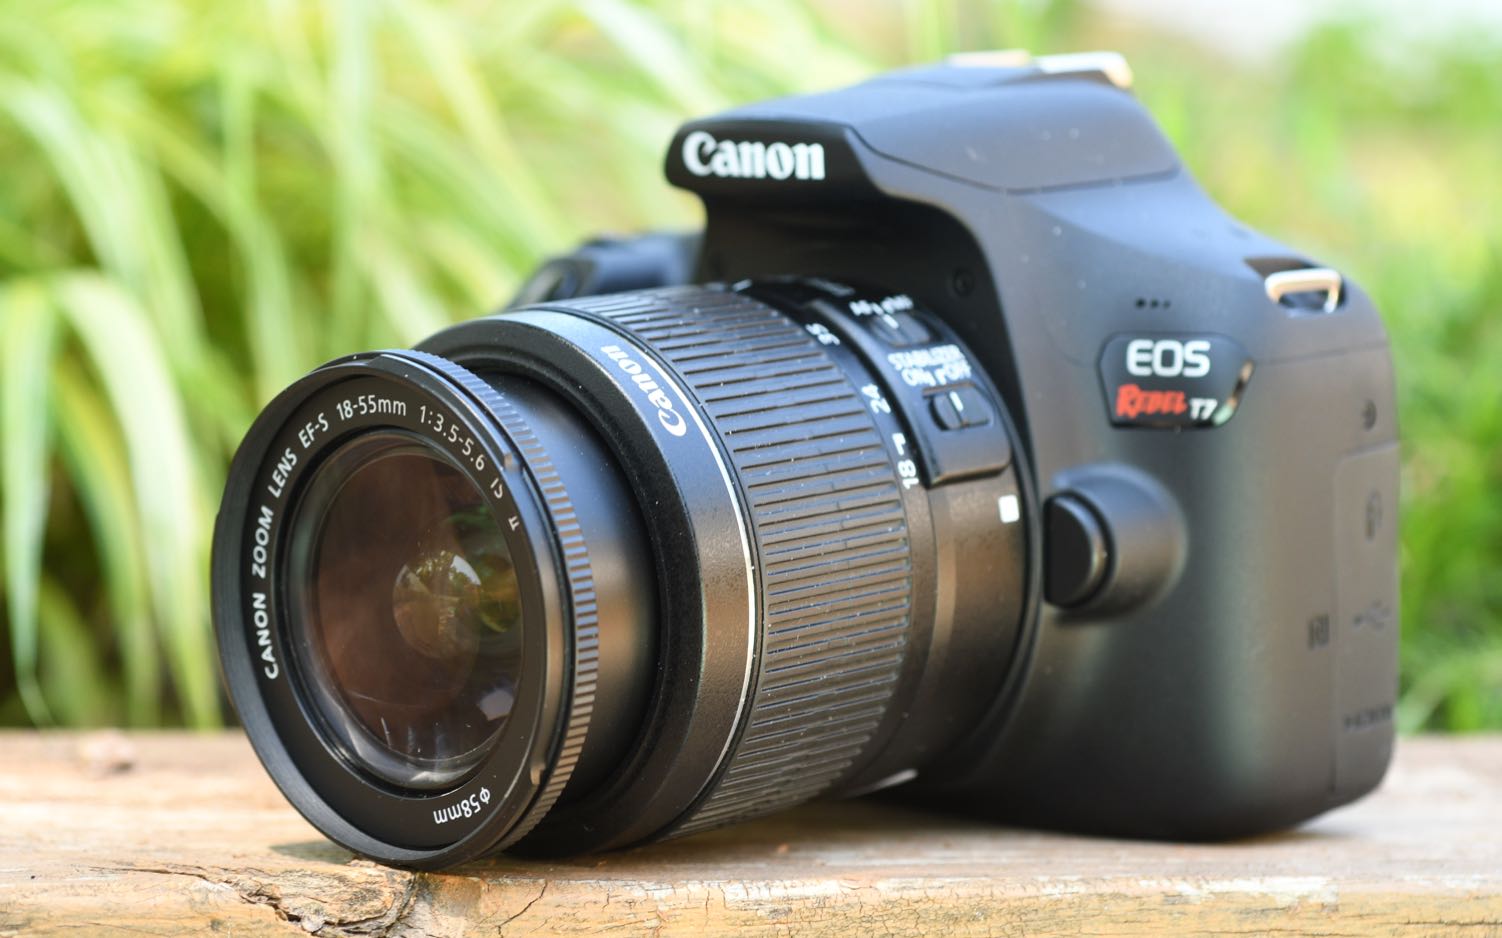
When it comes to photography, Canon is a brand that stands out for its superior image quality and user-friendly cameras. If you’re a proud owner of a Canon camera and want to download your precious photos onto your computer, you’re in the right place. In this article, we’ll walk you through the step-by-step process of downloading photos from your Canon camera.
Downloading photos from your Canon camera is a straightforward task, but if you’re new to the process, it can seem a bit intimidating. However, with the right software and a few simple steps, you’ll be able to transfer your photos to your computer in no time.
Before we dive into the steps, it’s important to note that these instructions are specifically tailored for Canon cameras and may not be applicable to cameras from other brands. Furthermore, the process may vary slightly depending on the model of your Canon camera and the operating system of your computer.
Now that we’ve covered the basics, let’s get started with the first step: installing the Canon camera software. By having the necessary software installed, you’ll be able to establish a connection between your camera and computer, making the photo downloading process seamless.
Step 1: Install the Canon Camera Software
Before you can begin transferring photos from your Canon camera to your computer, you’ll need to install the Canon camera software. This software, often included with the camera purchase or available for download from the Canon website, allows your computer to recognize and communicate with the camera.
To get started, locate the installation CD that came with your Canon camera. Insert the CD into your computer’s CD-ROM drive and follow the on-screen instructions to install the software. If you don’t have the CD or prefer to download the software, visit the Canon website and navigate to the support section. Look for the software downloads specific to your camera model and operating system.
Once you have downloaded the software, double-click on the installation file to launch the setup wizard. Follow the prompts to install the software on your computer.
During the installation process, you may be asked to select optional components or customize the installation settings. Although these options can enhance your experience, they are not necessary for transferring photos from your camera. Feel free to choose the default settings or customize them according to your preferences.
Once the installation is complete, restart your computer to ensure that the software is properly installed and ready for use. Now, you’re all set to connect your Canon camera to your computer and start downloading your photos!
It’s worth noting that if you’re using a Mac computer, you may need to use a different software program, such as Apple’s Photos or Adobe Lightroom, to transfer your photos. Canon cameras are generally compatible with popular photo management software, so you have options beyond the Canon-provided software.
With the Canon camera software installed, you’re just a few steps away from having your cherished photos on your computer. Let’s move on to the next step: connecting your camera to your computer.
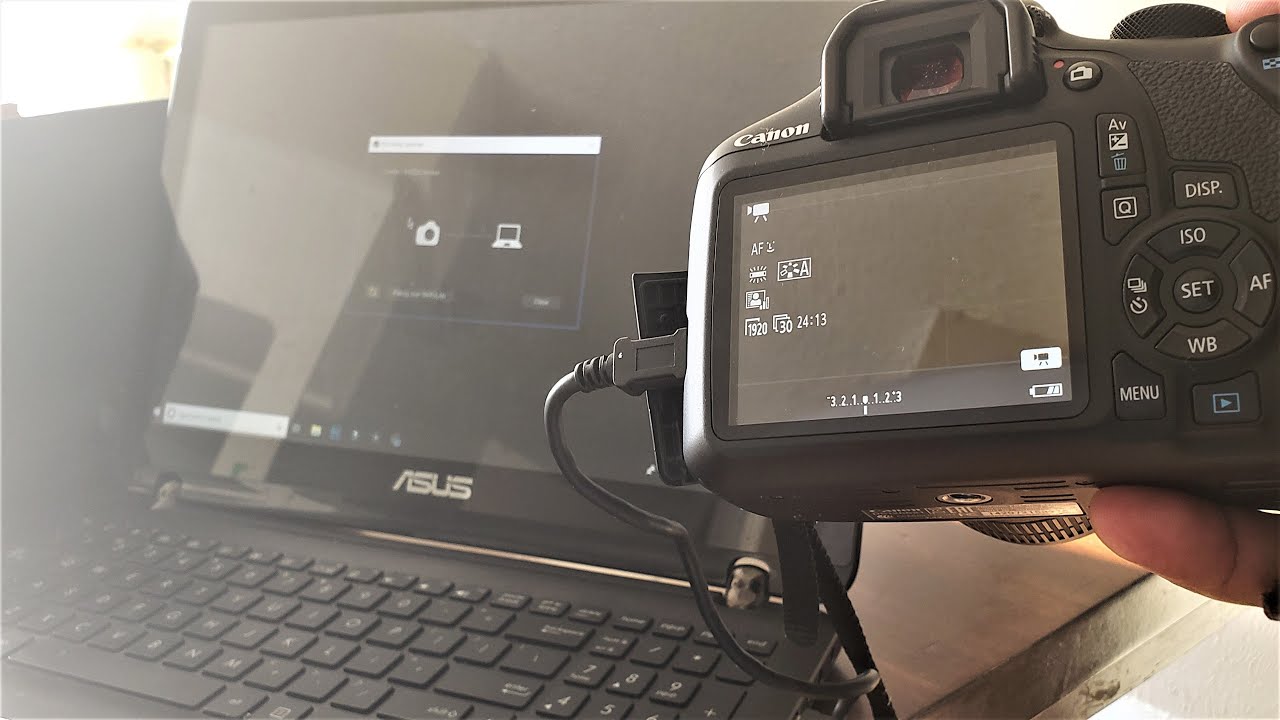
Step 2: Connect the Camera to Your Computer
Now that you’ve installed the Canon camera software, it’s time to connect your camera to your computer. This step establishes a physical connection between the two devices, allowing you to transfer your photos.
First, locate the USB cable that came with your Canon camera. One end of the USB cable has a standard USB connector, while the other end has a connector that is specific to your camera model. Plug the USB connector into the corresponding port on your camera.
Next, find an available USB port on your computer. It’s typically located on the side or back of your computer tower, or on the side of your laptop. Plug the other end of the USB cable into the USB port on your computer.
Once the USB cable is securely connected to both devices, power on your Canon camera by turning the dial or pressing the power button. Your camera should detect the connection and display a message on its screen.
To establish the connection on your computer, check for a pop-up notification or go to “My Computer” (Windows) or “Finder” (Mac) and look for your camera listed as a connected device. You may also need to open the Canon camera software that you installed in the previous step to initiate the connection.
If the connection is successful, you should see your camera’s storage or memory card appear as a removable drive on your computer. This allows you to access and transfer the files stored on your camera.
It’s important to note that some Canon cameras have a USB connection setting that needs to be adjusted for file transfer. You can usually find this setting in the camera’s menu or settings. Ensure that it is set to “Transfer Images” or “PC” mode to enable the photo transfer functionality.
Now that your Canon camera is successfully connected to your computer, it’s time to move on to the next step: turning on the camera and selecting “Transfer Images to Computer.”
Step 3: Turn on the Camera and Select “Transfer Images to Computer”
With your Canon camera connected to your computer, it’s time to turn on the camera and instruct it to transfer the images to your computer. This step ensures that the camera is ready to send the photos over to your computer.
First, make sure that your camera is powered on. Depending on your Canon camera model, this may involve turning the mode dial to the “On” position or pressing the power button. Once the camera is powered on, you should see the LCD screen display the camera’s main menu or shooting mode.
Using the camera’s navigation buttons or touchscreen, navigate to the menu or settings option that allows you to manage your photos or transfer images. This option may be labeled as “Playback,” “Image Transfer,” or a similar name. Consult your camera’s manual if you’re unsure about the specific location of this menu option.
Within the transfer images menu, locate the option to transfer or send the images to a computer. This option may also be labeled as “PC” or “Computer” transfer. Select this option to initiate the transfer process.
Once you’ve selected the transfer images option, your Canon camera will start preparing the photos for transfer. Depending on the number of images and the size of each photo, this process may take a few seconds to a few minutes.
While the camera is preparing the images, make sure that you have your computer’s destination folder ready. This is the location on your computer where the transferred photos will be saved. You can create a new folder specifically for your Canon camera photos or choose an existing folder that suits your organizational needs.
Upon completing the preparation process, your Canon camera will prompt you to select the destination folder on your computer. Use the camera’s navigation buttons or touchscreen to navigate and select the desired folder.
Before proceeding, double-check that the selected folder is correct and that you have enough storage space on your computer to accommodate the transferred photos. Once you’re confident with your selection, confirm the destination folder on the camera by pressing the appropriate button.
Now that you’ve turned on your camera and selected the “Transfer Images to Computer” option, it’s time to move on to the next step: choosing the photos you want to download.
Step 4: Choose the Destination Folder on Your Computer
After selecting the “Transfer Images to Computer” option on your Canon camera, the next step is to choose the destination folder on your computer where you want the transferred photos to be saved. This step ensures that your photos are organized and easily accessible on your computer.
When prompted by your Canon camera to select the destination folder, take a moment to decide where you want to save the transferred photos. You have the option to create a new folder specifically for your Canon camera photos or choose an existing folder on your computer.
If you prefer to create a new folder, click on the “New Folder” button or select the option to create a new directory on your camera’s LCD screen. Give the folder a descriptive name that reflects the content or date of the photos. This will make it easier to locate and manage the photos in the future.
If you choose an existing folder, navigate to the desired folder using the camera’s navigation buttons or touchscreen. You can select folders such as “Pictures,” “Desktop,” or any other location that suits your preference.
Before finalizing the destination folder selection, double-check that you have enough available space on your computer to accommodate the transferred photos. This is important to ensure that the transfer process doesn’t encounter any issues due to insufficient storage.
Once you’re satisfied with your folder selection, confirm the destination folder on your camera by pressing the appropriate button. Your Canon camera will now have the necessary information to transfer the selected photos to the designated folder on your computer.
It’s important to note that the specific steps and options for choosing the destination folder may vary depending on the Canon camera model and the software version. Consult your camera’s manual or the Canon website for any specific instructions related to choosing the destination folder.
With the destination folder selected, you’re almost ready to initiate the photo download process. The next step will guide you on selecting the photos you want to download from your Canon camera.
Step 5: Select the Photos You Want to Download
After choosing the destination folder on your computer, it’s time to select the specific photos you want to download from your Canon camera. This step allows you to pick and choose the images that you wish to transfer, giving you control over the content you want to save on your computer.
On the LCD screen of your Canon camera, you’ll typically see thumbnails of the photos available for transfer. Use the navigation buttons or touchscreen to scroll through the images and select the ones you want to download. This can be done by highlighting the desired photo and pressing a designated button or tapping on the screen.
There are a couple of options available for selecting photos, depending on your camera model. If you only want to transfer a few specific photos, you can manually select them one by one. However, if you want to download all the photos, there might be an option to select all images at once.
If your camera has a “Select” or “Mark” button, you can use it to create a checkmark or highlight the selected images. On some models, you may also be able to use the touchscreen to tap on the photos you wish to transfer.
When selecting photos, take a moment to review each image and ensure that you’re choosing the right ones. This is particularly important if you’re working with a large number of photos or if some of them have similar names or content.
If you accidentally select a photo that you don’t want to transfer, most cameras allow you to deselect or uncheck it by navigating back to the image and pressing the appropriate button or touch gesture.
Once you’re satisfied with your photo selection, double-check that all the desired images are checked or highlighted. This step ensures that only the selected photos will be downloaded to your computer, saving you time and storage space.
With the photos selected, it’s time to proceed to the next step: starting the download process. This step will initiate the transfer of the chosen images from your Canon camera to your computer.
Step 6: Start the Download Process
Now that you have selected the photos you want to download from your Canon camera, it’s time to initiate the download process. This step will transfer the selected images from your camera to your computer, allowing you to preserve and enjoy your memorable moments digitally.
On your Canon camera, locate the option to start the download process. This option might be labeled as “Download,” “Transfer,” or “Start Transfer,” depending on your camera model and software version. Consult your camera’s manual or on-screen prompts if you’re unsure about the specific location of this option.
Once you have found the download option, proceed to activate it by pressing the designated button or tapping the touchscreen. This will signal to your camera that you’re ready to transfer the selected photos.
As the download process begins, your Canon camera will start transferring the chosen images to the destination folder on your computer. The camera’s LCD screen may display a progress bar or status message to indicate the transfer’s progress.
Depending on the number of photos and their file sizes, the download process can take a few seconds to several minutes. It’s important to be patient and avoid disconnecting the camera or interrupting the transfer during this time to prevent any potential data loss or corruption.
Once the download process is complete, your Canon camera will display a confirmation message or icon on the LCD screen. This indicates that all the selected photos have been successfully transferred to your computer.
Now, navigate to the destination folder on your computer where the photos were saved. Open the folder to verify that the transferred images are indeed present. You can check each photo’s file size and timestamp to ensure that they match your expectations.
At this point, you have successfully downloaded the selected photos from your Canon camera to your computer. You can view and organize the images using photo management software or simply enjoy revisiting your captured moments.
With the download process complete, it’s time to move on to the final step of disconnecting your camera from your computer. This step ensures the safe removal of your Canon camera and allows you to disconnect it without risking any data loss or damage.
Step 7: Disconnect the Camera from Your Computer
After successfully downloading your photos from your Canon camera to your computer, the final step is to safely disconnect the camera from your computer. It’s crucial to properly disconnect the camera to avoid any potential data loss or damage to the files and devices.
Before disconnecting the camera, ensure that the transfer process is complete. Check that all the selected photos have been successfully downloaded to the destination folder on your computer.
To safely disconnect the camera, follow these steps:
- Close any open programs or windows that are accessing or displaying the photos from your camera.
- On your computer, locate the removable drive or device corresponding to your Canon camera. It may be listed as a separate drive in “My Computer” (Windows) or “Finder” (Mac).
- Right-click on the removable drive or device and select the “Eject” or “Safely Remove” option. This action will safely disconnect the camera from the computer.
- Wait for the confirmation message that it is safe to disconnect the camera. This message may appear on your computer screen or as a notification from the operating system.
- Once you receive the confirmation, gently disconnect the USB cable from both the camera and the computer. Be careful not to pull or force the cable, as this could damage the connector or the camera port.
After disconnecting the camera, you can turn off the camera by pressing the power button or turning the mode dial to the “Off” position. This step helps conserve battery power and ensures the camera is ready for future use.
Now that the camera is safely disconnected from your computer, you can continue exploring and editing the downloaded photos. You can also disconnect the USB cable from your computer to free up the USB port for other devices.
Congratulations! You have successfully downloaded and disconnected your Canon camera from your computer. By following these steps, you can easily transfer your cherished photos and enjoy sharing, editing, and preserving them for years to come.
Conclusion
Transferring photos from your Canon camera to your computer doesn’t have to be a complicated process. By following the step-by-step instructions outlined in this guide, you can easily download your precious memories and enjoy them on your computer.
First, you learned about the importance of installing the Canon camera software, which allows your computer to communicate with the camera. Then, you discovered how to connect the camera to your computer using a USB cable, establishing a physical connection between the two devices.
After connecting the camera, you turned it on and selected the “Transfer Images to Computer” option, ensuring that the camera is ready to send the photos over to your computer. You then chose the destination folder on your computer, where the transferred photos would be saved, providing organization and accessibility.
Next, you selected the specific photos you wanted to download from your Canon camera, offering you control over the content you want to preserve. Once the selection was complete, you initiated the download process, transferring the chosen images from your camera to your computer.
Finally, you learned how to safely disconnect the camera from your computer, ensuring that the transfer process was complete and avoiding any potential data loss or damage.
By following these steps, you can seamlessly download your photos and enjoy the convenience of having them readily available on your computer. Whether you’re looking to organize, edit, or share your images, having your Canon camera photos on your computer opens up endless possibilities.
Remember to consult your camera’s manual or the Canon website for any specific instructions related to your camera model and software version, as the exact steps may vary.
Now that you are equipped with the knowledge and understanding of how to download photos from your Canon camera, you can embark on your photography journey with confidence and a seamless transfer process.