Introduction
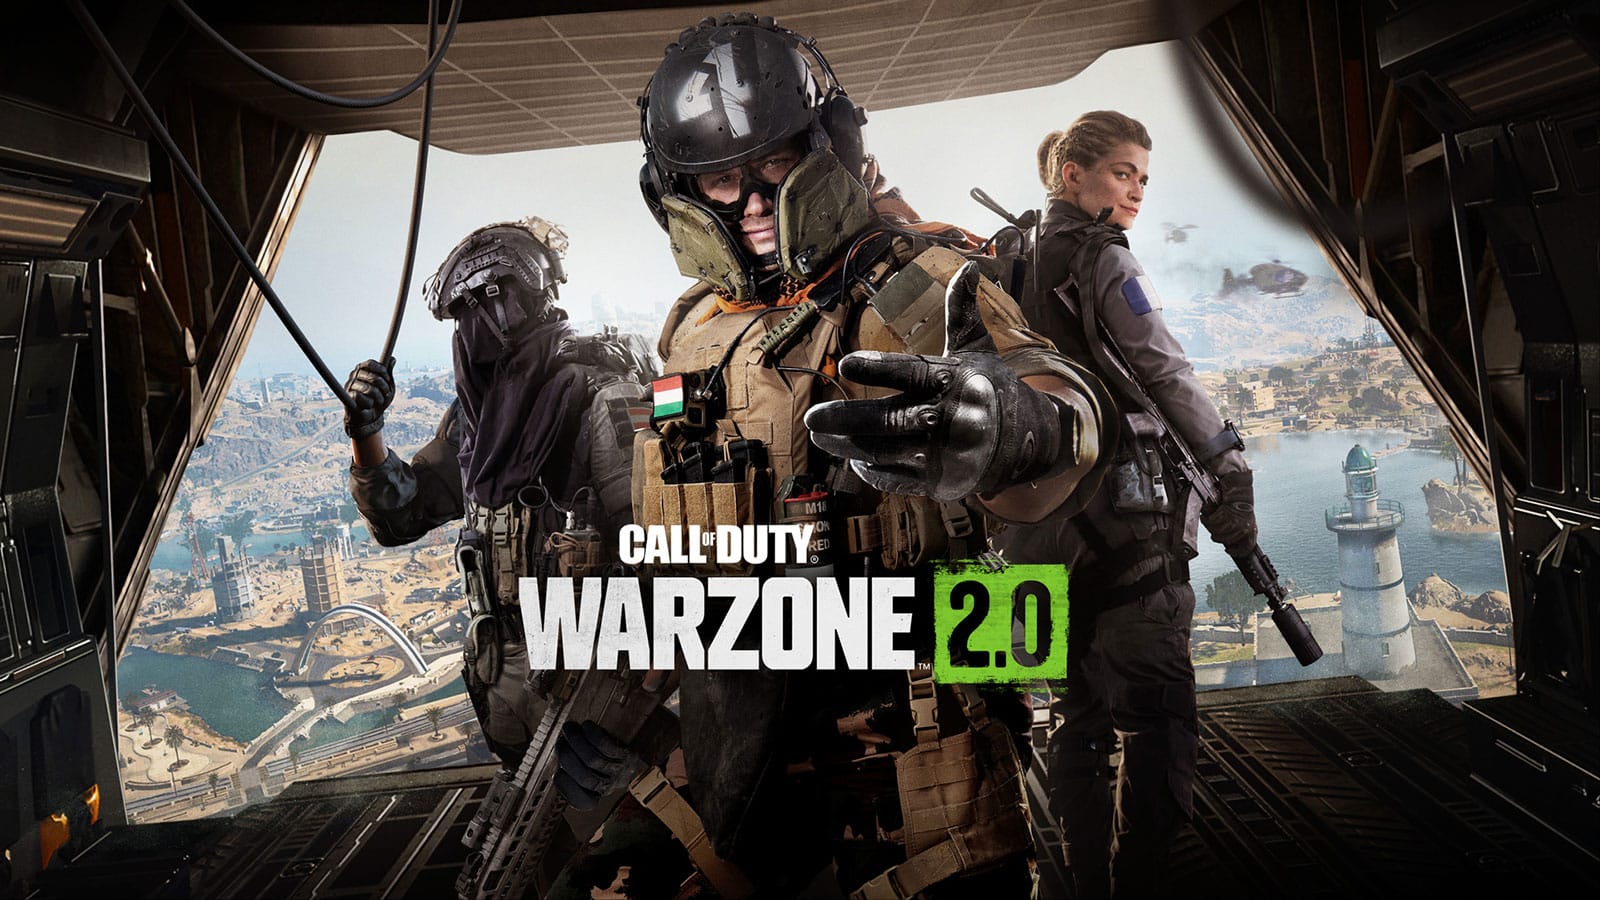
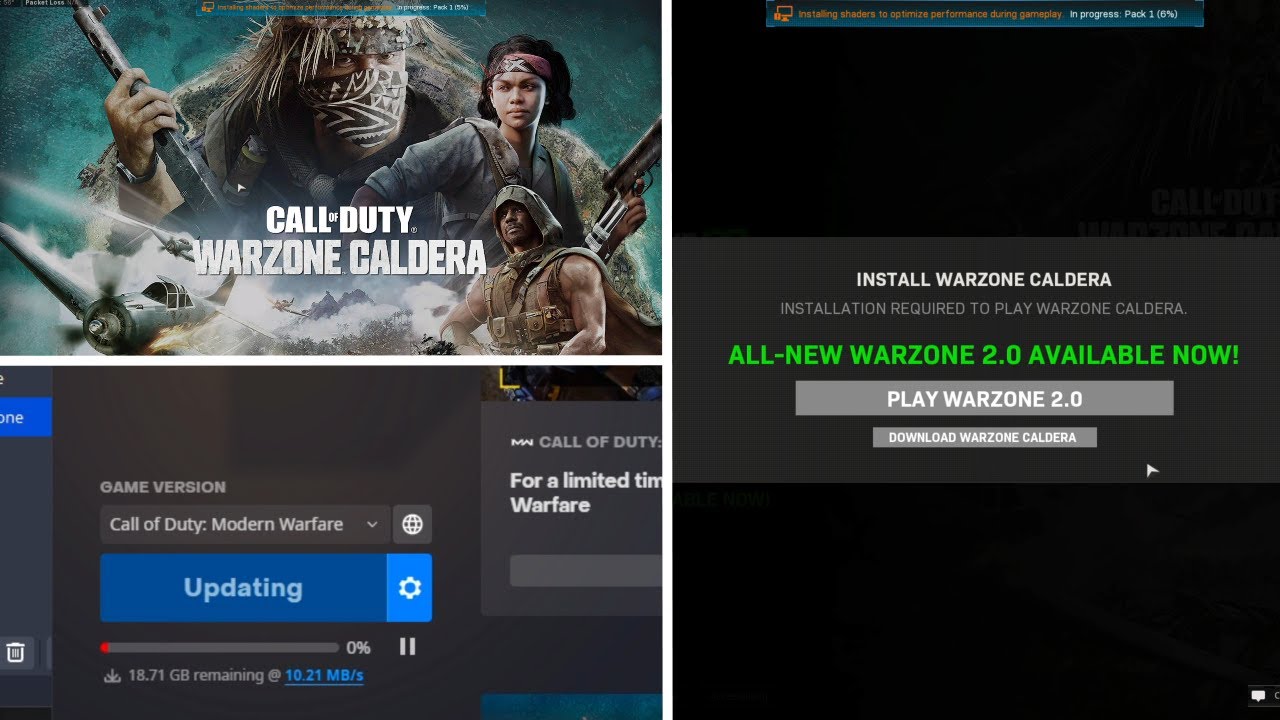
Welcome to the exciting world of Warzone! If you’re ready to dive into the adrenaline-pumping action of this popular first-person shooter game, you’ve come to the right place. In this guide, we’ll walk you through the process of downloading the new Warzone onto your device.
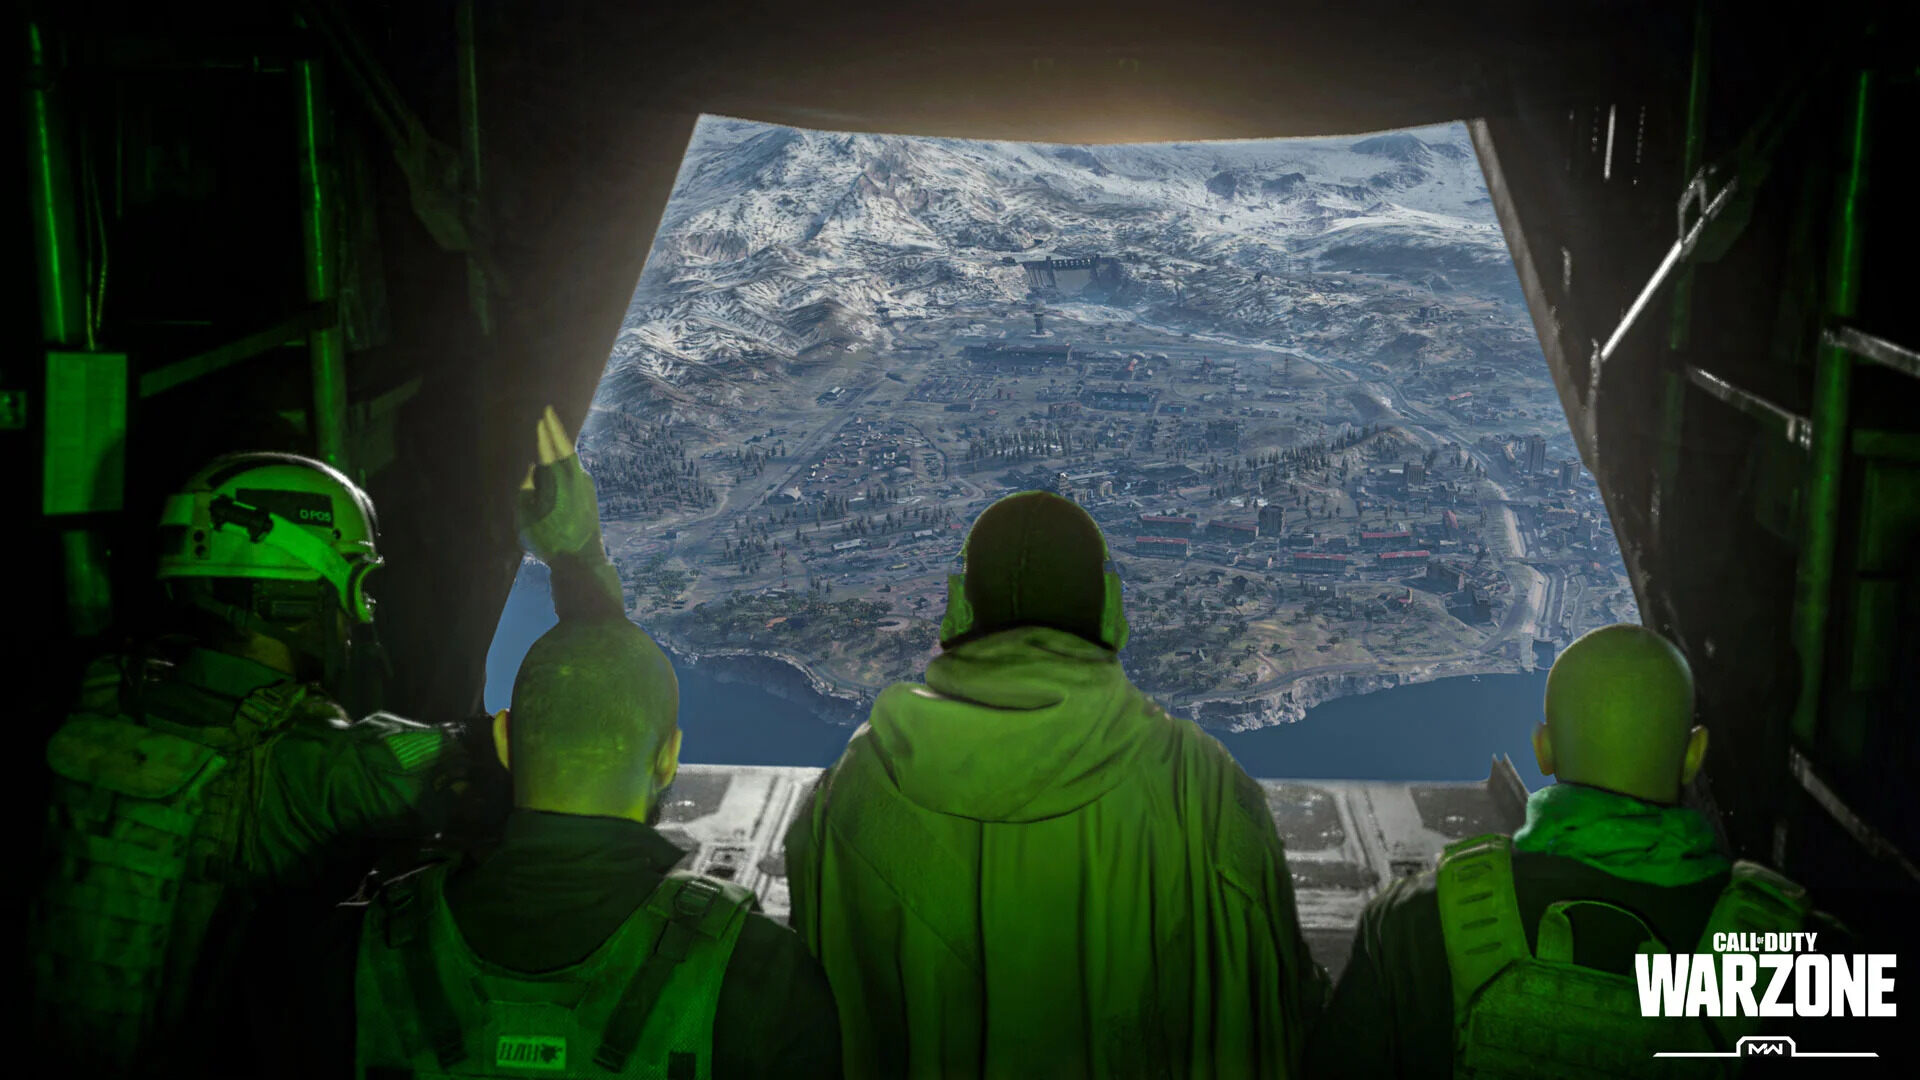
Warzone is a free-to-play game that lets you join intense battles with players from around the world. Whether you’re a seasoned gamer or new to the world of online warfare, Warzone offers a thrilling experience that will keep you on the edge of your seat.
Before we jump into the steps of downloading the game, it’s worth noting that Warzone has certain system requirements that your device needs to meet. Ensuring that your system is compatible will help you enjoy a seamless gaming experience without any hiccups.
In the following sections, we’ll guide you through the entire process, step by step. From checking your system requirements to downloading and installing the game, we’ve got you covered. So, without further ado, let’s get started on your journey to becoming a Warzone warrior!
Step 1: Check System Requirements
Before diving into the excitement of Warzone, it’s crucial to ensure that your device meets the necessary system requirements. This will help guarantee smooth gameplay and prevent any technical issues along the way. Here’s how you can check if your system is up to par:
1. Operating System: Make sure your device is running a compatible operating system. Warzone is available for Windows, PlayStation, and Xbox platforms. Check the official website or documentation for the specific requirements for your desired platform.
2. Processor: Verify that your device has a processor capable of handling the game. Warzone typically requires a processor with multiple cores and a decent clock speed. Check the recommended processor specifications to ensure optimal performance.
3. Memory: Ensure that your device has enough RAM to run the game smoothly. Warzone recommends a minimum of 8GB of RAM, but having more can enhance your gaming experience.
4. Graphics Card: A capable graphics card is essential for immersive gameplay. Check if your device meets the minimum requirements for Warzone. If you’re unsure about your card’s capabilities, you can find this information in your system settings or by referring to the manufacturer’s website.
5. Storage Space: Warzone requires a significant amount of storage space, particularly if you’re installing additional updates and expansions. Check the minimum storage requirements to ensure you have enough space available.
6. Internet Connection: Warzone is an online multiplayer game, so a stable internet connection is crucial. Make sure your device has a reliable internet connection with sufficient bandwidth to handle the game’s demands.
Checking your system requirements before downloading Warzone will save you time and frustration. It ensures that your device can handle the game and provides an enjoyable user experience. Once you’ve verified that your system meets the requirements, you’re ready to move on to the next step: accessing the game store.
Step 2: Access the Game Store
Now that you have confirmed that your system meets the requirements for Warzone, the next step is to access the game store. The game store is where you can search for and download Warzone onto your device. The process may vary depending on the platform you are using, whether it’s a console or a PC. Here’s how you can access the game store on different platforms:
Windows: If you are playing Warzone on a Windows PC, you can access the game store through various platforms such as Steam, Battle.net, or through the Microsoft Store. Open the respective store on your PC and search for Warzone using the search bar. Once you find the game, proceed to the next step.
PlayStation: If you are playing Warzone on a PlayStation console, you can access the game store directly from the console’s home screen. Look for the game store icon and select it to enter the store. Once you are in the store, use the search function to find “Warzone” and select it to proceed.
Xbox: If you are playing Warzone on an Xbox console, you can access the game store by navigating to the “Store” tab on the home screen. From there, use the search function to find “Warzone” and select it to proceed with the download process.
Once you have accessed the game store and searched for Warzone, you should be presented with the option to download the game. Ensure that you have a stable internet connection and sufficient storage space available on your device before initiating the download. Once the download is complete, you can move on to the next step: installing Warzone.
Step 3: Search for Warzone
After accessing the game store on your chosen platform, it’s time to search for Warzone. Searching for the game will allow you to find it within the store’s vast library of titles. Follow these steps to locate and select Warzone for download:
1. Open the game store that corresponds to your platform, such as Steam, Battle.net, the Microsoft Store, or the PlayStation Store.
2. Look for the search bar or icon within the store’s interface. This can usually be found at the top or in a prominent position within the store.
3. Enter “Warzone” into the search bar and hit enter or select the search button. This will initiate a search query to locate the game within the store’s database.
4. Review the search results. Typically, the game you’re looking for will appear at or near the top of the search results. Look for the official Warzone listing and ensure that it matches the platform you’re playing on.
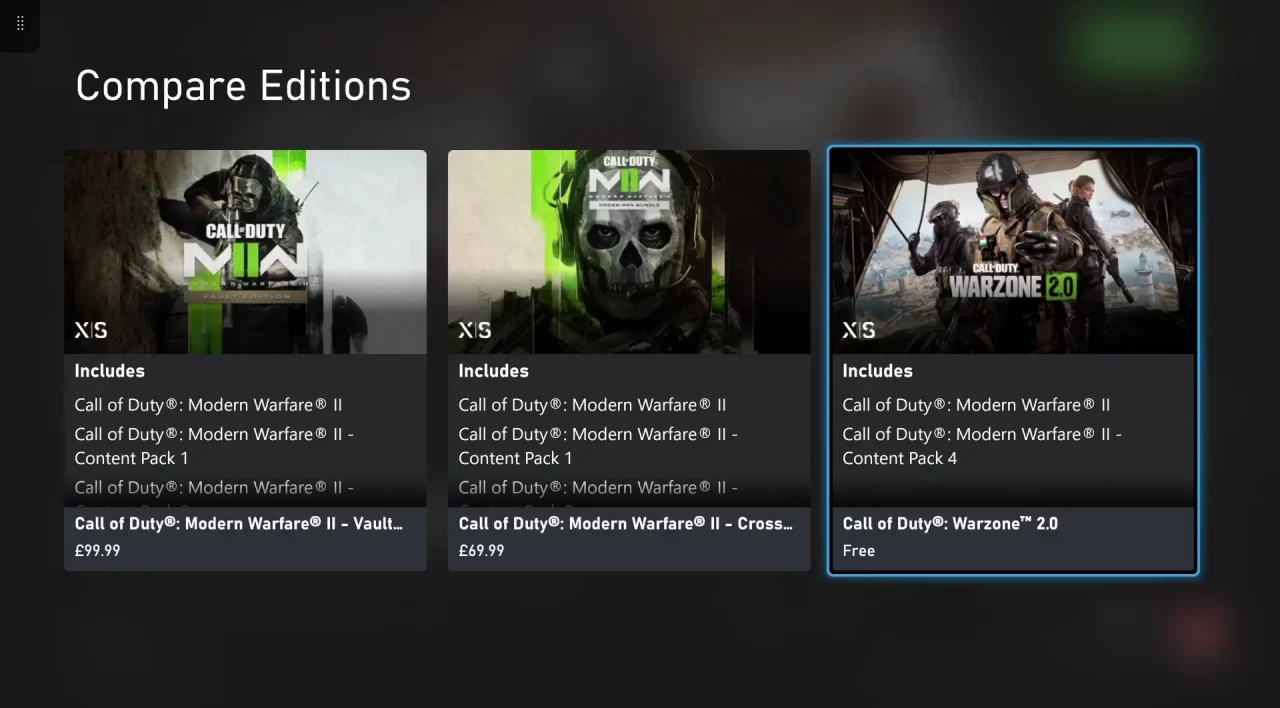
5. Select the Warzone listing from the search results. This will take you to the game’s dedicated page, where you can further explore its details, reviews, and additional information.
6. Verify that the information on the game’s page matches your expectations and requirements. Take note of any special editions, DLCs, or expansions that may be available alongside the base game.
7. Click on the download or purchase button to initiate the download process. Follow any on-screen prompts or instructions to proceed with the download, ensuring that you have a stable internet connection and enough storage space.
By successfully searching for and selecting Warzone from the game store, you are one step closer to experiencing the intense battles and thrilling gameplay that the game offers. Once the download is complete, it’s time to move on to the next step: installing Warzone on your device.
Step 4: Select and Download Warzone
Now that you have located Warzone in the game store, it’s time to select and download the game. This step will vary depending on the platform you’re playing on, but the concept remains the same. Follow these guidelines to successfully select and initiate the download process for Warzone:
PC: If you are playing Warzone on a PC, you’ll generally have multiple platforms to choose from, such as Steam, Battle.net, or the Microsoft Store. Once you have found Warzone in the store, click on the game’s listing to access the details page. Look for the “Download” or “Add to Cart” button, depending on the platform. If the game is free to play, you may not need to go through a purchase process. Follow the on-screen instructions to start the download. In some cases, you may need to create or sign in to the platform’s account before proceeding with the download.
Console: If you’re playing Warzone on a console like PlayStation or Xbox, the download process is straightforward. Once you have found Warzone in the game store, select the game’s listing to access its details page. Look for the “Download” or “Add to Library” button and click on it. The console will then initiate the download process. Make sure you have enough storage space available on your console before starting the download.
During the download process, it is important to have a stable internet connection. Warzone is a large game, so the download time may vary depending on your internet speed. Take this opportunity to secure any necessary updates or patches for the game to ensure you have the latest version.
While Warzone is downloading, you can use this time to prepare for the next step: installing the game on your device. Once the download is complete, proceed to the next step to continue your Warzone journey.
Step 5: Install Warzone
Congratulations on successfully downloading Warzone! Now that the game is on your device, it’s time to install it before you can start playing. The installation process will vary depending on the platform you’re playing on, but here’s a general guide to help you through it:
PC: If you downloaded Warzone through a platform like Steam, Battle.net, or the Microsoft Store, the installation process will typically begin automatically after the download is complete. Follow any on-screen prompts and select the installation location (if applicable). The installation process will take some time, as the game files are being extracted and organized on your device. Once the installation is complete, you’ll be ready to launch the game.
Console: If you downloaded Warzone on a PlayStation or Xbox console, the installation process should start automatically after the download finishes. The console will extract the game files and install them on your device. This process may take some time, depending on the console and the size of the game. Once the installation is complete, you can proceed to the next step.
During the installation, it’s essential to ensure that you have enough storage space on your device. Warzone is a large game, and it requires sufficient space for the installation process. If you’re running low on storage, consider freeing up space or expanding your storage capacity before proceeding.
Once Warzone is fully installed on your device, you’re just a few steps away from immersing yourself in the intense battles and excitement. The next step will guide you on how to launch and set up Warzone so you can unleash your skills and join the action-packed battlefield.
Step 6: Launch and Set Up Warzone
Excitement builds as you are now ready to embark on your Warzone adventure. In this step, we will guide you through launching the game and setting it up so that you can create your player profile and customize your gameplay settings. Follow these steps to launch and set up Warzone on your device:
1. Locate the Warzone icon on your desktop, home screen, or in your game library, depending on the platform you’re using. Double click on the icon or select it to open the game.
2. Wait for the game to load. Depending on your device’s performance and the game’s optimization, the loading time may vary.
3. Once the game has launched, you will be greeted with the main menu. Take a moment to familiarize yourself with the interface and options available to you. You may encounter a login screen, where you can sign in with your account credentials or create a new account if necessary.
4. Follow the on-screen instructions to create your player profile. This usually includes choosing a display name, setting up a profile picture, and customizing other preferences. Take your time to personalize your profile to make it uniquely yours.
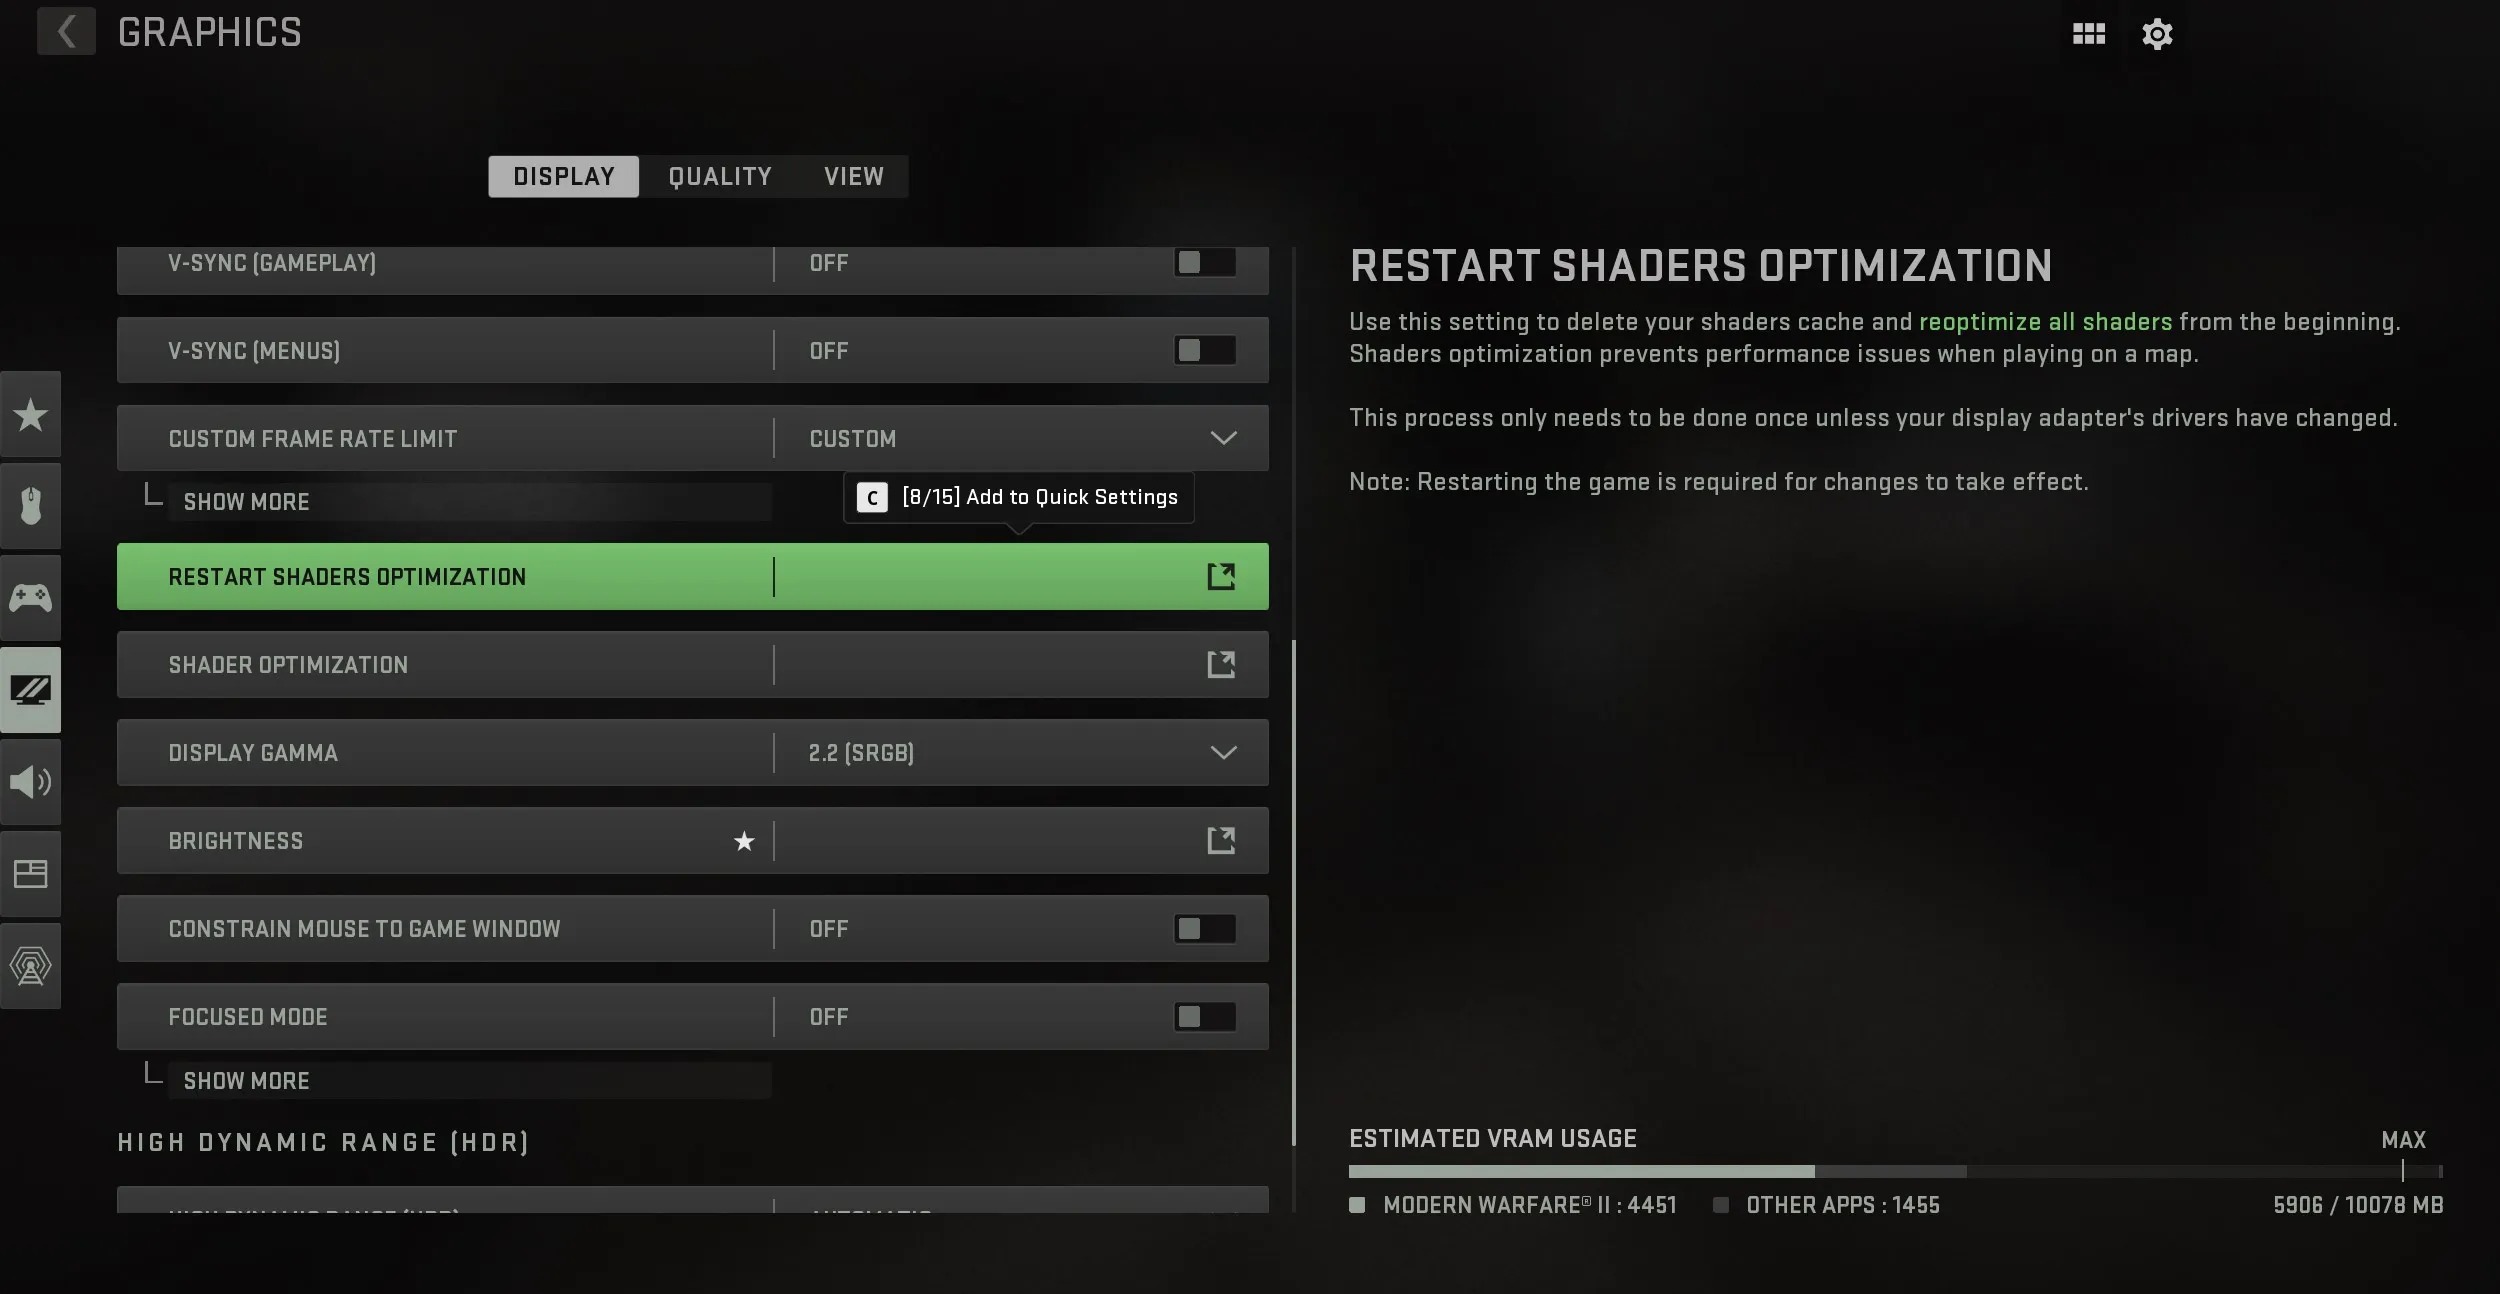
5. Next, explore the game’s settings to fine-tune your gameplay experience. Adjust options such as graphics, audio, control settings, and key bindings according to your preferences. This step ensures that you are comfortable and able to play the game to the best of your abilities.
6. Consider going through any beginner tutorials or training sessions that Warzone may offer. These can help familiarize you with the game’s mechanics, controls, and objectives, especially if you are new to the franchise or the battle royale genre.
7. Finally, save your settings and exit the options menu. You’re now ready to dive into the intense battles of Warzone!
By successfully launching and setting up Warzone, you have completed the necessary steps to kick off your gaming experience. The next step will outline the importance of keeping the game updated and how to ensure you have the latest version installed.
Step 7: Update Warzone (if necessary)
Once you have launched and set up Warzone, it’s important to ensure that you have the latest version of the game installed. Developers frequently release updates to improve gameplay, fix bugs, and introduce new features. To keep your gaming experience smooth and enjoyable, follow these steps to update Warzone if necessary:
1. Check for Updates: Look for an update option within the game’s settings or menu. This option is usually labeled “Check for Updates” or something similar. Select it to initiate a search for any available updates. If an update is found, proceed to the next step.
2. Download and Install Updates: Once an update is detected, follow the on-screen instructions to download and install it. This process will vary depending on the platform you’re playing on. Ensure that you have a stable internet connection and enough storage space for the update.
3. Allow Sufficient Download Time: Updates can range in size, so the download time will depend on your internet speed and the size of the update. It’s advisable to not interrupt the update process to avoid potential issues or corruption in your game files.
4. Stay Informed: Keep an eye on official game websites, social media channels, or developer announcements to stay informed about upcoming updates, patches, or content additions. These updates may include new maps, weapons, game modes, or bug fixes that enhance your Warzone experience.
5. Set Up Automatic Updates (optional): Some gaming platforms and consoles offer the option to enable automatic updates. By enabling this feature, your game will be automatically updated whenever a new version is available, eliminating the need for manual checks and installations.
Regularly updating Warzone is essential to ensure you have access to the latest features, improvements, and bug fixes. It also ensures compatibility with other players, minimizing potential issues during multiplayer matches. By staying up to date with updates, you can enjoy a seamless gaming experience and fully immerse yourself in the thrilling world of Warzone.
Conclusion
Congratulations! You have successfully learned how to download the new Warzone game onto your device. By following the steps outlined in this guide, you can now enjoy the heart-pounding action, epic battles, and endless adventures that Warzone has to offer.
We began by emphasizing the importance of checking the system requirements to ensure your device is compatible with the game. Then, we guided you through accessing the game store, searching for Warzone, and initiating the download process. Once the game was downloaded, we explained how to install it on your device.
After the installation, we walked you through launching the game, setting up your player profile, and customizing your gameplay settings. We also highlighted the significance of keeping Warzone updated and provided steps to ensure you have the latest version installed.
Now that you have completed these steps, you’re ready to join the action-packed battles of Warzone. Engage with players from around the world, develop your strategies, and sharpen your skills as you aim for victory in the virtual arena.
Remember to stay informed about any future updates, expansions, or events by checking official game channels and websites. Keep an eye out for new features and content that will continue to enhance your Warzone experience.
Thank you for choosing Warzone as your game of choice. Enjoy your gaming sessions, and may every battle be thrilling and rewarding!


