Introduction
Welcome to the world of digital music! Gone are the days of carrying around bulky CD cases or cassette tapes. With the advent of technology, you can now conveniently and easily store all your favorite tunes on a USB stick. Whether you want to create a personalized mixtape for a road trip, have a collection of songs for a party, or simply enjoy your favorite tracks wherever you go, downloading music to a USB stick is a hassle-free way to take your music library with you.
In this article, we will guide you through the process of downloading music to a USB stick. We will cover the steps from inserting the USB stick to safely removing it once the download is complete. So, if you’re ready to dive into the world of portable music, grab your USB stick and let’s get started!
Note: Before we begin, make sure you have a compatible USB stick with sufficient storage space to accommodate the music files you wish to download. Additionally, ensure that your computer or device has a USB port where you can connect the stick.
Step 1: Insert the USB Stick
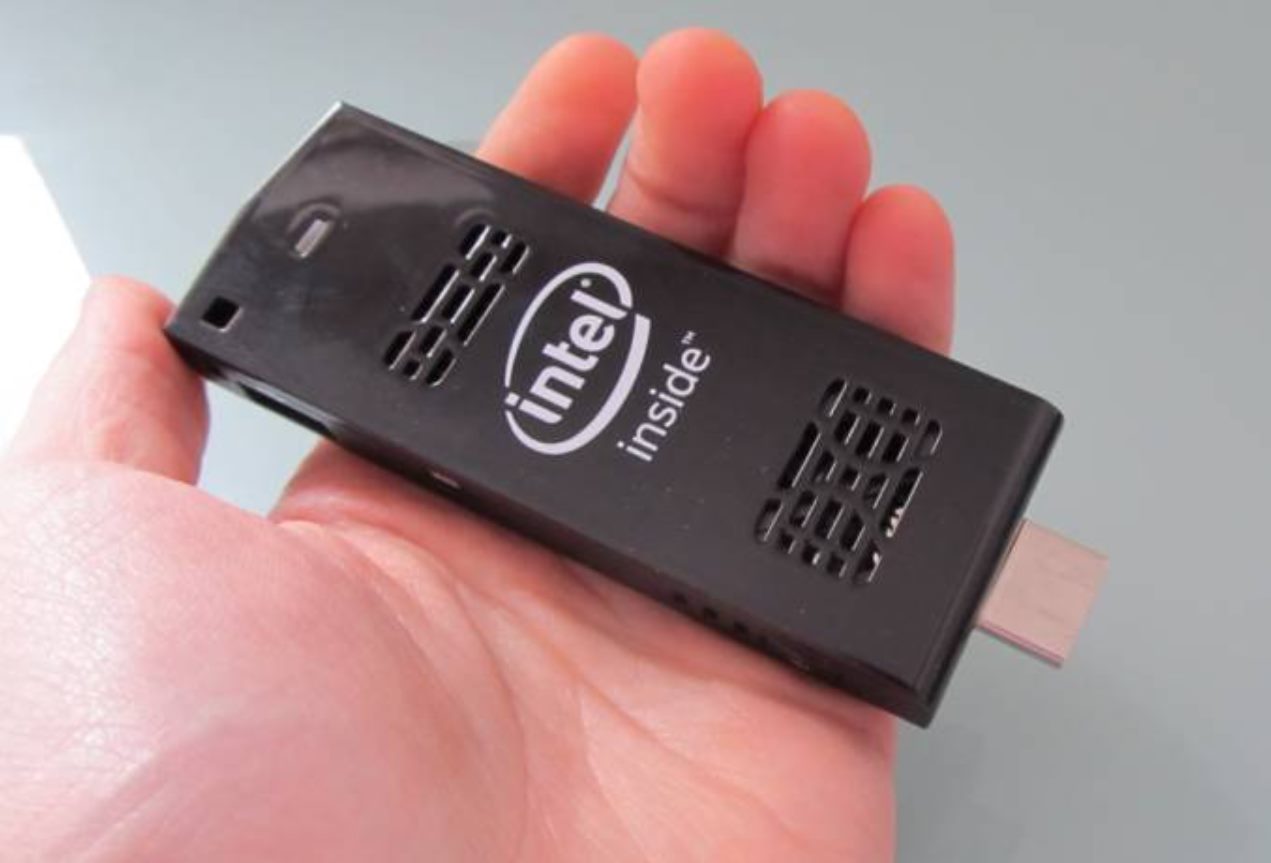
The first step in downloading music to a USB stick is to insert the stick into a USB port on your computer or device. Most USB sticks have a standard USB connector that can easily be plugged into the port. Depending on your device, the USB port may be located on the front or back of the computer tower, or on the side of a laptop. Some laptops also have USB ports on both sides for added convenience.
Once you locate the USB port, gently insert the USB stick into the port. Be sure to insert it in the correct orientation, aligned with the port’s shape. The stick should slide in smoothly without any force. If you encounter resistance, double-check the orientation and try again.
Once the USB stick is properly inserted, your computer or device should recognize it. You may see a notification or pop-up indicating that a new device has been detected. Alternatively, you can check the file explorer or desktop to see if the USB stick icon appears. Once you see the USB stick icon, you’re ready to move on to the next step.
Step 2: Search for Music
Once the USB stick is inserted and recognized by your computer or device, it’s time to start searching for the music you want to download. There are several ways you can find and download music:
- 1. Online Music Platforms: There are numerous online music platforms where you can stream or purchase music. Popular platforms like Spotify, Apple Music, and Amazon Music offer extensive catalogs of songs to choose from. Browse through the platform’s library, create playlists, and select the songs you want to download.
- 2. Online Music Stores: Many online stores, such as iTunes and Google Play, allow you to purchase and download individual songs or entire albums. These stores often offer a wide range of genres and artists to cater to different musical preferences.
- 3. Torrent Websites: Torrent websites like The Pirate Bay and BitTorrent provide a vast collection of music files that can be downloaded. However, keep in mind that downloading copyrighted music without permission is illegal in many countries.
Choose your preferred method of obtaining music and start exploring. Use keywords, song titles, or artist names to search for specific tracks or albums. Refine your search results by applying filters such as genre, release date, or popularity.
Remember to be cautious when downloading music from unofficial sources, as they may contain malware or low-quality files. Stick to reputable websites and platforms to ensure a safe and enjoyable music downloading experience.
Step 3: Download Music Files
Once you have found the music you want to download, it’s time to start downloading the music files to your computer or device. The process may vary slightly depending on the platform or website you are using, but the general steps are as follows:
- 1. Streaming Platforms: If you are using a streaming platform like Spotify or Apple Music, you may not have the option to directly download the music files. In this case, you can create playlists and save the songs for offline listening within the app. This allows you to access the music without an internet connection, but the actual files remain within the app’s ecosystem.
- 2. Online Music Stores: For online music stores, the process of downloading music files is usually straightforward. Simply select the songs or albums you want to download and click on the respective download button. The music files will be saved to your computer or device in a compatible format, such as MP3 or AAC.
- 3. Torrent Websites: If you are using torrent websites to download music files, you will need a torrent client software like uTorrent or BitTorrent. Download and install the torrent client, then click on the torrent link or magnet link provided on the website. The torrent client will start downloading the music files from multiple sources.
During the download process, you can monitor the progress of the downloads in your browser or through the torrent client software. Larger files or slower internet connections may take some time to download, so be patient.
Make sure to save the downloaded music files in a location on your computer or device where you can easily find them later. It’s a good idea to create a dedicated folder specifically for your downloaded music.
Step 4: Transfer Music to USB Stick
Now that you have downloaded the music files onto your computer or device, it’s time to transfer them to the USB stick. Follow these steps to complete the transfer:
- 1. Locate the downloaded music files: Open the file explorer on your computer or device and navigate to the folder where you saved the downloaded music files.
- 2. Connect the USB stick: If you haven’t already done so, connect the USB stick to the USB port on your computer or device.
- 3. Copy the music files: Select the music files you wish to transfer to the USB stick. You can either click and drag them to the USB stick icon on the file explorer or right-click on the selected files and choose “Copy.” Then, navigate to the USB stick folder and right-click on an empty space and choose “Paste” to copy the files to the USB stick.
- 4. Wait for the transfer to complete: Depending on the size of the music files and the speed of your computer or device, the transfer may take a few moments to complete. Avoid disconnecting the USB stick or interrupting the transfer process to ensure all files are successfully transferred.
Once the transfer is complete, you can safely remove the USB stick from your computer or device.
It’s worth noting that USB sticks usually have limited storage capacity, so make sure to check the available space on the stick before transferring a large amount of music. If necessary, you can remove unwanted or less frequently listened-to songs from the USB stick to free up space.
By transferring the music files to a USB stick, you now have a portable and convenient way to enjoy your favorite tunes on various devices that support USB playback.
Step 5: Safely Remove the USB Stick
After transferring the music files to your USB stick, it’s important to safely remove the stick from your computer or device to avoid any potential data loss or corruption. Follow these steps to safely eject the USB stick:
- 1. Check if any file transfer processes are still in progress: Before removing the USB stick, make sure that all file transfer processes related to the stick have completed. Look for any active file transfer notifications or indicators on your computer or device.
- 2. Save and close any open files: If you have accessed files or folders on the USB stick, ensure that you save and close them before proceeding with the ejection process. This prevents any data loss or corruption.
- 3. Locate the “Safely Remove Hardware” icon: Look for the “Safely Remove Hardware” icon in the system tray on your computer’s taskbar (Windows) or in the menu bar (Mac). It is represented by an icon that resembles a USB plug or a green checkmark.
- 4. Click on the “Safely Remove Hardware” icon: Left-click on the icon to display a list of connected devices, including your USB stick. Click on the name of the USB stick to initiate the ejection process.
- 5. Wait for the confirmation message: After clicking on the USB stick’s name, you will receive a confirmation message indicating that it is now safe to remove the stick. This message may vary depending on your operating system.
- 6. Remove the USB stick: Gently pull the USB stick out of the USB port. If there is a cap or cover on the stick, you can put it back on to protect the USB connector.
It is essential to follow these steps and safely remove the USB stick to prevent any potential damage to the stick or loss of data. Simply pulling out the stick without following the proper ejection process can result in file corruption or damage to the stick itself.
Now that you have safely removed the USB stick, you can take it with you wherever you go and enjoy your favorite music on any device that supports USB playback. Happy listening!
Conclusion
Downloading music to a USB stick is a simple and convenient way to carry your favorite tunes with you wherever you go. By following the steps outlined in this guide, you can successfully download music files and transfer them to your USB stick for portable playback.
Remember to insert the USB stick into a USB port on your computer or device and ensure that it is properly recognized. Utilize online music platforms, online music stores, or torrent websites to find and download the music files you desire. Once downloaded, transfer the music files to the USB stick by copying and pasting them from your computer’s file explorer.
Finally, it’s crucial to safely remove the USB stick from your computer or device before physically unplugging it to avoid any potential data loss or corruption. Take your USB stick wherever you go and enjoy your favorite music on the go, whether it’s in your car, at a friend’s house, or during a workout session.
Keep in mind that copyright laws vary by country, so ensure you are downloading music from legal sources and respecting the rights of artists and content creators. Additionally, always check the available storage space on your USB stick to ensure you have enough capacity for your music collection.
Now that you have mastered the art of downloading music to a USB stick, you can expand your collection, create personalized playlists, and enjoy an unlimited soundtrack to your life. Music has the power to uplift, inspire, and entertain, and having it readily available on your USB stick amplifies these experiences.
So, grab your USB stick, start exploring the music world, and let the melodies accompany you on your journey!


