Introduction
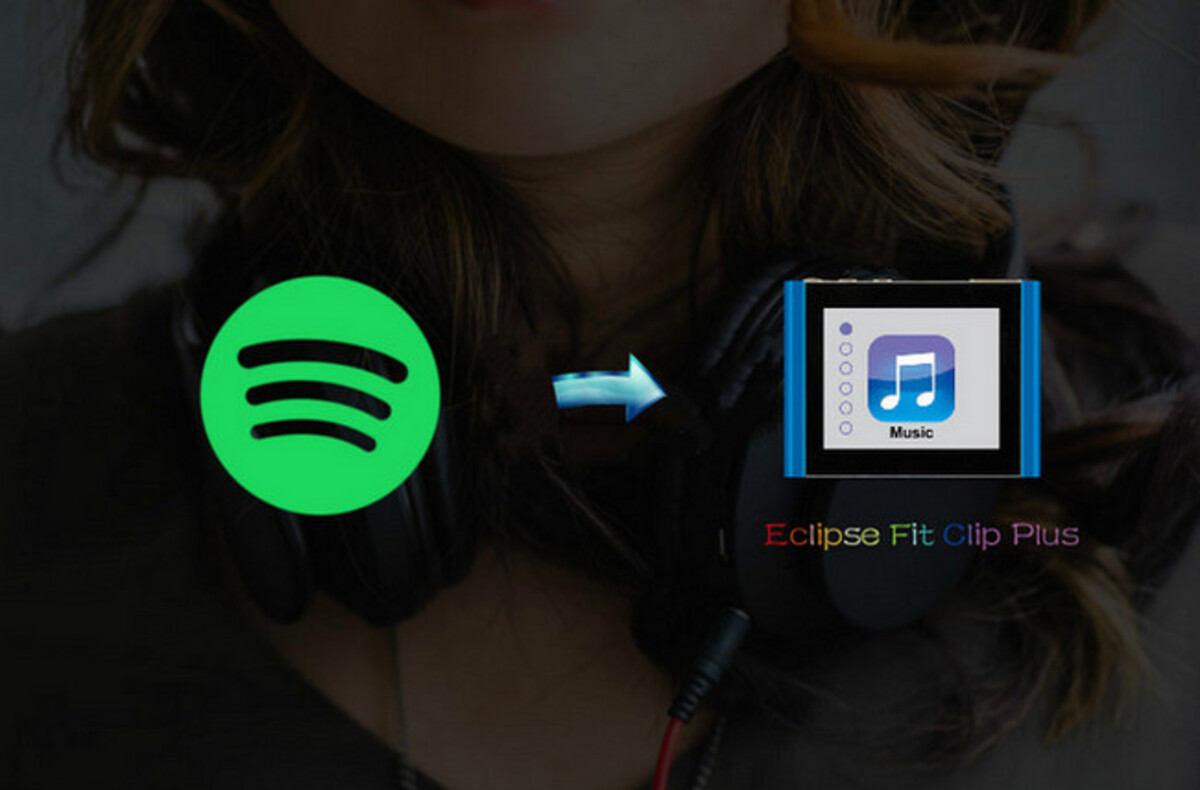
Welcome music enthusiasts! Are you tired of constantly streaming music online and dealing with limited network coverage or pricey data plans? Well, we have good news for you. In this article, we will guide you through the process of downloading music onto your music player, so you can enjoy your favorite tunes even when you’re offline!
There’s something magical about having your own music collection at your fingertips. You can create personalized playlists, discover new artists, and curate your own unique music library. And the best part? You don’t need to be tech-savvy to download music onto your music player. With a few simple steps, you’ll be grooving to your favorite tracks in no time.
In this comprehensive guide, we will walk you through the entire process, from selecting and installing the right music player app to organizing and managing your downloaded music. So, get your headphones ready, because we’re about to dive into the wonderful world of music downloading!
But before we get started, it’s important to note that downloading copyrighted music without permission is illegal. Please ensure that you are downloading music from legitimate sources and respect the rights of artists and content creators.
Now, let’s kick off this music-filled journey by choosing the perfect music player app for your device. Follow along as we guide you through each step, and soon you’ll be enjoying your own personal music library wherever you go!
Step 1: Select and Install a Music Player App
The first step in downloading music onto your music player is to select and install a music player app that suits your needs and preferences. There are numerous options available, both free and paid, for various platforms such as Android, iOS, and Windows. Here’s how you can choose the right music player app:
- Research and Compare: Take some time to research and compare different music player apps available in your device’s app store or online. Read reviews, check their features, and see if they meet your requirements.
- Consider Your Device Compatibility: Ensure that the music player app you choose is compatible with your device’s operating system. Some apps are designed exclusively for iOS or Android, while others work seamlessly on multiple platforms.
- Features and Customization Options: Look for music player apps that offer a wide range of features and customization options. Some popular features to consider include equalizer settings, playlist management, crossfade playback, and support for various audio formats.
- User-Friendly Interface: A user-friendly interface makes it easier to navigate and enjoy your music collection. Look for an app that has an intuitive layout, easy-to-use controls, and a visually appealing design.
- Supported Music Sources: Ensure that the music player app supports the sources from which you want to download music. Whether it’s a local music library, streaming services, or online music stores, make sure the app can seamlessly integrate with your preferred sources.
Once you have selected the perfect music player app for your needs, it’s time to install it on your device. Simply open your device’s app store, search for the music player app by name, and click on the “Install” button. Wait for the installation to complete, and voila! You now have a music player app ready to be filled with your favorite songs.
Now that you have a music player app installed, let’s move on to the next step of our music downloading journey: searching and downloading music files. Get ready to expand your music collection!
Step 2: Search and Download Music Files
Now that you have your music player app installed, it’s time to search and download music files to add to your collection. Follow these steps to find and download your favorite tracks:
- Explore your Music Player App: Familiarize yourself with the search and browse features of your music player app. Most apps have a dedicated search bar where you can enter the name of the song, album, or artist you’re looking for.
- Utilize Online Music Stores and Streaming Services: Many music player apps offer integration with popular online music stores and streaming services. You can browse through vast catalogs and choose from millions of songs. Some of these platforms require a subscription or purchase fee for downloading music, so make sure to check the terms and conditions.
- Consider Free Music Download Websites: If you prefer to download music for free, there are several websites that offer legal and free music downloads. Look for reputable sites that offer a wide range of genres and artists. Keep in mind that the availability of popular songs may vary, and you should always respect copyright laws.
- Check for Download Options: Once you find a song or album you want to download, check if your music player app provides a download option. Some apps may have a download button or an option to save tracks for offline listening. Click on the download option, and your selected music files will be saved to your device’s storage.
- Organize Your Downloaded Music: After downloading music files, it’s a good idea to organize them within your music player app. Create playlists, categorize by genre or mood, or sort them by artist or album. This will make it easier to find and enjoy your downloaded tracks later.
Remember, it’s important to download music from legal sources. Unauthorized downloading or sharing of copyrighted material is against the law and can result in serious consequences. Always ensure that you are using reputable sources and supporting the artists you love.
With these steps, you can now search for and download music files to build your personal music collection. In the next step, we’ll guide you on how to organize and manage your downloaded music within your music player app. Let’s dive in!
Step 3: Organize and Manage Your Downloaded Music
Now that you have downloaded music files onto your music player app, it’s time to organize and manage your collection. Follow these steps to keep your music library tidy and easy to navigate:
- Create Playlists: Playlists are a great way to organize your music based on your moods, genres, or specific themes. Create playlists that suit your preferences and add your favorite songs to them. Most music player apps allow you to create multiple playlists and customize their names.
- Sort by Artist or Album: If you prefer a more structured approach, you can sort your music by artist or album. This is particularly useful when you want to browse through a specific artist’s discography or want to listen to a full album.
- Add Tags and Metadata: Many music player apps allow you to add tags and metadata to your music files. This includes information such as song titles, album names, artist names, and even album art. Adding this information not only makes your music collection look more organized but also helps with searching and categorizing your music.
- Use Folders or Directories: Some music player apps allow you to organize your music files into folders or directories. You can create separate folders for different genres or create separate folders for specific artists. This gives you more control over how your music is organized and accessed within the app.
- Remove Duplicates: Over time, you may accidentally download duplicate tracks. It’s a good practice to regularly scan your music library for duplicates and remove them. This will help free up storage space and ensure a clean and clutter-free music collection.
- Backup Your Music Collection: To avoid losing your downloaded music, consider creating regular backups. You can back up your music collection to cloud storage or external devices. This ensures that even if you switch devices or accidentally delete files, you can easily restore your music library.
By following these steps, you can keep your music library well-organized and easy to navigate. Having a structured and managed music collection will greatly enhance your overall music listening experience.
With your music collection organized, it’s time to move on to the next step: transferring your downloaded music to your music player. Stay tuned as we guide you through the process in the next step!
Step 4: Transfer Music to Your Music Player
Once you have downloaded and organized your music collection, the next step is to transfer the music to your music player. Here’s how you can do it:
- Connect Your Device: Start by connecting your music player device to your computer using a USB cable. Make sure your device is recognized and appears as a removable storage device on your computer.
- Locate Your Music Library: Open the file explorer on your computer and navigate to the folder where your music collection is stored. This is usually the default music folder or a folder you specified during the download process.
- Select and Copy Music Files: In the file explorer, select the music files you want to transfer to your music player. You can either select individual files or entire folders. Right-click and choose the “Copy” option.
- Paste into Your Music Player: Open the folder representing your music player device in the file explorer. Right-click and choose the “Paste” option to transfer the music files from your computer to your music player.
- Wait for the Transfer: The transfer process may take a few moments, depending on the size of your music files and the speed of your connection. Ensure that the transfer is complete before disconnecting your device.
- Eject and Disconnect: Once the transfer is complete, safely eject your music player device from your computer to avoid any data loss. Disconnect the USB cable when you receive the notification that it’s safe to do so.
It’s important to note that the exact steps for transferring music may vary depending on the type of music player you have. Some music players have dedicated software or apps that facilitate the transfer process. Make sure to refer to the user manual or documentation provided by the manufacturer for specific instructions.
Now that you have successfully transferred your downloaded music to your music player, it’s time for the final step: enjoying your music on the go. Let’s move on to the last step!
Step 5: Enjoy Your Downloaded Music on Your Music Player
Congratulations! You have reached the final step of downloading music onto your music player. It’s time to sit back, relax, and enjoy the fruits of your labor. Here’s how you can make the most of your downloaded music:
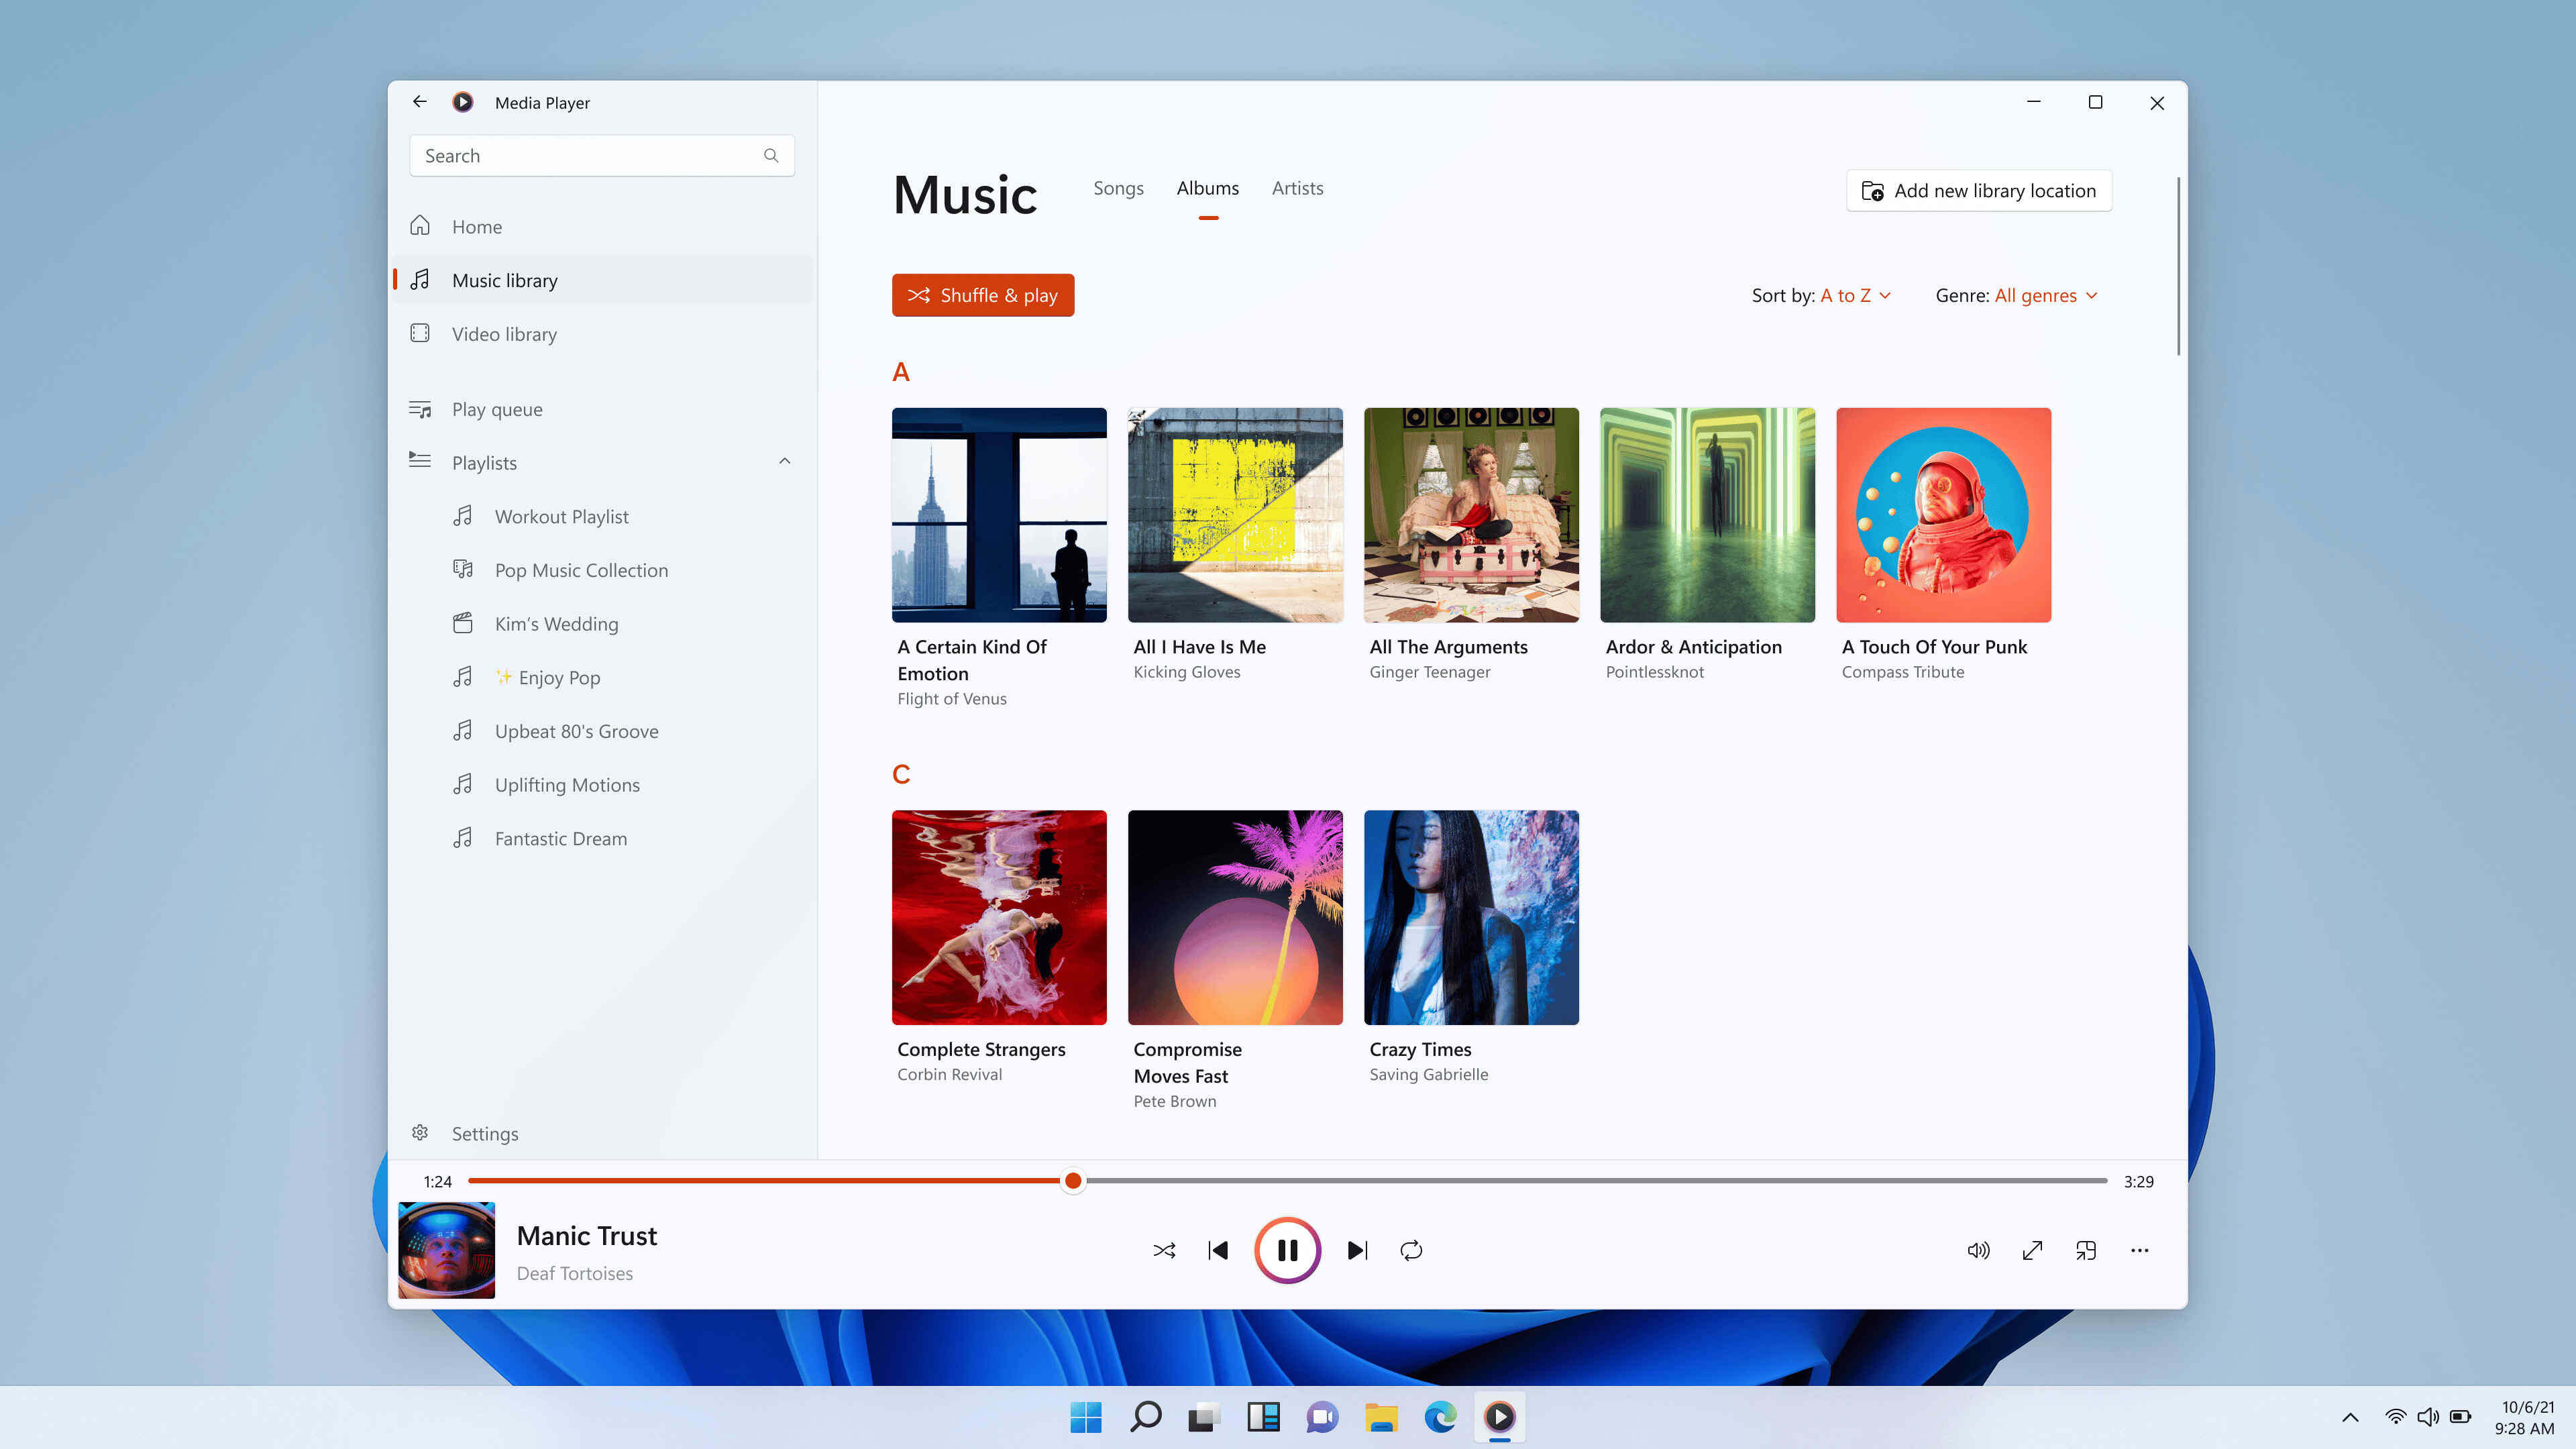
- Navigate Your Music Library: Open your music player app or device and explore your music library. Use the features you learned earlier to browse through your organized music collection, such as playlists, sorting options, and search functionality.
- Create Customized Playlists: Take advantage of the playlist feature in your music player app to curate your own personalized mixtapes. Create playlists for different moods, occasions, or genres to suit your listening preferences.
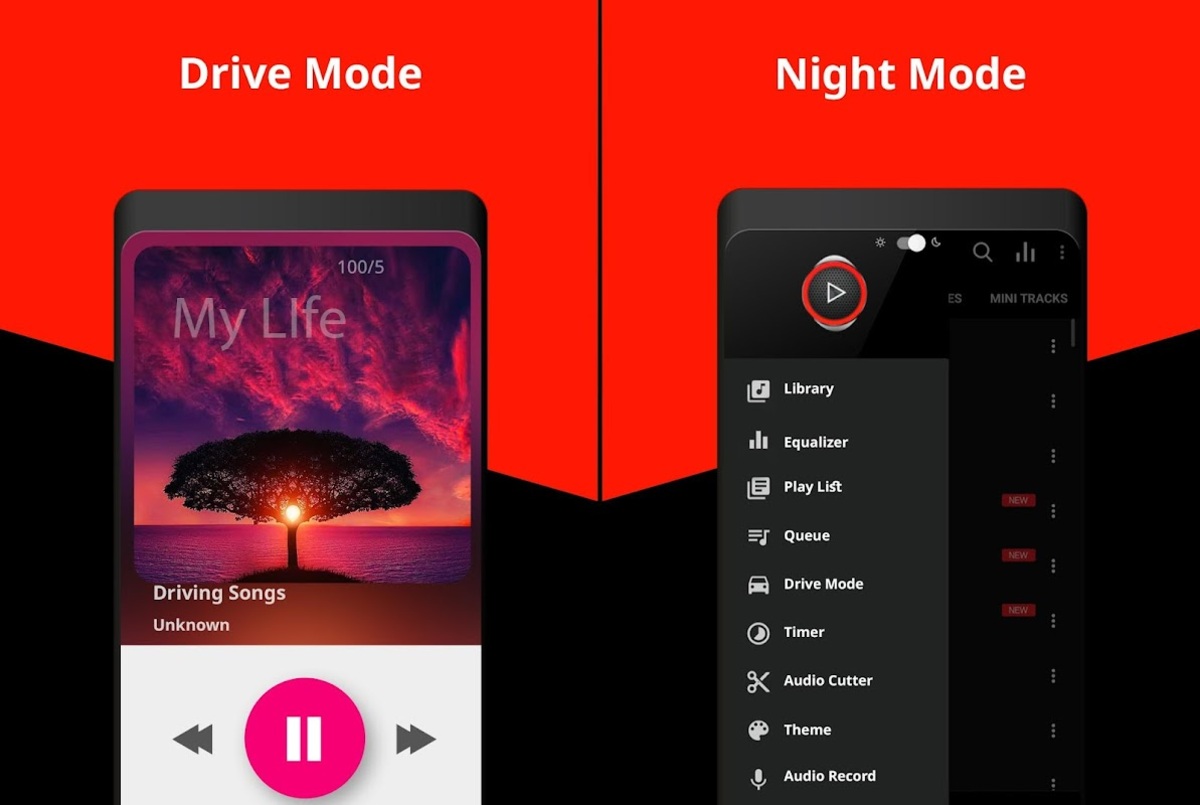
- Make Use of Shuffle and Repeat: Experiment with the shuffle and repeat functionalities in your music player app to keep your listening experience fresh. Shuffle your entire library or within specific playlists, and repeat a single track or an entire playlist to your heart’s content.
- Discover New Music: Explore the recommended or related artists/songs features within your music player app. It’s a great way to discover new artists, genres, and songs that align with your taste. Expand your music horizons and let your music player surprise you.
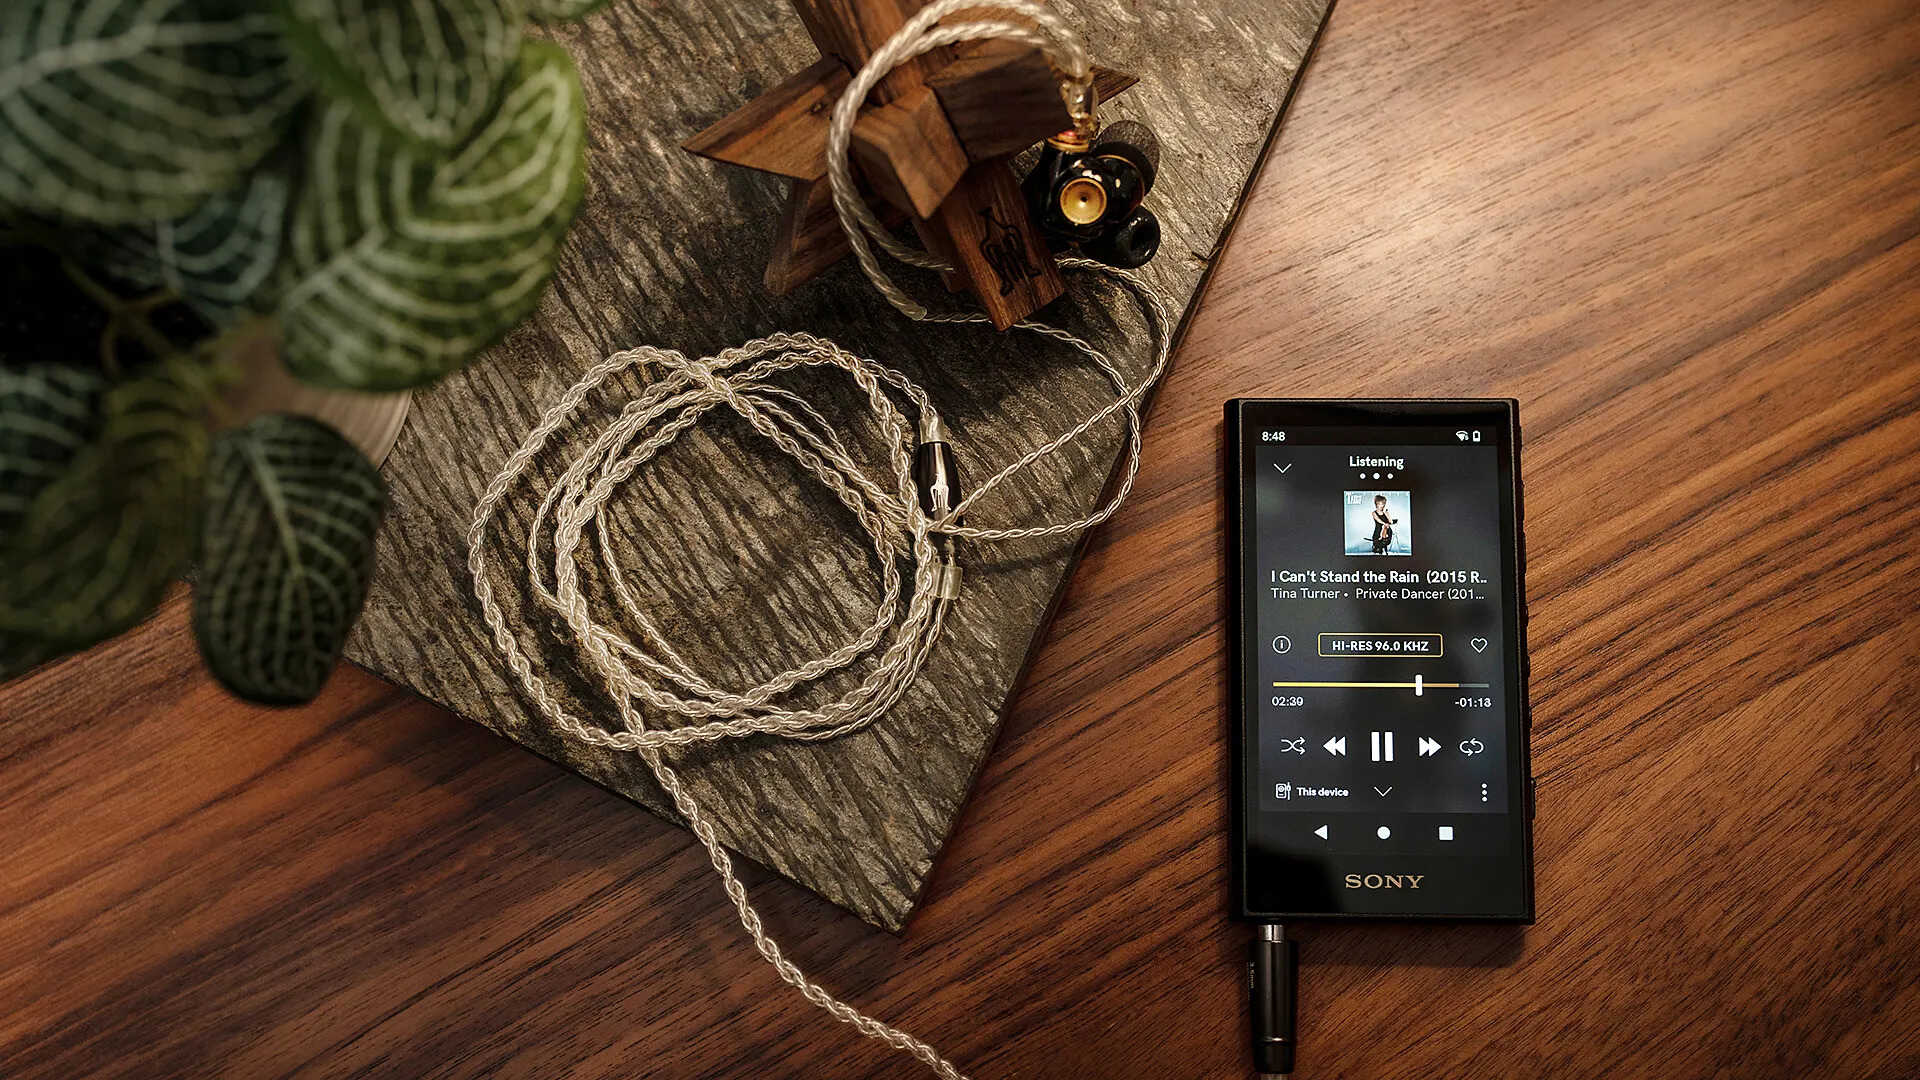
- Enjoy Music Offline: One of the main advantages of downloading music is the ability to listen to it offline. Whether you’re traveling, in areas with poor network coverage, or simply want to conserve your data, having your downloaded music on your music player allows you to enjoy uninterrupted tunes wherever you go.
- Share Your Favorites: If your music player app has social sharing features, showcase your favorite songs, artists, or playlists to your friends and followers. Spread the joy of your downloaded music and engage in conversations about music recommendations or taste.
Remember, a music player app is not only a tool for listening to music but also a gateway to enhance your overall music experience. Experiment with different features, settings, and customization options to make your music player truly yours.
And there you have it! You have successfully downloaded, organized, transferred, and now, you’re ready to enjoy your favorite tunes on your music player. Whether you’re commuting, exercising, or simply relaxing at home, your music collection will be by your side, providing the perfect soundtrack to your life.
Conclusion
Congratulations on completing your journey of downloading music onto your music player! By following the steps outlined in this guide, you have gained the knowledge and skills to build your own personal music library and enjoy your favorite tunes whenever and wherever you want.
We started by selecting and installing a suitable music player app for your device. Then, we discussed how to search and download music files from reputable sources. Next, we covered the importance of organizing and managing your downloaded music to create a seamless listening experience.
We also provided guidance on transferring the downloaded music to your music player, ensuring that all your favorite tracks are readily available. Finally, we encouraged you to embrace your music player app’s features and enjoy the music at your own pace, exploring new artists and genres along the way.
Remember to always download music from legal sources and respect the rights of artists and content creators. Supporting the music industry is vital for the development and creation of new music for everyone to enjoy.
Now it’s time for you to embark on your own musical adventure. So, grab your headphones, fire up your music player, and immerse yourself in the joy of your personally curated music collection. Let the melodies transport you to new heights and ignite your emotions.
Thank you for joining us on this journey, and we hope that your music player becomes your faithful companion, delivering endless hours of musical bliss. Happy listening!