Introduction
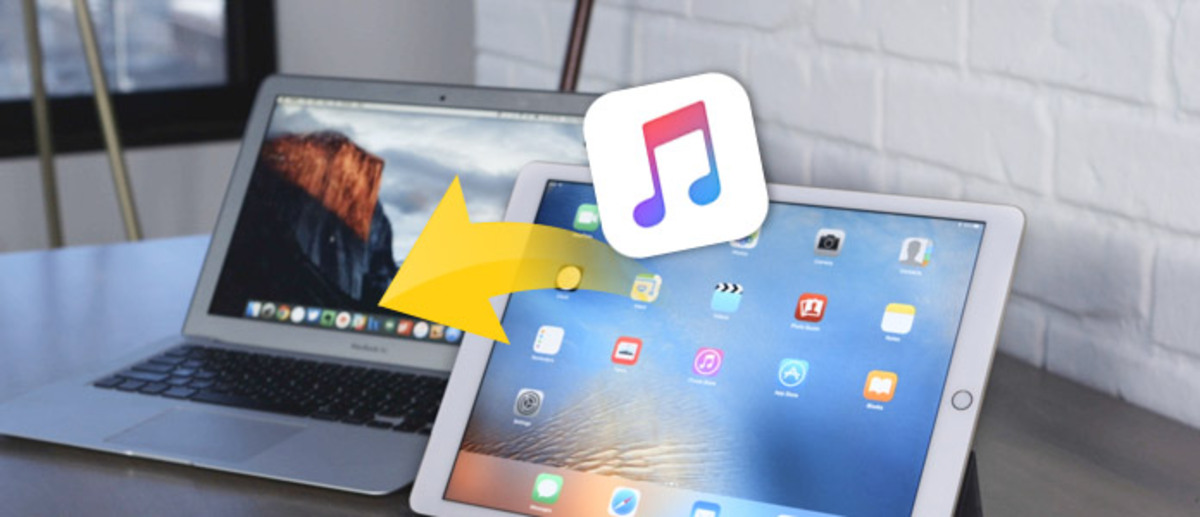
Are you an avid music lover who wants to transfer your favorite songs from your iMac to your iPad? Look no further, as we have got you covered! Whether you want to listen to your favorite tunes on the go or simply want to have them readily accessible on your iPad, there are several methods to download music from your iMac to your iPad.
Having music on your iPad allows you to enjoy your favorite tracks anytime, anywhere without needing an internet connection. Whether you have purchased music from the iTunes Store or have downloaded it from other sources, transferring it to your iPad is a simple process.
In this article, we will guide you through four different methods that you can use to download music from your iMac to your iPad. These methods include using iTunes, Finder, cloud storage, and third-party apps. Regardless of the method you choose, you will be grooving to your favorite beats on your iPad in no time!
So, let’s dive in and explore each method in detail to find the one that suits your preferences and requirements the best.
Method 1: Using iTunes
iTunes is the default media management software for Apple devices, including iPads. It allows you to sync your music library between your iMac and your iPad seamlessly. Follow these steps to download music from your iMac to your iPad using iTunes:
- Connect your iPad to your iMac using a USB cable.
- Launch iTunes on your iMac. If it doesn’t open automatically, you can manually open it.
- Click on the device icon located at the top-left corner of the iTunes window. This will open the device management page.
- Click on the “Music” tab in the left sidebar.
- Check the “Sync Music” option.
- Select the music you want to transfer to your iPad. You can choose to sync your entire music library or specific playlists, albums, or songs.
- Click on the “Apply” or “Sync” button at the bottom-right corner of the iTunes window. This will initiate the syncing process, and your selected music will be transferred to your iPad.
- Wait for the syncing process to complete. The time it takes will depend on the size of your music library.
- Once the syncing is done, disconnect your iPad from your iMac, and you will find your downloaded music on your iPad’s music app.
Using iTunes is an efficient method to transfer music from your iMac to your iPad. However, keep in mind that iTunes only allows you to sync music that you have purchased or imported into your iTunes library. If you have music files in other formats or from different sources, you may need to convert them to a compatible format or use alternative methods.
Now that you know how to use iTunes to download music to your iPad, let’s explore another method using Finder.
Method 2: Using Finder
If you have a Mac running on macOS Catalina or later, the traditional iTunes app has been replaced with Finder for media management. Here’s how you can use Finder to download music from your iMac to your iPad:
- Connect your iPad to your iMac using a USB cable.
- On your iMac, open a Finder window.
- In the sidebar of the Finder window, locate and click on your iPad under the “Locations” section.
- Select the “Music” tab from the top menu.
- Check the box next to “Sync Music onto your device.”
- Choose whether you want to sync your entire music library or specific playlists, artists, albums, or genres.
- Click on the “Apply” button to start the syncing process.
- Wait until the sync is complete. The time it takes will depend on the size of your music library.
- Once the syncing is done, disconnect your iPad from your iMac, and you will find your downloaded music in the Music app on your iPad.
Using Finder offers a straightforward way to transfer your music collection from your iMac to your iPad. It provides a user-friendly interface and ensures a seamless transfer process.
However, if you have music files in unsupported formats, you may encounter issues while syncing. In such cases, you can use third-party apps to convert your music files into compatible formats or explore alternative methods for transferring your music.
Now that you’re familiar with using Finder to download music to your iPad, let’s move on to the next method: using cloud storage.
Method 3: Using Cloud Storage
Cloud storage services provide a convenient way to access and download your music from any device with an internet connection. By uploading your music files to a cloud storage service, you can then download them onto your iPad. Here’s how you can use cloud storage to transfer music from your iMac to your iPad:
- Upload your music files to a cloud storage service of your choice, such as iCloud, Dropbox, Google Drive, or OneDrive. Make sure to sign in to the same service on both your iMac and your iPad.
- On your iMac, open the cloud storage service’s website or app and locate the music files you want to download.
- Select the files you want to download and choose the option to download them to your iMac.
- Open the cloud storage app on your iPad or access the service’s website through the browser app.
- Navigate to the location where you saved the music files.
- Select the music files you want to download to your iPad.
- Tap the download button or choose the option to download the files to your iPad.
- Wait for the download process to complete. The time it takes will depend on the size of the files and your internet connection speed.
- Once the download is finished, you can access your music files using the music app on your iPad.
Using cloud storage offers flexibility and accessibility to your music collection. It allows you to manage and download your music from multiple devices, including your iMac and iPad, without the need for physical connections.
However, keep in mind that the availability and storage capacity of cloud storage services may vary, depending on your selected service plan. Additionally, you may need to ensure that your music files are in compatible formats supported by the music app on your iPad.
Now that you know how to use cloud storage to download music to your iPad, let’s explore another method: using third-party apps.
Method 4: Using Third-Party Apps
If you’re looking for alternative ways to download music from your iMac to your iPad, third-party apps can offer additional functionalities and flexibility. These apps provide various features, such as direct music downloads, file sharing, and advanced media management. Here’s how you can use third-party apps to transfer music to your iPad:
- Explore the App Store on your iPad and search for reputable third-party music apps. Some popular options include Documents by Readdle, iDownloader, and VLC for Mobile.
- Download and install the app of your choice on your iPad.
- On your iMac, locate the music files you want to transfer and convert them to a compatible format if needed. Consider using file conversion tools or apps to ensure compatibility with the third-party app on your iPad.
- Transfer the music files to your iPad. Depending on the third-party app, you can use methods like Wi-Fi file transfer, email attachments, or cloud storage services.
- Open the third-party music app on your iPad and navigate to the location where you saved the music files.
- Select the music files you want to import into the app.
- Follow the on-screen instructions in the app to complete the importing process. This may involve tapping an import button, selecting the files, or specifying the destination within the app.
- Wait for the app to import the music files into its library. The time it takes will depend on the size of the files.
- Once the import is complete, you can access and listen to your downloaded music within the third-party app on your iPad.
Using third-party apps gives you more control over your music management and allows you to explore additional features not available in native apps. However, ensure that you choose reputable apps from trusted developers and be cautious when granting permissions or accessing online content.
Now that you’re familiar with using third-party apps to download music to your iPad, you have a variety of methods to choose from based on your preferences and requirements.
Conclusion
Transferring music from your iMac to your iPad allows you to enjoy your favorite tunes on the go and have your music library readily accessible. In this article, we explored four methods to download music from your iMac to your iPad: using iTunes, Finder, cloud storage, and third-party apps.
Using iTunes or Finder provides an easy way to sync your music library between your iMac and iPad. By simply connecting your iPad to your iMac and selecting the music you want to transfer, you can seamlessly sync your music collection.
Cloud storage services offer flexibility by enabling you to upload your music files and download them onto your iPad from anywhere with an internet connection. This method allows easy access to your music collection across different devices.
If you prefer more control and additional features, you can opt for third-party apps. These apps often provide direct music downloads, advanced media management, and other functionalities to enhance your music experience.
Remember to ensure compatibility with the music app on your iPad, especially when using cloud storage or third-party apps. Check the supported file formats and consider converting your music files if necessary.
Choose the method that suits your preferences, requirements, and the resources available to you. Whether you prefer using the native options like iTunes or Finder, rely on cloud storage for easy access, or explore the possibilities with third-party apps, you can now transfer music from your iMac to your iPad with ease.
So, get your favorite songs ready on your iMac and start grooving wherever you go with your iPad!


