Introduction
Welcome to the world of iCloud Music Library, where you can access and enjoy your favorite music anytime, anywhere, and from any Apple device. Whether you’re an avid music lover looking to expand your collection or simply want to have your favorite tunes easily available on all your devices, iCloud Music Library is the perfect solution. In this guide, we will walk you through the simple steps to download music from iCloud Music Library.
With iCloud Music Library, you can store your entire music library in the cloud, allowing you to stream and download your songs on any of your registered devices. This means you no longer have to worry about syncing your music manually or running out of storage space on your devices. Your music is securely stored in the cloud, giving you the freedom to access it whenever you want.
Whether you’ve just subscribed to Apple Music or have been using iCloud Music Library for a while, downloading music to your device is quick and easy. You can choose to download individual songs, albums, or even entire playlists directly to your device for offline listening. This is especially handy when you’re traveling or in an area with limited internet connectivity.
So, if you’re ready to dive into the world of offline music listening, let’s get started with step one: opening the iCloud Music Library on your device.
Step 1: Open the iCloud Music Library on Your Device
The first step to downloading music from iCloud Music Library is to ensure that the feature is enabled on your device. By default, iCloud Music Library is automatically enabled when you sign up for Apple Music or iTunes Match. However, if you’re not sure whether it’s enabled or want to double-check, follow these simple steps:
- Open the Settings app on your device.
- Scroll down and tap on “Music” (or “iTunes & App Store” on older iOS versions).
- Under the “Library” section, you should see the option for “iCloud Music Library”. If it’s already enabled, you can proceed to the next step. If not, tap on the toggle switch to turn it on.
- You may also need to enter your Apple ID and password if prompted.
Once you have iCloud Music Library enabled on your device, you’re ready to start accessing and downloading your music. This feature allows you to stream and download your entire music library from the cloud, including any songs you’ve purchased from the iTunes Store or uploaded from your personal collection.
Keep in mind that iCloud Music Library is not limited to just one device. You can access and download your music on multiple devices that are linked to your Apple ID. This means you can enjoy your favorite songs on your iPhone, iPad, Mac, or even your Apple Watch.
Now that you’ve successfully opened the iCloud Music Library on your device, let’s move on to the next step: finding the music you want to download.
Step 2: Find the Music You Want to Download
Now that you have iCloud Music Library enabled on your device, it’s time to find the specific music you want to download. Whether it’s a single song, an entire album, or a curated playlist, iCloud Music Library makes it easy to discover and access your music collection. Here’s how you can find the music you want to download:
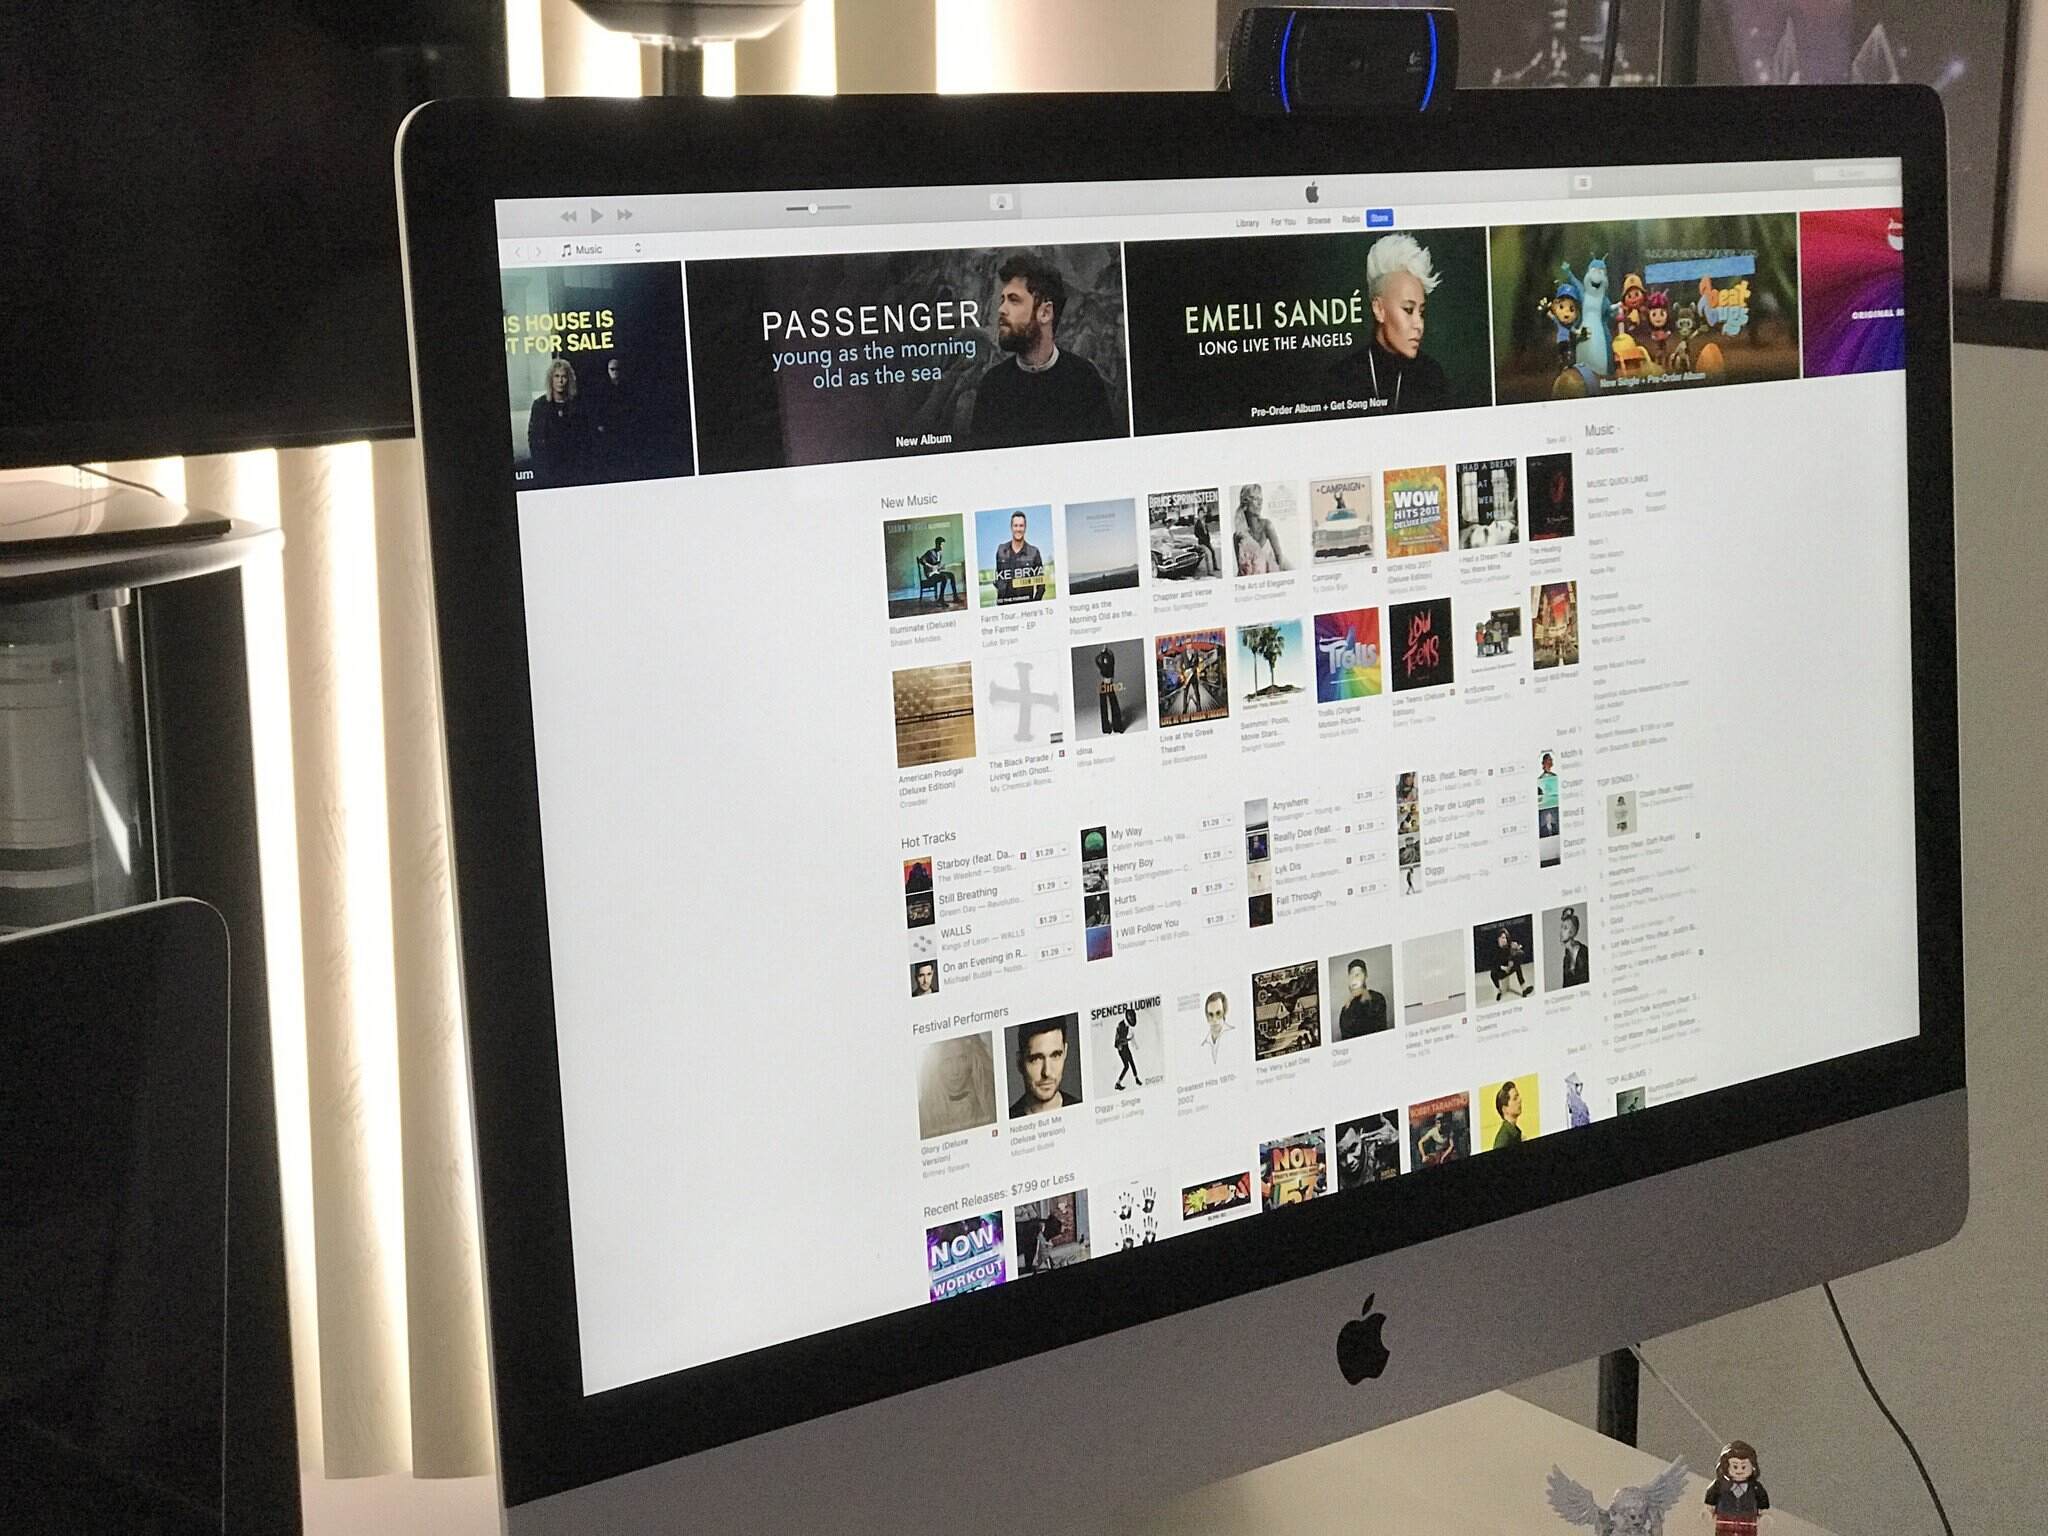
- Open the Apple Music app on your iOS device or iTunes on your Mac.
- Navigate to the “Library” tab or section.
- You’ll see different categories such as Playlists, Artists, Albums, and Songs. You can explore these categories or use the search bar to find specific songs or albums.
- If you’re looking for a playlist, you can scroll through the “Playlists” section to find the one you want. Alternatively, you can use the search bar to search for a particular playlist.
- If you want to download individual songs or albums, you can browse through the respective sections or use the search bar.
- Once you’ve found the music you want to download, tap on the three-dot menu icon (ellipses) or right-click on the song/album/playlist to access the options menu.
- From the options menu, select “Download” or “Download Album” to start the download process.
It’s worth noting that if you’re using Apple Music, you can also add songs, albums, or playlists to your library for offline listening by tapping the “+” icon or the “Add” button. This will automatically download the selected content to your device.
Now that you know how to find the music you want to download, let’s move on to the next step: actually downloading the music to your device.
Step 3: Download Music to Your Device
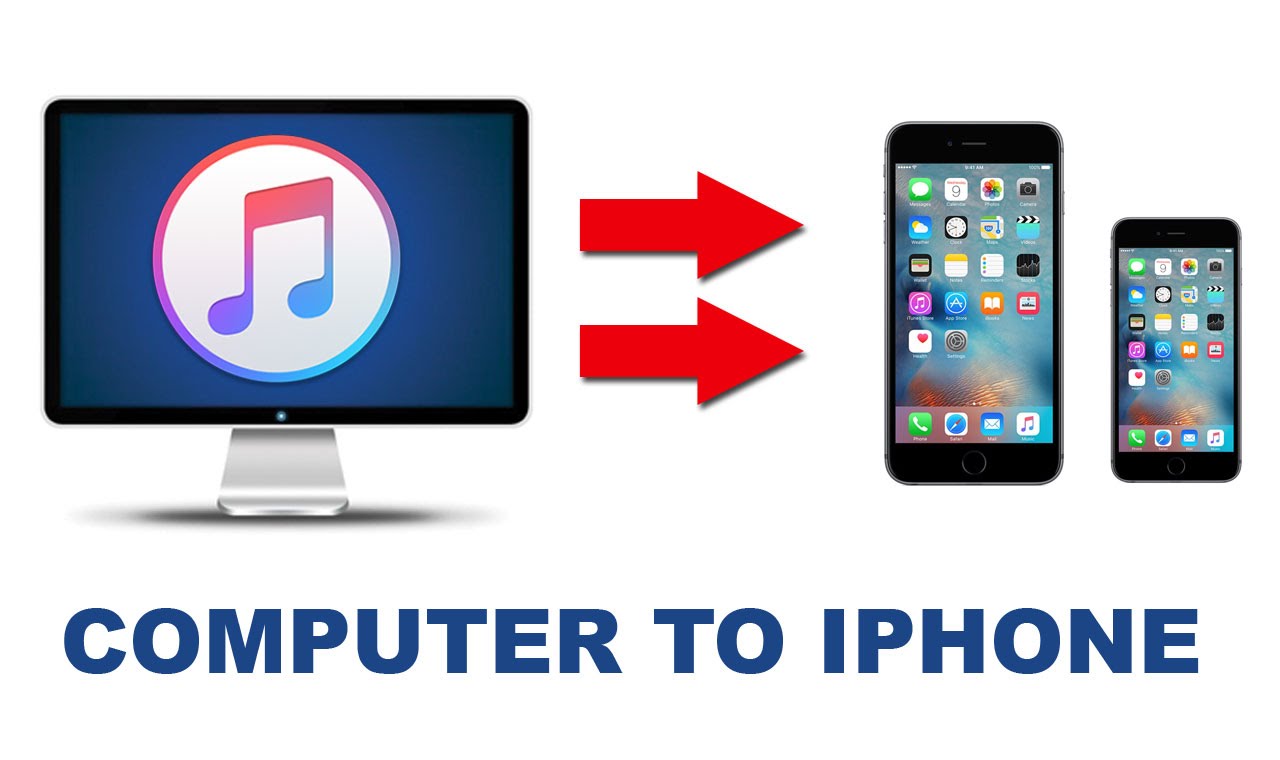
Downloading music from iCloud Music Library to your device is a straightforward process. You can choose to download individual songs, albums, or even entire playlists for offline listening. Here’s how you can download music to your device:
- Open the Apple Music app on your iOS device or iTunes on your Mac.
- Navigate to the “Library” tab or section.
- Find the music you want to download by browsing through the categories or using the search bar.
- Tap on the three-dot menu icon (ellipses) or right-click on the song/album/playlist to access the options menu.
- From the options menu, select “Download” or “Download Album”. The download process will start, and you’ll see a progress indicator for each item being downloaded.
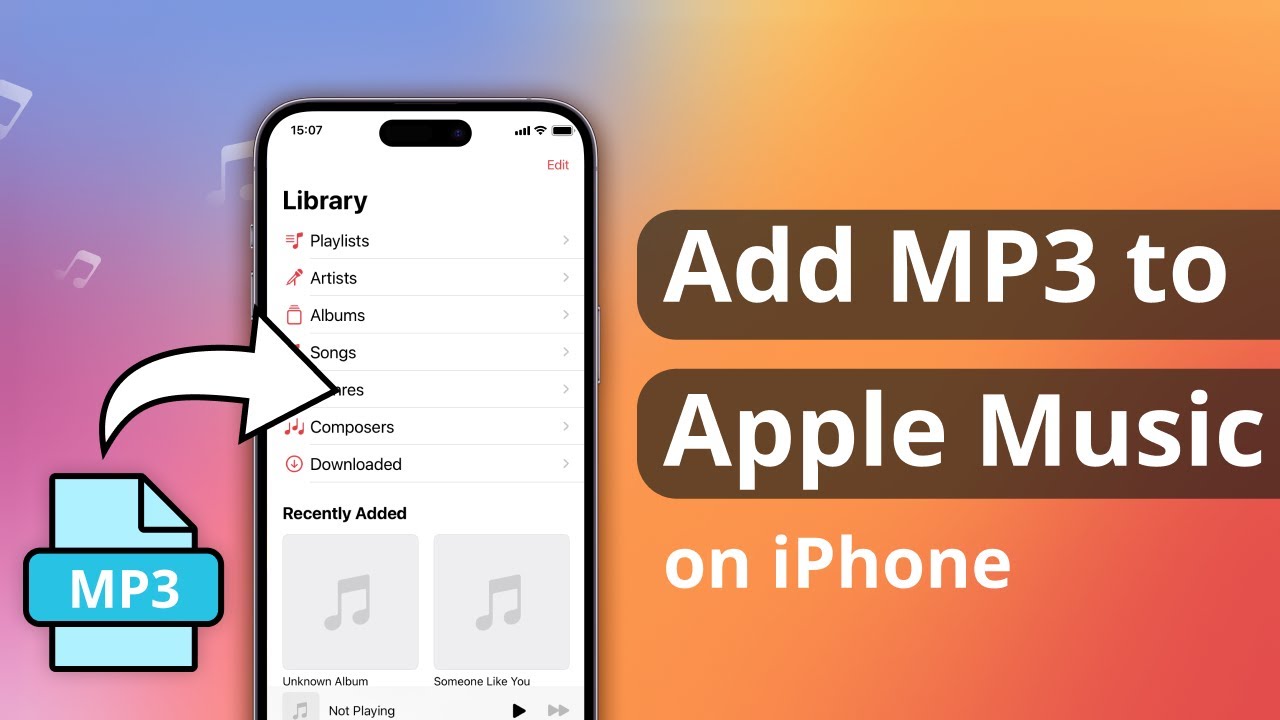
- Once the download is complete, you can access the downloaded music in the “Downloaded” or “Offline Music” section of the app.
Keep in mind that the time it takes to download the music will depend on your internet connection speed and the size of the files. Larger files, such as albums or playlists, may take longer to download compared to individual songs.
If you’re using Apple Music, you can also enable the “Automatic Downloads” feature to automatically download new music added to your library. To enable this feature, go to the Settings app on your iOS device, tap on “Music”, and toggle on “Automatic Downloads” under the “Downloads” section.
With music downloaded to your device, you can now enjoy listening to your favorite tracks offline, without needing an internet connection. But what if you want to access your downloaded music on another device? That’s where the next step comes in.
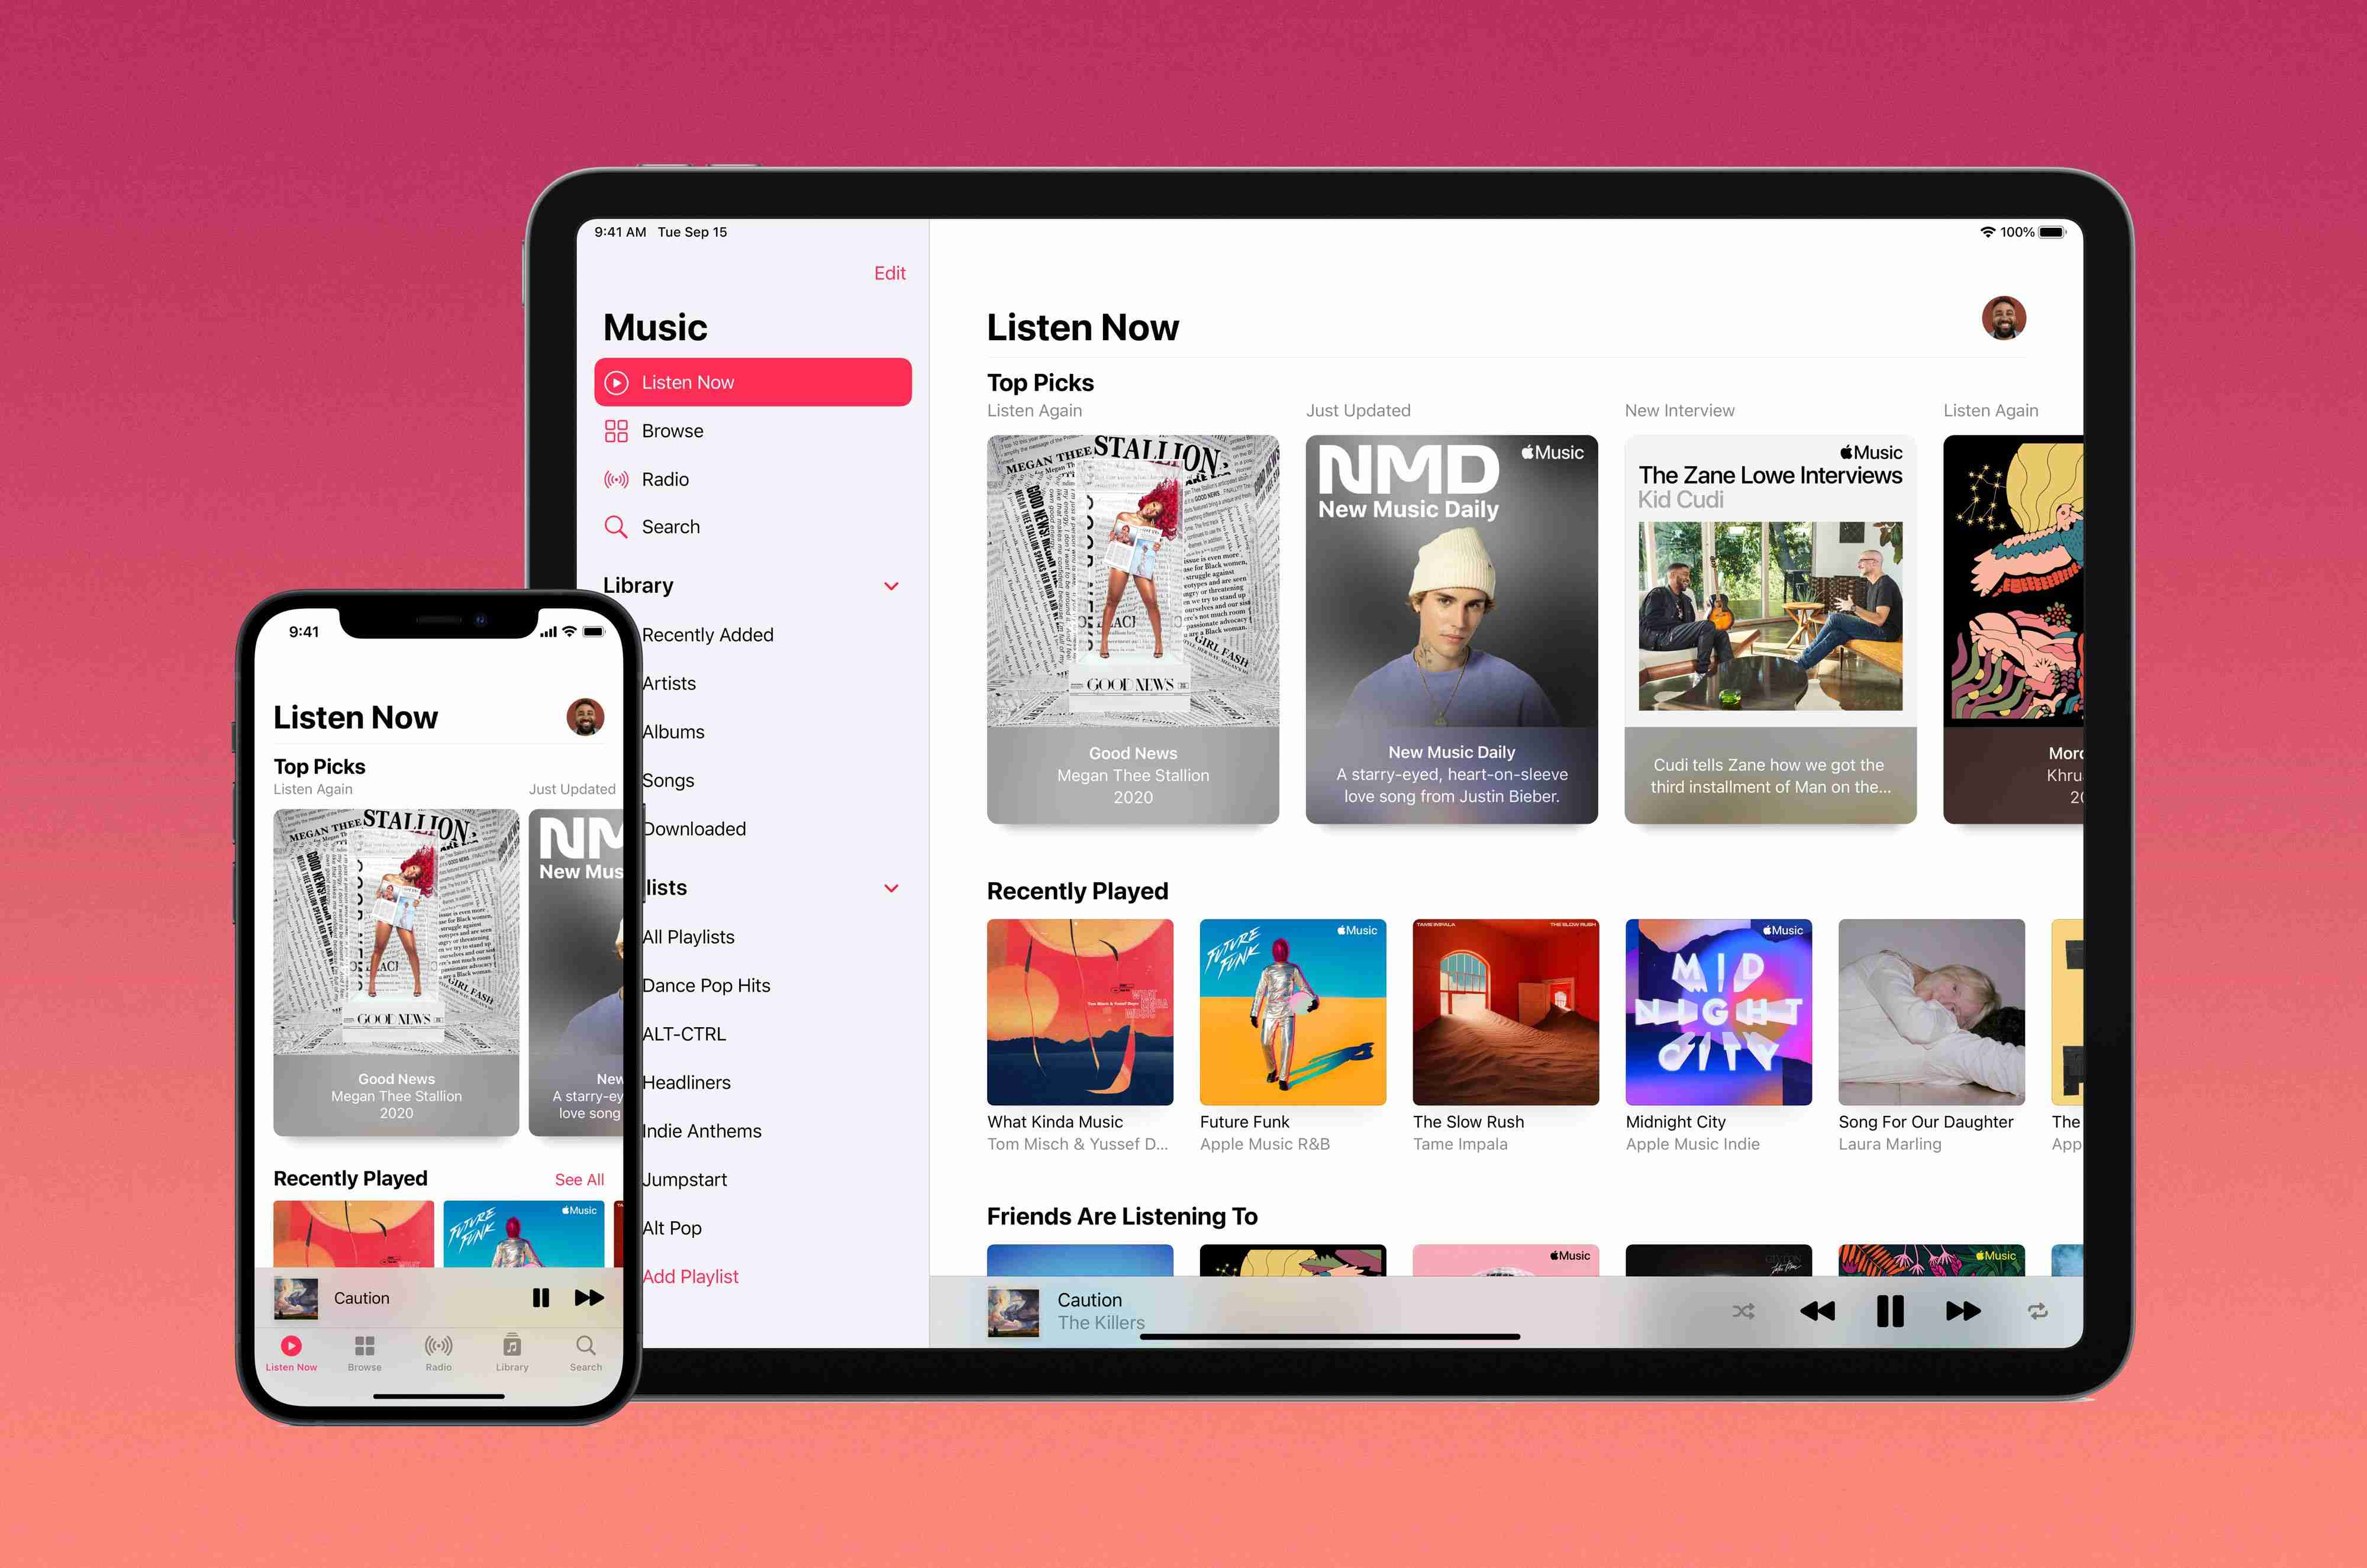
Step 4: Access Your Downloaded Music Anywhere
One of the great advantages of using iCloud Music Library is that you can access your downloaded music on any Apple device registered under your Apple ID. This means you can enjoy your favorite tracks, albums, or playlists wherever you go. Here’s how you can access your downloaded music anywhere:
- Open the Apple Music app on your iOS device, iTunes on your Mac, or the Music app on your Apple Watch.
- Navigate to the “Library” tab or section.
- Look for the “Downloaded” or “Offline Music” section. This is where all your downloaded music will be stored.
- Browse through the downloaded content and start playing your favorite tracks.
Whether you’re on a road trip with your iPhone, relaxing at home with your iPad, or out for a run with your Apple Watch, your downloaded music is always just a few taps away. You don’t have to worry about relying on a stable internet connection or using up your mobile data plan to enjoy your music.
It’s worth noting that iCloud Music Library keeps your downloaded music in sync across all your registered devices. This means that any changes you make, such as deleting a song or adding a new playlist, will be reflected on all your devices. This syncing feature ensures a seamless and consistent music experience across your Apple devices.
Additionally, if you ever decide to switch to a new Apple device or restore your existing device, you can easily re-download your music from iCloud Music Library. Simply follow the steps outlined in the previous sections to enable iCloud Music Library on your new or restored device, and your music library will be automatically synced and available for download.
With the ability to access your downloaded music anywhere, you can enjoy a personalized and uninterrupted music experience no matter which Apple device you’re using.
Conclusion
Congratulations! You have now learned how to download music from iCloud Music Library and access it on your Apple devices. iCloud Music Library offers a convenient way to store, stream, and download your entire music collection, giving you the freedom to enjoy your favorite tracks anytime, anywhere.
By enabling iCloud Music Library on your device, you can effortlessly sync your music across multiple Apple devices and never have to worry about manually transferring or syncing your songs. Whether you’re using Apple Music or iTunes Match, iCloud Music Library ensures that your music library is always up to date and easily accessible.
Remember, the process is simple: open iCloud Music Library on your device, find the music you want to download, download it to your device, and then access it anytime, anywhere. With just a few taps, you can have your favorite songs, albums, or playlists ready for offline listening, perfect for those times when you’re on the go or in areas with limited internet connectivity.
Keep in mind that managing your music library on iCloud Music Library allows for seamless synchronization and ensures that any changes you make are reflected across all your Apple devices registered under the same Apple ID.
So, go ahead and explore the vast music library available to you on iCloud Music Library. Discover new artists, create personalized playlists, and listen to your favorite songs on your iPhone, iPad, Mac, or Apple Watch. Enjoy the convenience and flexibility of having your music collection at your fingertips, ready to be enjoyed whenever the mood strikes.
Now it’s time to immerse yourself in the world of offline music listening with iCloud Music Library. Start downloading your favorite music and enhance your overall music experience in a whole new way.