Introduction
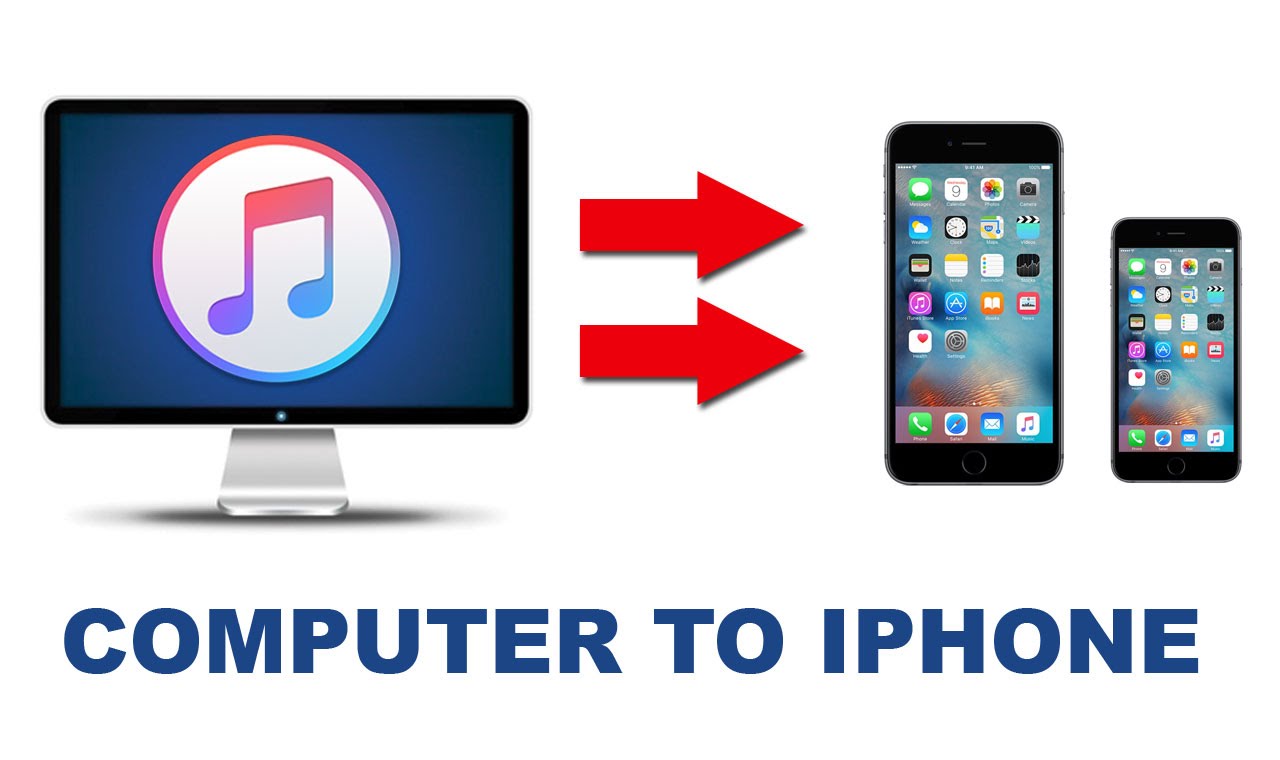
Downloading music to your phone from your computer allows you to enjoy your favorite tunes on the go. Whether you’re traveling, working out at the gym, or simply relaxing in your backyard, having an extensive library of music at your fingertips can enhance your experience. While there are various methods to download music to your phone, it can be overwhelming to know where to start.
In this article, we will guide you through the process of downloading music to your phone from your computer. We’ll cover different methods, including using a USB connection, cloud storage platforms, and media management software. By following these steps, you’ll be able to easily transfer your music collection to your smartphone and have it readily accessible whenever you want.
It’s important to note that the specific steps may vary depending on the operating system of your phone and computer. However, we will provide general guidelines that should be applicable to most devices. So, whether you have an iPhone or an Android smartphone, you’ll find helpful information to help you download music seamlessly.
Ready to start jamming to your favorite tunes on your phone? Let’s dive into the step-by-step process of downloading music from your computer!
Step 1: Connect your phone to your computer
The first step in downloading music to your phone from your computer is to establish a connection between the two devices. This connection will allow you to transfer files seamlessly.
1. Depending on your phone and computer, there are several ways to connect them. The most common method is using a USB cable. Simply plug one end of the cable into your phone’s charging port and the other end into a USB port on your computer.
2. Once connected, you may need to unlock your phone and check the notification panel for any USB connection prompts. Depending on your phone’s settings, you may need to switch the USB connection mode to “File Transfer” or “MTP mode” to enable file transfers between your phone and computer.
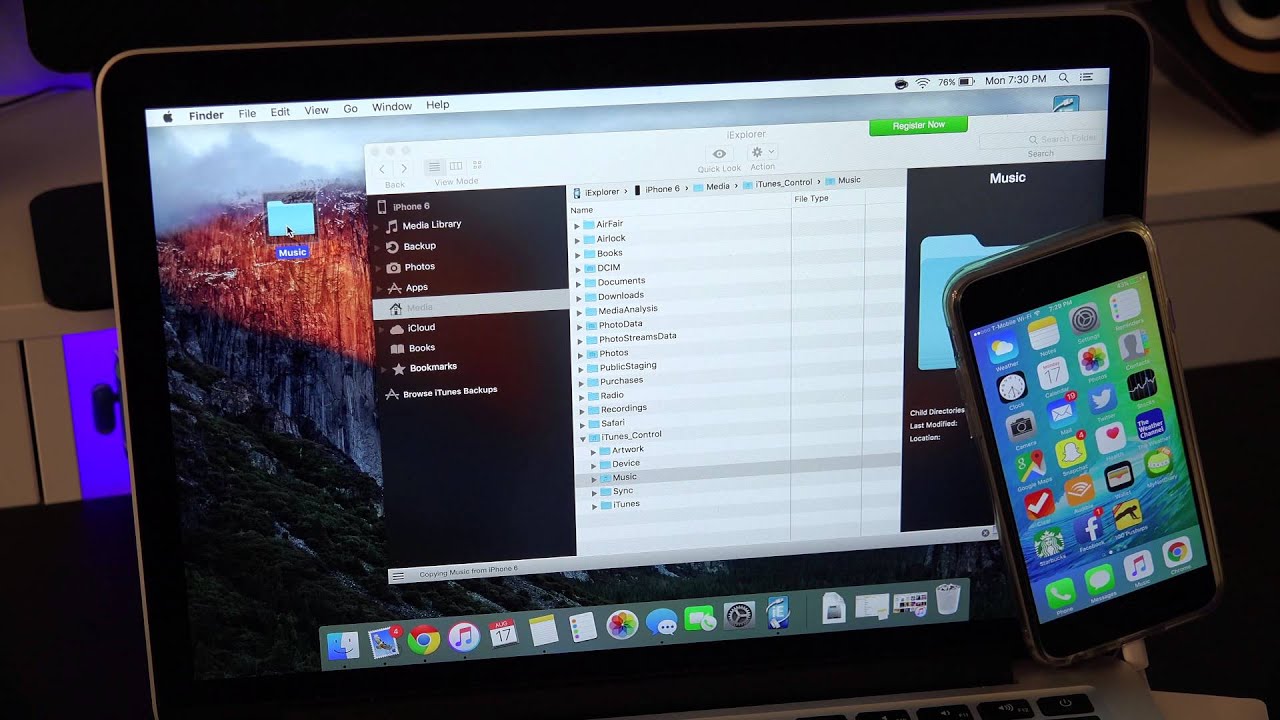
3. In some cases, your computer may automatically recognize your phone and open a file explorer window displaying its contents. If this doesn’t happen, you can manually open the file explorer on your computer and look for your phone’s name or icon under the “Devices” or “This PC” section.
4. If prompted, you may need to grant permission on your phone to allow the computer to access your device’s storage. This step ensures that you have the necessary authorization to transfer files between devices.
5. Once successfully connected, you are now ready to move on to the next step in the process of downloading music to your phone from your computer.
Establishing a connection between your phone and computer is vital to facilitate the transfer of music files. By following these steps, you’ll have your devices linked and ready to sync your favorite tunes in no time.
Step 2: Choose the method of transfer
Now that your phone is connected to your computer, it’s time to decide how you want to transfer the music files. There are several methods you can choose from, depending on your preferences and the tools available to you.
Method 1: USB transfer
If you prefer a direct and reliable method, using a USB connection is a popular choice. With this method, you can transfer music files from your computer to your phone by simply copying and pasting them.
1. Open the file explorer on your computer and navigate to the location where your music files are stored.
2. Now, locate the music files you want to transfer to your phone. You can select individual songs or entire folders.
3. Once you have selected the desired music files, right-click on them and choose the “Copy” option.
4. Next, find your phone’s storage in the file explorer and open it. You may see folders like “Internal Storage” or “SD Card”. Choose the appropriate location based on your phone’s storage setup.
5. Right-click inside the phone’s storage folder and choose the “Paste” option to transfer the music files from your computer to your phone.
Method 2: Using cloud storage platforms
If you prefer a more flexible and accessible method, using cloud storage platforms can be a great option. Cloud storage allows you to store your music files online and access them from any device with an internet connection.
1. Sign up for a cloud storage service like Google Drive, Dropbox, or OneDrive if you haven’t already.
2. Upload your music files to the cloud storage platform by following the provided instructions. Typically, you can either drag and drop the files or use the platform’s “Upload” button.
3. Install the corresponding cloud storage app on your phone from the app store.
4. Log in to the app using your account credentials and navigate to the location where you uploaded your music files.
5. Select the music files you want to download to your phone and choose the option to download them locally.
Method 3: Using a media management software
If you’re looking for a comprehensive solution that can handle the entire music management process, using a media management software is worth considering. These software tools provide a user-friendly interface to organize, transfer, and sync your music files between devices.
1. Install a media management software tool like iTunes or Windows Media Player on your computer.
2. Open the software and import your music files into its library by following the provided instructions.
3. Connect your phone to the computer using a USB cable and make sure the software recognizes your device.
4. Use the software’s interface to select the music files you want to transfer and initiate the sync process.
Choose the method of transfer that suits your needs and preferences. Whether you opt for a direct USB transfer, cloud storage platforms, or media management software, each method offers its own advantages for transferring music to your phone from your computer.
Method 1: USB transfer
USB transfer is a straightforward and reliable method for transferring music files from your computer to your phone. With a USB connection, you can easily copy and paste the music files without any additional software or internet connection required.
Follow these steps to transfer music files using a USB connection:
1. Connect your phone to your computer using a USB cable. Ensure that your phone is unlocked and the cable is properly inserted into both devices.
2. On your computer, open the file explorer or file manager application.
3. Navigate to the location on your computer where the music files are stored. This could be in your “Music” folder or any other location you have saved the files.
4. In the file explorer, select the music files that you want to transfer. You can select individual songs or entire folders if you want to transfer a collection of songs.
5. Right-click on the selected files and choose the “Copy” option from the context menu.
6. Now, navigate to your phone’s storage in the file explorer. This could be named “Internal Storage,” “Phone,” or “SD Card,” depending on your device.
7. Open the desired folder where you want to transfer the music files on your phone. If there isn’t a specific folder, you can create a new folder to organize the music.
8. Right-click inside the folder and choose the “Paste” option to transfer the music files from your computer to your phone. The files will begin copying to your phone’s storage.
9. Wait for the transfer process to complete. This time will vary depending on the size of the music files and the speed of your computer and USB connection.
10. Once the transfer is finished, safely disconnect your phone from the computer by ejecting it from the file explorer or using the “Safely Remove Hardware” option on Windows.
Now you can access the transferred music files on your phone’s music player or any other media player application you have installed. Enjoy your favorite tunes on the go!
USB transfer offers a direct and reliable method of transferring music files without the need for an internet connection or third-party software. It’s a convenient way to quickly transfer your music library from your computer to your phone.
Method 2: Using cloud storage platforms
If you prefer a more flexible and accessible method for transferring music files from your computer to your phone, using cloud storage platforms is a great option. Cloud storage allows you to store your music files online and access them from any device with an internet connection. Here’s how to transfer music files using cloud storage platforms:
1. Sign up for a cloud storage service like Google Drive, Dropbox, or OneDrive if you haven’t already. These services offer free storage options with the ability to upgrade for more space if needed.
2. Install the desktop application for the cloud storage platform you chose on your computer. This will create a folder on your computer that will automatically sync with the cloud storage platform.
3. Open the cloud storage platform on your computer and navigate to the folder that you want to use for storing your music files.
4. Copy or drag and drop the music files you want to transfer to your phone into the cloud storage folder. The files will be uploaded to the cloud storage platform and synced across all your devices.
5. On your phone, download and install the corresponding cloud storage app from the app store. Sign in to your account using your login credentials.
6. Open the cloud storage app on your phone and navigate to the location where you uploaded the music files.
7. Select the music files you want to download to your phone by tapping on them or selecting them with a long-press.
8. Look for an option to download the selected files or make them available offline. The wording may vary depending on the cloud storage platform, but the functionality is usually available.
9. Wait for the download process to complete. The time it takes will depend on the size of the files and the speed of your internet connection.
10. Once the download is finished, you can access the transferred music files using your phone’s music player or any other media player app you have installed.
Using cloud storage platforms allows you to have your music collection available on multiple devices without the need for physical transfers or cables. It also provides the convenience of accessing your music files from anywhere with an internet connection.
Remember to consider the storage limitations of your cloud storage service and manage your files accordingly to ensure you have enough space for your music library.
Method 3: Using a media management software
If you’re looking for a comprehensive solution to manage and transfer your music files between your computer and phone, using a media management software is an excellent choice. These software tools provide a user-friendly interface that allows you to organize, sync, and transfer your music files seamlessly. Here’s how to transfer music files using a media management software:
1. Install a media management software tool such as iTunes for Apple devices or Windows Media Player for Windows PCs. These applications are widely used and offer robust features for managing and transferring music files.
2. Open the media management software on your computer and ensure that it recognizes your phone when connected via USB. Follow any on-screen prompts to establish the connection if necessary.
3. Import your music files into the media management software’s library. This process may vary depending on the software, but it typically involves selecting the music files or folders and adding them to the library.
4. Organize your music files within the media management software’s library. You can create playlists, categorize songs by genre or artist, and apply tags to make it easier to find and transfer specific tracks.
5. Connect your phone to your computer using a USB cable. Ensure that your phone is unlocked and the cable is properly inserted into both devices.
6. In the media management software, locate your phone within the interface. It may be listed as a connected device or under a specific tab dedicated to managing devices.
7. Select the music files you want to transfer to your phone from the media management software’s library. This can be done by selecting individual songs, playlists, or entire albums.
8. Initiate the sync process to transfer the selected music files to your phone. This process may involve clicking a “Sync” button or dragging and dropping the selected files onto your phone’s icon within the software interface.
9. Wait for the sync process to complete. The time it takes will depend on the number and file size of the selected music files.
10. Once the sync is finished, disconnect your phone from the computer and access the transferred music files on your phone’s music player app or any other media player application you prefer.
Using a media management software provides a comprehensive and efficient method for managing and transferring music files between your computer and phone. These software tools often offer additional features like automatic synchronization, album artwork management, and intelligent music recommendations, enhancing your overall music management experience.
Now that you’re familiar with the process of using a media management software, you can easily keep your music library in sync and enjoy your favorite tracks on your phone.
Step 3: Locate the music on your computer
In order to transfer music files from your computer to your phone, you need to locate the music files on your computer. This step is crucial as it allows you to select the specific songs or albums that you want to transfer. Here’s how to locate your music files on your computer:
1. Open the file explorer or file manager on your computer. This is typically found as an icon on your desktop or in the taskbar.
2. Navigate to the folder where your music files are stored. This could be the default music folder on your computer or a specific folder you created to store your music.
3. Once you have located the folder, browse through the subfolders and files to find the music files you want to transfer.
4. If your music files are organized in subfolders based on artist, album, or genre, you can browse through these folders to find the specific songs or albums you want to transfer.
5. To locate specific music files, you can use the search function within the file explorer. Simply type in the name of the song or artist, and the file explorer will search for matching results within the designated folder.
6. Once you have found the music files you want to transfer, make a note of the file location or keep the file explorer window open for easy access during the transfer process.
It’s important to ensure that the music files you’re looking to transfer are in a compatible format supported by your phone’s music player app. Common formats include MP3, AAC, and WAV. If you are unsure of the format, you can check the file properties by right-clicking on the file and selecting “Properties.”
By locating the music files on your computer, you can easily select and transfer the desired songs or albums to your phone. This step allows you to have control over the music files you want to have on your phone’s music library.
Step 4: Transfer the music to your phone
Now that you have located the music files on your computer, it’s time to transfer them to your phone. This step ensures that your favorite songs and albums are readily available on your mobile device for anytime enjoyment. Follow these steps to transfer the music files to your phone:
1. Connect your phone to your computer using a USB cable. Ensure that both devices are properly connected.
2. On your computer, open the file explorer or file manager application.
3. Navigate to the music files that you want to transfer to your phone. You can do this by locating the folder or subfolder where the music files are saved.
4. Select the music files that you want to transfer. You can do this by clicking on individual files while holding down the Ctrl key, or you can select multiple files by dragging your mouse cursor over them.
5. Once the music files are selected, right-click on them and choose the “Copy” option from the context menu.
6. Now, navigate to your phone’s storage in the file explorer. This could be named “Internal Storage,” “Phone,” or “SD Card,” depending on your device.
7. Open the desired folder or create a new folder on your phone where you want to transfer the music files. This allows you to organize the files for easy access later.
8. Right-click inside the folder and choose the “Paste” option to transfer the music files from your computer to your phone. The files will begin copying to your phone’s storage.
9. Wait for the transfer process to complete. The time it takes will depend on the size of the music files and the speed of your computer and USB connection.
10. Once the transfer is finished, safely disconnect your phone from the computer by ejecting it from the file explorer or using the “Safely Remove Hardware” option on Windows.
By following these steps, you can easily transfer your selected music files from your computer to your phone. It ensures that you have your favorite songs and albums available on your mobile device, ready to be played anytime and anywhere.
Step 5: Access and enjoy your downloaded music on your phone
Now that you have successfully transferred your music files to your phone, it’s time to access and enjoy your downloaded music. Follow these steps to listen to your favorite tunes on your mobile device:
1. Disconnect your phone from the computer if you haven’t done so already.
2. On your phone, navigate to the music player app or any media player application you prefer. Most smartphones come with a pre-installed music player app.
3. Open the music player app and allow it some time to scan for new music files. This process may take a few moments, depending on the number of files you transferred.
4. Once the scanning is complete, you should see your downloaded music files listed within the music player app.
5. Browse through the music library to find the songs or albums you want to listen to. You can navigate by artist, album, or playlists, depending on the features offered by the music player app.
6. Tap on a song to start playing it. Use the playback controls provided by the music player app to adjust the volume, skip tracks, or pause and resume playback.
7. Explore additional features of the music player app, such as creating playlists, organizing your music library, or applying filters based on genre or artist. These features can enhance your overall music listening experience.
8. Connect your headphones or external speakers if desired to enjoy your music with higher sound quality or in a private setting.
9. Enjoy your downloaded music on your phone wherever you go – whether you’re commuting, working out, or simply relaxing at home.
With your music files successfully transferred and accessible on your phone, you can now immerse yourself in your favorite songs and create the perfect soundtrack for every moment.
Remember to regularly update your music library by adding new songs or removing old ones to keep your collection fresh and organized.
Conclusion
Downloading music to your phone from your computer is a straightforward process that allows you to have your favorite tunes readily available on the go. By following the steps outlined in this guide, you can transfer music files using different methods, such as USB transfer, cloud storage platforms, or media management software.
By connecting your phone to your computer and selecting the desired music files, you can easily transfer them to your phone’s storage. Whether you prefer a direct USB transfer for reliability, cloud storage platforms for flexibility, or media management software for comprehensive music management, there is a method suited to your needs.
Locating the music files on your computer is essential to choose the specific songs or albums you want to transfer. From there, the transfer process involves copying and pasting the music files from your computer to your phone’s storage.
Once the transfer is complete, you can access and enjoy the downloaded music on your phone through your preferred music player app. Browse through your music library, create playlists, and utilize the features provided by the app to enhance your listening experience.
Remember to keep your music library organized and updated with new songs and remove any old or unwanted files to ensure your collection stays fresh and manageable.
Now that you have the knowledge and steps necessary to download music to your phone from your computer, you can expand your music library and enjoy your favorite tunes wherever you go.


