Introduction
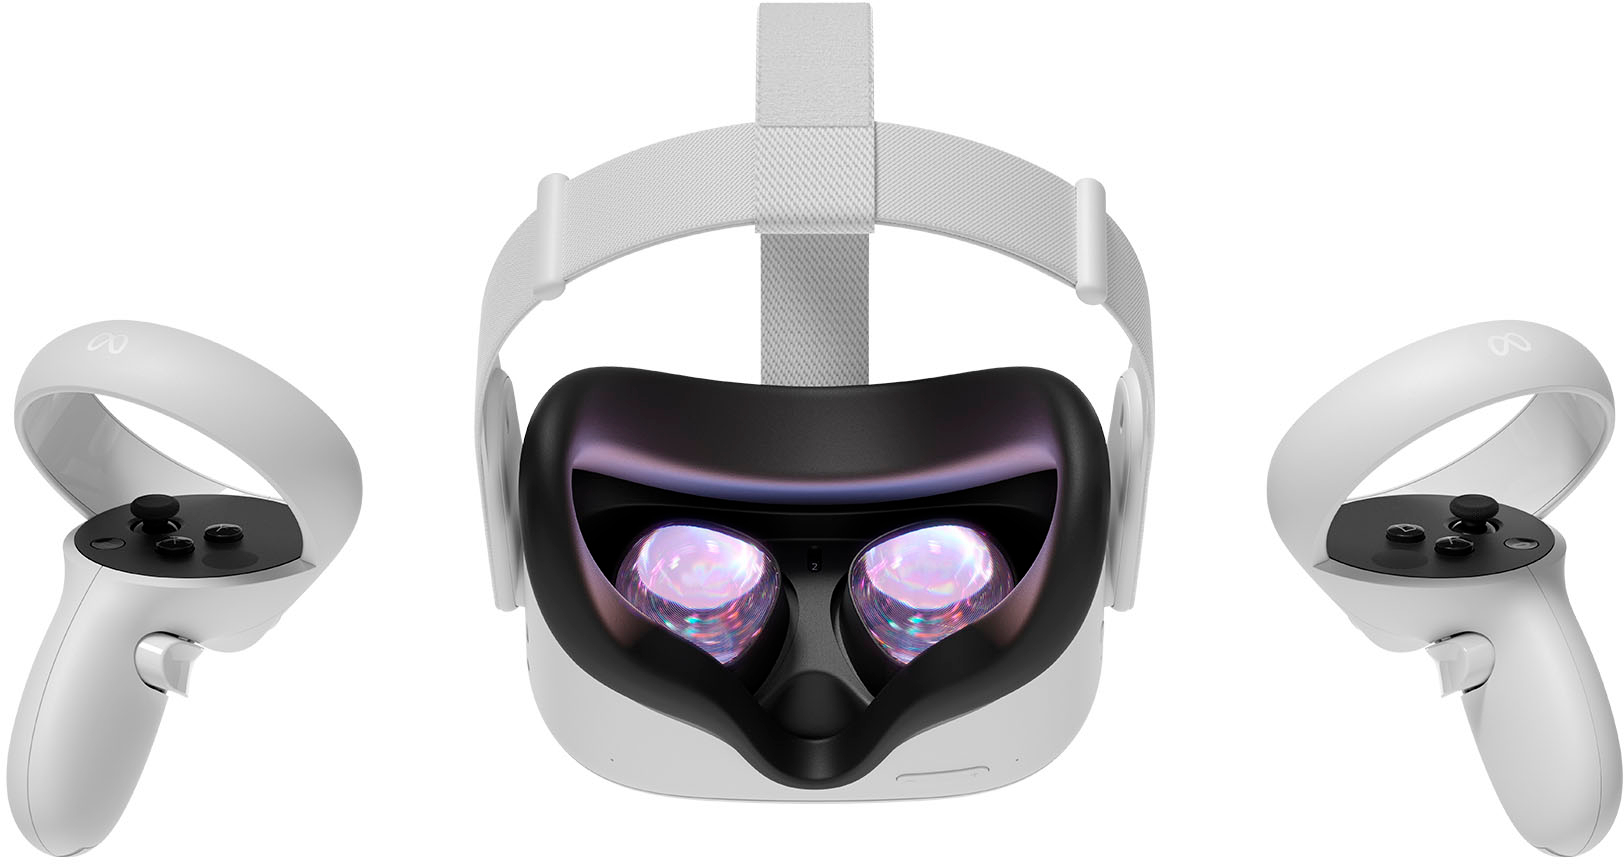
Welcome to the world of Oculus Quest 2! If you’re eager to enhance your virtual reality (VR) experience on this amazing device, you may want to consider downloading mods. Mods, short for modifications, are user-created content that can bring new features, capabilities, and enhancements to your VR games and applications.
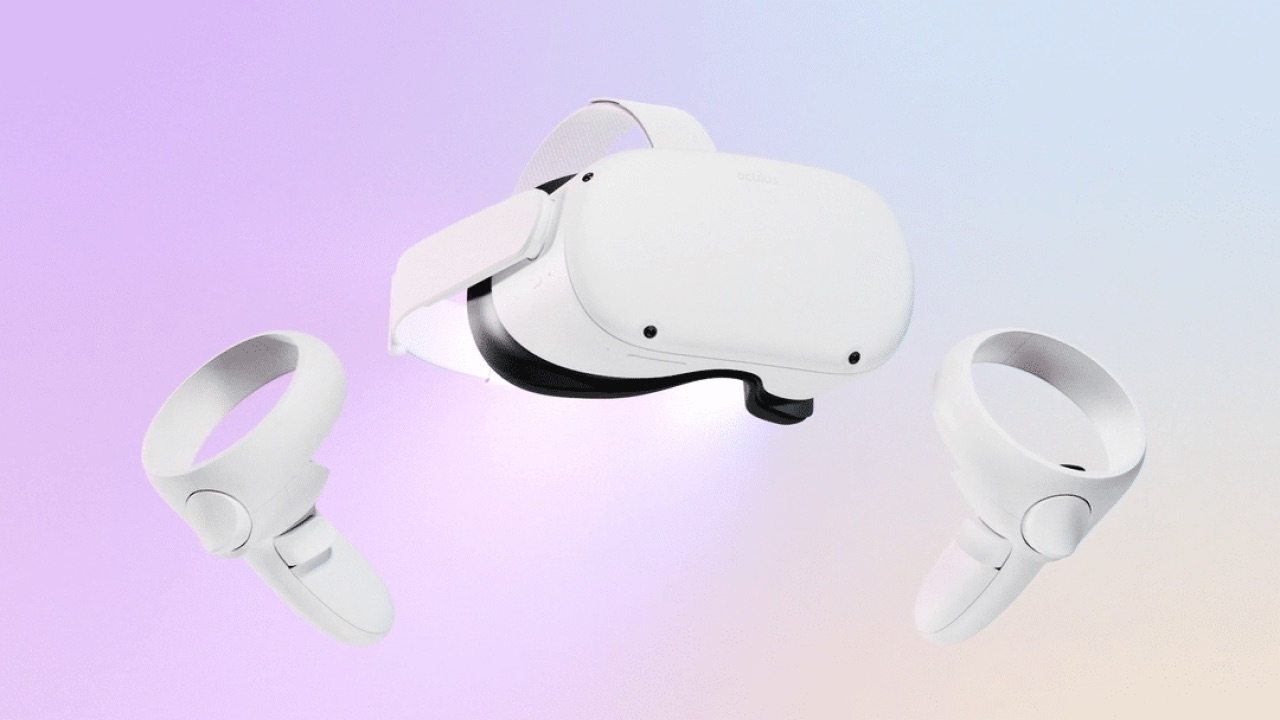
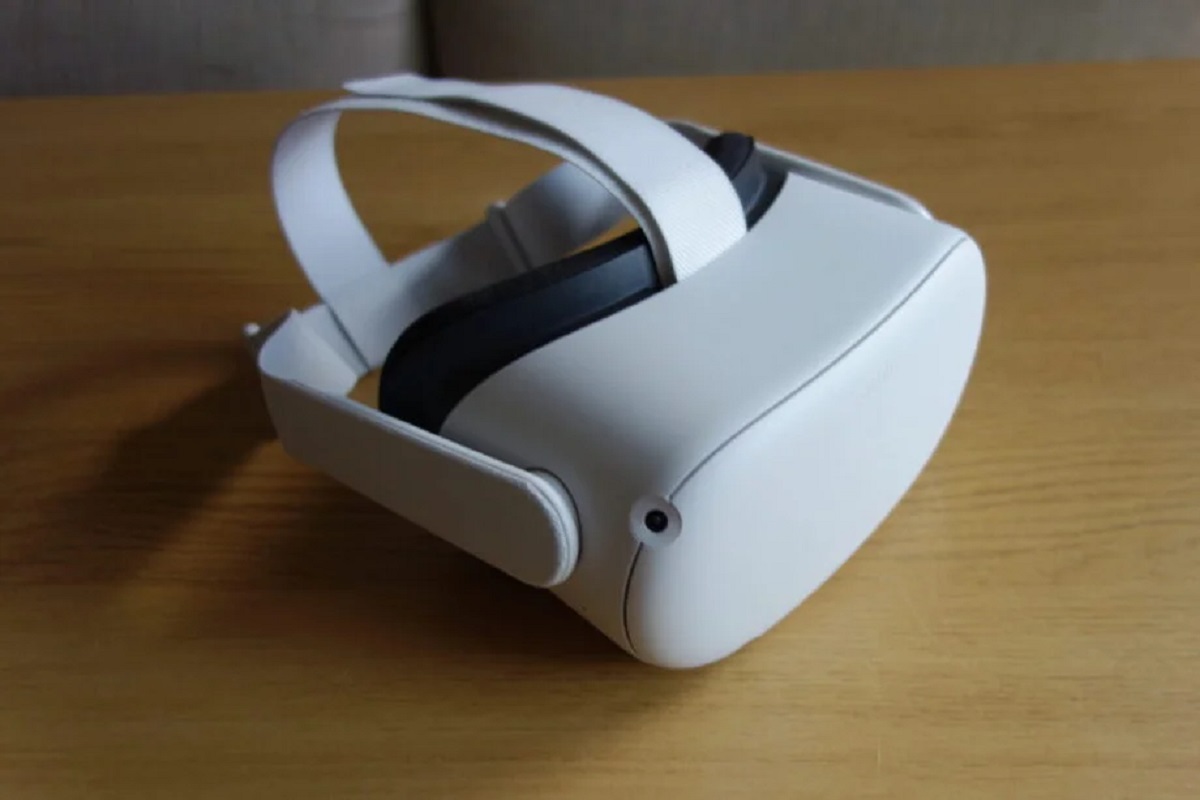
Oculus Quest 2 is a popular standalone VR headset that offers a wide range of games and applications through the Oculus Store. While the store provides a diverse selection, it may not have everything you desire. Mods open up a whole new realm of possibilities, allowing you to access additional content, customize gameplay, and explore unique experiences not available through official channels.
In this article, we will guide you through the process of downloading mods on your Oculus Quest 2. We’ll show you how to enable developer mode, install SideQuest on your computer, connect your Oculus Quest 2 to SideQuest, browse and download mods, install them on your device, manage and update mods, and finally launch them on your Oculus Quest 2.
By the end of this article, you’ll have all the knowledge and tools you need to start enjoying mods on your Oculus Quest 2 and take your VR experiences to a whole new level.
Understanding Mods and Oculus Quest 2
Before diving into the process of downloading mods on your Oculus Quest 2, it’s important to have a clear understanding of what mods are and how they can enhance your VR experience.
Mods, short for modifications, are user-created content that can be added to existing games or applications to introduce new features and functionality. These modifications are not created by the game developers themselves, but rather by the gaming community, making mods a collaborative effort that extends the possibilities of a game beyond what was originally intended.
Oculus Quest 2 is a powerful standalone VR headset that offers a variety of games and applications through the official Oculus Store. While the selection in the store is impressive, mods can provide additional content and customizations that may not be available through official channels.
One of the key advantages of the Oculus Quest 2 is its compatibility with SideQuest, an open-source content platform that allows users to access and install mods, demos, and other user-generated content for their VR headset. SideQuest serves as a gateway to a world of mods, giving you the ability to explore a vast library of user-created content specifically tailored for the Oculus Quest 2.
By downloading mods, you can unlock new levels, characters, weapons, and even completely transform the gameplay and visuals of your favorite VR games. Mods can add new challenges, improve graphics, introduce new gameplay mechanics, and provide unique experiences that go beyond what the original game offers.
It’s important to note that Oculus Quest 2 mods are not officially endorsed by Oculus or the game developers themselves. Mods are created by independent individuals or communities and should be downloaded and installed at your own discretion. While most mods are safe and enhance the gaming experience, it’s always a good idea to research and read user reviews before downloading and installing any mods to ensure compatibility and avoid potential issues.
Now that you have a grasp of what mods are and how they can enhance your Oculus Quest 2 experience, let’s dive into the step-by-step process of downloading and installing mods on your device.
Step 1: Enabling Developer Mode on Oculus Quest 2
In order to download and install mods on your Oculus Quest 2, you’ll need to enable Developer Mode on your device. Developer Mode allows you to access and install applications and content that have not been officially reviewed or approved by Oculus.
Enabling Developer Mode is a straightforward process and will give you the freedom to explore a wider range of mods and user-generated content for your Oculus Quest 2.
Here’s how you can enable Developer Mode on your Oculus Quest 2:
- Start by turning on your Oculus Quest 2 headset and selecting the settings option in the bottom toolbar of the home screen. It is represented by a gear icon.
- Scroll through the options until you find the “Device” tab. Select it to access additional settings related to your Oculus Quest 2.
- In the “Device” settings, locate and select the “Developer” tab. This is where you can enable Developer Mode.
- You will see a toggle switch labeled “Developer Mode.” Simply toggle it on to enable Developer Mode on your Oculus Quest 2.
- A pop-up will appear, warning you about the potential risks of enabling Developer Mode. Read through the information and make sure you understand the implications before proceeding. If you’re comfortable with the risks, select “Enable” to confirm your decision.
- Once you have enabled Developer Mode, your Oculus Quest 2 will restart to apply the changes.
After the restart, your Oculus Quest 2 will be in Developer Mode, allowing you to sideload applications and install mods from external sources.
It’s important to note that enabling Developer Mode comes with certain risks. Since you have the ability to install content that has not been officially reviewed or approved by Oculus, there is a possibility of encountering unstable or incompatible mods. Exercise caution and only download mods from trusted sources to minimize any potential risks to your device.
Now that you have successfully enabled Developer Mode on your Oculus Quest 2, you’re ready to move on to the next step: installing SideQuest on your computer.
Step 2: Installing SideQuest on Your Computer
In order to browse, download, and install mods on your Oculus Quest 2, you’ll need to install SideQuest on your computer. SideQuest is a third-party software that acts as a platform for accessing and managing mods, demos, and other user-generated content for your Oculus Quest 2 headset.
Installing SideQuest is a simple process that involves downloading the software and setting it up on your computer. Follow the steps below to get started:
- Open a web browser on your computer and navigate to the official SideQuest website (https://sidequestvr.com/).
- Once on the website, locate the download button and click on it to initiate the download process.
- Depending on your computer’s operating system, you’ll be prompted to download the appropriate version of SideQuest (Windows, macOS, or Linux). Choose the version that matches your system and save the installation file to your preferred location on your computer.
- Once the download is complete, locate the installation file and double-click on it to begin the installation process.
- Follow the on-screen instructions to complete the installation of SideQuest on your computer. Make sure to read and accept any terms and conditions if prompted.
- Once the installation is finished, launch SideQuest on your computer. You should see a user-friendly interface that allows you to browse and manage content for your Oculus Quest 2.
- Connect your Oculus Quest 2 to your computer using a compatible USB cable. Ensure that your headset is turned on and in the unlocked state.
- Upon connecting your headset, SideQuest should automatically detect it and display its status in the top-right corner of the SideQuest interface.
With SideQuest successfully installed and your Oculus Quest 2 connected to your computer, you’re now equipped to start browsing and downloading mods for your VR headset in the next step.
It’s worth noting that SideQuest is constantly updated with new features and improvements, so it’s a good practice to regularly check for updates and install them to ensure you have the latest version of the software. Updates often bring enhanced functionality and bug fixes, improving your overall experience with SideQuest.
Now that you have SideQuest installed, it’s time to move on to the next step: connecting your Oculus Quest 2 to SideQuest.
Step 3: Connecting Oculus Quest 2 to SideQuest
With SideQuest installed on your computer, the next step is to establish a connection between your Oculus Quest 2 headset and SideQuest. This connection is necessary to transfer files, install mods, and manage content on your VR headset.
Follow the steps below to connect your Oculus Quest 2 to SideQuest:
- Ensure that your Oculus Quest 2 is powered on and in the unlocked state.
- Connect your Oculus Quest 2 to your computer using a compatible USB cable. It’s recommended to use the official Oculus Link cable or a high-quality USB-C cable for the best performance.
- Once connected, you may need to grant permission on your Oculus Quest 2 for the computer to access your device. Look for a prompt on your VR headset’s screen asking if you trust the computer. Use the Oculus Touch controllers to navigate and select “Allow” to grant permission.
- On your computer, launch SideQuest if it’s not already open. SideQuest should automatically detect your connected Oculus Quest 2 and display its status in the top-right corner of the SideQuest interface.
- If your Oculus Quest 2 is not being detected by SideQuest, try the following troubleshooting steps:
- Make sure you are using a compatible USB cable and that it’s securely connected to both your headset and computer.
- Switch to a different USB port on your computer to rule out any USB compatibility issues.
- Restart your computer and restart your Oculus Quest 2. Then, connect them again and launch SideQuest.
- If the issue persists, check the SideQuest documentation or community forums for further assistance.
Once your Oculus Quest 2 is successfully connected to SideQuest, you’re ready to start browsing the wide selection of mods and user-generated content available for your VR headset. In the next step, we’ll explore how to find and download mods using SideQuest.
Note: It’s important to keep your Oculus Quest 2 firmware up to date for a smooth and reliable connection with SideQuest. If prompted, update your headset’s firmware through the official Oculus software before proceeding.
Now that your Oculus Quest 2 is connected to SideQuest, let’s move on to Step 4: browsing and downloading mods.
Step 4: Browsing and Downloading Mods
Now that your Oculus Quest 2 is connected to SideQuest, you can start browsing and downloading mods to enhance your VR experience. SideQuest offers a vast selection of mods and user-generated content for you to explore. Here’s how you can browse and download mods using SideQuest:
- Launch SideQuest on your computer if it’s not already open. You should see the main interface with various categories, including Featured, Top Free, Top Paid, and more.
- Use the navigation tabs at the top of the SideQuest interface to explore different categories or use the search bar to find specific mods.
- Click on a mod’s title or image to view more details about the mod, including a description, screenshots, and user ratings.
- If you decide to download a mod, click on the “Download” button associated with the mod. SideQuest will initiate the download process and show a progress bar to indicate the download status.
- Once the mod is downloaded, it will be stored on your computer.
- To install the downloaded mod on your Oculus Quest 2, make sure your VR headset is still connected to your computer via USB.
- In SideQuest, click on the “My Apps” tab to view the list of downloaded mods.
- Find the downloaded mod in the list and click on the “Install” button next to it. SideQuest will transfer the mod from your computer to your Oculus Quest 2.
- Wait for the installation process to complete. You will see a progress bar in SideQuest indicating the installation status.
- Once the mod is successfully installed, you can disconnect your Oculus Quest 2 from your computer.
It’s important to note that not all mods are created equal, and not all mods are compatible with every game or application. Make sure to read the mod descriptions, user reviews, and any compatibility information provided to ensure that the mod you’re downloading is suitable for your desired game or application.
In addition to mods, SideQuest also offers other types of content, such as demos, experimental experiences, and utilities. Feel free to explore these categories to discover unique and interesting content for your Oculus Quest 2.
Now that you have successfully downloaded and installed mods on your Oculus Quest 2, it’s time to learn how to manage and update mods in the next step.
Step 5: Installing Mods on Oculus Quest 2
After browsing and downloading mods using SideQuest, the next step is to install those mods on your Oculus Quest 2. Installing mods on your VR headset will allow you to access new features, content, and customizations in your favorite games and applications. Here’s how you can install mods on your Oculus Quest 2:
- Ensure that your Oculus Quest 2 headset is powered on and not currently being used.
- Connect your Oculus Quest 2 to your computer using a compatible USB cable.
- Launch SideQuest on your computer and wait for it to recognize your connected device. You should see the “Connected Devices” section in the top-right corner of the SideQuest interface.
- In SideQuest, click on the “My Apps” tab to view the list of downloaded mods.
- Locate the mod that you want to install on your Oculus Quest 2.
- Click on the “Install” button next to the mod’s name. SideQuest will initiate the installation process and start transferring the mod to your Oculus Quest 2.
- Wait for the installation to complete. The progress will be displayed in SideQuest, and you’ll see a notification on your Oculus Quest 2 indicating that a new app is being installed.
- Once the installation is finished, you can disconnect your VR headset from your computer.
- On your Oculus Quest 2, navigate to the Library section of the Oculus home screen.
- Scroll through your installed applications and find the newly installed mod. It may have a different icon or name compared to the original game or application, depending on the mod you installed.
- Select the mod and press the “Play” button or use the Oculus Touch controllers to launch the mod.
It’s important to note that not all games or applications support mods, and the installation process may vary depending on the specific mod and game you’re working with. Some mods may require additional steps or configuration to function properly. Be sure to read the mod’s documentation or user guides if any specific instructions are provided.
Once the mod is successfully installed on your Oculus Quest 2, you can enjoy the new features and enhancements it brings to your VR experience.
In the next step, we’ll cover how to manage and update the mods installed on your Oculus Quest 2.
Step 6: Managing and Updating Mods
Once you have installed mods on your Oculus Quest 2, it’s important to know how to manage and update them. Managing your mods allows you to uninstall or disable mods if needed, while updating mods ensures you have the latest versions with bug fixes or new features. Here’s how you can manage and update mods on your Oculus Quest 2:
- Start by navigating to the Library section on the home screen of your Oculus Quest 2 headset.
- Scroll through your installed applications and locate the mod that you want to manage or update.
- Select the mod by pointing at it with your controller or using hand tracking if supported.
- You will see options to manage the mod, such as Uninstall or Disable. Choose the appropriate option based on your needs.
- If you choose to update a mod, you can do so through the SideQuest application on your computer.
- Launch SideQuest and make sure your Oculus Quest 2 is connected to your computer.
- In SideQuest, navigate to the “My Apps” tab to view your installed mods.
- Check for any available updates for your mods. If an update is available, you’ll see an “Update” button next to the mod’s name.
- Click on the “Update” button to begin the update process. SideQuest will transfer the updated files to your Oculus Quest 2.
- Once the update is complete, disconnect your Oculus Quest 2 from your computer.
- On your Oculus Quest 2, locate the updated mod in the Library section and launch it to enjoy the latest version.
It’s essential to stay up to date with mod updates, as they often bring bug fixes, performance improvements, and new features. Check the SideQuest platform regularly for any updates to your installed mods to ensure you’re getting the best experience.
Keep in mind that managing and updating mods may vary depending on the specific mod and game/application. Some mods may require additional steps or specific instructions for managing and updating. Make sure to consult the mod’s documentation or user guides for any specific procedures or considerations.
Now that you know how to manage and update your mods, you’re ready to launch and enjoy the mods on your Oculus Quest 2 in the next step.
Step 7: Launching Mods on Oculus Quest 2
After successfully installing and managing mods on your Oculus Quest 2, it’s time to launch and experience the mods in action. Launching mods allows you to immerse yourself in new gameplay features, explore unique content, and enjoy the enhancements that mods bring to your VR experience. Here’s how you can launch mods on your Oculus Quest 2:
- Start by putting on your Oculus Quest 2 headset and navigating to the Library section on the home screen.
- Scroll through your installed applications and locate the mod that you want to launch.
- Use the Oculus Touch controllers to highlight and select the mod. Alternatively, you can use hand tracking if it’s supported by the mod.
- Press the “Play” button or use the Oculus Touch controllers to launch the mod.
- Once launched, you’ll be immersed in the mod’s unique gameplay or experience.
- Follow any specific instructions provided by the mod for controls or interactions.
- Explore and enjoy the new features, content, or customizations that the mod brings to your VR gaming experience.
Launching mods allows you to access new levels, characters, game mechanics, visual enhancements, and much more. It’s an opportunity to explore the creativity and innovation of the modding community and take your VR gaming experience to the next level.
It’s worth noting that each mod may have specific requirements or instructions for launching or interacting with the mod. Make sure to follow any guidelines provided by the mod’s creator to ensure you have the best experience.
Now that you know how to launch mods on your Oculus Quest 2, you’re ready to dive into the immersive world of modded VR gaming.
Conclusion
Congratulations! You have now learned how to download, install, manage, and launch mods on your Oculus Quest 2. By enabling Developer Mode, installing SideQuest on your computer, connecting your VR headset to SideQuest, browsing and downloading mods, installing them on your device, managing and updating mods, and finally launching them on your Oculus Quest 2, you have gained the ability to enhance your VR experience with user-created content.
Mods open up a world of possibilities, allowing you to access additional content, customize gameplay, and explore unique experiences not available through official channels. They can bring new features, capabilities, and visual enhancements to your favorite games and applications, taking your VR gaming to a whole new level.
However, it’s important to exercise caution when downloading and installing mods. Not all mods are created equal, and not all are officially endorsed or reviewed by Oculus or the game developers. Make sure to research and read user reviews before downloading mods, and only download from trusted sources to minimize any potential risks to your device.
Remember to stay informed about updates to your installed mods through the SideQuest platform to ensure you have the latest versions with bug fixes and new features.
Now that you have the knowledge and tools to explore the world of mods on your Oculus Quest 2, it’s time to dive in and discover the endless possibilities that await. Enjoy the enhanced experiences, expanded content, and personalized gameplay that mods bring to your VR adventures!


