Introduction
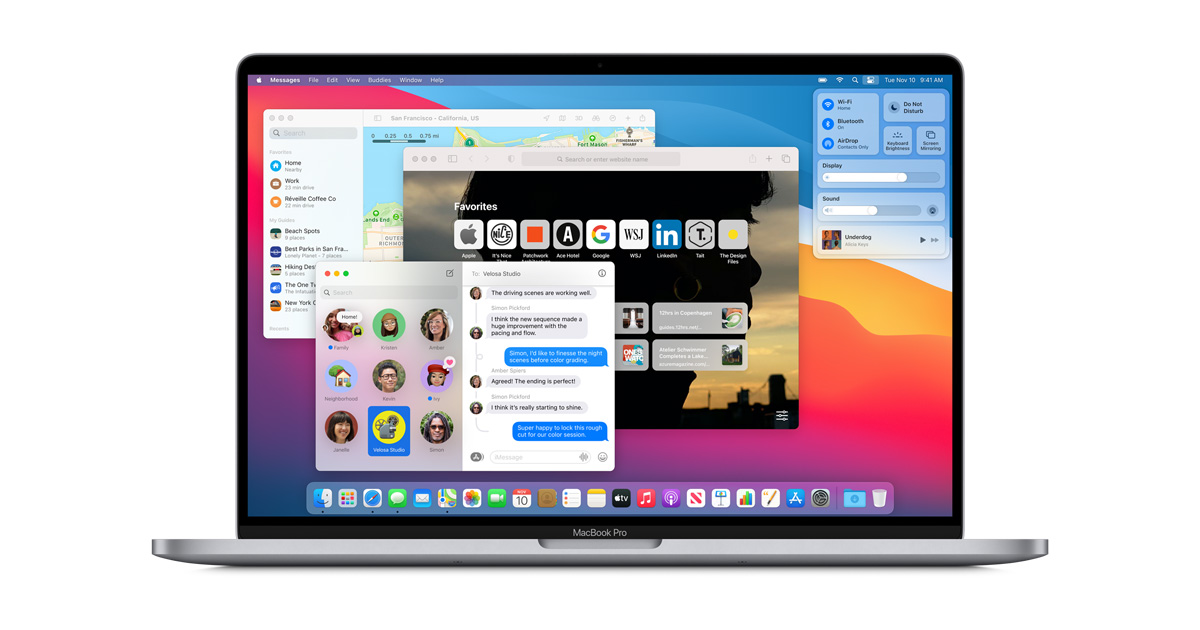
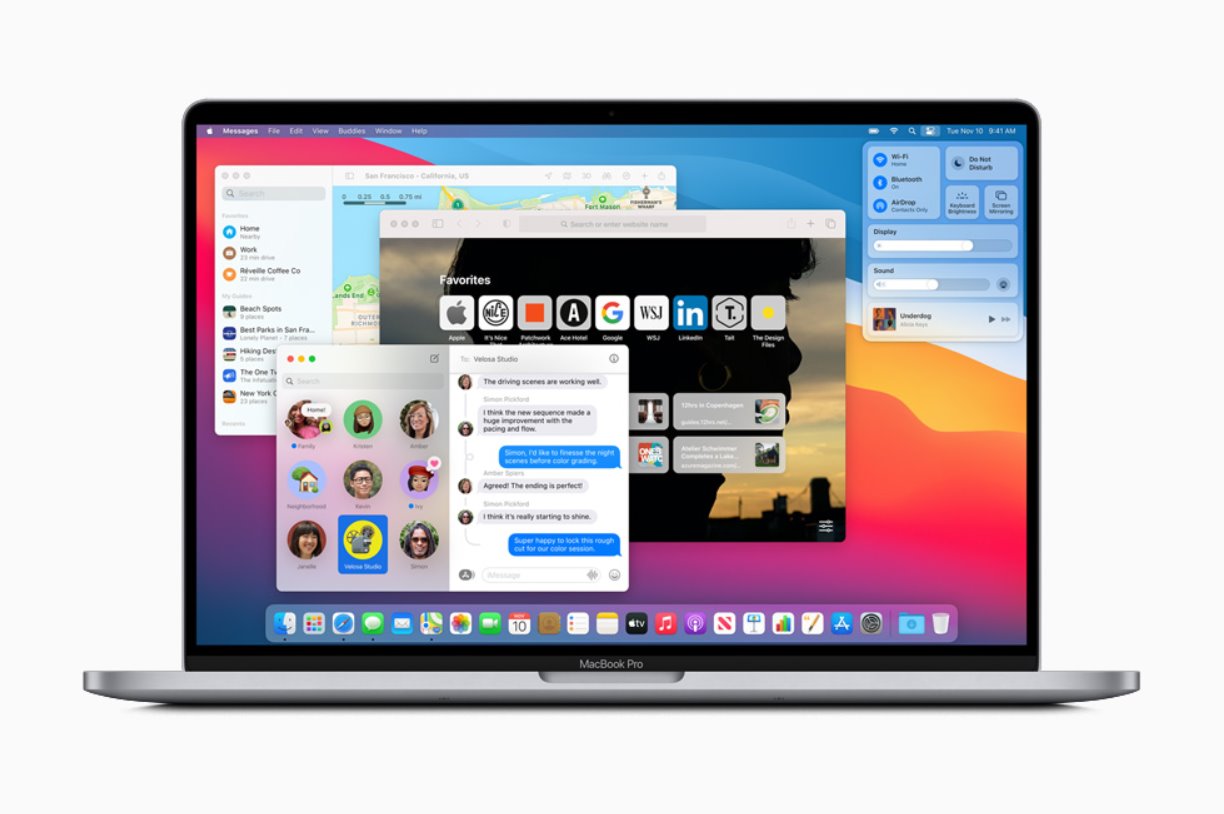
macOS Big Sur is the latest version of Apple’s operating system for Mac computers. With its redesigned interface, enhanced performance, and exciting new features, it offers an immersive and seamless user experience. Whether you’re a long-time Mac user or new to the platform, upgrading to macOS Big Sur can bring a host of benefits to your computing experience.
In this guide, we will walk you through the process of downloading and installing macOS Big Sur on your Mac. Before we dive into the specifics, it’s important to ensure that your system meets the necessary requirements to run the new operating system smoothly.
Additionally, we will cover important steps such as checking compatibility, backing up your data, and preparing for the download. This will help you ensure that the transition to macOS Big Sur is seamless and hassle-free.
Once you have completed the preparation steps, we will guide you through the process of downloading and installing macOS Big Sur. We will provide clear and easy-to-follow instructions to make the installation process a breeze.
If you encounter any issues or have difficulties during the installation process, we will also provide troubleshooting tips to help you overcome any obstacles along the way.
So, if you’re ready to take your Mac experience to the next level, let’s dive into the world of macOS Big Sur and guide you through the process of downloading and installing this exciting new operating system on your Mac!
System Requirements
Before you proceed with downloading and installing macOS Big Sur, it’s important to ensure that your Mac meets the system requirements for this operating system update. By meeting these requirements, you can ensure optimal performance and compatibility with your hardware.
Here are the minimum system requirements for macOS Big Sur:
- A compatible Mac model: macOS Big Sur is compatible with the following Mac models:
- MacBook (2015 or later)
- MacBook Air (2013 or later)
- MacBook Pro (Late 2013 or later)
- Mac mini (2014 or later)
- iMac (2014 or later)
- iMac Pro (2017 or later)
- Mac Pro (2013 or later)
- Sufficient available storage space: macOS Big Sur requires at least 35.5GB of available storage space to install. It’s recommended to have additional free space for smooth operation and future updates.
- Memory (RAM): Your Mac should have a minimum of 4GB of memory (RAM). However, for optimal performance, it’s recommended to have 8GB or more.
- Internet connection: An active internet connection is required to download and install macOS Big Sur.
It’s worth noting that while macOS Big Sur is compatible with a range of Mac models, some features may require newer hardware to function. This includes features like Handoff, Continuity Camera, and Sidecar. It’s important to consider your specific needs and the capabilities of your Mac when deciding to upgrade.
Before proceeding with the installation, it’s also advisable to check if any of your essential applications or software are compatible with macOS Big Sur. Visit the websites of the respective software manufacturers to ensure compatibility and download any necessary updates.
Now that you are aware of the system requirements for macOS Big Sur, it’s time to check the compatibility of your Mac with this latest operating system version.
Check Compatibility
Before you proceed with downloading and installing macOS Big Sur, it’s essential to check the compatibility of your Mac with this operating system update. By ensuring compatibility, you can avoid any potential issues or incompatibilities during the installation process.
To check if your Mac is compatible with macOS Big Sur, follow these simple steps:
- Click on the Apple menu icon in the top left corner of your screen and select “About This Mac” from the drop-down menu.
- In the “Overview” tab, you will see the model and year of your Mac.
- Compare the model and year of your Mac with the list of compatible Mac models mentioned in the system requirements section of this guide.
If your Mac model matches the compatible models listed for macOS Big Sur, you’re good to go and can proceed with the installation process. However, if your Mac is not compatible, you may need to consider upgrading your hardware or using a different Mac that meets the requirements.
Keep in mind that while macOS Big Sur is compatible with a wide range of Mac models, some features may be limited or not available on older hardware. It’s important to assess your needs and requirements to ensure the optimal performance of your Mac.
Additionally, it’s recommended to check if any essential software or applications you use regularly are compatible with macOS Big Sur. Visit the websites of the respective software manufacturers to verify compatibility and download any required updates or patches.
By checking the compatibility of your Mac with macOS Big Sur and ensuring compatibility for your crucial software, you can have a smooth and trouble-free installation experience. Now that you know your Mac is compatible, it’s time to prepare for the download and installation process.
Back up Your Data
Before proceeding with any major system update, such as installing macOS Big Sur, it’s crucial to back up your important data. While the installation process is designed to preserve your files, there is always a small risk of data loss or corruption. Backing up your data ensures that you have a secure copy of your files in case any unforeseen issues occur during the installation.
There are several methods you can use to back up your data:
- Time Machine: If you already have Time Machine set up, it’s a convenient and reliable way to back up your data. Simply connect an external hard drive or Time Capsule to your Mac and let Time Machine create a backup. If you don’t have Time Machine enabled, you can activate it in the System Preferences.
- Cloud Storage: Cloud storage services like iCloud, Dropbox, or Google Drive offer a seamless way to back up your files. Upload your important documents, photos, and other data to the cloud and ensure they are safely stored off-site.
- External Storage: Another option is to manually copy and paste your important files to an external storage device, such as an external hard drive or USB flash drive. This method gives you direct control over the backup process.
Regardless of the method you choose, make sure to back up all your important files, including documents, photos, videos, music, and any other data you want to safeguard. It’s also a good idea to create a backup of your bookmarks, email accounts, and other personalized settings.
Once your data is securely backed up, you can proceed with confidence knowing that even if something were to go wrong during the installation process, your files are protected.
Now that you have backed up your data, it’s time to prepare for the download and installation of macOS Big Sur.
Prepare for the Download
Before you start downloading macOS Big Sur, it’s important to take a few preparatory steps to ensure a smooth and successful installation process. By following these steps, you can avoid common issues and minimize the chances of encountering any difficulties during the download and installation.
Here are some essential steps to prepare for the download of macOS Big Sur:
- Check your internet connection: Ensure that you have a stable and reliable internet connection. A fast and uninterrupted internet connection will help you download the large installation file efficiently.
- Free up storage space: As mentioned in the system requirements, macOS Big Sur requires a minimum of 35.5GB of available storage space. To avoid any errors during the installation process, it’s advisable to free up additional storage space to accommodate the new operating system.
- Update your current macOS: Before installing macOS Big Sur, it’s a good idea to update your current macOS installation to the latest version available. This ensures that your Mac is up to date with the latest bug fixes and improvements, providing a solid foundation for the Big Sur installation.
- Check for software updates: It’s essential to check for updates for your existing applications and software. Visit the Mac App Store or the respective software manufacturer’s website to ensure that you have the latest versions of your essential apps. This minimizes the risk of compatibility issues after upgrading to macOS Big Sur.
- Plug in your Mac: To ensure uninterrupted power during the installation process, plug in your Mac to a power source. This prevents any unexpected power loss that could potentially disrupt the installation process.
By following these preparatory steps, you can ensure a smooth and hassle-free experience when downloading and installing macOS Big Sur. Taking the time to prepare and optimize your system will help minimize any potential issues and ensure a successful installation.
With your preparations complete, you are now ready to proceed with downloading macOS Big Sur onto your Mac. The next section will guide you through the process of downloading this exciting new operating system.
Download macOS Big Sur
Now that you have prepared your Mac for the installation of macOS Big Sur, it’s time to download the operating system. Follow the steps below to successfully download macOS Big Sur:
- Ensure that you have a stable and reliable internet connection.
- Open the App Store on your Mac. You can find it in the Dock or by searching for it using Spotlight.
- In the search bar at the top-right corner of the App Store, type “macOS Big Sur” and press Enter.
- Click on the “Get” or “Download” button to begin the download process.
- The download will begin, and the macOS Big Sur installation file will be saved to your Applications folder once it is complete.
The download time may vary depending on the speed of your internet connection. It’s recommended to have a strong and stable connection to ensure a smooth and timely download process.
During the download, you can continue using your Mac for other tasks; however, it’s advisable to avoid any processor-intensive activities or large downloads that may interfere with the macOS Big Sur download process.
Once the download is complete, you are ready to proceed with the installation of macOS Big Sur. Keep in mind that the installation process may take some time, so it’s important to plan accordingly and avoid interrupting the process.
With macOS Big Sur downloaded and ready to install, let’s move on to the next section to guide you through the installation process step by step.
Install macOS Big Sur
After successfully downloading macOS Big Sur, you are now ready to install the operating system on your Mac. Follow the steps below to install macOS Big Sur:
- Locate the macOS Big Sur installation file in your Applications folder. It is typically named “Install macOS Big Sur”.
- Double-click on the installation file to launch the macOS Big Sur installer.
- Read and review the license agreement. Click “Agree” to proceed.
- Select the drive where you want to install macOS Big Sur. If you have only one drive, it will be automatically selected as the installation destination.
- Click “Install” and enter your administrator password when prompted.
- The installation process will begin, and your Mac may restart multiple times during the process. Do not interrupt the installation or turn off your Mac.
- Follow the on-screen instructions to complete the installation. This may include selecting your preferred language, setting up your Apple ID, and configuring other options.
- Once the installation is complete, your Mac will restart and boot into macOS Big Sur.
During the installation process, your Mac’s screen may go black, display a progress bar, or show the Apple logo with a progress indicator. This is normal and indicates that the installation is in progress.
After the installation is finished, you will be welcomed to macOS Big Sur. Take a moment to explore the new features and redesigned interface. You can now enjoy all the benefits and improvements that macOS Big Sur has to offer.
Remember to update your essential apps and software to ensure compatibility with macOS Big Sur. Visit the Mac App Store or the official websites of your applications to download any necessary updates or patches.
Congratulations! You have successfully installed macOS Big Sur on your Mac. Explore the new features, discover the enhancements, and make the most of your upgraded operating system.
Troubleshooting
While the installation process for macOS Big Sur is generally smooth, occasionally, users may encounter some issues or errors. If you encounter any difficulties during or after the installation, here are some troubleshooting tips to help you resolve common problems:
1. Check your internet connection: Ensure that you have a stable and reliable internet connection throughout the installation process. A weak or intermittent connection can lead to incomplete downloads or installation errors.
2. Restart your Mac: Sometimes, a simple restart can resolve minor glitches or issues. Try restarting your Mac and attempting the installation again.
3. Free up storage space: If you encounter an error stating that there is not enough storage space to install macOS Big Sur, try freeing up additional space on your Mac. Delete unnecessary files or move them to an external storage device to create more room for the installation.
4. Disable third-party software: Some third-party software or utilities may interfere with the installation process. Temporarily disable any antivirus software, firewall, or other security applications and attempt the installation again.
5. Check for hardware compatibility: Verify that your Mac meets the system requirements for macOS Big Sur. If your Mac does not meet the requirements, it may not be able to handle the new operating system and may encounter issues.
If these troubleshooting steps do not resolve the issue, you can visit the Apple Support website or contact Apple Support for further assistance. They can provide more specific guidance based on your situation and help you troubleshoot any issues you may encounter. Additionally, the Apple Support community forums are a valuable resource where you can find solutions and assistance from Apple experts and fellow Mac users.
Remember to document any error messages or specific issues you encounter during the installation process. This information will be helpful when seeking assistance from Apple Support or the community forums.
By following these troubleshooting steps and seeking assistance when needed, you should be able to overcome any obstacles and successfully install and enjoy macOS Big Sur on your Mac.
Conclusion
Congratulations! You have reached the end of this guide on how to download and install macOS Big Sur on your Mac. By following the steps outlined in this guide, you have successfully upgraded your operating system to the latest version.
macOS Big Sur brings a range of exciting features and improvements to enhance your Mac experience. With its redesigned interface, enhanced performance, and new capabilities, you can enjoy a more seamless and immersive computing experience.
Throughout this guide, we covered essential steps such as checking compatibility, backing up your data, preparing for the download, downloading macOS Big Sur, and installing it on your Mac. We also provided troubleshooting tips to help you resolve any issues you might encounter during or after the installation process.
Remember to explore the new features and take advantage of the improvements that macOS Big Sur offers. Be sure to keep your essential applications and software up to date to ensure compatibility with the new operating system.
If you have any further questions or need additional assistance, don’t hesitate to reach out to Apple Support or consult the Apple Support community forums. They can provide further guidance and help you overcome any challenges you may face.
Thank you for choosing to upgrade to macOS Big Sur. Enjoy the new features, improved performance, and seamless user experience as you continue to explore and harness the full potential of your Mac.



![What is System Data on Mac and How to Delete It [GUIDE]](https://robots.net/wp-content/uploads/2022/07/what-is-system-data-on-mac-featured-300x175.jpg)
