Introduction
Are you a Chromebook user who needs to download Internet Explorer? While Google Chrome is the default browser on Chromebooks, there may be instances where you require Internet Explorer to access specific websites or use certain applications. While Internet Explorer is predominantly used on Windows operating systems, it is still possible to download and install it on a Chromebook.
In this article, we will guide you through the process of downloading and installing Internet Explorer on your Chromebook. By following a few simple steps, you will be able to have Internet Explorer up and running on your device in no time.
It is important to note that this process involves using a Windows emulator to run Internet Explorer on your Chromebook. The emulator creates a virtual Windows environment within your Chromebook that allows you to use Internet Explorer seamlessly.
Let’s get started with the step-by-step instructions to help you download and set up Internet Explorer on your Chromebook.
Background Information
Before we dive into the steps of downloading and installing Internet Explorer on your Chromebook, let’s briefly discuss why you might need to use Internet Explorer on a device primarily designed for Chrome OS.
Internet Explorer, developed by Microsoft, has been a widely-used web browser for many years. While it has been replaced by Microsoft Edge on Windows 10, some applications and websites are still optimized for Internet Explorer compatibility. Therefore, if you encounter websites or applications that require Internet Explorer, having access to it on your Chromebook can be advantageous.
Chromebooks, on the other hand, are lightweight and affordable laptops that run on the Chrome OS, an operating system developed by Google. They are primarily designed to work with the Google Chrome browser and utilize web-based applications. However, due to their growing popularity, many users find themselves needing access to Internet Explorer for specific tasks or compatibility purposes.
To accommodate this need, we will be using a Windows emulator, such as Wine or CrossOver, to create a virtual Windows environment on your Chromebook. The emulator will allow you to install and run Internet Explorer as if you were on a Windows operating system.
It’s important to note that using a Windows emulator to run Internet Explorer on your Chromebook may have some limitations. The performance and compatibility can vary depending on the specific emulator and the version of Internet Explorer you are using. Therefore, it’s crucial to choose a reliable emulator and keep in mind that some features may not work as smoothly as they would on a native Windows device.
Now that you understand the purpose and limitations of running Internet Explorer on a Chromebook, let’s proceed to the step-by-step guide for downloading and installing Internet Explorer on your device.
Step 1: Install a Windows Emulator
The first step in downloading and installing Internet Explorer on your Chromebook is to install a Windows emulator. A Windows emulator creates a virtual environment that allows you to run Windows applications on your Chromebook. Two popular options for Windows emulators are Wine and CrossOver.
To install a Windows emulator, follow these steps:
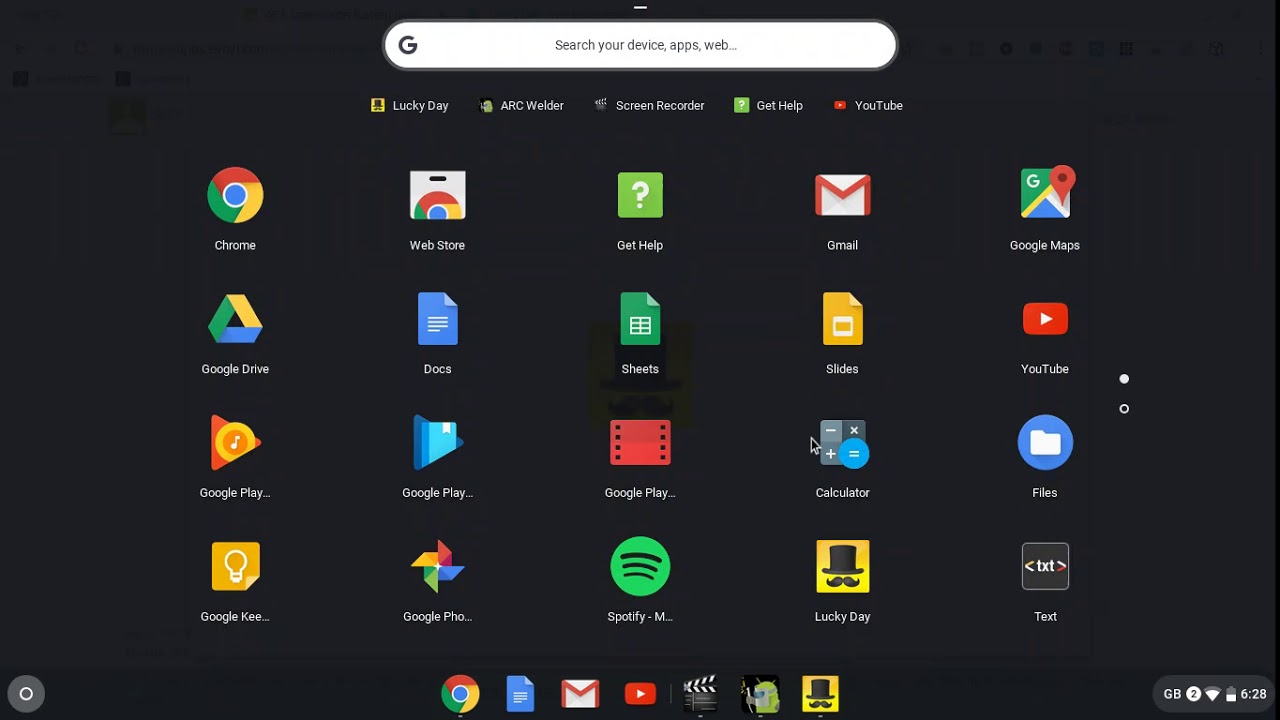
- Open the Google Play Store on your Chromebook.
- Search for the Windows emulator of your choice, such as Wine or CrossOver.
- Select the emulator from the search results and click on the “Install” button to begin the installation process.
- Once the installation is complete, open the Windows emulator on your Chromebook. You may need to go through some initial setup steps, such as agreeing to the terms and conditions.
- Congratulations! You have successfully installed a Windows emulator on your Chromebook, which will allow you to run Internet Explorer.
It’s important to note that the installation process may vary slightly depending on the specific emulator you choose. Make sure to follow the on-screen instructions provided during the installation to ensure a successful setup.
With the Windows emulator installed, you are now ready to move on to the next step: downloading Internet Explorer onto your Chromebook.
Step 2: Download Internet Explorer
Now that you have a Windows emulator set up on your Chromebook, it’s time to download Internet Explorer. There are a few different ways you can obtain the Internet Explorer installer, depending on your preferences and requirements.
Here is a step-by-step guide to downloading Internet Explorer on your Chromebook:
- Open the Windows emulator on your Chromebook.
- Launch a web browser within the emulator, such as the default Internet Explorer browser or Microsoft Edge.
- In the emulator’s browser, search for the official Microsoft website or an authorized software distribution platform that offers Internet Explorer downloads.
- Once you have located a trusted source, navigate to the Internet Explorer download page.
- Choose the appropriate version of Internet Explorer that is compatible with your Windows emulator and Chromebook architecture (32-bit or 64-bit).
- Click on the download link to start the Internet Explorer installer download.
- Wait for the download to complete. The time it takes to download will vary depending on your internet connection speed.
- Once the download is finished, you will have the Internet Explorer installer file saved on your Chromebook.
Remember to ensure that you are downloading Internet Explorer from a trusted source to avoid any security or compatibility issues. It’s always best to download directly from the official Microsoft website or reputable software distribution platforms.
With the Internet Explorer installer file ready, you can now proceed to the next step: installing Internet Explorer on your Chromebook.
Step 3: Install Internet Explorer on the Chromebook
Now that you have downloaded the Internet Explorer installer file, it’s time to install Internet Explorer on your Chromebook using the Windows emulator. Following these steps will guide you through the installation process:
- Open the Windows emulator on your Chromebook.
- Navigate to the location where you saved the Internet Explorer installer file.
- Double-click on the installer file to initiate the installation process.
- Follow the on-screen instructions provided by the Internet Explorer installer wizard.
- Agree to the terms and conditions when prompted.
- Choose the installation options that best suit your preferences, such as the installation directory and any additional features you may need.
- Wait for the installation to complete. The time it takes to install will depend on your Chromebook’s specifications.
- Once the installation is finished, you will see a confirmation message indicating that Internet Explorer has been successfully installed on your Chromebook.
It’s important to note that during the installation process, you may need to grant certain permissions or make specific configurations within the Windows emulator. Pay attention to any prompts or instructions provided by the installer to ensure a smooth installation experience.
Once you have successfully installed Internet Explorer on your Chromebook, you can move on to the next step: setting up Internet Explorer for optimal usage.
Step 4: Set Up Internet Explorer
After installing Internet Explorer on your Chromebook, it’s essential to set it up properly to ensure optimal usage. Here are the steps you need to follow to configure Internet Explorer:
- Launch the Windows emulator on your Chromebook and open Internet Explorer.
- Upon launching Internet Explorer, you may be prompted to customize your browser settings. Take a moment to review these settings and make any necessary adjustments according to your preferences.
- Next, sign in with your Microsoft account if prompted. This step is optional, but signing in can provide access to additional features and personalized settings.
- Customize your web browser further by adjusting options such as homepage, search engine preferences, default privacy settings, and security preferences.
- Consider updating Internet Explorer to the latest version available. This step will ensure you have the most up-to-date security patches and performance enhancements.
- Import your bookmarks, favorites, or any other data from your previous browser, if desired. This step will allow you to have a seamless transition and access your preferred websites easily.
- Explore the various features and settings within Internet Explorer, familiarizing yourself with its interface and functionality.
By completing these setup steps, you will have Internet Explorer properly configured on your Chromebook. You can now start using Internet Explorer to access websites, use web applications, and take advantage of compatibility with applications optimized for Internet Explorer.
Remember that running Internet Explorer on a Chromebook using a Windows emulator may have limitations and performance variations. Some features may not work as smoothly as they would on a native Windows device. It’s essential to manage your expectations accordingly.
Congratulations! You have successfully completed the setup process for Internet Explorer on your Chromebook. Now you can start enjoying the benefits of using Internet Explorer alongside your Chrome OS.
Conclusion
Congratulations! You have successfully downloaded and installed Internet Explorer on your Chromebook using a Windows emulator. This allows you to access websites and applications that require Internet Explorer compatibility, opening up new possibilities on your Chromebook.
Throughout this guide, we provided step-by-step instructions on how to install a Windows emulator, download Internet Explorer, install it on your Chromebook, and set it up for optimal usage. By following these instructions, you can seamlessly run Internet Explorer on your Chromebook and take advantage of its features and compatibility.
It’s important to note that using a Windows emulator on your Chromebook to run Internet Explorer may have some limitations. The performance and compatibility can vary depending on the emulator and the version of Internet Explorer you are using. Therefore, it’s crucial to choose a reliable emulator and be aware that some features may not work as smoothly as they would on a native Windows device.
Remember to keep your Windows emulator and Internet Explorer updated to ensure you have the latest security patches and performance enhancements. Additionally, if you encounter any issues or have questions, consult the documentation provided by the Windows emulator or seek support from their official channels.
We hope this guide has been helpful in providing you with the necessary steps to download, install, and set up Internet Explorer on your Chromebook. Enjoy the expanded functionality and compatibility that Internet Explorer provides, and make the most out of your Chromebook experience.