Introduction
Are you a Mac user who wants to play Windows-exclusive games on your computer? Look no further, because we have a solution for you! With the help of software like CrossOver, Boot Camp, and Parallels Desktop, you can easily download and play Windows Steam games on your Mac.
Steam is a popular digital distribution platform where gamers can buy and play a wide range of games. While many games on Steam are designed for Windows, there are ways to run them on your Mac. In this guide, we will take you through the steps of downloading and installing Steam, creating a Steam account, and using different software options to run Windows Steam games on your Mac.
Before we start, it’s important to note that running Windows games on a Mac may require additional system resources and may not run as smoothly as on a Windows PC. However, with the right software and a powerful Mac, you can still enjoy your favorite games without any major issues.
So, if you’re ready to dive into the world of Windows Steam games on your Mac, let’s get started with the first step: downloading and installing Steam.
Step 1: Download and Install Steam
The first step in playing Windows Steam games on your Mac is to download and install the Steam client. Here’s how you can do it:
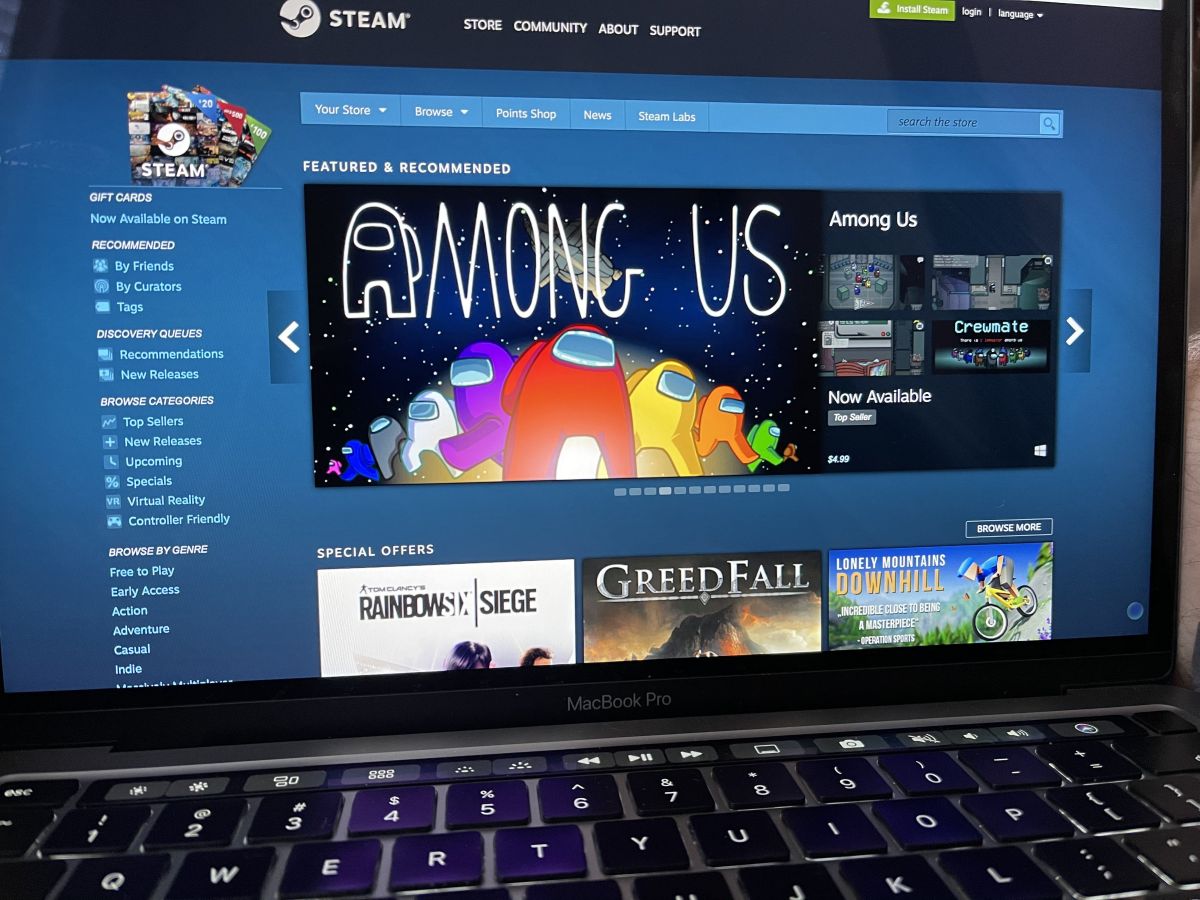
- Open your preferred web browser and go to the official Steam website at https://store.steampowered.com/.
- Once on the Steam website, locate and click on the “Install Steam” button.
- A download prompt will appear. Click on the “Download Steam” button to start the download process.
- Once the download is complete, locate the Steam installer file in your download folder, usually named “SteamSetup.exe”.
- Double-click on the installer file to begin the installation process.
- Follow the on-screen instructions to complete the installation. You may be asked to choose a destination folder and agree to the terms and conditions.
- Once the installation is finished, the Steam client will automatically launch.
Now that you have successfully downloaded and installed Steam on your Mac, you’re one step closer to playing Windows Steam games. The next step is to create a Steam account, which we’ll cover in the next section.
Step 2: Create a Steam Account
Before you can start downloading and playing Windows Steam games on your Mac, you need to create a Steam account. Here’s how you can do it:
- Launch the Steam client on your Mac by double-clicking on the Steam icon in your Applications folder.
- Once the Steam client is open, click on the “Create account” button located at the bottom of the login screen.
- A registration form will appear. Fill in your preferred username, password, and email address. Make sure to choose a strong password to protect your account.
- After filling in the required information, click on the “I agree” button to accept the Steam Subscriber Agreement.
- Next, complete the verification process by entering the verification code sent to your email address. If you don’t see the email, check your spam or junk folder.
- Once you’ve entered the verification code, your Steam account will be successfully created.
With your Steam account created, you can now log in and access the Steam store, where you can browse and purchase a vast catalogue of games. Make sure to keep your login credentials secure, as your Steam account grants access to your purchased games and saved progress.
Now that you have a Steam account, you’re ready to move on to the next steps, which involve different software options to run Windows Steam games on your Mac. Choose the method that suits your needs and system requirements. We’ll cover three popular methods: using CrossOver, using Boot Camp, and using Parallels Desktop.
Step 3: Install Windows Steam Games on Mac using CrossOver
If you prefer a more straightforward approach to running Windows Steam games on your Mac without the need for a separate Windows installation, you can use a software solution like CrossOver. Here’s how to install and use CrossOver:
- Visit the CrossOver website at https://www.codeweavers.com/crossover and download the CrossOver software for Mac.
- Once downloaded, locate the CrossOver installer file in your download folder, usually named “crossover.dmg”.
- Double-click on the installer to mount the disk image, and then double-click on the CrossOver icon to launch the installation wizard.
- Follow the on-screen instructions to complete the installation of CrossOver on your Mac.
- After installation, launch CrossOver from your Applications folder.
- In the CrossOver interface, click on the “Install a Windows Application” button.
- A window will appear, and you can search for “Steam” in the application search bar.
- Select “Steam” from the list of available applications and click the “Continue” button.
- Follow the prompts to choose your installation method and configure any necessary settings.
- Once the installation is complete, you can launch Steam through the CrossOver interface and log in to your Steam account.
With CrossOver, you can now browse, download, and install Windows Steam games directly on your Mac. Simply search for the games you want, and CrossOver will handle the compatibility to ensure they run seamlessly on your Mac.
Keep in mind that not all Windows Steam games may be compatible with CrossOver. It’s recommended to check the CrossOver website or consult their support resources for a list of supported games and any known issues.
Now that you have successfully installed CrossOver and Steam, you’re ready to explore a vast library of Windows Steam games on your Mac.
Step 4: Install Windows Steam Games on Mac using Boot Camp
If you prefer a more robust and native-like experience for running Windows Steam games on your Mac, you can use Apple’s built-in Boot Camp feature. Boot Camp allows you to install and run Windows natively on your Mac. Here’s how to set up Boot Camp and install Windows Steam games:
- Open Spotlight Search by clicking on the magnifying glass icon in the top-right corner of your Mac’s menu bar, or press Command + Spacebar.
- Search for and open the “Boot Camp Assistant” application.
- Click on the “Continue” button in the Boot Camp Assistant window.
- Choose the ISO file of a Windows operating system that you want to install from your computer or insert a Windows installation disc into your Mac’s optical drive.
- Specify the partition size for the Windows installation. Ensure that you allocate enough space for the games you want to install.
- Click on the “Install” button to start the Windows installation process.
- Follow the on-screen instructions to complete the Windows installation.
- Once the Windows installation is complete, your Mac will automatically reboot and boot into Windows.
- Download and install the necessary Windows drivers for your Mac from the Boot Camp Support Software.
- After installing the drivers, launch the Windows Steam client and log in to your Steam account.
- Browse for the Windows Steam games you want to play, download, and install them as you would on a Windows PC.
With Boot Camp, you can enjoy a native Windows experience on your Mac, allowing you to run Windows Steam games smoothly and take advantage of your Mac’s hardware capabilities.
Remember that when using Boot Camp, you’ll need to reboot your Mac to switch between macOS and Windows. This means you can’t run both operating systems simultaneously.
Now that you have successfully installed Boot Camp and Windows, you’re ready to dive into the world of Windows Steam games on your Mac.
Step 5: Install Windows Steam Games on Mac using Parallels Desktop
If you want the flexibility of running Windows applications, including Steam games, alongside macOS without needing to restart your Mac, Parallels Desktop is a great option. Parallels Desktop is virtualization software that allows you to run a virtual Windows environment on your Mac. Follow these steps to install and run Windows Steam games using Parallels Desktop:
- Visit the Parallels Desktop website at https://www.parallels.com/ and download the Parallels Desktop software for Mac.
- Once downloaded, open the Parallels Desktop installer file, which is usually located in your Downloads folder.
- Follow the on-screen instructions to install Parallels Desktop on your Mac.
- After installation, launch Parallels Desktop from your Applications folder.
- Click on the “New” button to create a new virtual machine.
- Select the option to install Windows from a DVD or image file, and follow the prompts to choose the Windows ISO file or insert a Windows installation disc.
- Follow the on-screen instructions to complete the Windows installation within Parallels Desktop.
- Once the Windows installation is complete, launch the virtual machine and install the necessary Windows updates and drivers.
- Install the Parallels Tools within the virtual machine, which will enhance the integration between macOS and Windows.
- Launch the Windows Steam client within the virtual machine and log in to your Steam account.
- Download and install Windows Steam games just as you would on a Windows PC.
With Parallels Desktop, you can seamlessly switch between macOS and Windows while having access to all your Windows Steam games within a virtualized environment.
Keep in mind that running a virtual machine may require significant system resources, so make sure your Mac meets the recommended requirements to run Parallels Desktop smoothly.
Now that you have successfully installed Parallels Desktop and set up a virtual Windows environment, you can enjoy your favorite Windows Steam games on your Mac without the need to restart or switch between operating systems.
Conclusion
Congratulations! You have reached the end of our guide on how to download and play Windows Steam games on your Mac. We have explored different methods to achieve this, including using CrossOver, Boot Camp, and Parallels Desktop.
Whether you prefer a streamlined approach with CrossOver, a native Windows experience with Boot Camp, or the flexibility of running a virtual Windows environment with Parallels Desktop, you now have the tools and knowledge to enjoy your favorite Windows Steam games on your Mac.
It’s important to note that each method has its own pros and cons, so choose the one that suits your needs, system requirements, and comfort level. Some Windows Steam games may work flawlessly, while others may require extra configuration or optimization.
Remember, before installing any software or setting up a virtual environment, always ensure that your Mac meets the minimum system requirements and that you have enough storage space to accommodate the games you wish to install.
Now it’s time to embark on your gaming adventures! Explore the vast library of Windows Steam games, indulge in exciting gameplay, and connect with a vibrant community of fellow gamers.
Sit back, relax, and enjoy the best of both worlds as you play your favorite Windows Steam games on your Mac. Happy gaming!


