Introduction
Are you a Windows 11 user looking to enhance your web browsing experience? Look no further than Google Chrome, one of the most popular and feature-rich web browsers available today. With its sleek design, seamless performance, and extensive range of extensions and apps, Chrome has become the go-to choice for millions of users worldwide.
In this article, we will guide you through the step-by-step process of downloading and installing Google Chrome on your Windows 11 PC. Whether you’re a tech-savvy user or a beginner, you’ll find this guide easy to follow, allowing you to quickly get Chrome up and running on your device.
By choosing Google Chrome as your preferred browser, you’ll gain access to a vast array of features that will enhance your online experience. These include a user-friendly interface, fast page loading speeds, robust security measures, and seamless integration with other Google services like Gmail and Google Drive.
Furthermore, Chrome’s extensive library of extensions and apps enables you to personalize and customize your browsing experience according to your preferences. Whether you want to block ads, manage passwords, enhance productivity, or streamline your social media experience, Chrome has got you covered.
Additionally, by downloading Chrome, you’ll benefit from Google’s constant updates and improvements that further enhance the browser’s speed, performance, and security. Regular patches and bug fixes ensure that you have a smooth and hassle-free browsing experience, while advanced security features protect your personal information and keep you safe from malicious websites and online threats.
Now that we’ve established why Google Chrome is an excellent choice for your web browsing needs let’s dive into the step-by-step process of downloading and installing it on your Windows 11 PC. Whether you’re using Windows 11 Home or Windows 11 Pro, the process remains the same, so let’s get started!
Step 1: Open the Microsoft Store
To begin the process of downloading Google Chrome on your Windows 11 PC, you’ll first need to open the Microsoft Store. The Microsoft Store is the official marketplace for Windows applications, including web browsers like Google Chrome.
There are a few different ways you can access the Microsoft Store. One way is to click on the Start Menu button located at the bottom left corner of your screen. From there, you’ll see the Microsoft Store icon listed among the apps. Click on the icon to open the store.
Another method is to use the search bar located on the taskbar. Simply type “Microsoft Store” and click on the relevant search result to open the store.
Once you have successfully opened the Microsoft Store, you will be greeted with its interface, showcasing various apps, games, and other content available for download. The store features a user-friendly design, making it easy to navigate and find the applications you need.
The Microsoft Store offers a vast selection of apps across different categories, ranging from productivity tools to entertainment and everything in between. As you explore the store, you’ll come across both free and paid applications. Google Chrome falls into the free category, so you won’t have to worry about any charges associated with its download.
Take a moment to familiarize yourself with the interface of the Microsoft Store. You’ll notice that different apps are grouped into categories for easy browsing. For instance, web browsers can usually be found under the “Productivity” or “Utilities” sections. If you prefer, you can use the search bar within the store to quickly find Google Chrome by typing its name.
Once you have successfully opened the Microsoft Store and are ready to move on to the next step, you’re one step closer to enjoying the sleek and powerful browsing experience provided by Google Chrome.
Now that you have opened the Microsoft Store, let’s move on to the next step: searching for Google Chrome.
Step 2: Search for Google Chrome
Now that you have successfully opened the Microsoft Store, it’s time to search for Google Chrome. The Microsoft Store makes it easy to find and download popular applications like Chrome, ensuring a smooth and hassle-free experience.
Once you are in the Microsoft Store, you will notice a search bar located at the top right corner of the interface. Click on the search bar and type “Google Chrome” to initiate the search. As you start typing, the store will display instant suggestions to help you find the desired app quickly.
As you type “Google Chrome” in the search bar, you may notice that the store will display relevant search results in real-time. These results will update based on the words you enter, making it easier to find the specific app you’re looking for. In this case, you should see “Google Chrome” listed among the search results.
Once you locate the Google Chrome application in the search results, you can click on it for more details. The app’s page will provide comprehensive information, such as the developer’s name, the app’s rating, user reviews, and a detailed description of its features. This information can help you make an informed decision before proceeding with the download.
Take a moment to thoroughly read through the app’s information to ensure it is indeed Google Chrome and meets your expectations. Be sure to check the app’s compatibility with your specific version of Windows 11, as well as any additional system requirements.
If you are satisfied with the information provided and are ready to download Google Chrome, proceed to the next step. If you decide that Google Chrome is not the right choice for you, feel free to continue exploring the Microsoft Store for other web browsers or applications that may better suit your needs.
Now that you have successfully searched for Google Chrome in the Microsoft Store, it’s time to move on to the next step: downloading the application onto your Windows 11 PC.
Step 3: Download Google Chrome
With the Microsoft Store open and the Google Chrome app page displayed, you’re now ready to download the application onto your Windows 11 PC. The Microsoft Store simplifies the process, allowing you to download and install applications with just a few clicks.
On the Google Chrome app page, you will notice a button labeled “Get”. This button represents the download option for the app. Clicking on the “Get” button will initiate the download process for Google Chrome.
Once you click on the “Get” button, the Microsoft Store will start downloading the Google Chrome application package. The download progress will be displayed on the same page, and you may also see a small download icon in the top right corner of the Microsoft Store interface.
The download time for Google Chrome will vary depending on your internet connection speed. If you have a fast and stable internet connection, the download should complete quickly. However, if your internet connection is slow or unstable, it may take longer to download the application.
While the Google Chrome application is downloading, it is essential to have patience and avoid interrupting the process. Closing the Microsoft Store or your PC while the download is in progress may result in an incomplete or corrupted installation.
Once the download is complete, you will see a notification indicating that Google Chrome has been successfully downloaded. At this point, you have completed the download process, and the next step is to install Google Chrome on your Windows 11 PC.
Before moving on to the installation process, it’s worth mentioning that downloading Google Chrome from the Microsoft Store ensures a safe and legitimate download. The Microsoft Store verifies the authenticity of applications, reducing the risk of downloading malware or fake software.
Now that you have successfully downloaded Google Chrome from the Microsoft Store, it’s time to proceed to the next step: installing the application on your Windows 11 PC.
Step 4: Install Google Chrome
Now that you have successfully downloaded Google Chrome from the Microsoft Store, it’s time to proceed with the installation process. Installing Google Chrome on your Windows 11 PC is a straightforward and seamless process, thanks to the user-friendly interface of the Microsoft Store.
To begin the installation, locate the notification that confirms the successful download of Google Chrome. You can typically find this notification in the lower right corner of your screen, near the taskbar. Click on the notification to open it.
Once you open the notification, it will provide you with the option to install Google Chrome. Click on the “Install” button to initiate the installation process. The Microsoft Store will handle the installation for you, making it a hassle-free experience.
As the installation process begins, you may see a progress bar indicating the installation status. The duration of the installation will depend on factors such as your PC’s performance and the size of the Google Chrome application package.
While the installation is in progress, it’s important not to interrupt or close the Microsoft Store or your PC. Interrupting the installation process may result in an incomplete or corrupted installation, requiring you to start the process again.
Once the installation is complete, you will receive a notification confirming the successful installation of Google Chrome. At this point, you can close the notification and proceed to the next step: opening Google Chrome for the first time.
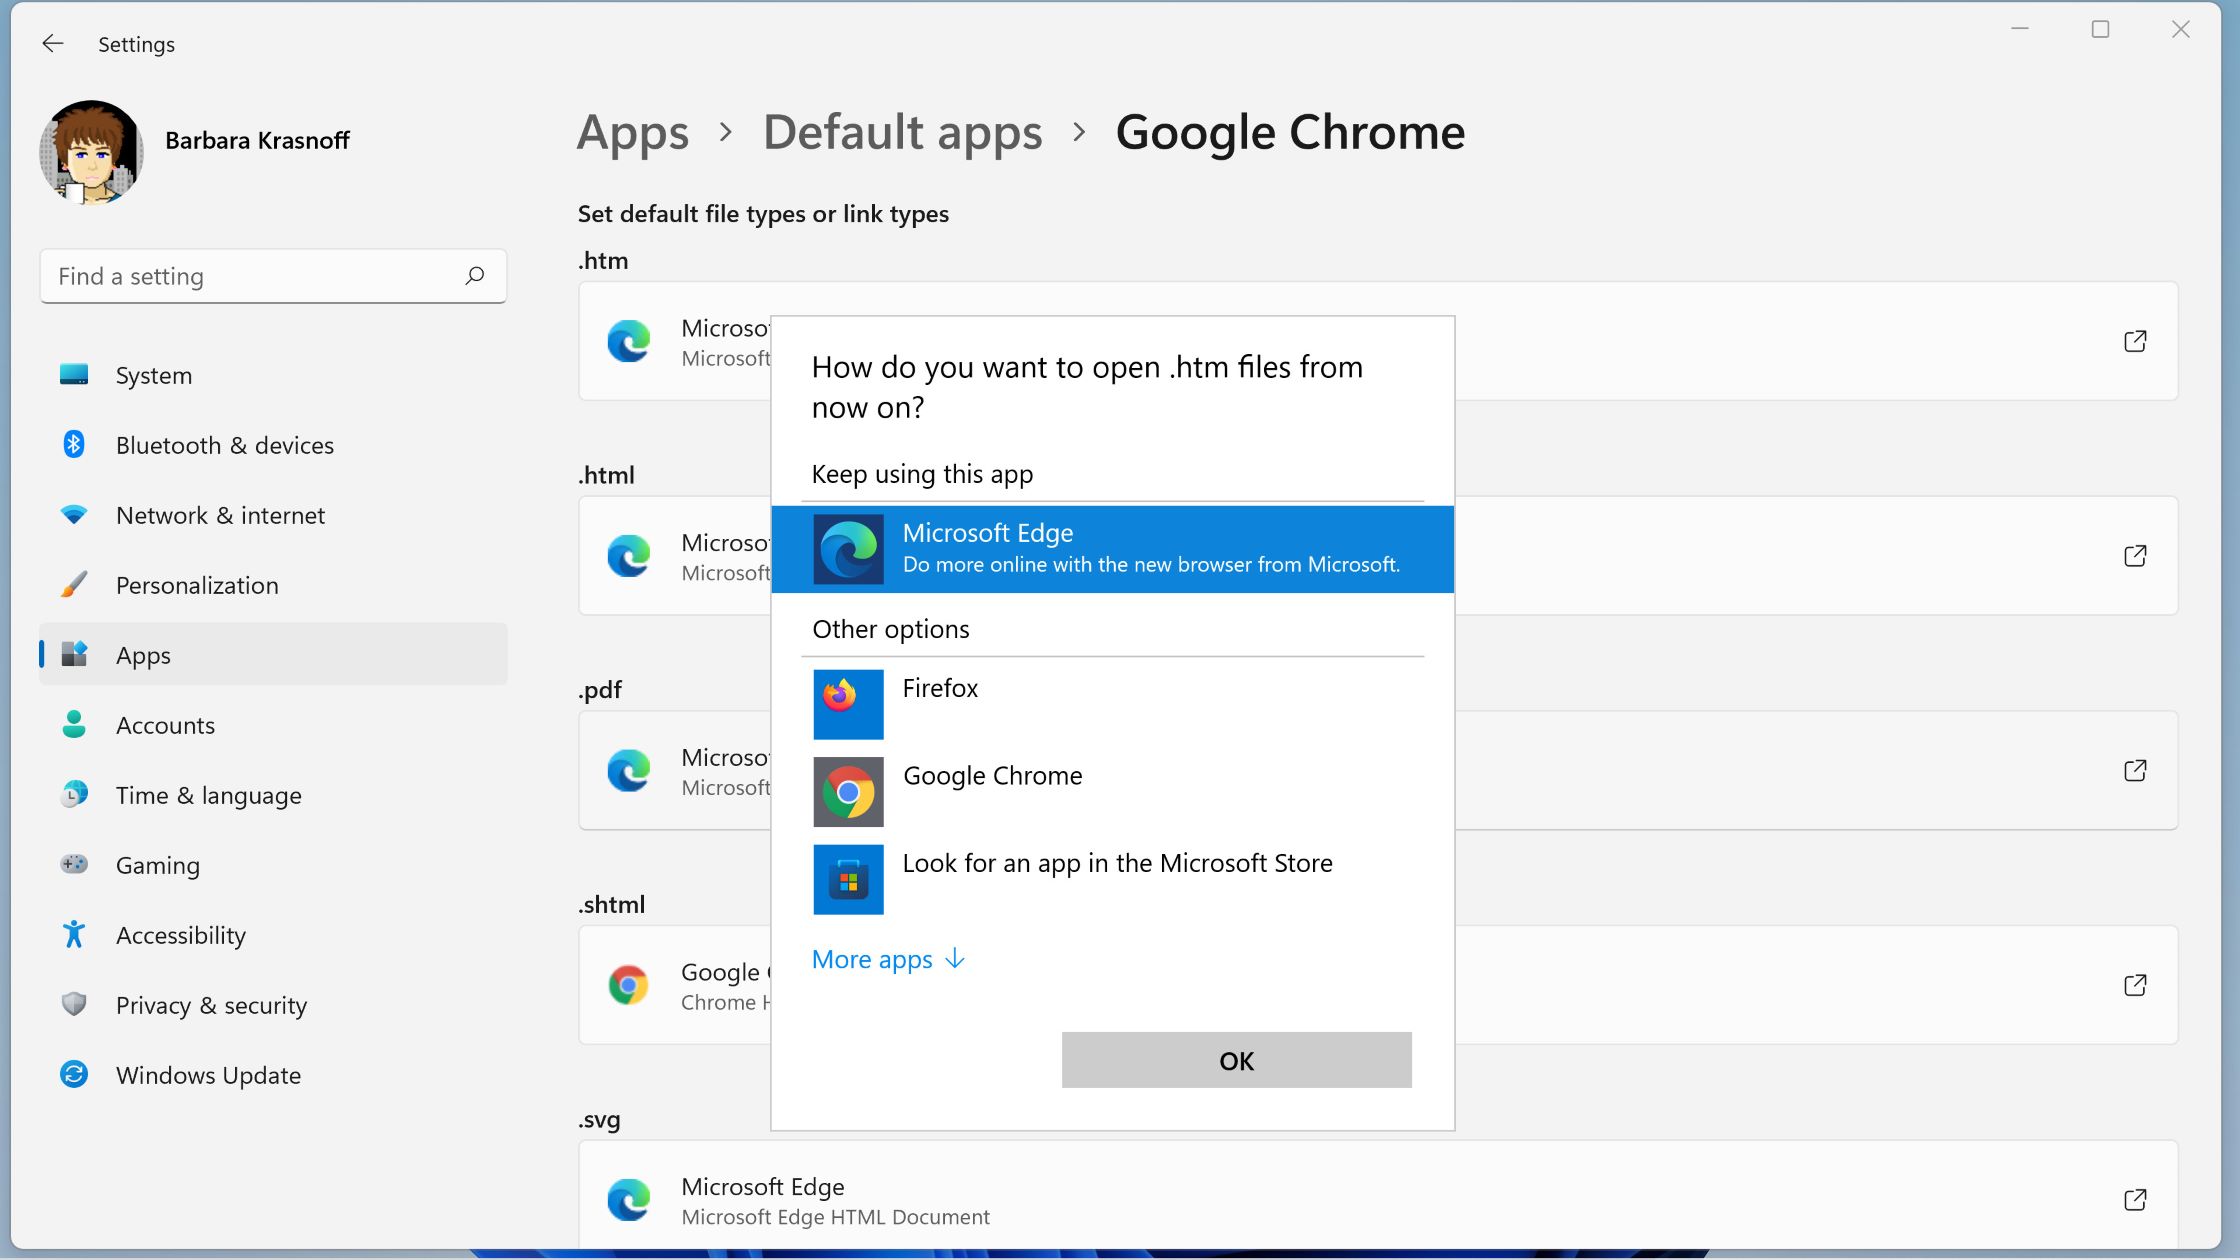
It’s worth noting that during the installation process, Google Chrome will automatically set itself as the default web browser on your Windows 11 PC. This means that any links or web-related activities will open directly in Google Chrome unless you specifically choose to use a different browser.
Additionally, the Microsoft Store periodically checks for updates to installed applications, including Google Chrome. This ensures that you have the latest version of Chrome installed, which includes bug fixes, security enhancements, and exciting new features.
Now that you have successfully installed Google Chrome on your Windows 11 PC, it’s time to move on to the final step: opening and configuring Google Chrome for optimal browsing.
Step 5: Open Google Chrome
Congratulations! You have successfully installed Google Chrome on your Windows 11 PC. Now, it’s time to open the browser and start enjoying its sleek interface, powerful features, and seamless performance.
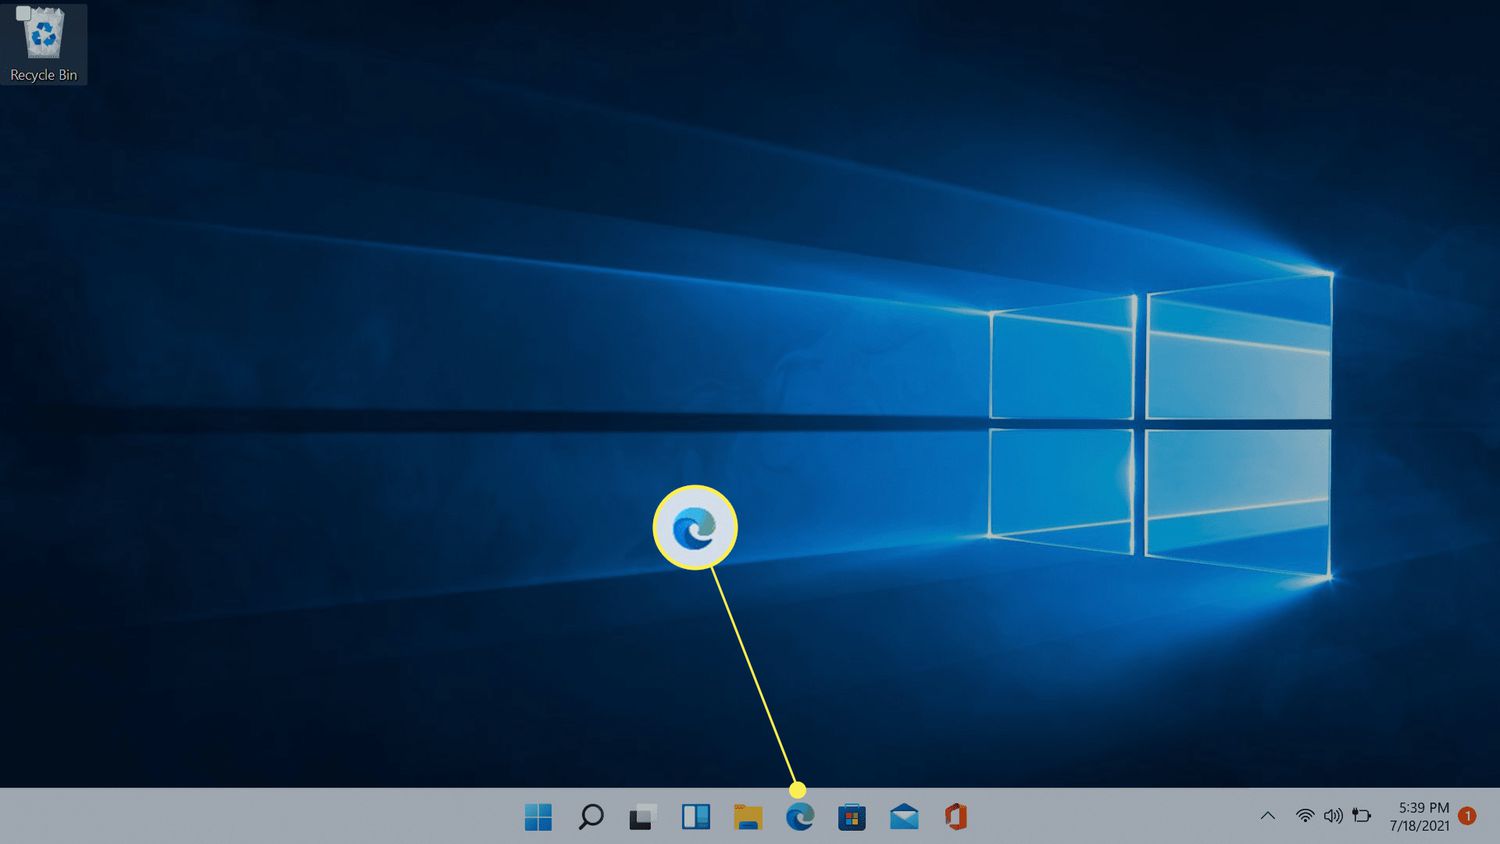
To open Google Chrome, locate its icon on your desktop or in the taskbar. The icon typically resembles a circle with various colors, representing the Google Chrome logo. Alternatively, you can also open Chrome by clicking on the Start Menu and selecting the Chrome app from the list of installed applications.
Once you find the Chrome icon, simply click on it to launch the browser. Google Chrome will open in a new window, and you’ll be greeted by its minimalist yet intuitive user interface. The address bar, also known as the omnibox, will be located at the top of the window, allowing you to enter website URLs or conduct web searches.
When you open Google Chrome for the first time, you may be prompted to sign in with your Google account. Signing in offers additional benefits, such as syncing your bookmarks, history, and preferences across multiple devices. If you already have a Google account, simply enter your login credentials. Otherwise, you have the option to create a new account.
Once you are signed in or choose to skip the sign-in process, you can start customizing Google Chrome to suit your preferences. Explore the various settings and options available to personalize Chrome, such as changing the theme, managing extensions, and organizing bookmarks.
Google Chrome also offers a wide range of extensions and apps that can enhance your browsing experience. These extensions can help you block ads, increase productivity, manage passwords, and much more. Explore the Chrome Web Store, accessible from the Chrome menu, to discover and install extensions that meet your needs.
With Google Chrome now open and ready to use, you can start exploring the web, visiting your favorite websites, and enjoying a fast and seamless browsing experience. Take some time to familiarize yourself with the various features and shortcuts that Chrome offers, such as tab management, incognito mode, and the powerful search capabilities of the omnibox.
Remember to regularly update Google Chrome to ensure you have the latest security patches and performance improvements. Chrome automatically checks for updates, but you can also manually check for updates through the Chrome menu.
Now that you’ve successfully opened Google Chrome, you’re all set to dive into the endless possibilities and discover why it’s one of the most popular web browsers in the world.
Conclusion
Congratulations on successfully downloading, installing, and opening Google Chrome on your Windows 11 PC! You are now ready to experience the power, speed, and versatility of one of the most popular web browsers available.
Google Chrome offers a seamless and user-friendly browsing experience, ensuring that you can browse the internet with ease and efficiency. Its sleek interface, fast page loading speeds, and robust security features make it a reliable choice for all your internet needs.
By using Google Chrome, you gain access to a wide range of customizable features and extensions that allow you to personalize your browsing experience. From ad blockers to productivity tools, Chrome’s extensive library of extensions ensures that you can enhance your productivity, streamline your online activities, and make the web work for you.
Moreover, Chrome’s integration with other Google services, such as Gmail and Google Drive, further enhances your digital ecosystem. You can easily sync bookmarks, history, and preferences across multiple devices, making it convenient to switch between your desktop and mobile devices.
Regular updates from Google ensure that you stay ahead with the latest security enhancements and performance improvements. Chrome’s built-in security features protect you from malicious websites and help safeguard your personal information, giving you peace of mind while browsing the web.
As you explore Google Chrome, take some time to experiment with its various features, settings, and shortcuts. Discover the power of tab management, explore the Chrome Web Store to find new extensions, and uncover hidden productivity tools that can revolutionize the way you use the internet.
Remember to keep Chrome updated by enabling automatic updates or manually checking for updates through the Chrome menu. This ensures that you are always benefiting from the latest advancements and improvements in web browsing technology.
With Google Chrome now installed and ready to go, you are set to embark on a seamless and enjoyable browsing experience. Enjoy the convenience, speed, and versatility that Chrome has to offer as you explore the vast expanse of the internet.
So, open Google Chrome, make it your go-to web browser, and unlock a world of possibilities at your fingertips!