Introduction
Welcome to the world of e-reading with your Nook! With the advances in technology, accessing and reading books has never been easier. Whether you’re an avid reader or simply enjoy the convenience of carrying your favorite books with you wherever you go, the Nook provides a great platform for enjoying your literary adventures.
In this guide, we will walk you through the process of downloading books to your Nook. From setting up your device to purchasing or borrowing books, we’ve got you covered. Soon, you’ll be immersing yourself in captivating stories and exploring new worlds, right at your fingertips.
Before we dive into the steps, it’s important to note that the Nook allows you to download and read e-books in ePub format. This format is widely supported and can be used across different devices and platforms. Additionally, you’ll need to have a stable internet connection and an Adobe ID, as it will be essential for the DRM-protected books you might encounter in your reading endeavors.
So, are you ready to embark on your e-reading journey? Let’s get started by setting up your Nook and preparing it for the exciting world of digital books.
Step 1: Set up your Nook
Before you can start downloading books to your Nook, you’ll need to ensure that your device is properly set up. Here’s how you can get started:
- Charge your Nook: Connect your Nook to a power source and allow it to charge fully. This will ensure that you have enough battery life to enjoy uninterrupted reading.
- Power on your Nook: Once your Nook is fully charged, press and hold the power button until the screen lights up. Follow the on-screen prompts to set the language and region settings.
- Connect to Wi-Fi: To download books to your Nook, you’ll need to connect it to a Wi-Fi network. Go to the settings menu on your Nook and select the Wi-Fi option. Choose your network from the available options and enter the password if required. Once connected, your Nook will remember the Wi-Fi network for future use.
- Set the date and time: It’s important to ensure that the date and time on your Nook are correctly set. This will allow you to accurately track your reading progress and sync your device with other platforms if needed. Go to the settings menu and select the Date & Time option to set it accordingly.
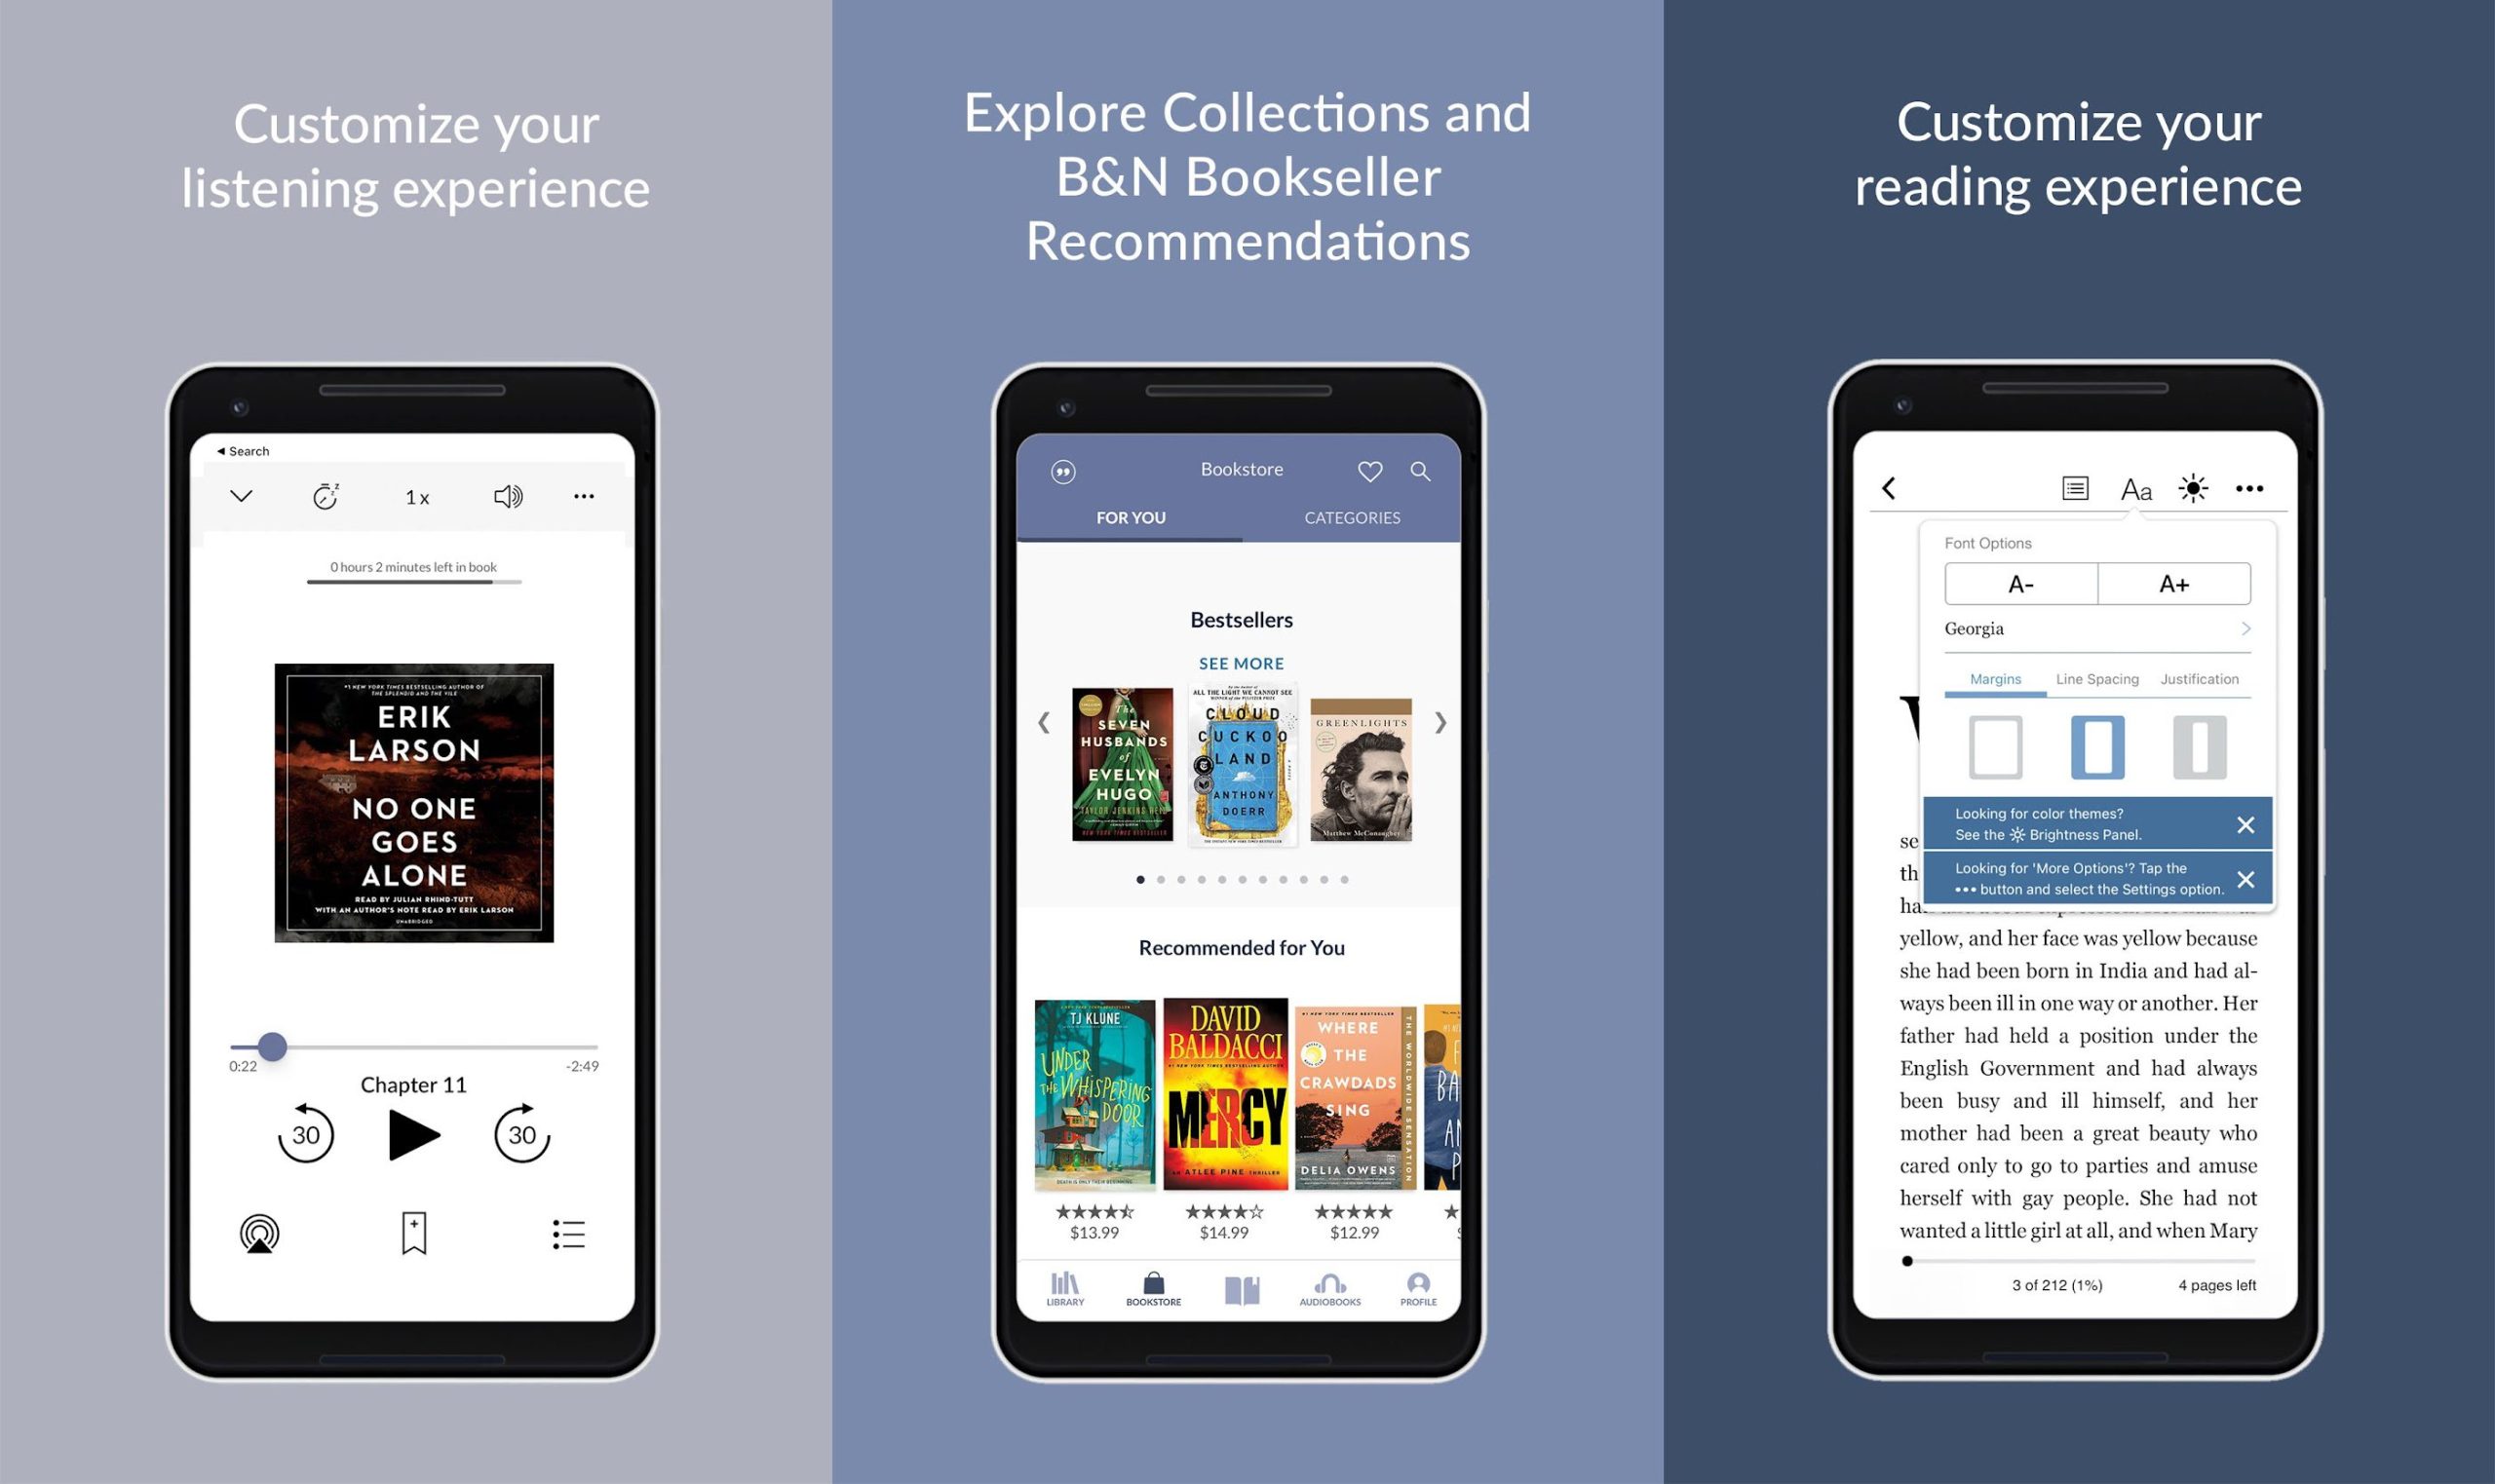
- Personalize your Nook: Make your Nook feel truly yours by customizing the device’s settings. You can choose your preferred font size, display brightness, and other preferences to enhance your reading experience. Explore the settings menu to find options that suit your reading style.
By following these simple steps, you’ll have your Nook set up and ready for the next stage of downloading books. Now that your device is configured and connected, it’s time to register your Nook and unlock its full potential.
Step 2: Register your Nook
To fully utilize the features and benefits of your Nook, it’s important to register your device. Registering your Nook will allow you to access your book library, sync your reading progress across devices, and explore additional features. Follow these steps to register your Nook:
- Create a Barnes & Noble account: Visit the Barnes & Noble website and click on the “Sign Up” or “Create Account” option. Fill in the required information, including your name, email address, and a password. Once done, you’ll have created your Barnes & Noble account.
- Sign in to your Barnes & Noble account: On your Nook device, go to the settings menu and find the “My Account” or “Sign in” option. Enter your Barnes & Noble email address and password to log in to your account.
- Register your Nook: After signing in, select the “Register” or “Register Device” option. Follow the on-screen instructions to provide the necessary details, such as your device’s serial number, which can be found on the back of your Nook. Confirm the registration to complete this step.
- Verify your account if needed: In some cases, Barnes & Noble may require you to verify your account through the email address you provided during registration. Check your email inbox for a verification message and follow the instructions provided to confirm your account.
- Sync your Nook: Once your Nook is registered, it is recommended to sync your device. This ensures that any changes made to your library, such as adding new books or updating reading progress, are reflected on your device. To sync, go to the settings menu and select the “Sync” or “Sync My Nook” option.
By registering your Nook, you unlock a range of features that enhance your reading experience. You can easily access your purchased or borrowed books, manage your library, and take advantage of personalized recommendations. Now that your Nook is registered and synced, the next step is to connect your device to Wi-Fi for seamless book downloading.
Step 3: Connect to Wi-Fi
Connecting your Nook to a Wi-Fi network is crucial for downloading books and enjoying all the online features of your device. Follow these steps to connect your Nook to Wi-Fi:
- Open the settings menu: On your Nook, navigate to the settings menu. This can usually be found as an icon labeled “Settings” or by swiping down from the top of the screen and tapping the gear icon.
- Select Wi-Fi: In the settings menu, you’ll find an option called “Wi-Fi.” Tap on it to enter the Wi-Fi settings.
- Enable Wi-Fi: Ensure that the Wi-Fi toggle switch is turned on so that your Nook can detect available networks.
- Choose a network: Your Nook will display a list of available Wi-Fi networks. Tap on the network you want to connect to. If the network is password-protected, you will be prompted to enter the password. Type in the correct password using the on-screen keyboard.
- Connect to the network: Once you have entered the password, tap on the “Connect” button or a similar option. Your Nook will attempt to connect to the selected network.
- Verify the connection: After a few moments, your Nook should display a notification indicating a successful connection to the Wi-Fi network. You can verify the connection by opening a web browser or an application that requires an internet connection.
Once you have successfully connected your Nook to a Wi-Fi network, you can now proceed to the next steps of downloading and transferring books to your device. With an active internet connection, you’ll have access to a wide range of e-books and digital content to enrich your reading experience.
Step 4: Create an Adobe ID
In order to access and download DRM-protected books for your Nook, you’ll need to create an Adobe ID. This free account will allow you to authorize your Nook and read books protected by Adobe Digital Rights Management (DRM). Follow these steps to create an Adobe ID:
- Go to the Adobe website: Open a web browser and navigate to the Adobe website using the URL: www.adobe.com.
- Create an Adobe ID: Locate the “Sign In” or “Get an Adobe ID” link on the Adobe website. Click on it to begin the registration process.
- Fill in your details: Provide the required information, such as your name, email address, and a password. Make sure to choose a strong password to protect your account.
- Verify your email address: After entering your information, Adobe may send a verification email to the email address you provided. Check your inbox and follow the instructions in the email to verify your email address.
- Complete the registration: Once your email address is verified, you may be prompted to provide additional information to complete the registration process. Follow the on-screen instructions to finish creating your Adobe ID.
By creating an Adobe ID, you establish a secure account that will allow you to manage your DRM-protected books and authorize your Nook to read them. This step is essential for accessing and enjoying a wide range of e-books available in various online bookstores. Now that you have an Adobe ID, the next step is to download and install Adobe Digital Editions on your computer.
Step 5: Download and install Adobe Digital Editions
In order to transfer DRM-protected books to your Nook, you’ll need to download and install a software called Adobe Digital Editions on your computer. This program allows you to manage and organize your digital library. Follow these steps to download and install Adobe Digital Editions:
- Visit the Adobe Digital Editions website: Open a web browser and navigate to Adobe’s Digital Editions website. You can find it at www.adobe.com/solutions/ebook/digital-editions.html.
- Download the software: On the Adobe Digital Editions website, click on the “Download” button to start the download process. Choose the appropriate version for your operating system (Windows or macOS). The download should begin automatically.
- Install the software: Once the download is complete, locate the downloaded file on your computer and double-click on it to initiate the installation process. Follow the on-screen prompts and accept the license agreement to proceed with the installation.
- Authorize Adobe Digital Editions: After the installation is complete, open Adobe Digital Editions. You will be prompted to authorize the software with your Adobe ID. Enter your Adobe ID and password when prompted and click on the “Authorize” button to complete the process.
- Add your Adobe ID to Adobe Digital Editions: In Adobe Digital Editions, go to the “Help” menu and select “Authorize Computer.” Enter your Adobe ID and password once again and click on the “Authorize” button.
With Adobe Digital Editions installed and authorized, you now have a powerful tool to manage your digital library. This software allows you to transfer DRM-protected books from your computer to your Nook and ensures that you have a seamless reading experience. Now that Adobe Digital Editions is set up, you can move on to the next steps of purchasing or borrowing books for your Nook.
Step 6: Purchase or borrow books
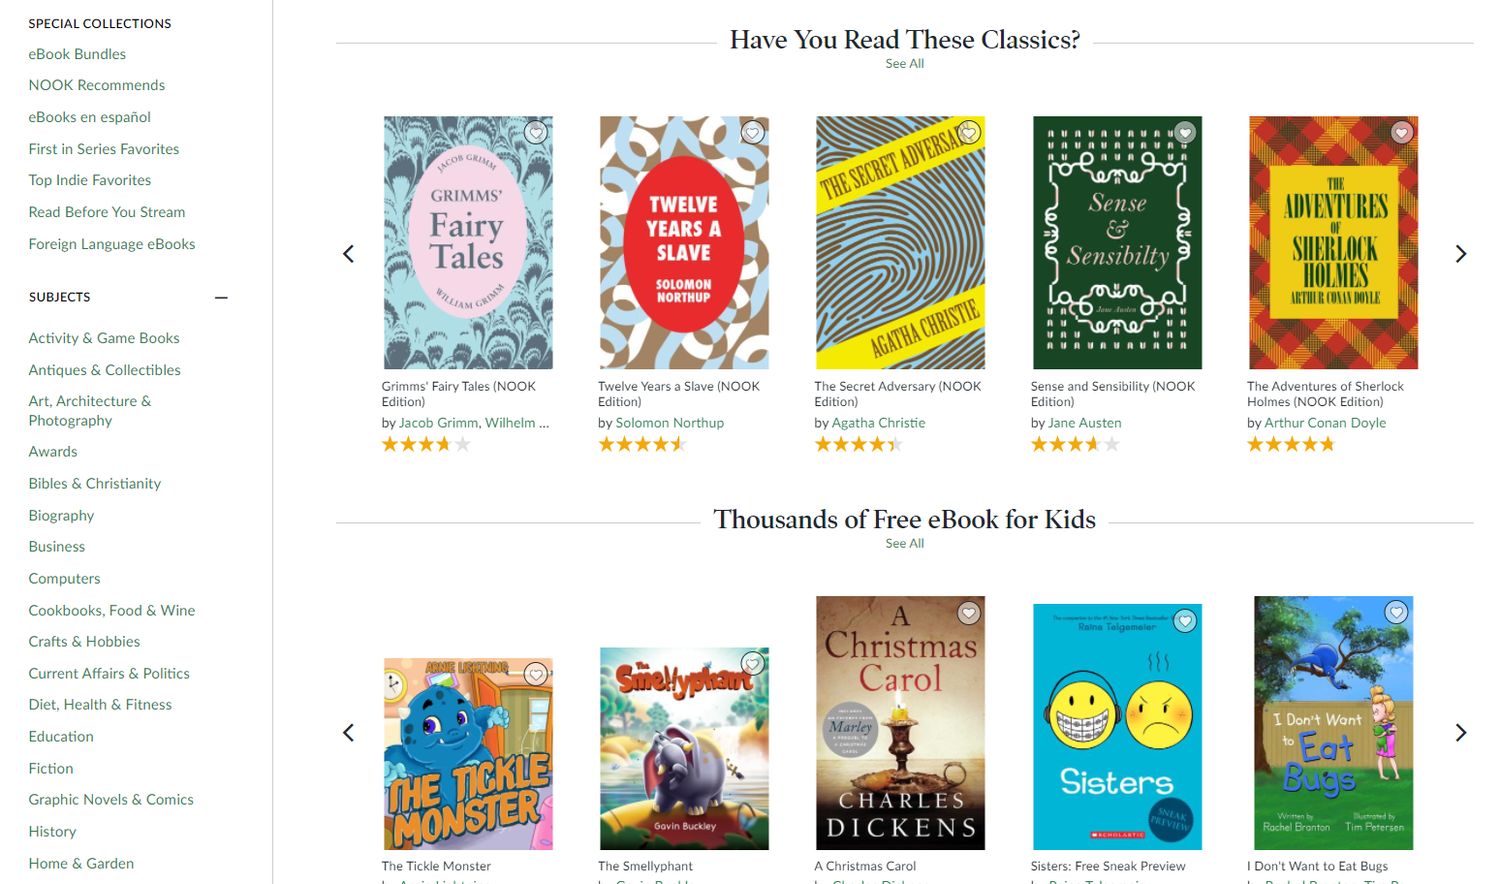
Now that you have set up your Nook and installed Adobe Digital Editions, it’s time to start building your digital library. There are two primary ways to acquire books for your Nook: purchasing them from online bookstores or borrowing them from libraries. Follow these steps to purchase or borrow books:
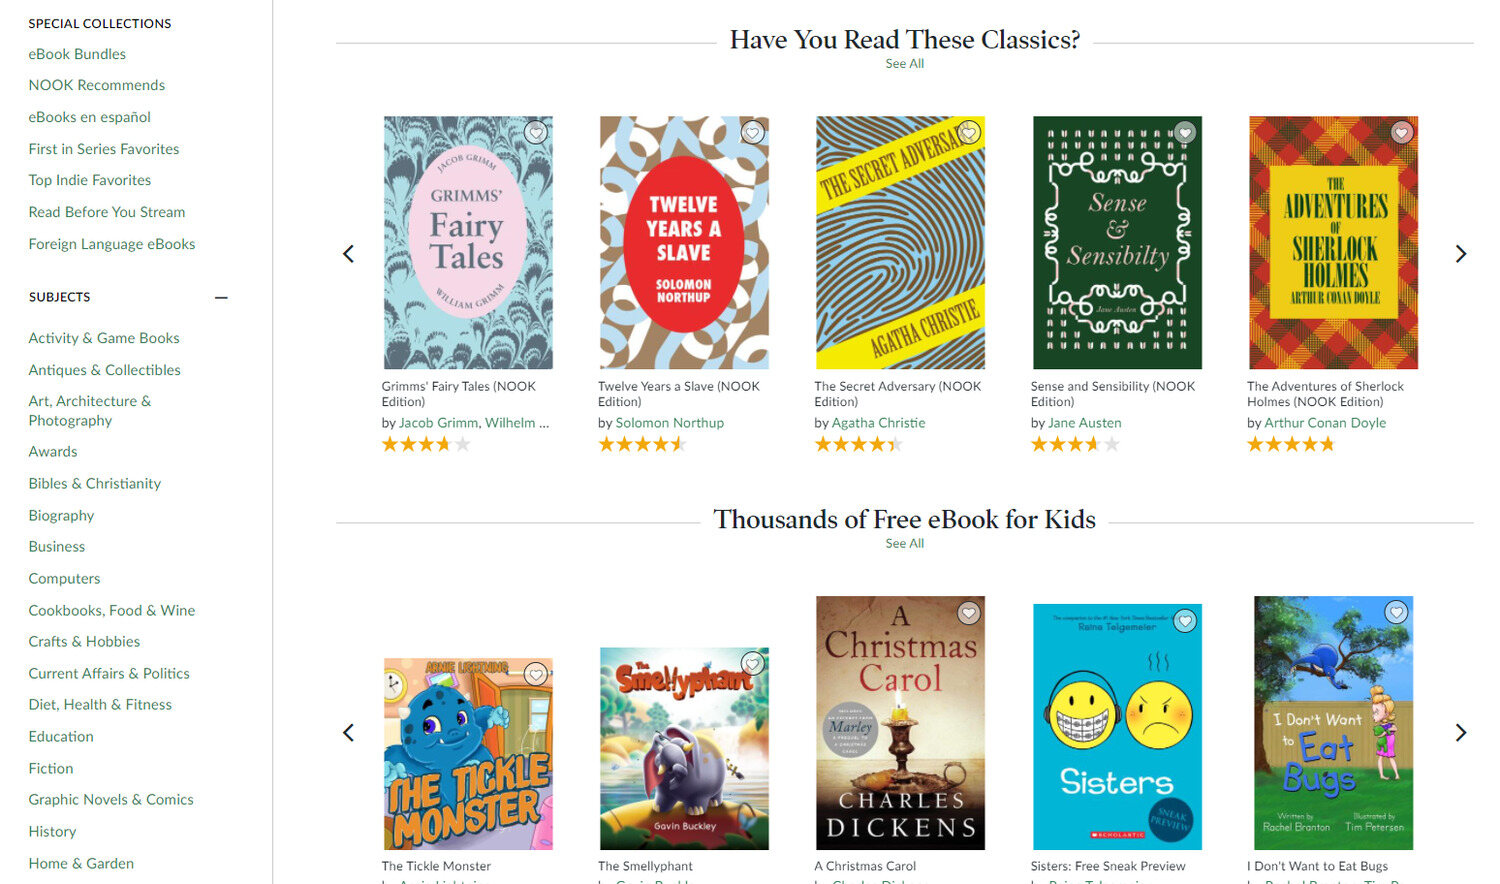
- Online bookstores: Visit popular online bookstores such as Barnes & Noble, Amazon, or Kobo. Browse through the available e-books and select the ones you want to purchase. Add them to your cart and proceed to the checkout page. Follow the prompts to complete the purchase using your preferred payment method.
- Borrowing from libraries: If you prefer to borrow books, check if your local library offers digital lending services. Visit their website and look for a section dedicated to e-books and digital resources. Follow their instructions to sign in using your library card and browse through their collection. Once you find a book you want, borrow it as you would with a physical book, but instead, you’ll receive a digital copy.
When purchasing or borrowing books, make sure to check the supported format. Most e-books for Nook are in ePub format, which is compatible with Adobe Digital Editions and your Nook device. Additionally, some online bookstores may have their own reading apps, compatible with Nook, which allow you to purchase and read books directly on your device.
Remember to choose books that interest you and align with your reading preferences. With a wide range of genres and titles available, you’ll be able to find something for every taste. Once you have selected the books, it’s time to download them to your computer.
Step 7: Download books to your computer
Now that you have purchased or borrowed books for your Nook, it’s time to download them to your computer. By downloading the books to your computer first, you can then transfer them to your Nook for offline reading. Here are the steps to download books to your computer:
- Open Adobe Digital Editions: Launch Adobe Digital Editions on your computer. If you haven’t already authorized your computer with your Adobe ID, you will be prompted to do so. Follow the instructions to sign in and authorize your computer.
- Connect to your online bookstore or library: Visit the website of the online bookstore or library from which you purchased or borrowed the books. Sign in to your account using the credentials you created during the previous steps.
- Browse your library: Once signed in, navigate to your library or account page to access the books you purchased or borrowed. Look for an option to download the books, usually represented by a download button or an arrow icon.
- Download the books: Click on the download button or icon next to the book you want to download. The book will be downloaded to your computer as an ePub file. Repeat this process for each book you want to download.
- Locate the downloaded books: After the downloads are complete, the books will be saved to a default location on your computer. To find the location, go to the settings or preferences section of Adobe Digital Editions and look for the “Library” or “Downloads” tab. Here, you can view the location where the downloaded books are stored.
By following these steps, you now have the books you purchased or borrowed saved on your computer. The next step is to transfer these books from your computer to your Nook device. This will allow you to enjoy your reading collection on the go, even without an active internet connection.
Step 8: Transfer books to your Nook
With the books downloaded to your computer, it’s time to transfer them to your Nook for offline reading. By transferring the books, you can enjoy your collection anytime and anywhere, without requiring an active internet connection. Follow these steps to transfer books to your Nook:
- Connect your Nook to your computer: Use the USB cable that came with your Nook to connect it to your computer. Ensure that both ends of the cable are securely plugged in. Your Nook will be recognized as a connected device on your computer.
- Open Adobe Digital Editions: Launch Adobe Digital Editions on your computer if it’s not already opened. Your Nook should appear as a device in the left-hand side panel of the Adobe Digital Editions interface.
- Select the books to transfer: In Adobe Digital Editions, locate the books you want to transfer to your Nook. Click and drag the books from your library to the Nook device listed in the left-hand side panel. Alternatively, you can right-click on each book and select the “Copy to Computer/Device” option.
- Wait for the transfer to complete: Adobe Digital Editions will initiate the transfer process and copy the selected books to your Nook. The time it takes will depend on the size of the books and the speed of your computer and USB connection. Ensure that the transfer process completes successfully before disconnecting your Nook.
- Disconnect your Nook: Once the transfer is complete, safely disconnect your Nook from your computer. Right-click on the Nook device in Adobe Digital Editions and select the “Eject” or “Safely remove device” option. Wait for the notification that it is safe to disconnect, and then unplug the USB cable.
Congratulations! You have successfully transferred the downloaded books from your computer to your Nook. Disconnecting your Nook from your computer allows you to take your favorite books with you wherever you go. Now you can start enjoying your e-reading experience on your Nook, immersing yourself in captivating stories and exploring new worlds at your leisure.
Conclusion
Congratulations on successfully downloading and transferring books to your Nook! By following the step-by-step guide outlined above, you have set up your Nook, registered your device, connected to Wi-Fi, created an Adobe ID, installed Adobe Digital Editions, purchased or borrowed books, downloaded them to your computer, and transferred them to your Nook. Now, you can delve into your digital library and embark on countless reading adventures.
The Nook provides a convenient and portable platform for enjoying e-books, allowing you to carry numerous titles with you wherever you go. With the ability to customize your reading experience and access a vast collection of e-books from various online bookstores and libraries, your options for literary exploration are virtually limitless. Whether you’re a fan of classic literature, romance, mysteries, or non-fiction, you’ll find plenty of options to suit your taste.
Remember to explore the features and settings of your Nook to maximize your reading comfort and convenience. You can customize font sizes, adjust display brightness, and utilize bookmarks and annotations to enhance your reading experience. Additionally, regularly connecting your Nook to Wi-Fi will allow you to synchronize your progress and access new books as they become available.
Keep in mind that while this guide provides a comprehensive overview of how to download books to your Nook, the specific steps may vary slightly depending on your device model and software version. It’s always beneficial to consult the user manual or online resources for your particular Nook model for any device-specific instructions.
Now that you’re equipped with the knowledge and skills to download books to your Nook, it’s time to immerse yourself in a world of endless literary possibilities. Grab your Nook, find a cozy spot, and get lost in the pages of your favorite e-books. Happy reading!


