Introduction
Are you an avid reader who loves the convenience of digital books? If you own a Nook e-reader, you have access to a vast library of books that you can download and enjoy at your leisure. In this guide, we will delve into the process of downloading books from a library to your Nook device.
Many libraries provide e-books in various formats, including EPUB and PDF, which are compatible with Nook e-readers. By following a few simple steps, you can access an extensive collection of literature, from bestsellers to classic novels, right on your Nook.
Before we get started, make sure you have a stable internet connection and a valid library card. Additionally, you will need to create an Adobe ID and install Adobe Digital Editions on your computer. Don’t worry – we’ll walk you through each step of the process.
So, if you’re ready to dive into the world of downloading books from the library to your Nook, let’s get started with creating an Adobe ID!
Step 1: Create an Adobe ID
To begin the process of downloading books from the library to your Nook, you will need to create an Adobe ID. This ID is necessary to authorize your Nook and enable you to transfer the downloaded books to your device.
Creating an Adobe ID is simple and free. Follow these steps to get started:
1. Open your preferred web browser and visit the Adobe website.
2. Locate the “Sign In” section and click on “Get an Adobe ID” or “Create Account.”
3. Fill out the required information, including your name, email address, and password. Make sure to choose a strong password that is unique to protect your account.
4. Complete the verification process by following the instructions sent to your email address. This step ensures that you have access to the email used for the account.
5. Once your Adobe ID is verified, you can use it to access various Adobe services and authorize your Nook.
It’s important to keep your Adobe ID credentials secure, as they will be used to manage your e-book collection and authorize other devices in the future.
Now that you have successfully created your Adobe ID, it’s time to move on to the next step: installing Adobe Digital Editions on your computer. This software will allow you to transfer the downloaded books to your Nook.
Step 2: Install Adobe Digital Editions
After creating your Adobe ID, the next step in downloading books from the library to your Nook is to install Adobe Digital Editions on your computer. This software serves as a digital library manager and facilitates the transfer of e-books to your Nook device.
Follow these steps to install Adobe Digital Editions:
1. Open your web browser and go to the Adobe Digital Editions download page.
2. Click on the “Download” button to start downloading the installation file.
3. Once the download is complete, locate the file and double-click on it to run the installation.
4. Follow the on-screen prompts to complete the installation process.
5. After the installation is finished, launch Adobe Digital Editions on your computer.
By installing Adobe Digital Editions, you now have a centralized platform to manage your e-book collection and easily transfer books to your Nook.
Before moving on to the next step, make sure that Adobe Digital Editions is successfully installed and running smoothly on your computer.
Now that you have installed Adobe Digital Editions, it’s time to move on to the next step: authorizing your Nook with your Adobe ID.
Step 3: Authorize your Nook with Adobe ID
Now that you have installed Adobe Digital Editions on your computer, it’s time to authorize your Nook with your Adobe ID. This step is crucial as it allows your Nook to access and open the e-books that are protected by DRM (Digital Rights Management).
Follow these steps to authorize your Nook:
1. Connect your Nook to your computer using the USB cable that came with it.
2. Open Adobe Digital Editions on your computer.
3. In Adobe Digital Editions, click on the “Help” menu and select “Authorize Computer.”
4. Enter your Adobe ID credentials (email and password) and click on the “Authorize” button.
5. Once authorized, your Nook device will appear in the left sidebar of Adobe Digital Editions under “Devices.”
6. Click on the name of your Nook device to select it.
7. Confirm the authorization by clicking on the “Authorize Device” button.
After successfully authorizing your Nook with your Adobe ID, you can now transfer the downloaded e-books from your computer to your Nook device.
It’s important to note that this step needs to be done on each computer you use to transfer e-books to your Nook. By authorizing your Nook with your Adobe ID, you ensure that your device is authorized to access your protected e-books and keeps your library synchronized across different devices.
Now that your Nook is authorized, you are ready to move on to the next step: finding and downloading e-books from the library’s website.
Step 4: Find and download books from the library’s website
Now that your Nook is authorized with your Adobe ID, it’s time to find and download books from the library’s website. Most libraries have an extensive collection of e-books available for borrowing or downloading. Here’s how you can find and download books to enjoy on your Nook:
1. Open your web browser and visit your library’s website.
2. Look for a section dedicated to e-books or digital media.
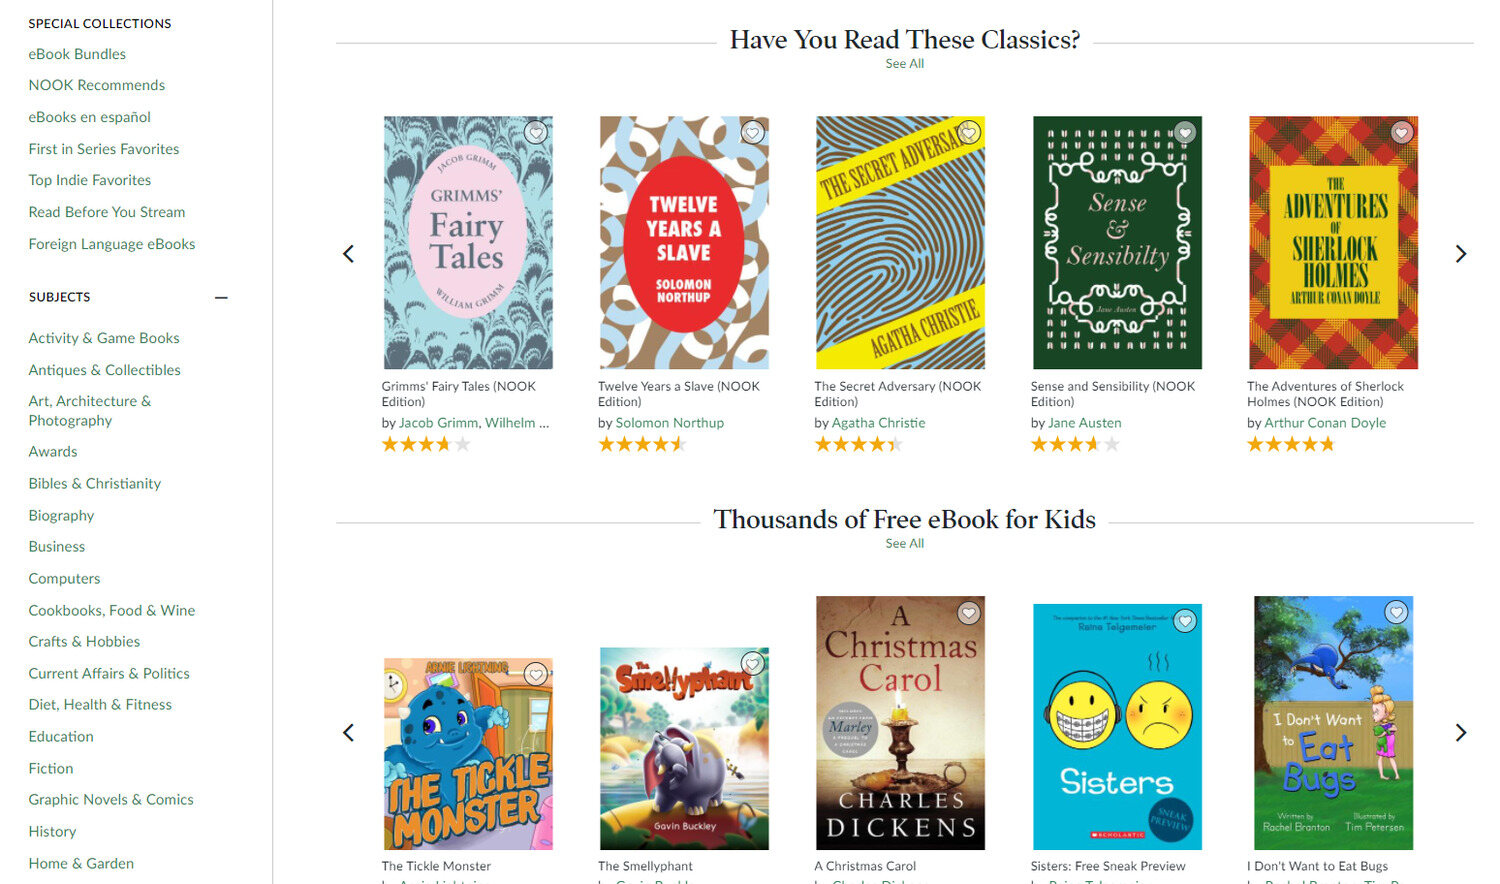
3. Browse through the available e-books, filtering and searching for books that interest you.
4. Once you have found a book you want to download, click on the “Borrow” or “Download” button.
5. If prompted, log in to your library account using your library card number and PIN.
6. Choose the format in which you want to download the book. Select EPUB or PDF, as they are compatible with Nook devices.
7. Click on the “Download” button or link to start the downloading process.
8. The downloaded book will typically be saved as a file on your computer.
It’s important to note that the lending duration for e-books from the library may vary. Some e-books have a borrowing period, while others may have no expiration and can be kept indefinitely.
Once you have successfully downloaded the e-book to your computer, you can proceed to the next step: transferring the book to your Nook using Adobe Digital Editions.
Now that you know how to find and download books from the library’s website, you can explore a vast array of titles and genres to enjoy on your Nook.
Step 5: Transfer books to your Nook using Adobe Digital Editions
With the e-book successfully downloaded to your computer, it’s time to transfer it to your Nook device using Adobe Digital Editions. Here’s how you can transfer books and start enjoying them on your Nook:
1. Connect your Nook to your computer using the USB cable.
2. Open Adobe Digital Editions on your computer if it’s not already open.
3. In Adobe Digital Editions, you should see your Nook device listed under “Devices” in the left sidebar.
4. Locate the downloaded e-book in your library within Adobe Digital Editions.
5. Drag and drop the e-book from your library onto your Nook device in the left sidebar.
6. The e-book will start transferring to your Nook, and you will see a progress bar indicating the transfer status.
7. Once the transfer is complete, safely eject your Nook from your computer.
8. Disconnect the USB cable from your Nook and your computer.
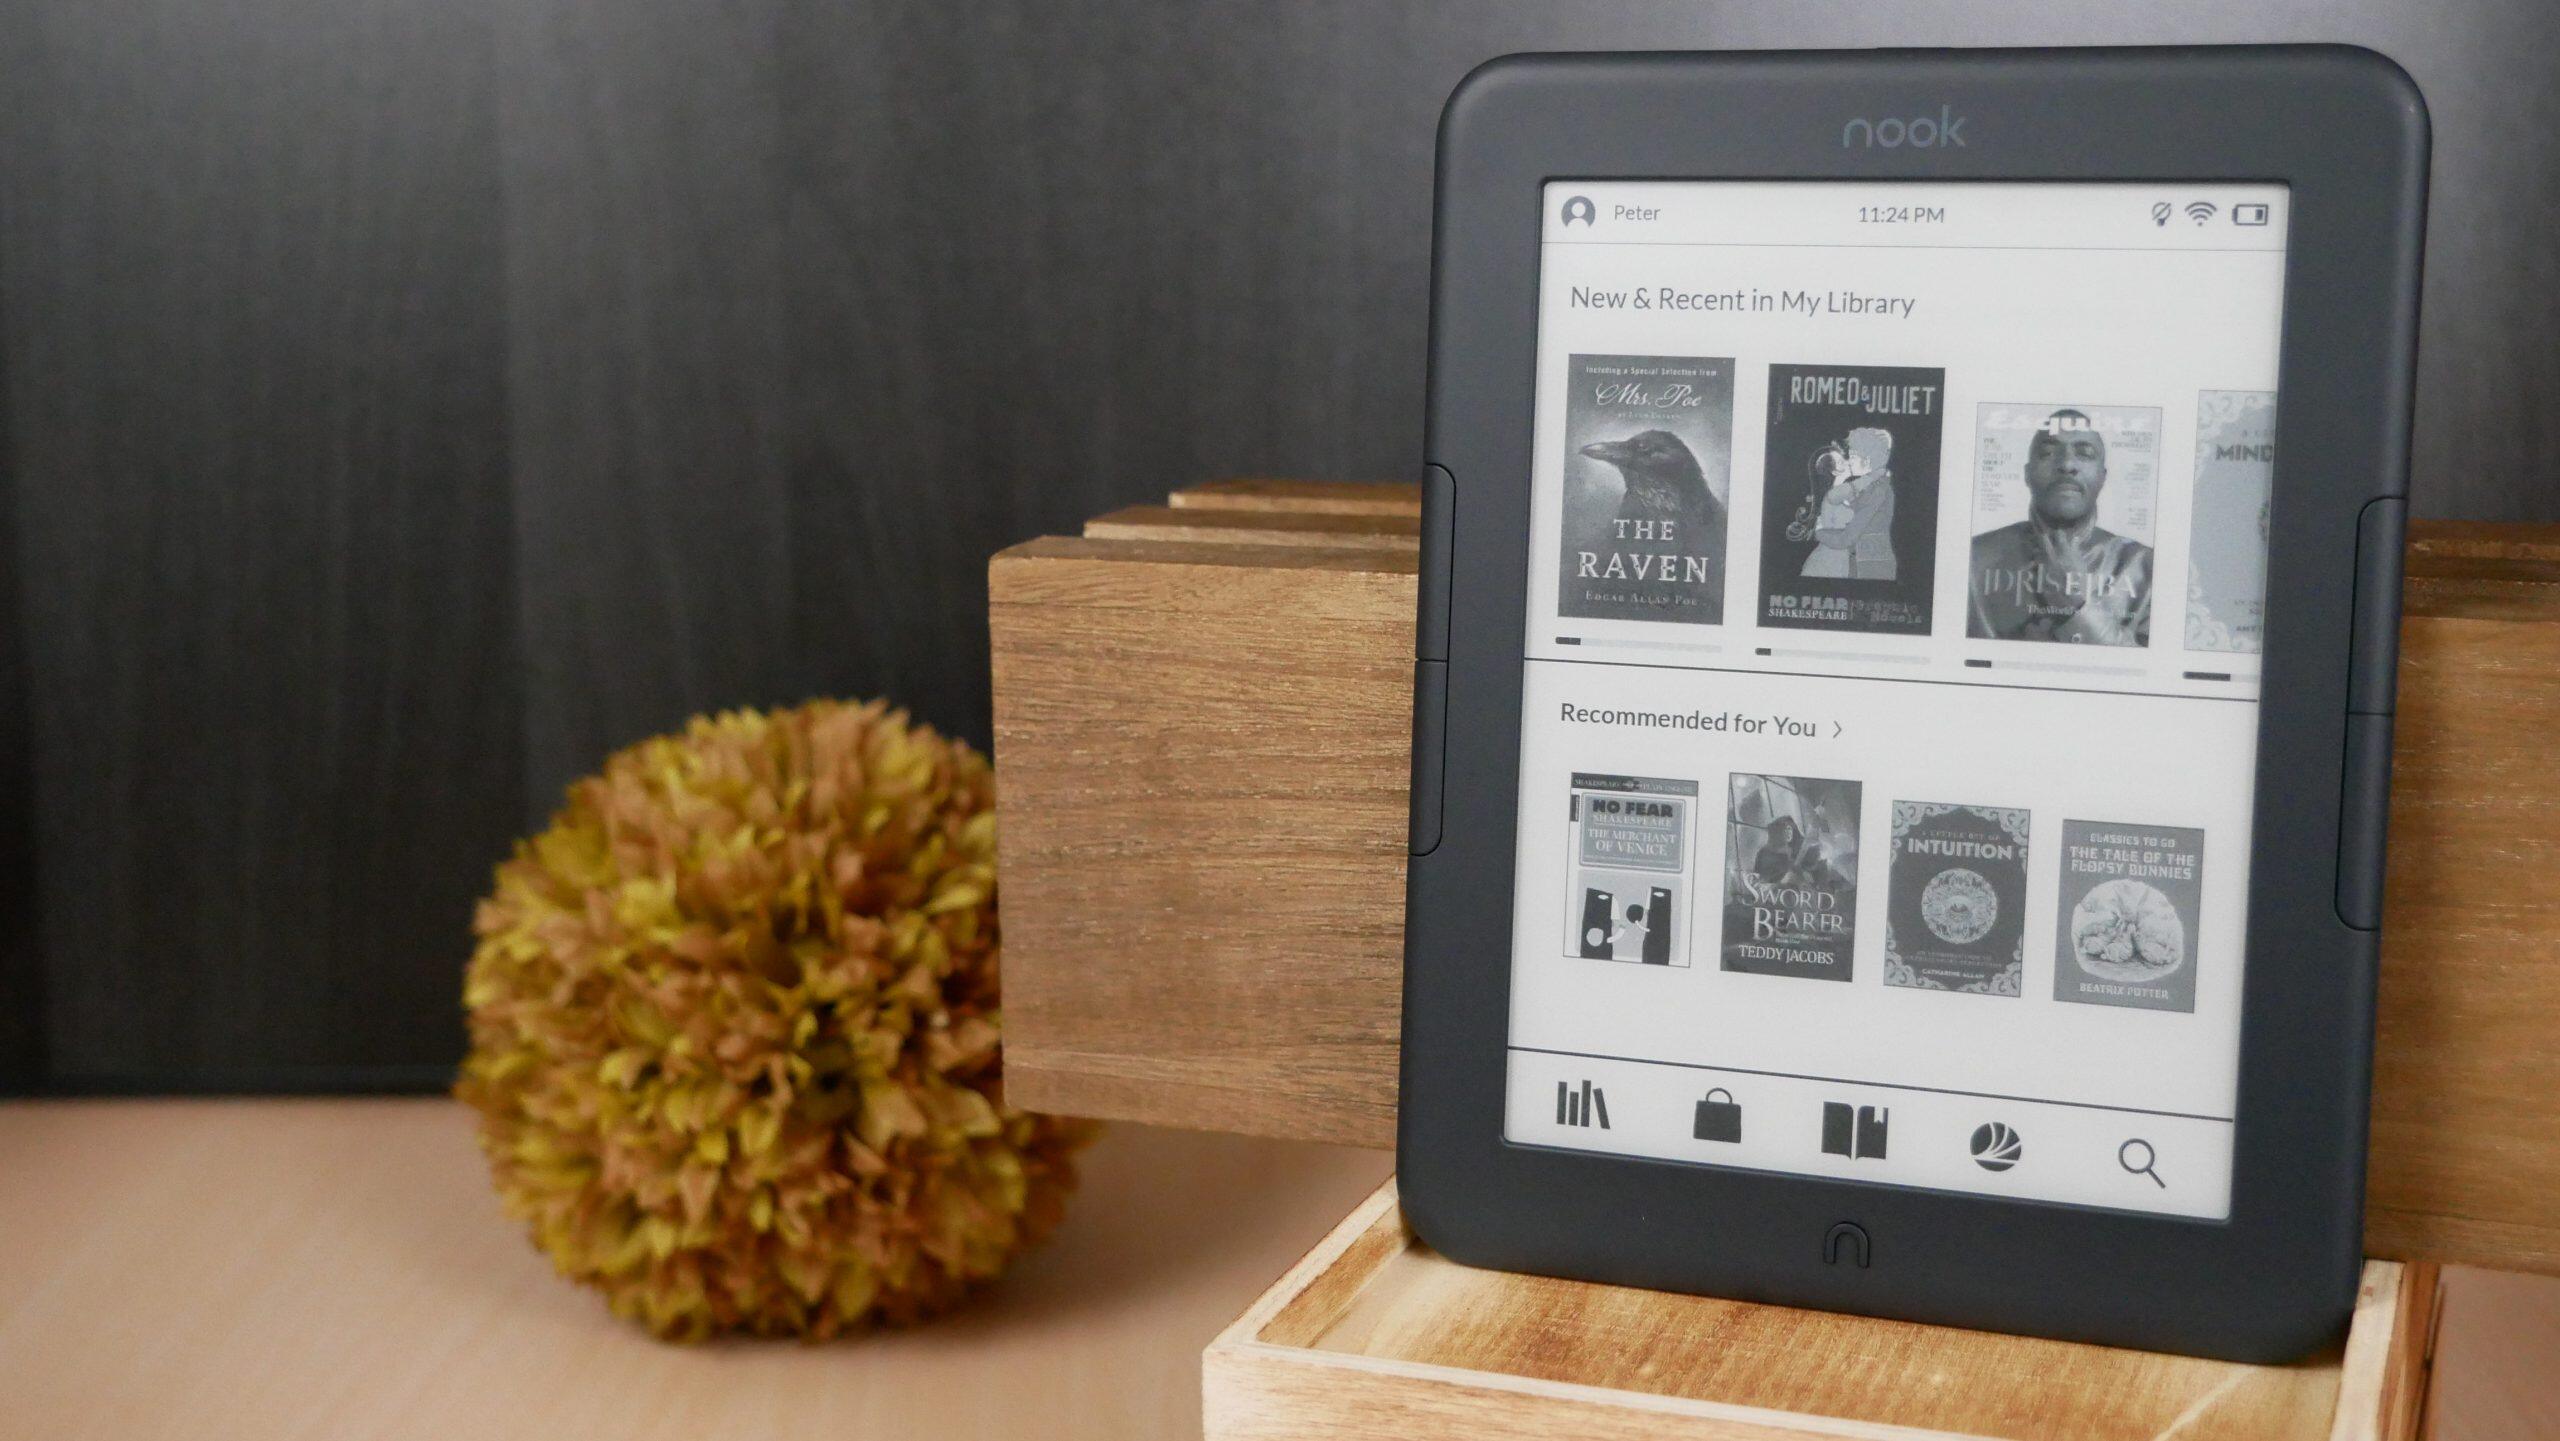
Your transferred e-book should now be ready to read on your Nook device. You can locate it in your library or simply access it from the device’s home screen.
It’s important to note that your Nook device should be authorized with the same Adobe ID used to download the e-book. If you encounter any issues with transferring the book or accessing it on your Nook, ensure that both devices are properly authorized.
Now that you have successfully transferred the book to your Nook, you can enjoy reading it at your convenience. Simply open the device’s library or navigate to the specific book to start reading.
We’re almost done! In the next and final step, we’ll cover how to safely eject your Nook and conclude this guide.
Step 6: Eject your Nook and start reading!
After successfully transferring the e-book to your Nook, it’s important to safely eject your device from your computer before you can start reading. Here’s how you can safely disconnect your Nook and begin enjoying your downloaded book:
1. Ensure that the transfer process is complete and that Adobe Digital Editions has finished syncing with your Nook.
2. On your computer, locate the “Safely Remove Hardware” icon in the taskbar (Windows) or the Finder sidebar (Mac).
3. Click on the icon, and a list of connected devices will appear.
4. Find your Nook device in the list and select it.
5. Follow the prompts to safely disconnect or eject your Nook from your computer.
6. Once you have safely ejected your Nook, you can unplug the USB cable from the device.
7. Your Nook is now ready to be used independently for reading downloaded e-books.
You can now navigate to your Nook’s library or home screen to find the transferred e-book. Open the e-book, and start reading!
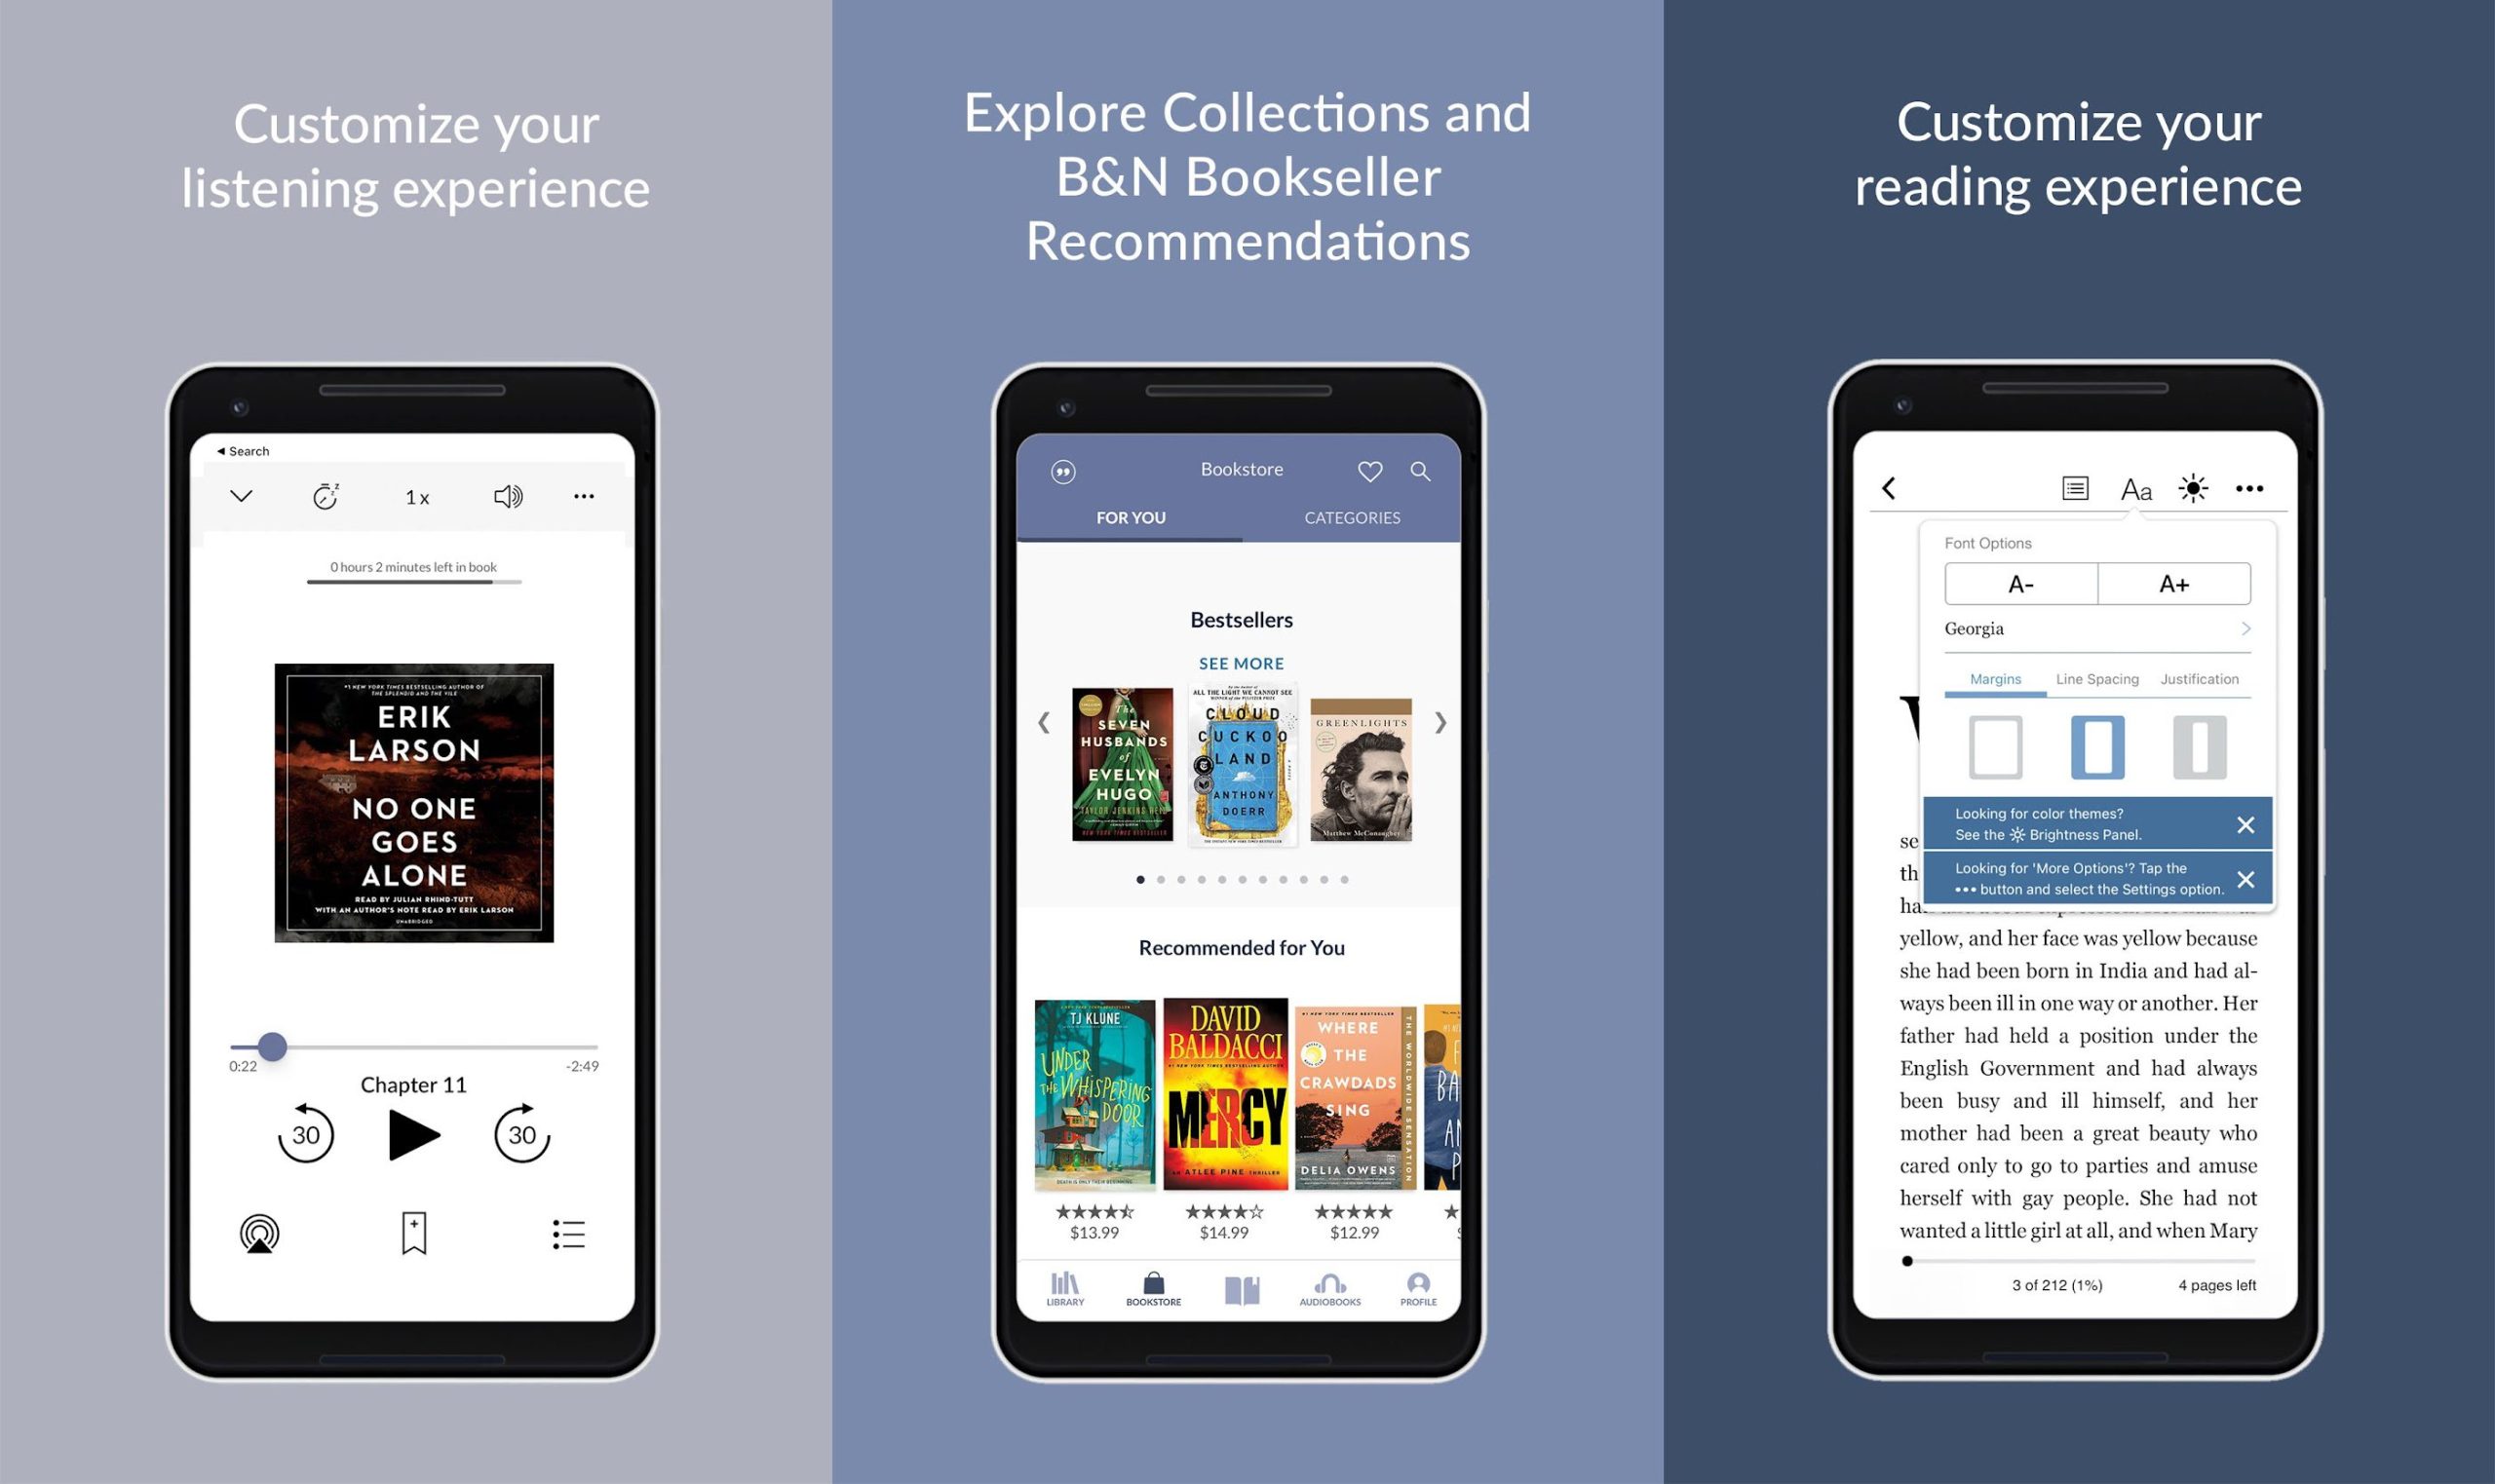
Remember, your Nook e-reader provides various features for customizing your reading experience. You can adjust font sizes, change background colors, highlight text, and more to suit your preferences.
With the ability to store numerous e-books on your Nook, you have a portable library at your fingertips. Whether you’re curled up on the couch or traveling, you can access your favorite books anytime, anywhere.
That concludes our guide on how to download books from the library to your Nook. We hope this step-by-step process has helped you successfully navigate the world of digital reading on your Nook device.
Happy reading!