Introduction
With the rise of social media platforms, video content has become a popular form of entertainment and communication. Platforms like Instagram have introduced features such as Reels, which allow users to create and share short videos with added audio. While enjoying these engaging Reels, you may come across one that you want to download and save for later. But how can you download a Reel with audio?
In this article, we will explore the steps you need to follow to successfully download a Reel with audio from Instagram. By using third-party downloaders, you can easily save your favorite Reels and enjoy them offline. Whether you want to revisit a hilarious video or keep a memorable moment, this guide will show you how.
Please note that downloading Reels without the creator’s permission may infringe on their rights. It’s essential to respect the original content creator and their work. Make sure to only download Reels that you have the proper permission to do so.
Now, let’s dive into the process of downloading a Reel with audio!
Understanding Reels
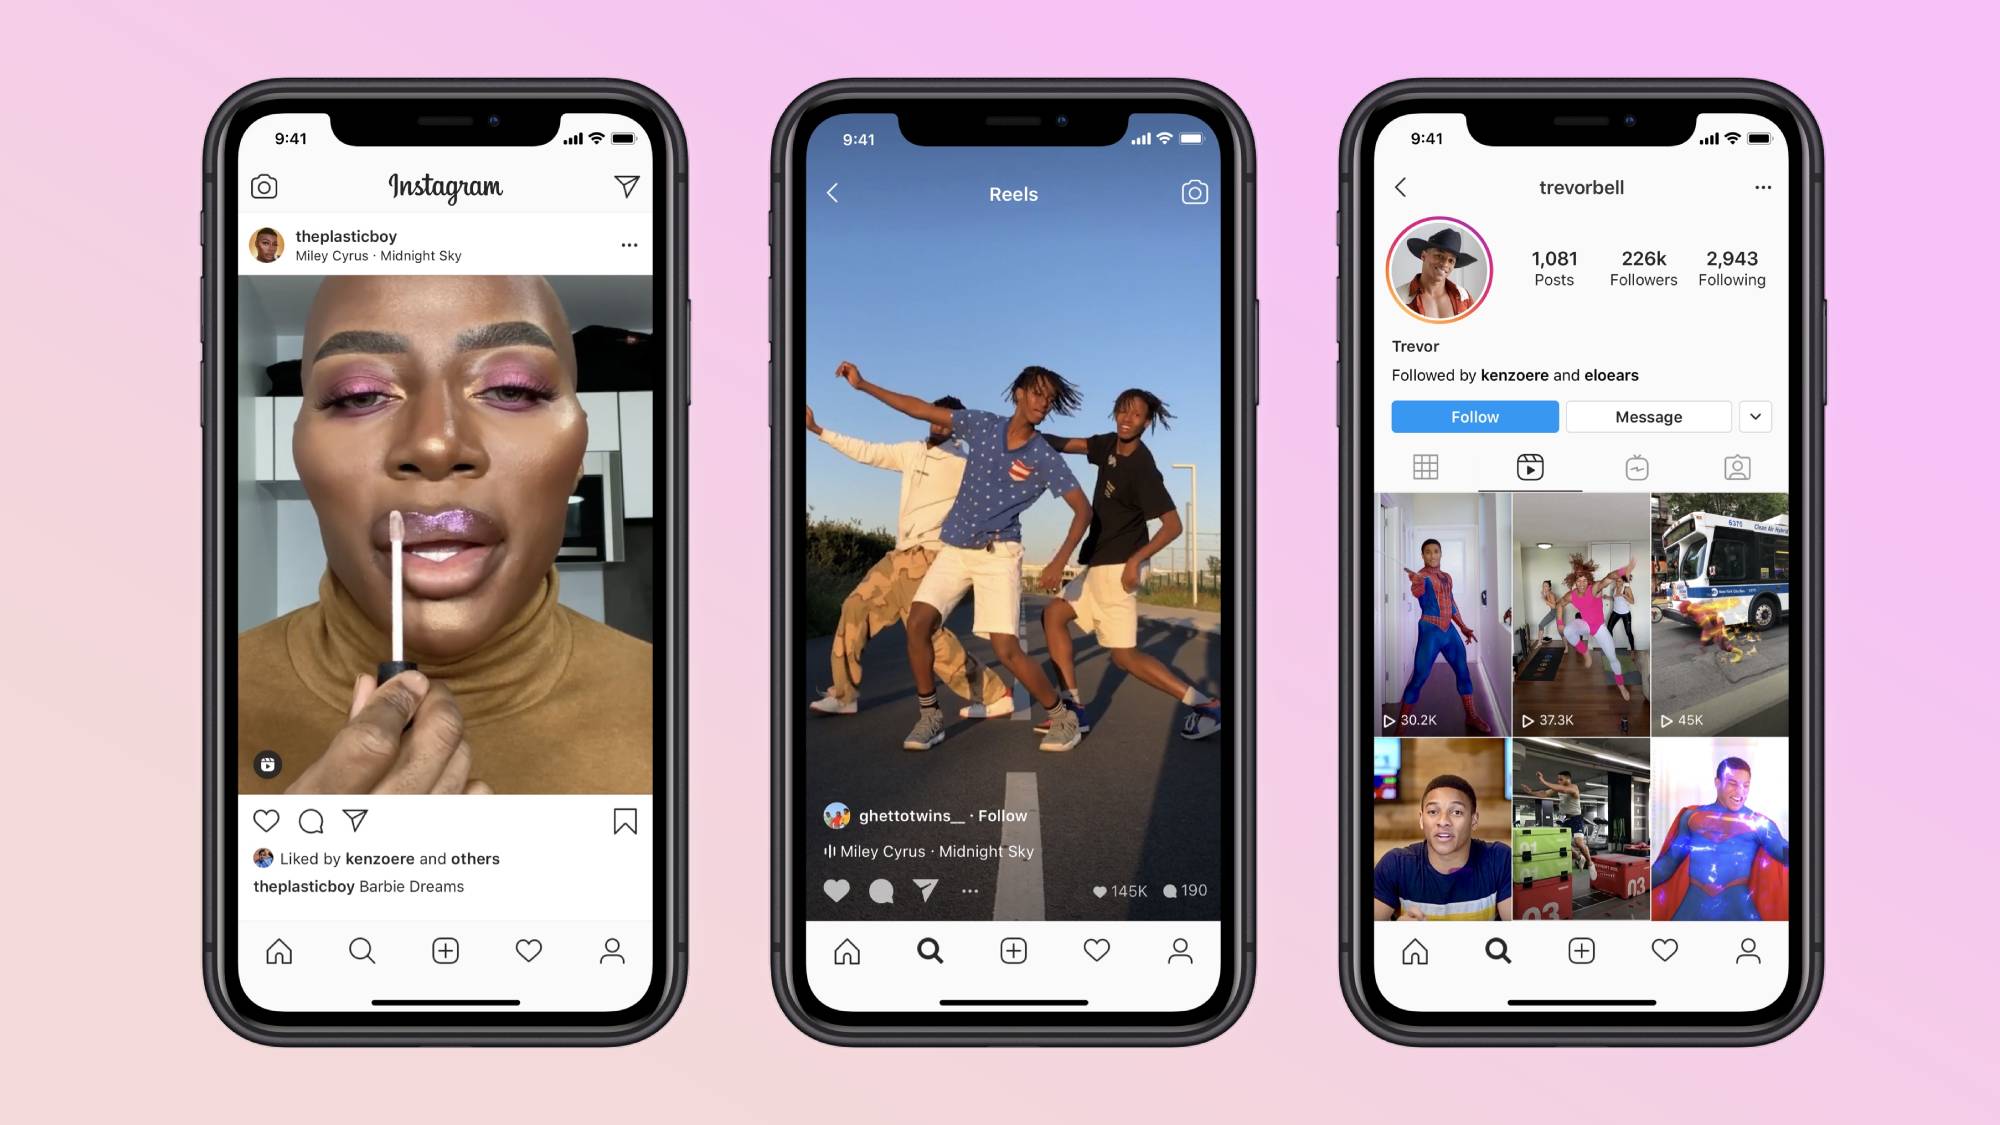
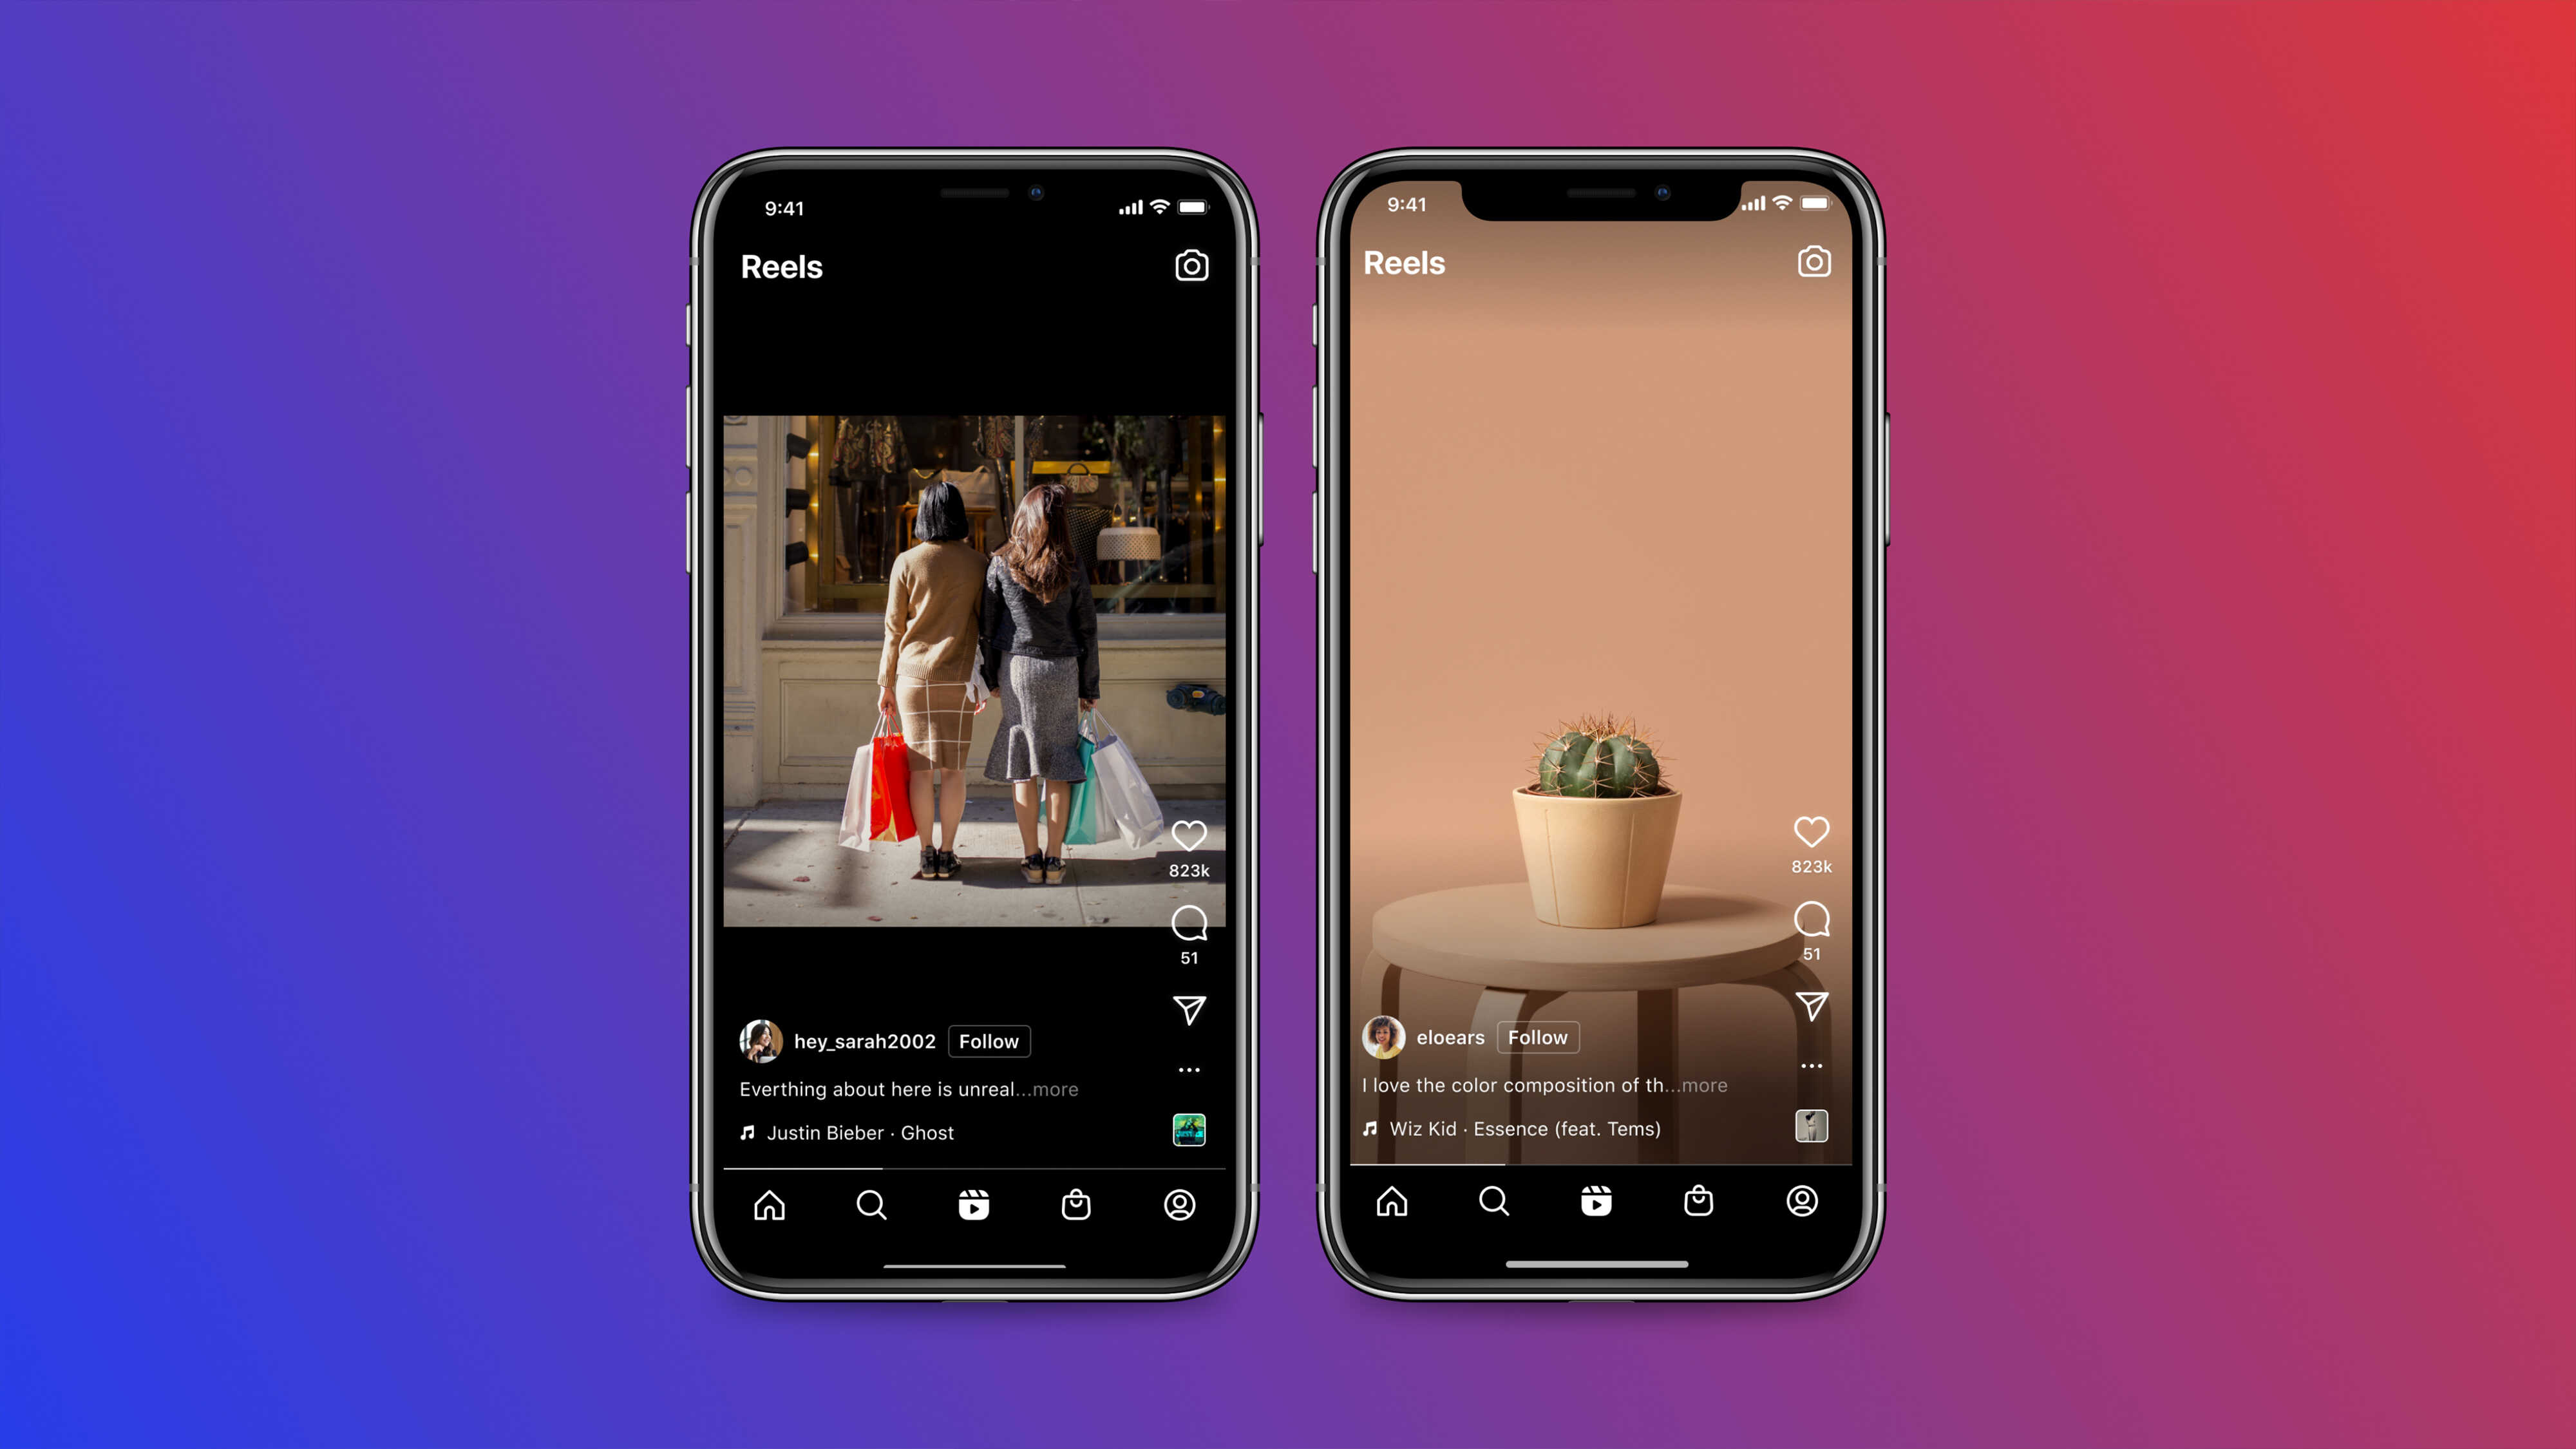
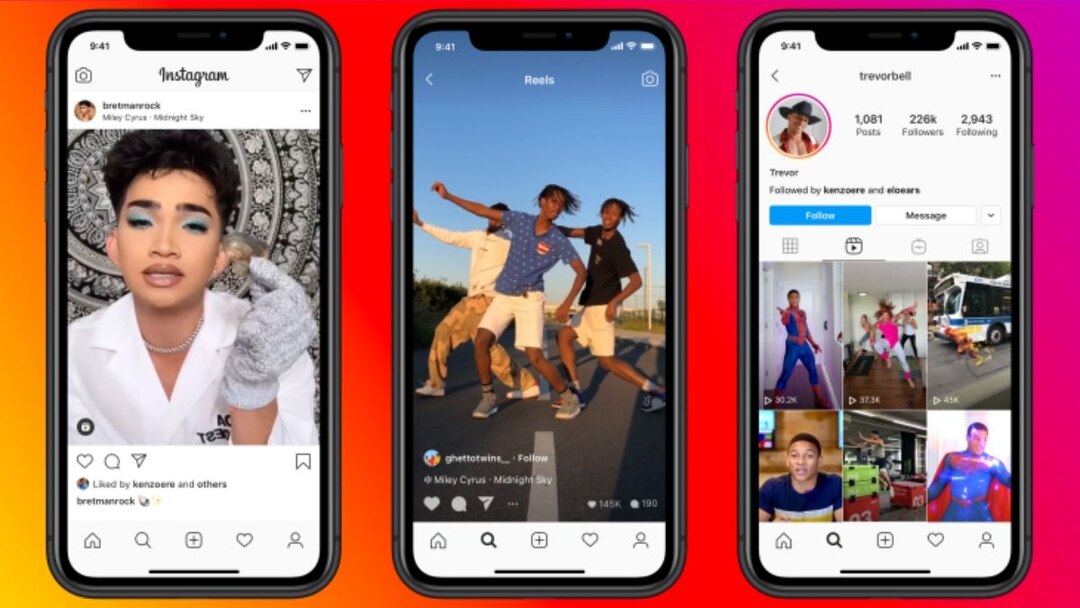
Before we delve into the steps of downloading Reels with audio, let’s first understand what Reels are and how they work. Reels are a feature on Instagram that allows users to create and share short videos, typically ranging from 15 to 30 seconds in length. They offer a creative way to express yourself, showcase your talent, or explore various topics through video content.
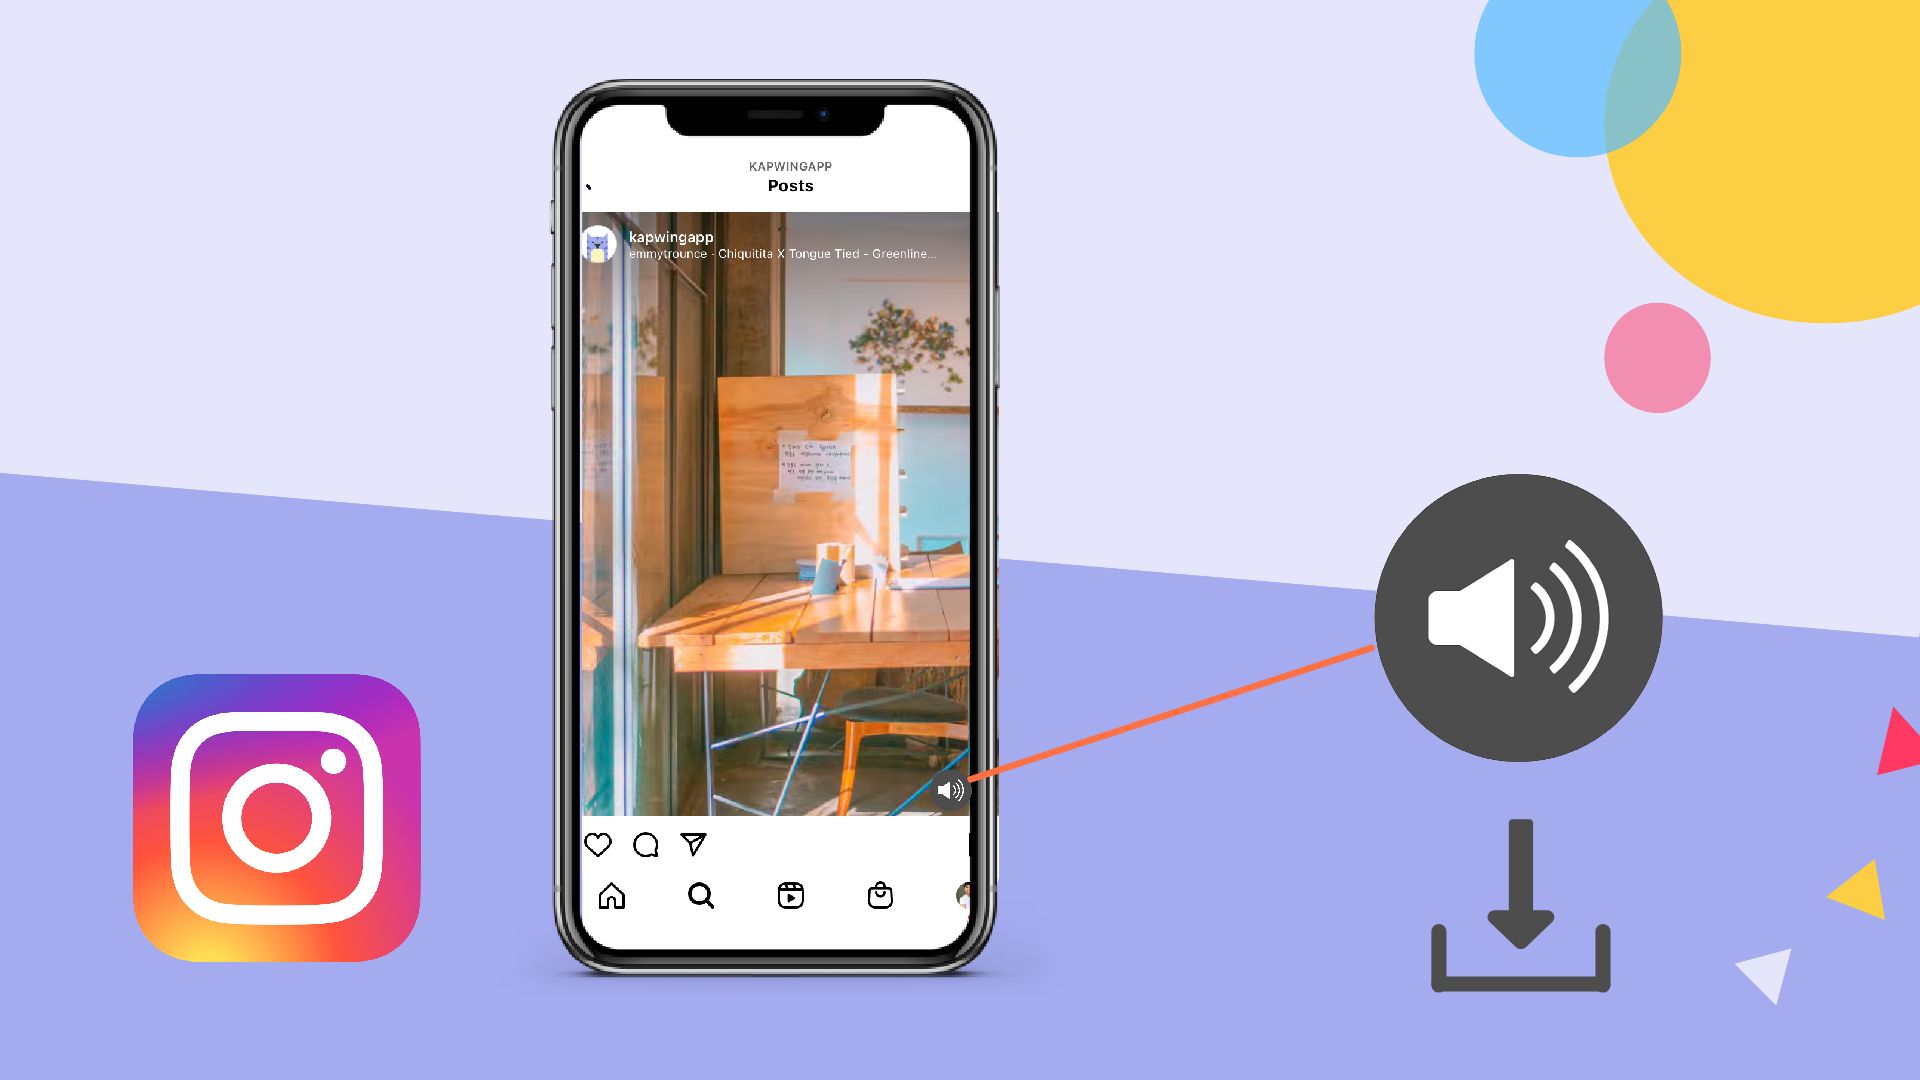
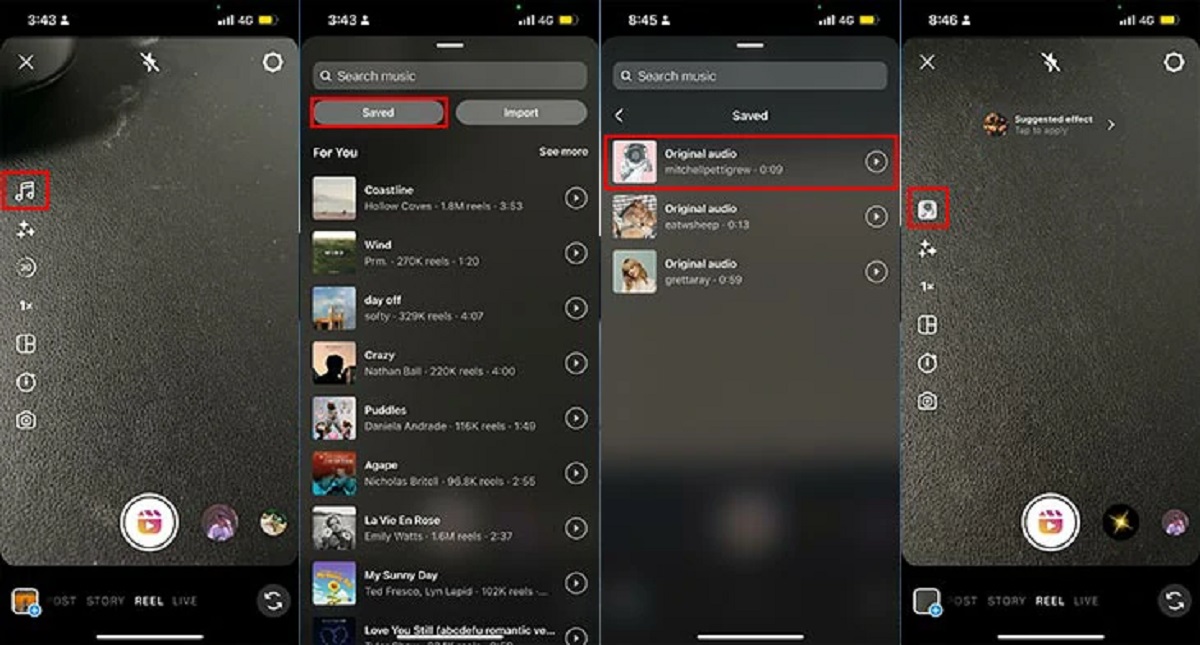
Reels often include background music or audio that enhances the viewing experience. This audio can be original, uploaded from your device’s library, or selected from the vast music collection available on Instagram. It’s this audio component that adds depth and impact to Reels, making them more engaging and entertaining.
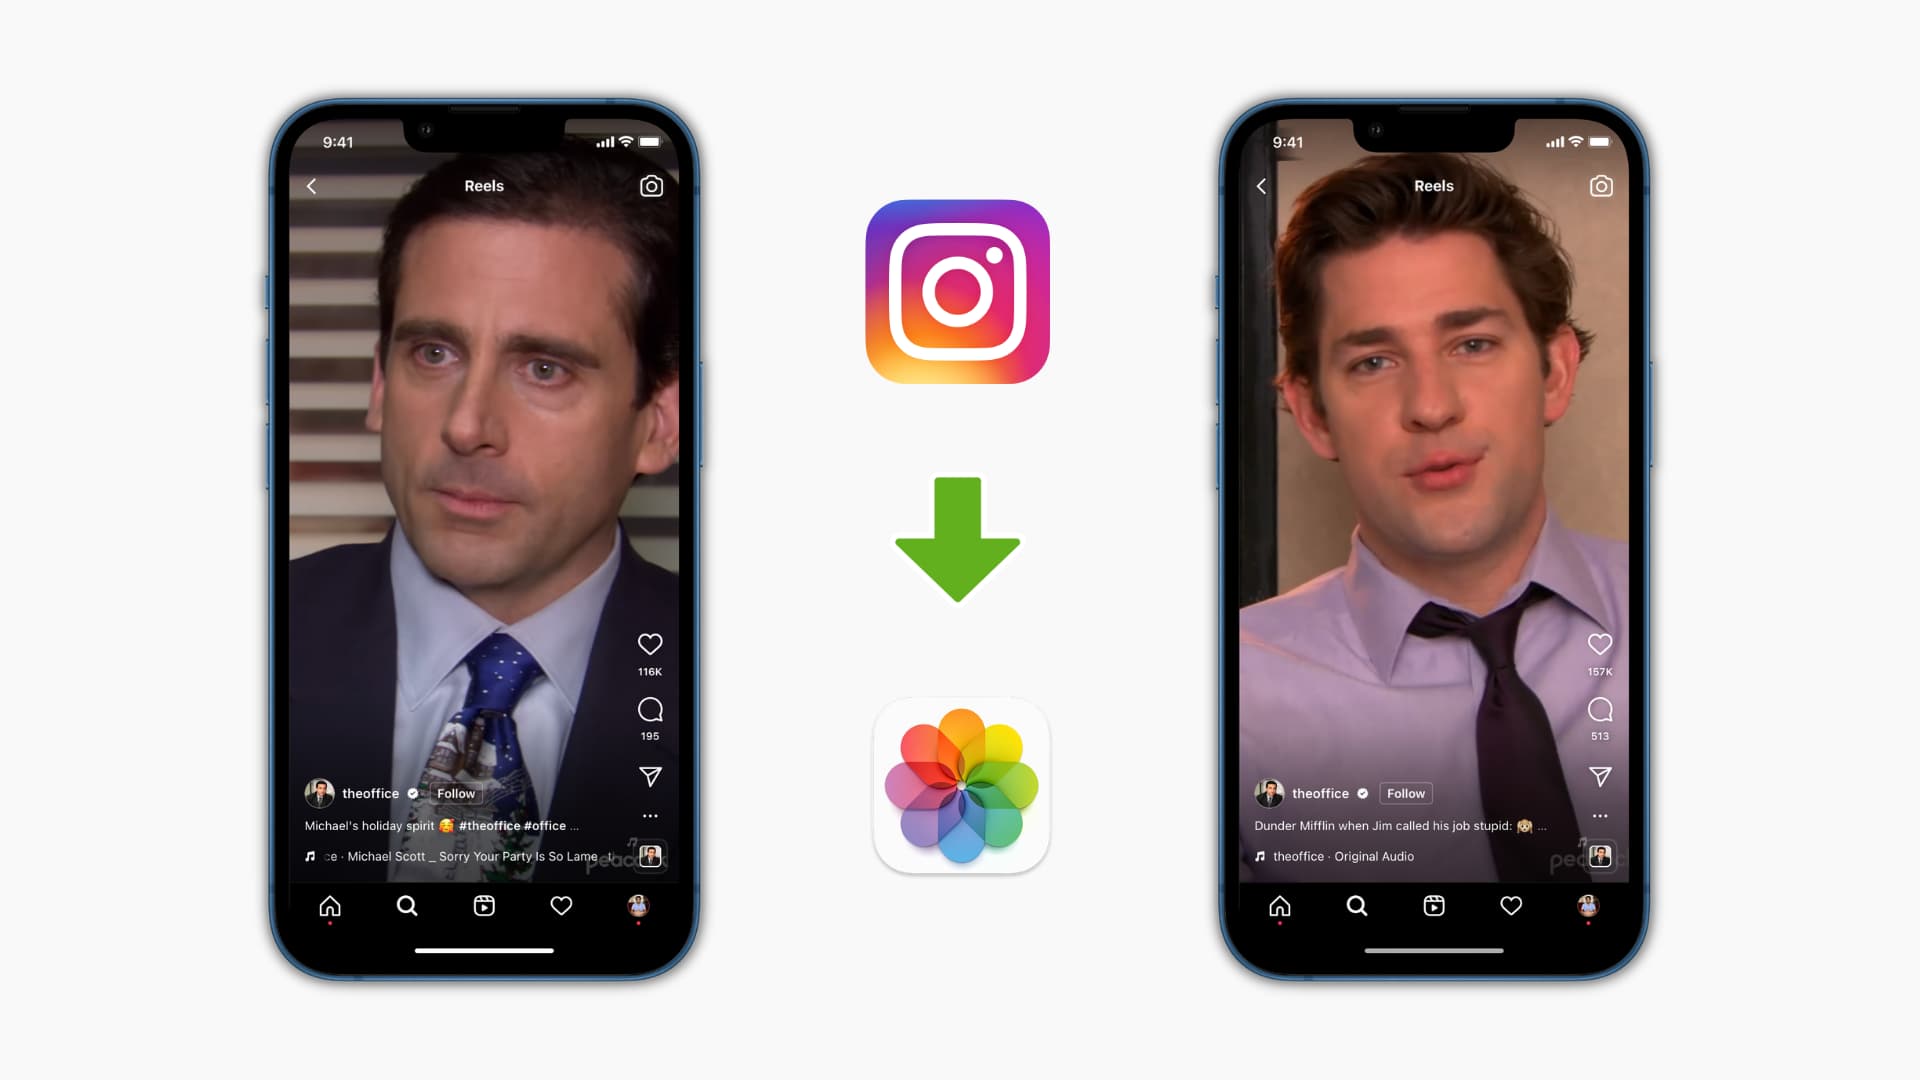
When you come across a Reel that catches your attention and you want to save it for later, you may wonder if it’s possible to download it with the audio intact. Fortunately, with the help of third-party downloaders, you can easily download Reels and enjoy them offline. These downloaders extract the audio along with the video, allowing you to have a complete experience even when you’re not connected to the internet.
However, it’s important to remember that Reels are meant to be shared and enjoyed within the Instagram platform. Be mindful of copyright regulations and respect the rights of content creators. Only download and share Reels that you have the proper permission to do so.
Now that we have a better understanding of Reels and their audio component, let’s move on to the steps of downloading a Reel with audio.
Step 1: Find the Reel You Want to Download
The first step in downloading a Reel with audio is to find the specific Reel you want to download. Open your Instagram app and navigate to the Explore page by tapping on the magnifying glass icon at the bottom of the screen.
Once you’re on the Explore page, you can start searching for Reels by typing keywords or hashtags related to the content you’re interested in. Instagram’s algorithm will show you a variety of Reels that match your search criteria.
Scroll through the Reels until you find the one you want to download. Take note of the username of the creator or any other details that can help you identify the Reel later. If you’re unable to find the Reel you’re looking for in the Explore page, you can also try searching for specific usernames or hashtags in the search bar at the top of the screen.
Remember to respect the content creators and their rights. Only download Reels that you have the proper permission to do so. If the creator has specified that their content should not be downloaded or shared, it’s important to respect their wishes.
Now that you have found the Reel you want to download, it’s time to move on to the next step: using a third-party downloader.
Step 2: Use a Third-Party Downloader
Once you have identified the Reel you want to download, you will need to use a third-party downloader to capture the video and audio. There are several online tools and mobile apps available that can help you with this.
When choosing a third-party downloader, make sure to select a reputable and trusted option. Look for user reviews and ratings to ensure that the downloader is reliable and safe to use. It’s also a good idea to check for any additional features or functionalities that the downloader may offer.
To find a third-party downloader, you can start by conducting a quick search on your preferred search engine or app store. Some popular options include “Instagram Reels downloader,” “Instagram video downloader,” or “Instagram Reels saver.
Once you have found a suitable third-party downloader, follow the instructions provided by the tool to proceed. These downloaders typically require you to input the URL of the Reel you want to download in order to start the downloading process.
Not all third-party downloaders are created equal, and some may have limitations or restrictions on the length or quality of the downloaded Reels. Take the time to explore different downloaders and find the one that suits your needs best.
Now that you have selected a third-party downloader, it’s time to move on to the next step: copying the URL of the Reel.
Step 3: Copy the Reel’s URL
After you have chosen a third-party downloader, the next step is to copy the URL of the Reel you want to download. The URL is a unique web address that identifies the specific Reel on Instagram.
To copy the Reel’s URL, go back to the Instagram app and find the Reel you wish to download. Tap on the three dots (…) located at the top right corner of the Reel’s post. A menu with various options will appear.
In the menu, look for the option that says “Copy Link.” When you select this option, the URL of the Reel will be copied to your device’s clipboard.
Please note that the exact steps may vary slightly depending on the version of the Instagram app you are using. However, the general process of copying the Reel’s URL remains the same.
Once you have successfully copied the Reel’s URL to your clipboard, you are ready to move on to the next step: pasting the URL in the downloader.
Step 4: Paste the URL in the Downloader
Now that you have copied the URL of the Reel you want to download, it’s time to paste it into the third-party downloader you have selected. The downloader will use this URL to fetch the Reel’s video and audio files for you to download.
Open the third-party downloader tool or app you have chosen and locate the designated field where you can paste the Reel’s URL. This field is usually labeled as “Paste URL” or something similar.
Tap or click on the field to activate it, and then paste the URL from your device’s clipboard by tapping on the field and selecting “Paste” from the options that appear. Alternatively, you can press and hold the field and select the “Paste” option.
Once you have pasted the Reel’s URL into the downloader, double-check to ensure that the URL is correct and complete. Make sure there are no extra spaces or missing characters.
After you have verified the URL, initiate the download process by clicking on the “Download” or “Start” button provided by the downloader. The downloader will then start fetching the Reel’s video and audio files using the URL you provided.
Depending on the size and length of the Reel, the downloading process may take a few moments. Be patient and wait for the downloader to complete its task. Once the download is finished, you can proceed to the next step: choosing the audio option.
Step 5: Choose the Audio Option
As you successfully downloaded the Reel, it’s now time to choose the audio option. When downloading Reels, some third-party downloaders separate the video and audio components, giving you the flexibility to choose how you want to save the audio.
In the third-party downloader interface, look for the audio options or settings related to the Reel you have downloaded. This may be in the form of checkboxes, buttons, or dropdown menus.
The audio options allow you to decide how you want to save or use the audio from the Reel. Here are a few common options:
- Save audio separately: This option downloads the Reel’s video and audio files separately, allowing you to save the audio as a standalone file. This can be useful if you want to listen to the audio without the video or use it for other creative purposes.
- Merge audio with video: This option combines the Reel’s video and audio files into a single file. This is the default option and provides a complete representation of the original Reel.
- Extract audio: This option extracts the audio from the Reel and saves it as an audio-only file, such as an MP3 or WAV file. This can be handy if you want to listen to the audio separately or use it in other projects.
Select the audio option that best suits your needs and preferences. If you’re unsure, you can always try different options and see which one works the best for you.
Once you have selected the desired audio option, proceed to the next step: starting the download process and saving the Reel.
Step 6: Start the Download
After choosing the audio option, it’s time to start the download process and save the Reel with the desired audio settings. This is the final step in successfully downloading a Reel with audio.
In the third-party downloader interface, locate the button or option that initiates the download. This is often labeled as “Download,” “Save,” or similar terminology.
Before clicking or tapping on the download button, take a moment to review the selected audio option and ensure that it aligns with your desired outcome. Double-check that all the settings are correct, including the file format, quality, and any additional preferences you may have chosen.
Once you are satisfied with the audio option and settings, click on the download button to start the process. The downloader will now process the Reel and save it to your device according to your selected preferences.
Depending on the size and length of the Reel, the download process may take a few moments or longer. Be patient and allow the downloader to complete its task. Once the download is finished, you will have successfully saved the Reel with the chosen audio settings.
Remember to comply with copyright regulations and respect the rights of content creators when downloading and using Reels. Make sure you have the proper permission to save and share Reels that are not your own.
Now that you have completed the download process, you can enjoy watching the Reel with audio whenever you like, even without an internet connection.
Conclusion
Downloading a Reel with audio from Instagram may seem daunting at first, but with the help of third-party downloaders, it’s a relatively simple process. By following the steps outlined in this guide, you can save your favorite Reels and enjoy them offline.
Remember to always respect the rights of content creators and only download Reels that you have the proper permission to do so. Be mindful of copyright regulations and any restrictions or preferences set by the creators themselves.
Throughout this guide, we explored six essential steps to download a Reel with audio:
- Finding the Reel you want to download
- Using a third-party downloader
- Copying the Reel’s URL
- Pasting the URL in the downloader
- Choosing the audio option
- Starting the download process
By following these steps, you can successfully download and save Reels with their accompanying audio, allowing you to enjoy them offline or use them for your personal projects.
Always remember to use reputable and trusted third-party downloaders and ensure that you are abiding by the terms and conditions set forth by Instagram and the content creators themselves.
Now that you have learned how to download a Reel with audio, go ahead and start saving and enjoying your favorite Reels with ease!


