Introduction
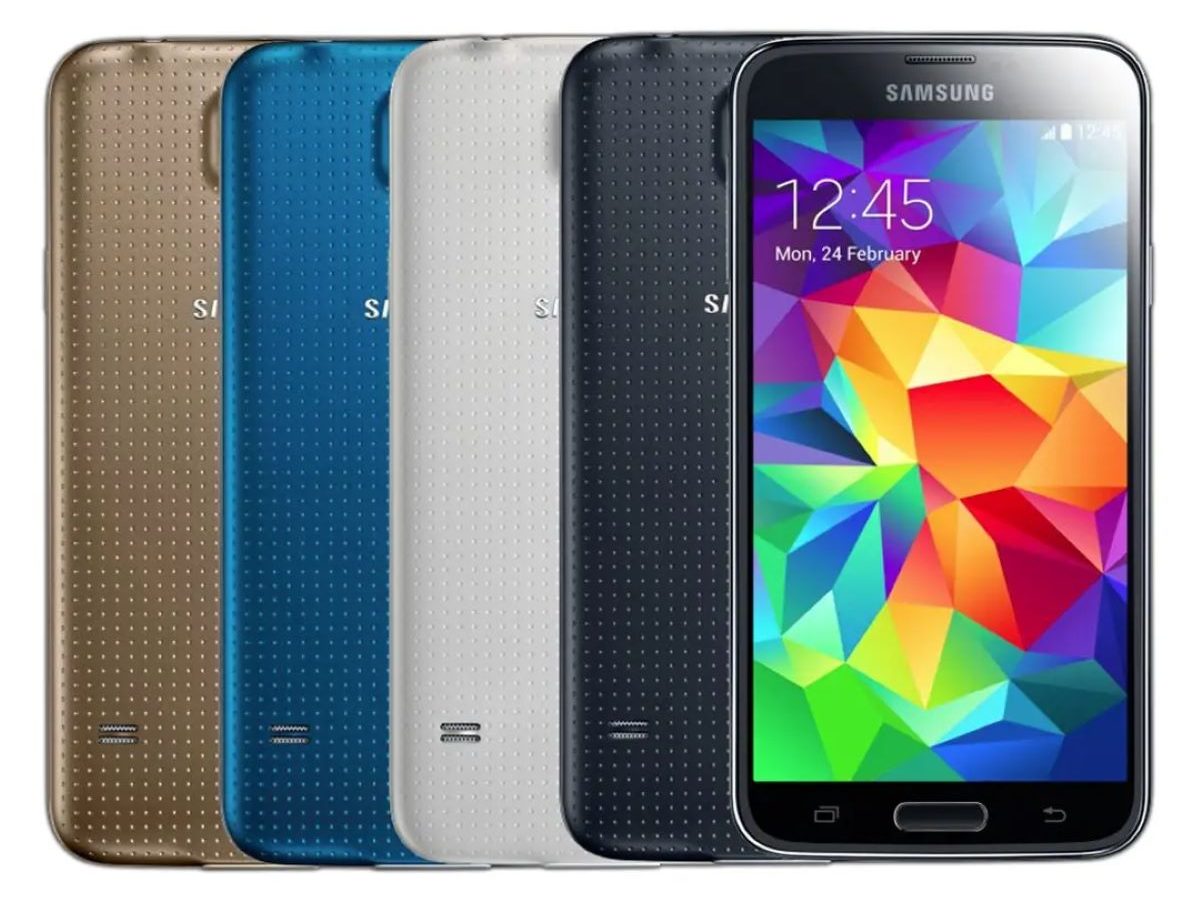
As a proud owner of the Samsung Galaxy S5, you likely capture numerous photos with its impressive camera. However, you may find yourself wondering how to transfer those precious memories from your device to your computer. Whether you want to back up your photos, edit them on a larger screen, or simply free up storage space on your Galaxy S5, transferring pictures to your computer is a convenient and straightforward process.
In this article, we will guide you through various methods to download pictures from your Samsung Galaxy S5 to your computer. You can choose between connecting your device via USB cable or utilizing wireless transfer options such as Samsung Smart Switch, Google Photos, or third-party apps. We will also cover some troubleshooting tips to help you overcome common transfer issues.
By following the steps outlined in this guide, you will be able to effortlessly transfer your cherished photos and preserve them for years to come. So, let’s delve into the different methods and find the one that best suits your needs!
Connect your Samsung Galaxy S5 to your computer
Before you can begin transferring photos from your Samsung Galaxy S5 to your computer, you need to establish a physical connection between the two devices.
The most common method is by using a USB cable:
- Locate the USB cable that came with your Samsung Galaxy S5 or use a compatible one.
- Connect one end of the USB cable to your Samsung Galaxy S5’s charging port, usually located at the bottom of the device.
- Connect the other end of the USB cable to an available USB port on your computer.
- Once connected, your computer should recognize your Samsung Galaxy S5 as a storage device.
If you encounter any issues with the USB connection, try using a different USB cable or port. You may also need to unlock your Samsung Galaxy S5 and change the USB connection settings to “File Transfer” or “MTP” mode, depending on your device’s software version.
Once the physical connection between your Samsung Galaxy S5 and computer is established, you are ready to transfer your photos. In the following sections, we will explore both wired and wireless methods to download pictures, allowing you to choose the option that suits your preferences and circumstances.
Transfer photos via USB cable
Transferring photos from your Samsung Galaxy S5 to your computer via a USB cable is a reliable and straightforward method. Follow the steps below to successfully transfer your pictures:
- Connect your Samsung Galaxy S5 to your computer using a USB cable, as described in the previous section.
- On your computer, open the default file explorer or file manager application. For Windows users, this is typically “File Explorer,” while Mac users can use “Finder.”
- In the file explorer or file manager, you should see your Samsung Galaxy S5 listed as a connected device.
- Open the device to view its contents.
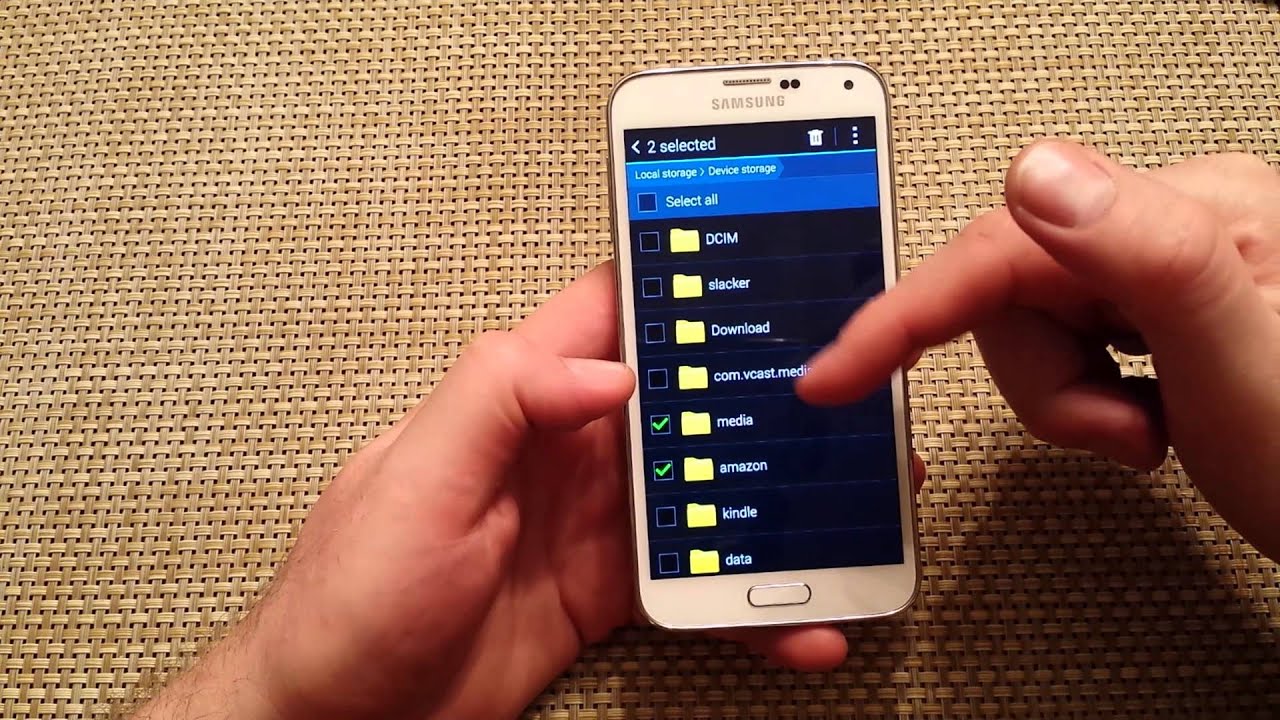
- Navigate to the folder where your photos are stored on your Samsung Galaxy S5. Typically, this will be the “DCIM” folder, which stands for “Digital Camera Images.”
- Select the photos you want to transfer by clicking and dragging the mouse cursor over them or holding down the Ctrl/Cmd key while clicking on individual photos.
- Once the desired photos are selected, right-click on one of them and choose the “Copy” option.
- Navigate to the desired location on your computer where you want to save the transferred photos.
- Right-click in the destination folder and select the “Paste” option to transfer the photos from your Samsung Galaxy S5 to your computer.
- Depending on the size and number of photos, the transfer process may take some time. Be patient and avoid disconnecting the USB cable until the transfer is complete.
- Once the transfer is finished, you can access and manage your Samsung Galaxy S5 photos on your computer.
This method allows you to transfer photos in their original quality and is ideal for those who prefer a direct and secure connection. However, keep in mind that it requires a USB cable and access to a computer, which may not always be convenient. In the next sections, we will explore wireless options that offer more flexibility in transferring your photos from the Samsung Galaxy S5 to your computer.
Transfer photos wirelessly using Samsung Smart Switch
If you prefer a wireless method to transfer photos from your Samsung Galaxy S5 to your computer, Samsung Smart Switch is a convenient option. Smart Switch is a software developed by Samsung that allows seamless data transfer between Samsung devices and computers. Follow these steps to transfer photos wirelessly using Samsung Smart Switch:
- Ensure that Samsung Smart Switch is installed on both your Samsung Galaxy S5 and your computer. You can download the software from the official Samsung website or through your device’s app store.
- Open Samsung Smart Switch on your Samsung Galaxy S5.
- Connect your Samsung Galaxy S5 and your computer to the same Wi-Fi network.
- Launch Samsung Smart Switch on your computer.
- On your Samsung Galaxy S5, tap on the “Connect to PC” option within Samsung Smart Switch.
- A connection confirmation message will appear on both your Samsung Galaxy S5 and your computer. Confirm the connection request on both devices.
- Select the “Photos” option from the available data types you can transfer.
- Choose the specific photos you want to transfer or select the entire photo library.
- Click on the “Transfer” or “Start” button on your computer to initiate the wireless transfer process.
- Wait for the photos to transfer from your Samsung Galaxy S5 to your computer. The transfer time will vary depending on the size and number of photos.
- Once the transfer is complete, you can access the transferred photos on your computer using the destination folder specified in Samsung Smart Switch.
Samsung Smart Switch provides a convenient way to wirelessly transfer photos without the need for a USB cable. It is particularly useful when your Samsung Galaxy S5 is not physically connected to your computer or when you prefer a cable-free solution. However, keep in mind that both your Samsung Galaxy S5 and your computer need to be connected to the same Wi-Fi network for the transfer to occur.
Transfer photos wirelessly using Google Photos
If you’re looking for a wireless solution to transfer photos from your Samsung Galaxy S5 to your computer, Google Photos is a fantastic option. Not only does it allow you to back up your photos to the cloud, but it also provides seamless integration with your computer. Follow these steps to transfer photos wirelessly using Google Photos:
- Install the Google Photos app on your Samsung Galaxy S5 from the Google Play Store, or ensure it is already installed.
- Open the Google Photos app on your Samsung Galaxy S5.
- Sign in to your Google account or create a new account if you don’t have one.
- Allow Google Photos to back up and sync your photos by following the on-screen prompts. Ensure that the “Backup & sync” option is enabled in the app settings.
- On your computer, open a web browser and visit the Google Photos website (photos.google.com).
- Sign in to your Google account using the same account you used on your Samsung Galaxy S5.
- Navigate to the “Photos” section in Google Photos to access all the photos backed up from your Samsung Galaxy S5.
- Select the photos you want to download to your computer. You can click and drag the mouse cursor over the photos or hold down the Ctrl/Cmd key while clicking on individual photos.
- Once the desired photos are selected, click on the three-dot menu icon or right-click and choose the “Download” option.
- Specify the location on your computer where you want to save the downloaded photos.
- Click on the “Save” or “Download” button to transfer the photos from your Google Photos to your computer.
- After the download is complete, you can access the transferred photos on your computer using the specified location.
Google Photos provides a seamless way to transfer photos wirelessly using the cloud storage capabilities of the app. By uploading your photos to Google Photos, you can access them from any device with an internet connection, including your computer. This method is especially useful if you want to access your photos on multiple devices without the need for physical connections or cables.
Transfer photos wirelessly using third-party apps
In addition to the built-in options like Samsung Smart Switch and Google Photos, there are various third-party apps available that can help you transfer photos wirelessly from your Samsung Galaxy S5 to your computer. These apps often provide additional features and flexibility. Here are a few popular third-party apps you can consider:
- AirDroid: AirDroid is a versatile app that allows you to wirelessly transfer photos, files, and even control your Samsung Galaxy S5 from your computer. Install the AirDroid app on your device, create an account, and follow the on-screen instructions to connect your device to your computer.
- Pushbullet: Pushbullet enables seamless photo and file transfer between your Samsung Galaxy S5 and computer. Install Pushbullet on your device and computer, sign in to your account, and choose the “Files” or “Photos” option to send photos wirelessly.
- Dropbox: Dropbox is a popular cloud storage app that offers automatic photo sync across devices. Install the Dropbox app on your Samsung Galaxy S5 and computer, sign in to your account, and enable photo upload. Your photos will be automatically transferred to your Dropbox account and accessible on your computer.
These third-party apps provide additional functionality and convenience in transferring photos wirelessly. Depending on your preferences and requirements, you can explore these apps and choose the one that best suits your needs.
Before using third-party apps, make sure to research and read reviews to ensure their reliability and security. Be cautious when granting permissions and sharing personal data. Also, keep in mind that some apps may have limitations or require a subscription for full access to their features.
By utilizing these third-party apps, you can enjoy an easy and efficient wireless transfer process for your photos, providing you with more flexibility and control over how you manage and organize your picture collection.
Troubleshooting common transfer issues
While transferring photos from your Samsung Galaxy S5 to your computer, you may encounter some common issues. Here are a few troubleshooting tips to help you overcome them:
- USB connection issues: If you’re experiencing difficulties with the USB connection, try using a different USB cable or port. Also, ensure that your Samsung Galaxy S5 is unlocked and set to “File Transfer” or “MTP” mode.
- Device not recognized: If your computer fails to recognize your Samsung Galaxy S5 as a storage device, try restarting both devices and reconnecting them. If the issue persists, update your device drivers or try connecting to a different computer.
- Slow transfer speed: Large photo files or a slow USB connection can result in slow transfer speeds. To improve transfer speed, compress your photos into a ZIP file or resize them to a smaller resolution.
- Wireless transfer issues: When using wireless transfer methods, ensure that both your Samsung Galaxy S5 and computer are connected to the same Wi-Fi network. Restarting the devices or reinstalling the respective apps may also resolve any connection problems.
- Storage space limitations: If you’re unable to transfer photos due to insufficient storage space on your Samsung Galaxy S5 or computer, consider deleting unnecessary files on either device or using cloud storage as an alternative.
- App-specific difficulties: Third-party apps may encounter occasional bugs or compatibility issues. Stay updated with the latest app versions and check for any available updates or patches.
- Network connectivity problems: When transferring photos through cloud-based solutions, such as Google Photos, ensure that you have a stable internet connection to prevent any disruptions during the upload or download process.
If you encounter persistent transfer issues despite trying these troubleshooting tips, it may be helpful to consult the user manuals or support documentation for both your Samsung Galaxy S5 and your computer. Additionally, contacting the customer support of the respective devices or apps can provide further assistance in resolving complex or specific issues.
Remember, patience and persistence are key when troubleshooting transfer problems. With a bit of troubleshooting and problem-solving, you can overcome common issues and successfully transfer your photos from your Samsung Galaxy S5 to your computer.
Conclusion
Transferring pictures from your Samsung Galaxy S5 to your computer is a simple and essential task that allows you to back up, edit, and organize your precious memories. Whether you prefer a wired connection via USB cable or the convenience of wireless transfer options like Samsung Smart Switch, Google Photos, or third-party apps, there is a method that will suit your preferences and circumstances.
By connecting your Samsung Galaxy S5 to your computer using a USB cable, you can directly access and transfer your photos. This method ensures a secure and reliable connection, ideal for those who prefer a more traditional approach.
On the other hand, wireless transfer options like Samsung Smart Switch, Google Photos, and third-party apps offer convenience and flexibility. They allow you to transfer photos without the need for physical cables, and some even provide added features like cloud storage and remote access.
If you encounter any issues during the transfer process, troubleshooting tips such as checking USB connections, ensuring network connectivity, and updating software can help you overcome common problems and ensure a smooth transfer experience.
Remember to choose the method that works best for you and fits your specific requirements. Whether you opt for a wired connection or a wireless solution, transferring photos from your Samsung Galaxy S5 to your computer will enable you to safeguard your cherished memories and enjoy them on a larger screen.
So, don’t hesitate – start transferring your photos and enjoy the convenience of having them readily available on your computer for all your editing, organizing, and sharing needs.


