Introduction
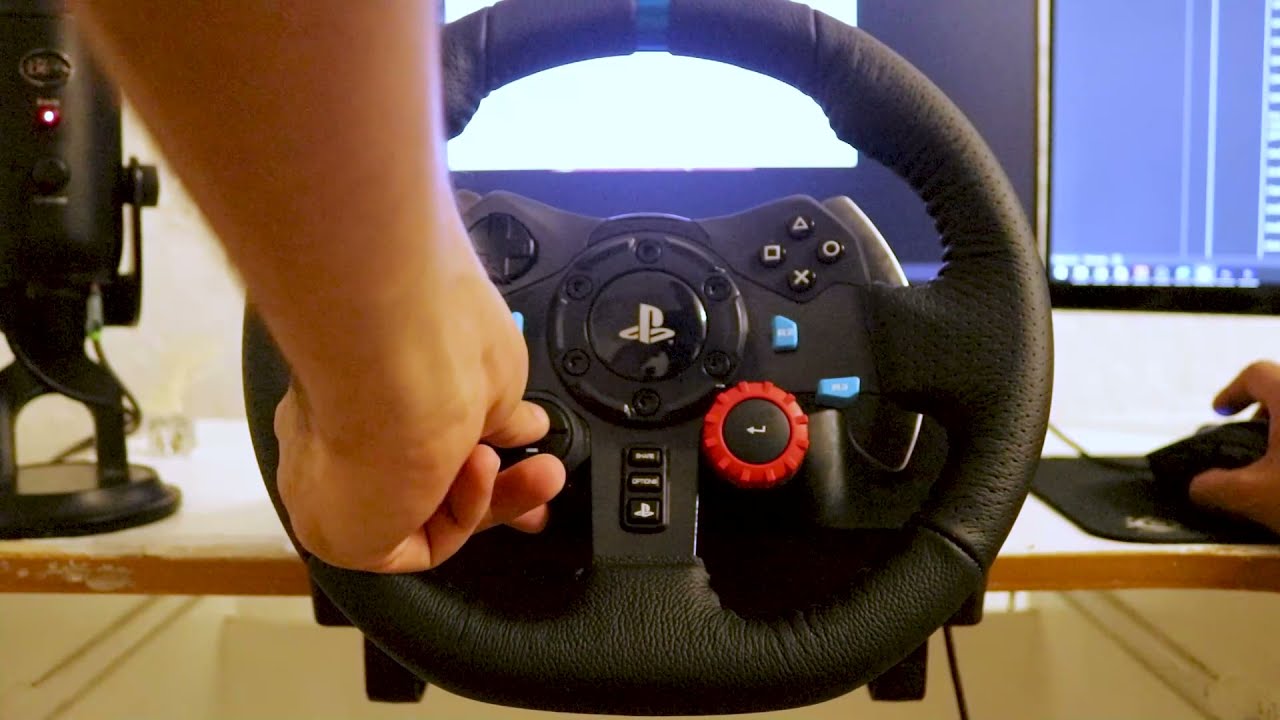
Are you ready to take your racing game experience to the next level? Setting up a racing wheel for PCSX2 can transform your virtual racing adventures into an immersive and thrilling journey. Whether you're a casual gamer or a dedicated enthusiast, the tactile feedback and precise control offered by a racing wheel can elevate your gameplay to new heights.
In this guide, we'll walk you through the process of setting up a racing wheel for PCSX2, the popular PlayStation 2 emulator. By following these steps, you'll be able to seamlessly integrate your racing wheel with the emulator, allowing for a more authentic and responsive racing experience.
Before we dive into the specifics, it's important to ensure that you have the necessary hardware and software components. You'll need a compatible racing wheel that connects to your computer via USB, as well as the PCSX2 emulator installed on your system. Additionally, make sure that you have the latest drivers for your racing wheel and that it is functioning properly.
Once you have everything in place, we'll guide you through the process of installing the racing wheel drivers, configuring the racing wheel within PCSX2, calibrating the wheel for optimal performance, and finally, testing it out in the emulator. By the end of this guide, you'll be ready to hit the virtual racetrack with precision control and an enhanced sense of realism.
So, let's rev up our engines and get started on setting up your racing wheel for PCSX2! Whether you're aiming for pole position or simply looking to enjoy a more immersive gaming experience, this guide will help you make the most of your racing wheel and take your virtual racing adventures to the next level.
Step 1: Installing the Racing Wheel Drivers
Before you can begin using your racing wheel with PCSX2, it’s essential to ensure that the appropriate drivers are installed on your computer. These drivers facilitate communication between the racing wheel and your system, allowing for seamless integration and optimal performance. Here’s a step-by-step guide to installing the racing wheel drivers:
- Check for Manufacturer’s Instructions: Start by referring to the manufacturer’s documentation or website to identify the specific drivers required for your racing wheel model. Manufacturers often provide downloadable driver packages that are tailored to their products.
- Download and Install Drivers: Once you’ve identified the necessary drivers, download the installation package from the manufacturer’s official website. Ensure that you’re obtaining the drivers from a trusted source to avoid potential compatibility issues or security risks. Follow the installation instructions provided with the driver package, which typically involve running an executable file and following on-screen prompts to complete the installation.
- Connect the Racing Wheel: After the drivers are successfully installed, connect your racing wheel to a USB port on your computer. The system should automatically recognize the device and apply the newly installed drivers to establish a connection. If prompted, follow any additional on-screen instructions to finalize the setup.
- Verify Driver Installation: To confirm that the racing wheel drivers are installed and functioning correctly, you can check the Device Manager on Windows or the System Information utility on macOS. Look for the racing wheel under the list of connected devices to ensure that it’s recognized and that the drivers are associated with the device.
Once the racing wheel drivers are successfully installed and the device is recognized by your computer, you’re one step closer to immersing yourself in the world of virtual racing with PCSX2. With the drivers in place, you’ll be ready to proceed to the next crucial step: configuring the racing wheel within the PCSX2 emulator.
Step 2: Configuring the Racing Wheel in PCSX2
Now that the racing wheel drivers are installed, it’s time to integrate the device with the PCSX2 emulator. Configuring the racing wheel within the emulator’s settings will enable you to harness its full potential and enjoy a more authentic racing experience. Follow these steps to set up your racing wheel in PCSX2:
- Launch PCSX2 and Access Controller Settings: Start by launching the PCSX2 emulator on your computer. Once the emulator is running, navigate to the “Config” menu and select “Controllers (PAD)” to access the controller settings.
- Select Racing Wheel as the Controller: Within the controller settings, locate the drop-down menu or option that allows you to choose the input device. From the available options, select your racing wheel as the designated controller for PCSX2. This ensures that the emulator recognizes and responds to input from the racing wheel during gameplay.
- Assign Buttons and Axes: After selecting the racing wheel as the controller, you may need to assign specific buttons, pedals, and axes to correspond with the virtual controller within PCSX2. This step involves mapping the physical inputs of the racing wheel to the virtual buttons and axes used in the emulator. Follow the on-screen instructions to assign and calibrate the inputs accordingly.
- Save Configuration: Once you’ve completed the button and axis assignments, ensure that you save the controller configuration within PCSX2. This step is crucial, as it preserves your settings for future gameplay sessions, eliminating the need to reconfigure the racing wheel each time you launch the emulator.
With the racing wheel successfully configured within PCSX2, you’re poised to experience the thrill of virtual racing with enhanced control and responsiveness. The next step in the setup process involves calibrating the racing wheel to ensure optimal performance and precision during gameplay. By following these steps, you’re well on your way to immersing yourself in the exhilarating world of virtual racing adventures.
Step 3: Calibrating the Racing Wheel
Calibrating your racing wheel is a crucial step in ensuring that it delivers optimal performance and responsiveness within the PCSX2 emulator. Proper calibration allows you to fine-tune the sensitivity, dead zones, and overall behavior of the racing wheel, creating a customized experience that aligns with your preferences. Here’s how to calibrate your racing wheel for PCSX2:
- Access Calibration Settings: Depending on your racing wheel model, there may be dedicated software or utilities provided by the manufacturer for calibrating the device. Alternatively, you can access the calibration settings through the operating system’s control panel or system preferences. Look for options related to game controllers, input devices, or USB peripherals to access the calibration tools.
- Adjust Sensitivity and Dead Zones: Within the calibration interface, you’ll typically find options to adjust the sensitivity of the racing wheel’s inputs, such as steering, pedals, and additional controls. Fine-tune these settings to achieve the desired responsiveness and precision, ensuring that the racing wheel accurately translates your physical inputs to in-game actions. Additionally, address any dead zones or non-responsive areas to optimize control during gameplay.
- Test Calibration with PCSX2: After adjusting the calibration settings, it’s beneficial to test the racing wheel within PCSX2 to evaluate its performance. Launch a racing game within the emulator and assess how the calibrated settings translate to in-game actions. Pay attention to the responsiveness of steering inputs, pedal control, and overall handling to determine if further adjustments are necessary.
- Refine Settings as Needed: Calibration is an iterative process, and it may require multiple adjustments to achieve the ideal configuration for your racing wheel. Continuously refine the settings based on your gameplay experience, making incremental changes to improve the feel and responsiveness of the racing wheel within PCSX2.
By meticulously calibrating your racing wheel, you can tailor its performance to align with your preferences and play style, enhancing the overall immersion and enjoyment of virtual racing in PCSX2. With the racing wheel finely tuned to your specifications, you’re ready to embark on thrilling virtual races with confidence in your control and precision.
Step 4: Testing the Racing Wheel in PCSX2
With the racing wheel installed, configured, and calibrated, it’s time to put it to the test within the PCSX2 emulator. Testing the racing wheel in a simulated racing environment allows you to verify its performance, responsiveness, and overall integration with the emulator. Here’s how to conduct a comprehensive test of your racing wheel in PCSX2:
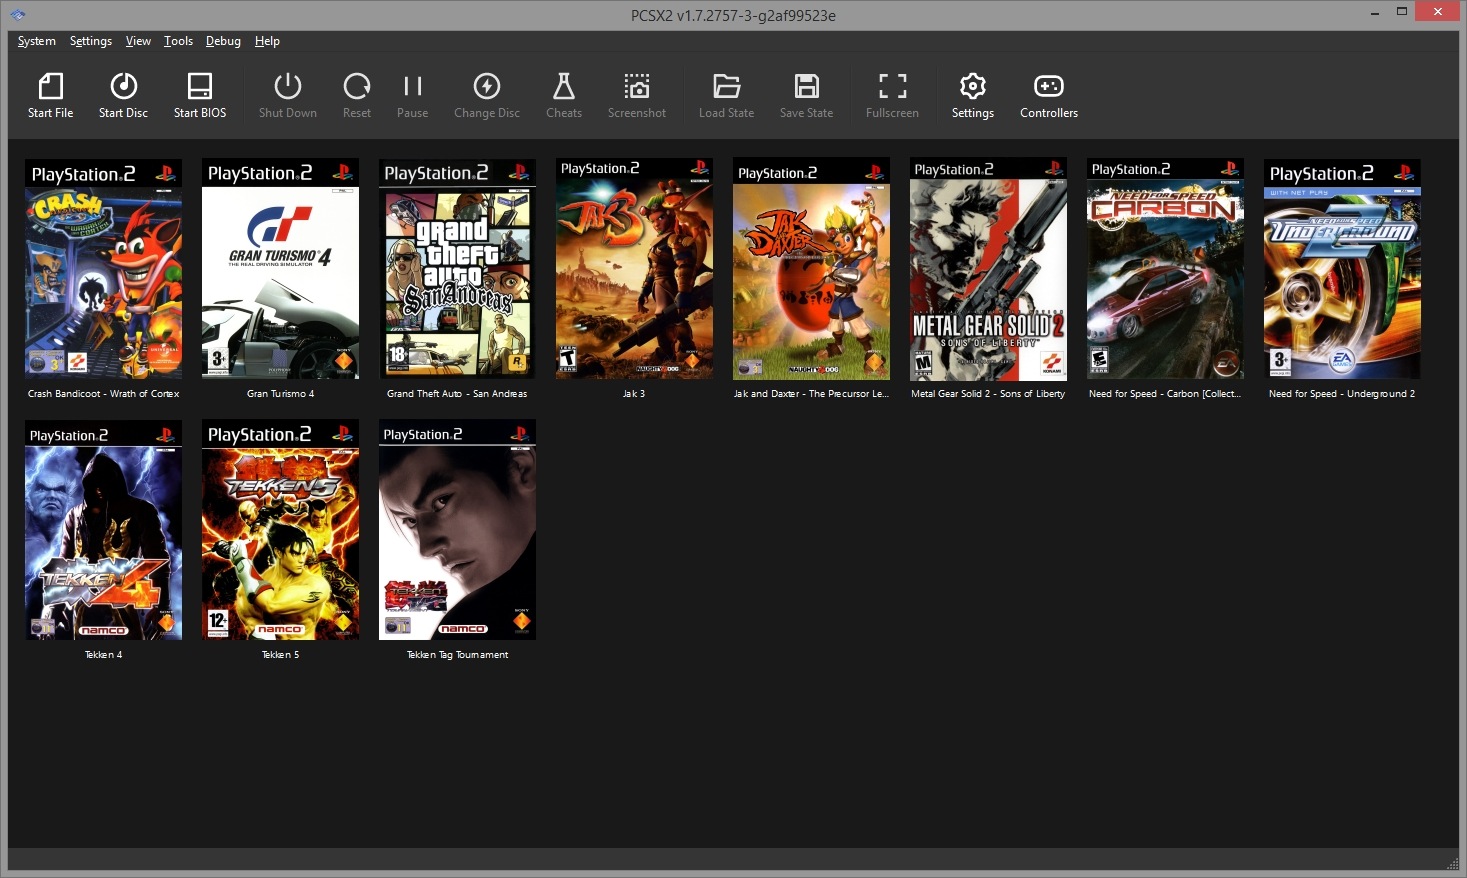
- Select a Racing Game: Launch a racing game of your choice within PCSX2, ensuring that it supports the use of external controllers such as racing wheels. Popular titles such as “Gran Turismo” or “Need for Speed” provide immersive racing experiences that are well-suited for testing the capabilities of your racing wheel.
- Assess Control and Responsiveness: Once in-game, pay close attention to the control and responsiveness of the racing wheel. Test the steering inputs, pedal control, and any additional features of the racing wheel to gauge how effectively it translates your physical actions into in-game maneuvers. Evaluate the accuracy of steering, the smoothness of pedal inputs, and the overall feel of the racing wheel’s performance.
- Experience Immersive Gameplay: Immerse yourself in the virtual racing experience, leveraging the capabilities of your racing wheel to navigate challenging tracks, execute precise maneuvers, and feel the adrenaline of high-speed racing. Engage with the game’s mechanics and environments, leveraging the enhanced control offered by the racing wheel to elevate your gameplay to new heights.
- Refine Settings Based on Testing: Throughout the testing phase, take note of any areas where the racing wheel’s performance can be further optimized. Whether it’s fine-tuning sensitivity, adjusting pedal response, or customizing button mappings, use the testing phase to identify opportunities for refinement and enhancement.
By thoroughly testing the racing wheel within PCSX2, you’ll gain valuable insights into its performance and suitability for virtual racing experiences. The testing phase serves as an opportunity to fine-tune the racing wheel’s settings, ensuring that it aligns with your preferences and delivers an immersive and responsive gameplay experience. With the testing phase complete, you’re ready to embark on thrilling virtual races with confidence in your racing wheel’s capabilities.


