Introduction
Are you ready to relive the nostalgia of classic video games on your computer? Emulators are the gateway to revisiting beloved titles from the past, and with the right configuration, you can use a game controller to enhance the experience. By configuring a game controller on an emulator, you can enjoy a more authentic and immersive gaming session, reminiscent of the golden era of gaming consoles.
Emulators simulate the hardware and software of a gaming console, allowing you to play console games on your computer. While many emulators support keyboard input, using a game controller can provide a more intuitive and enjoyable gaming experience, especially for games originally designed for consoles. Whether you're a fan of retro games or seeking a convenient way to play modern titles, setting up a game controller on an emulator can elevate your gaming experience to new heights.
In this guide, we will explore the step-by-step process of configuring a game controller on an emulator. From selecting the right emulator to testing the controller, each stage is crucial to ensure a seamless and enjoyable gaming experience. By the end of this tutorial, you will be equipped with the knowledge and skills to connect and configure your game controller, unlocking the full potential of your favorite emulator. So, grab your controller, and let's embark on this exciting journey to enhance your gaming experience!
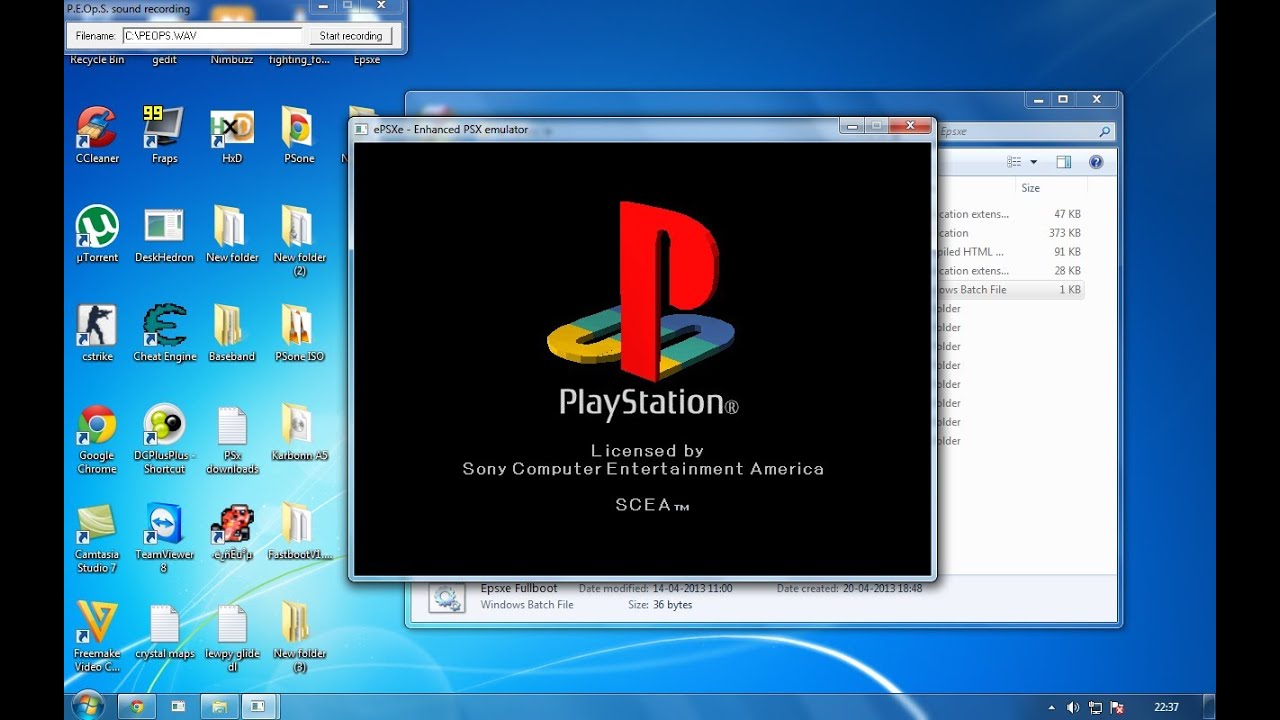
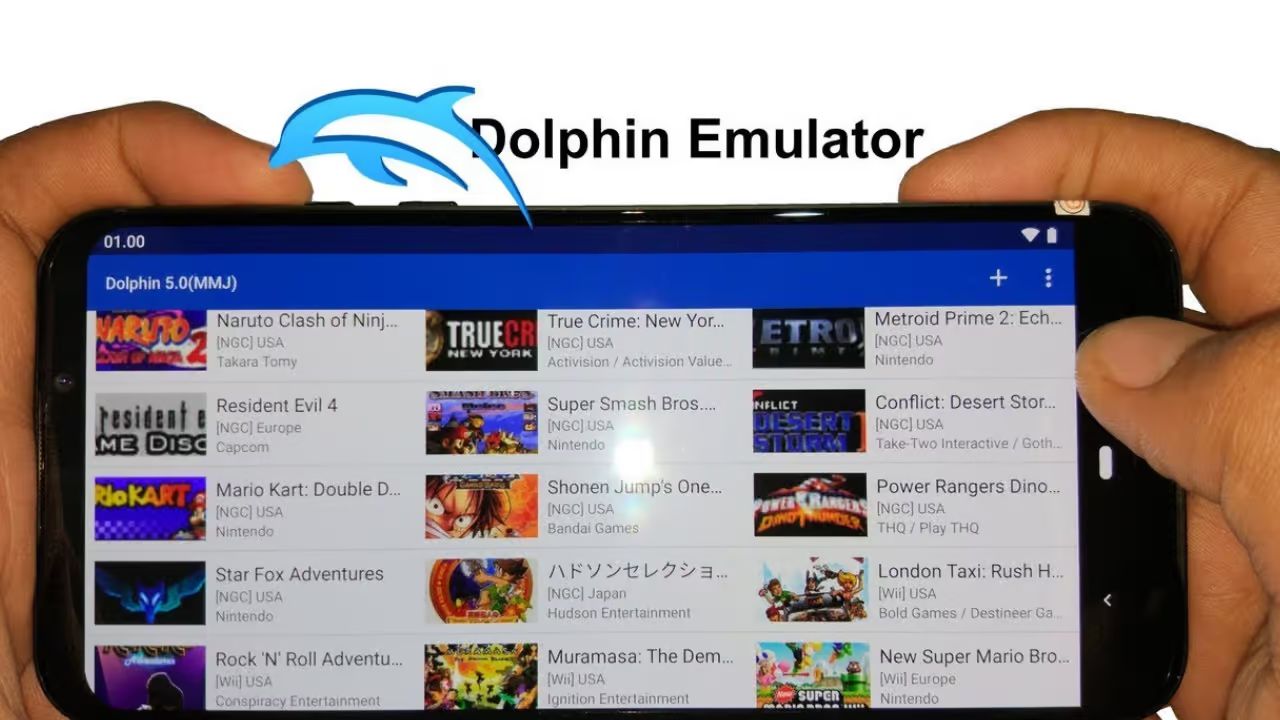
Choosing the Right Emulator
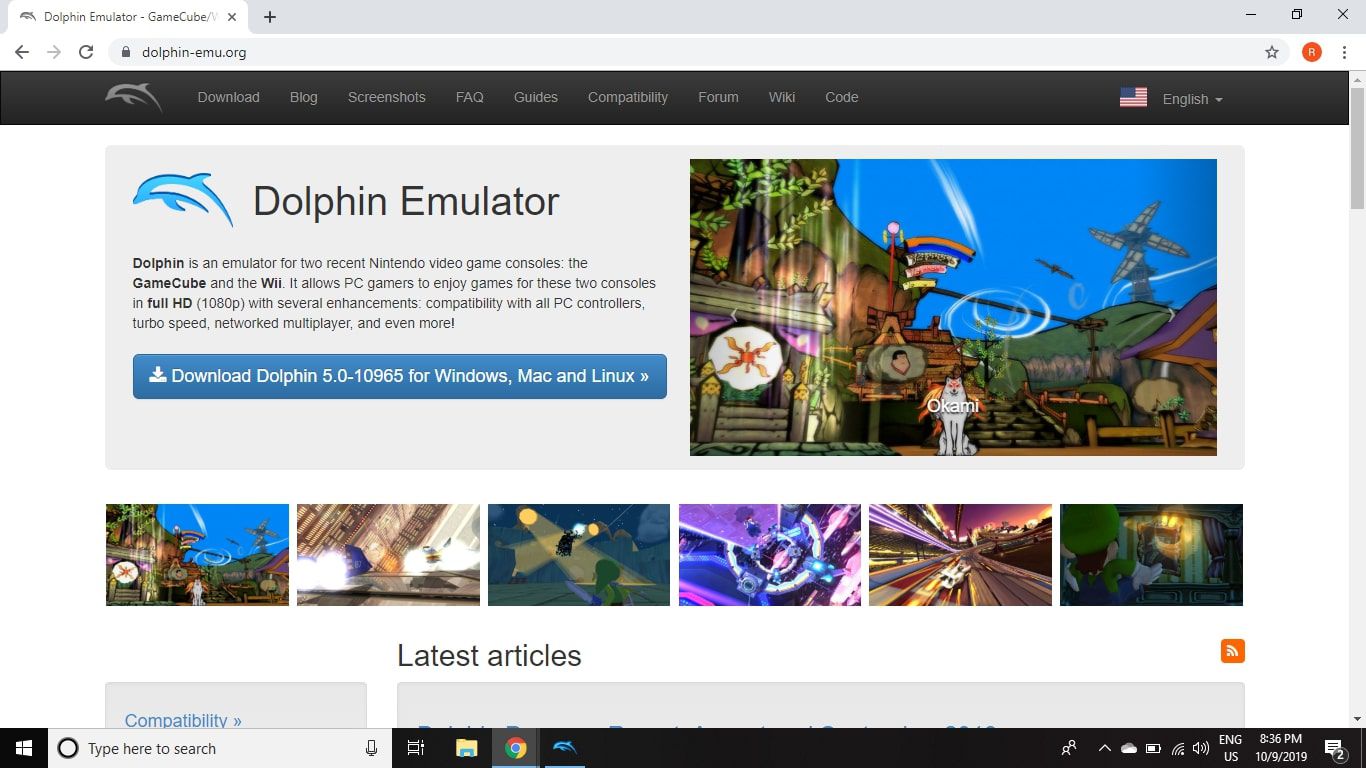
Before embarking on the journey of configuring a game controller, it is essential to select the right emulator for your gaming needs. Emulators come in various forms, each tailored to emulate specific gaming consoles, such as Nintendo Entertainment System (NES), Super Nintendo Entertainment System (SNES), Sega Genesis, PlayStation, and more. When choosing an emulator, consider the following factors to ensure compatibility and optimal performance:
- Platform Compatibility: Determine the platform for which the emulator is designed. Some emulators are exclusive to Windows, while others are compatible with macOS, Linux, and even mobile devices. Ensure that the emulator is compatible with your operating system to avoid compatibility issues.
- Game Compatibility: Research the emulator’s compatibility with the games you intend to play. While most emulators support a wide range of games, some may have limitations or require additional configurations for specific titles. Look for user reviews and compatibility lists to gauge the emulator’s performance with your desired games.
- Controller Support: Check if the emulator natively supports game controllers. Some emulators have built-in support for popular controllers, while others may require additional plugins or configurations. Choosing an emulator with native controller support can streamline the configuration process.
- Performance and Stability: Assess the emulator’s performance and stability. Look for emulators that offer smooth gameplay, minimal input lag, and frequent updates to address bugs and improve compatibility. A well-maintained emulator can provide a seamless gaming experience.
Once you have identified an emulator that aligns with your preferences and requirements, download and install it on your computer. Familiarize yourself with the emulator’s interface and settings, as these will be instrumental in configuring the game controller effectively. With the right emulator at your disposal, you are one step closer to integrating your game controller for an immersive gaming experience.
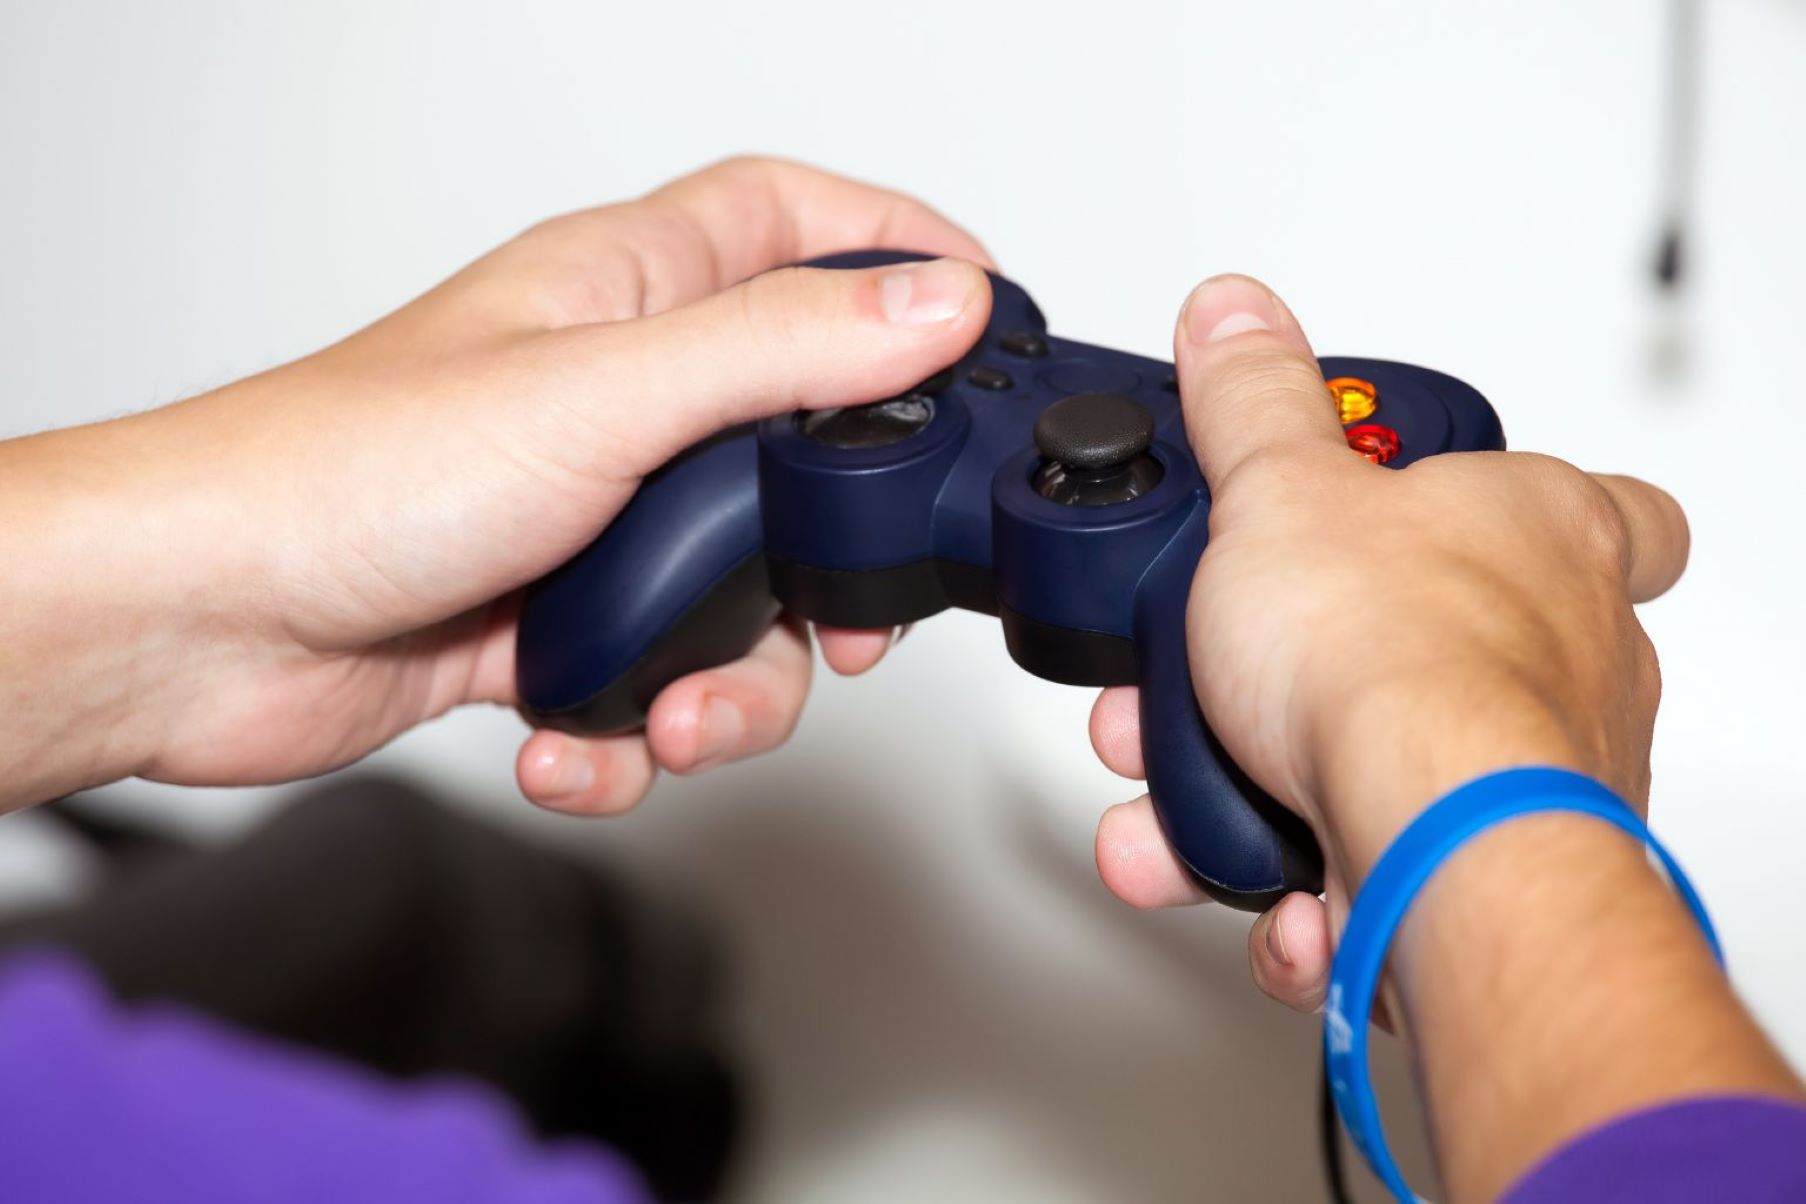
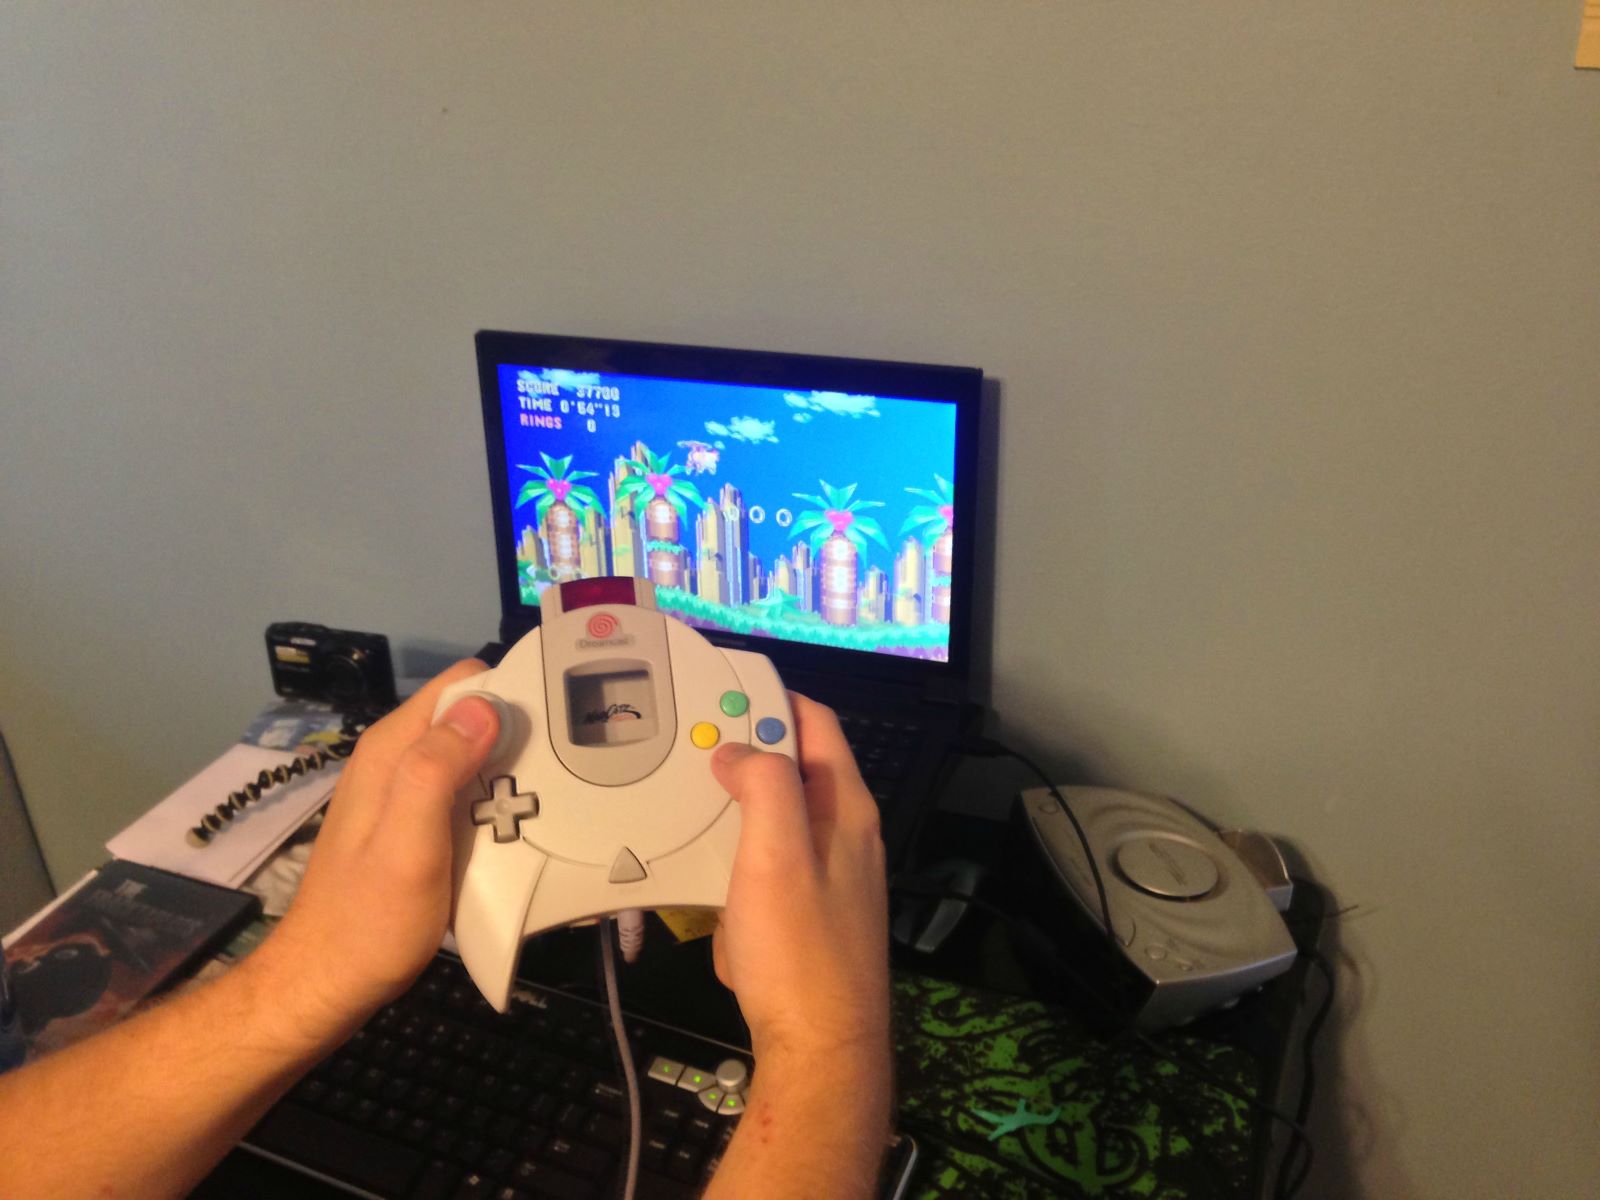
Connecting the Game Controller
Now that you have selected the suitable emulator for your gaming escapades, it’s time to connect your game controller to your computer. The method of connecting a game controller varies depending on the type of controller you have. Whether you’re using a wired USB controller or a wireless Bluetooth controller, the following steps will guide you through the process of establishing a connection:
- Wired USB Controller: If you have a wired USB game controller, simply plug the USB connector into an available USB port on your computer. Most modern operating systems automatically detect and install the necessary drivers for the controller. Once connected, the controller should be ready for configuration within the emulator.
- Wireless Bluetooth Controller: For wireless controllers that utilize Bluetooth connectivity, ensure that your computer has Bluetooth capability. Enable Bluetooth on your computer and put your controller in pairing mode. Once the controller appears in the list of available Bluetooth devices, select it to establish a connection. Follow any on-screen prompts to complete the pairing process.
After successfully connecting your game controller to your computer, it’s essential to verify that the controller is recognized and responsive. Navigate to the control panel or system preferences on your computer to confirm that the controller is listed as a connected device. If the controller is detected and responsive, you are now ready to proceed with configuring the controller settings within the emulator.
Ensuring a stable and reliable connection between your game controller and computer is paramount for a seamless gaming experience. By following these straightforward steps, you can establish a solid connection and prepare to delve into the world of gaming with your preferred controller at the helm.
Configuring the Controller Settings
With your game controller successfully connected to your computer, the next crucial step is to configure the controller settings within the emulator. This process allows the emulator to recognize and map the controller’s inputs, ensuring seamless integration with your chosen games. The configuration steps may vary depending on the emulator, but the general process typically involves the following key elements:
- Controller Configuration Menu: Access the controller configuration menu within the emulator. This menu is where you can map the physical buttons and analog sticks on your controller to the corresponding inputs recognized by the emulator. Look for options such as “Input Settings,” “Controller Configuration,” or “Input Mapping” within the emulator’s settings or preferences.
- Mapping Controller Inputs: Once in the controller configuration menu, follow the on-screen instructions to map each button and axis on your controller. This typically involves selecting a virtual input (such as “A” for the A button on a classic gamepad) and then pressing the corresponding physical button on your controller to map it. Repeat this process for all buttons and analog inputs on your controller.
- Testing and Fine-Tuning: After mapping the controller inputs, test the configured settings within the emulator. Launch a game and verify that the controller inputs are responsive and accurately mapped. Fine-tune the settings as needed to ensure optimal responsiveness and compatibility with your games.
It’s important to note that some emulators may offer pre-configured controller profiles for popular gamepads, simplifying the setup process for users. If your controller model is supported by a pre-configured profile, consider selecting it to streamline the configuration process.
Additionally, advanced users may have the option to customize input profiles, dead zones, sensitivity settings, and more, allowing for a tailored gaming experience that suits individual preferences. Exploring these advanced settings can further enhance the precision and responsiveness of your game controller within the emulator.
By meticulously configuring the controller settings within the emulator, you can unlock the full potential of your game controller, creating a seamless and immersive gaming environment that mirrors the experience of playing on a physical gaming console. With the controller settings fine-tuned to your liking, you are now ready to put your configured game controller to the test.
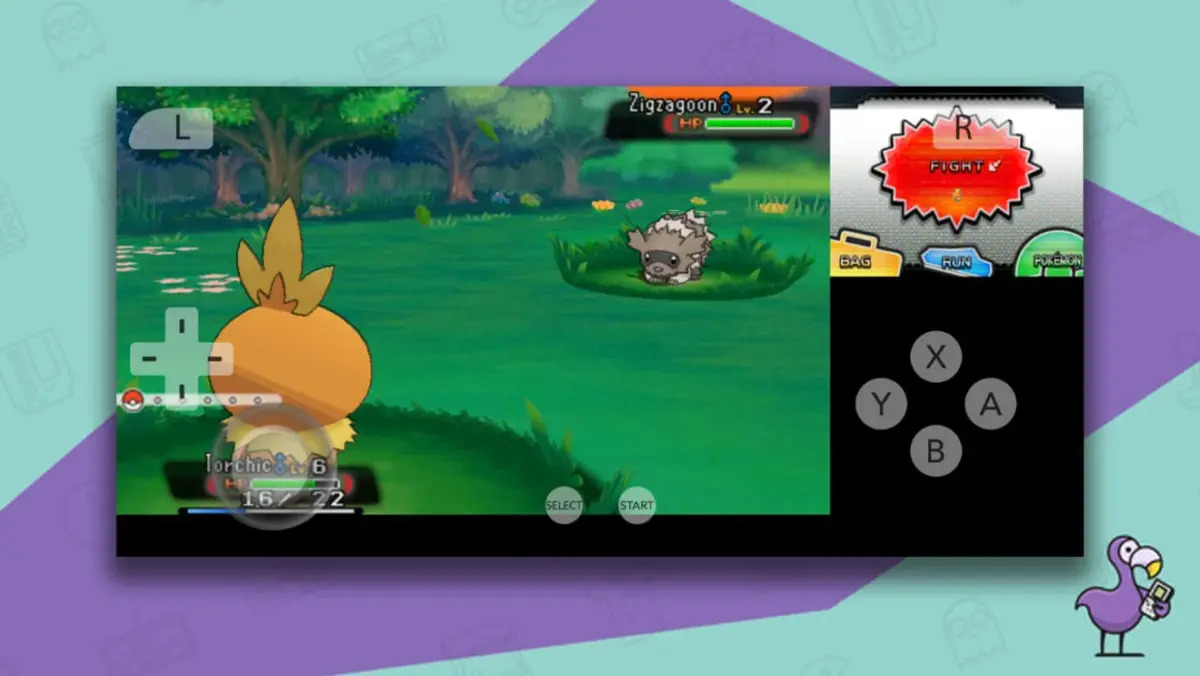
Testing the Controller
After configuring the controller settings within the emulator, it’s time to put your meticulously mapped controller to the test. Testing the controller involves launching games within the emulator and ensuring that the controller inputs are responsive, accurately mapped, and capable of delivering an immersive gaming experience. The following steps will guide you through the process of testing your configured game controller:
- Game Launch: Select a game within the emulator that you have configured the controller for. Choose a title that you are familiar with or eager to experience using your game controller. Launch the game to initiate the testing phase.
- Controller Responsiveness: Once in-game, test each button and analog stick on your controller to gauge its responsiveness. Verify that the mapped inputs correspond accurately to the actions within the game. For example, pressing the “A” button on your controller should perform the corresponding action in the game without delay or inconsistency.
- Gameplay Experience: Engage in gameplay using your configured game controller and assess the overall experience. Pay attention to the fluidity of controls, the accuracy of input recognition, and the overall comfort and enjoyment derived from using the controller. A well-configured controller should seamlessly integrate with the gameplay, enhancing your immersion in the gaming world.
During the testing phase, take note of any issues or areas for improvement in the controller’s performance. If you encounter input lag, unresponsive buttons, or other anomalies, revisit the controller configuration menu within the emulator to fine-tune the settings. Iterative testing and adjustment can lead to an optimized controller setup that aligns perfectly with your gaming preferences.
Furthermore, exploring various game genres and scenarios during testing can provide a comprehensive assessment of the controller’s performance across different gaming experiences. Whether you’re navigating platforming challenges, engaging in fast-paced action, or solving puzzles, the controller should adapt seamlessly to each gameplay style, enhancing your overall enjoyment.
By thoroughly testing your configured game controller across different games and genres, you can ensure that the controller settings are tailored to deliver a consistent and immersive gaming experience. Embrace the testing phase as an opportunity to fine-tune your controller setup, ultimately paving the way for countless hours of nostalgic gaming bliss and modern gaming excitement.
Conclusion
Congratulations on successfully configuring your game controller on an emulator! Through the careful selection of the right emulator, establishing a solid connection with your game controller, meticulously configuring the controller settings, and conducting thorough testing, you have unlocked a world of gaming possibilities on your computer. The seamless integration of a game controller with an emulator has not only revived the nostalgia of classic titles but also opened the door to a diverse range of gaming experiences, all tailored to your preferences and play style.
By choosing an emulator that aligns with your gaming needs and preferences, you have laid the foundation for an immersive and enjoyable gaming environment. The compatibility, performance, and controller support offered by the selected emulator have set the stage for a seamless integration with your game controller, elevating your gaming experience to new heights.
Connecting your game controller to your computer and ensuring a stable connection was a pivotal step in the configuration process. The successful establishment of a reliable connection has paved the way for seamless gameplay and responsive controller inputs, essential for an authentic gaming experience.
Configuring the controller settings within the emulator allowed you to map the physical buttons and analog sticks to their virtual counterparts, ensuring precise and accurate input recognition. Fine-tuning these settings, exploring advanced configurations, and leveraging pre-configured profiles have collectively contributed to a tailored gaming experience that mirrors the familiarity and comfort of playing on a physical gaming console.
Through comprehensive testing across various games and genres, you have validated the responsiveness, accuracy, and overall performance of your configured game controller. The testing phase served as a crucial opportunity to refine the controller settings, address any performance issues, and ultimately solidify the controller’s seamless integration with the emulator.
As you embark on your gaming journey with a meticulously configured game controller on an emulator, embrace the immersive experiences, nostalgic throwbacks, and exciting adventures that await. Your dedication to configuring and testing the game controller has empowered you to relive classic gaming moments and explore new titles with a level of comfort and familiarity that only a well-configured game controller can provide.
With your game controller seamlessly integrated with the emulator, the world of gaming is at your fingertips. So, grab your controller, launch your favorite game, and immerse yourself in the captivating realm of virtual adventures, all enhanced by the seamless fusion of a game controller and an emulator.