Introduction
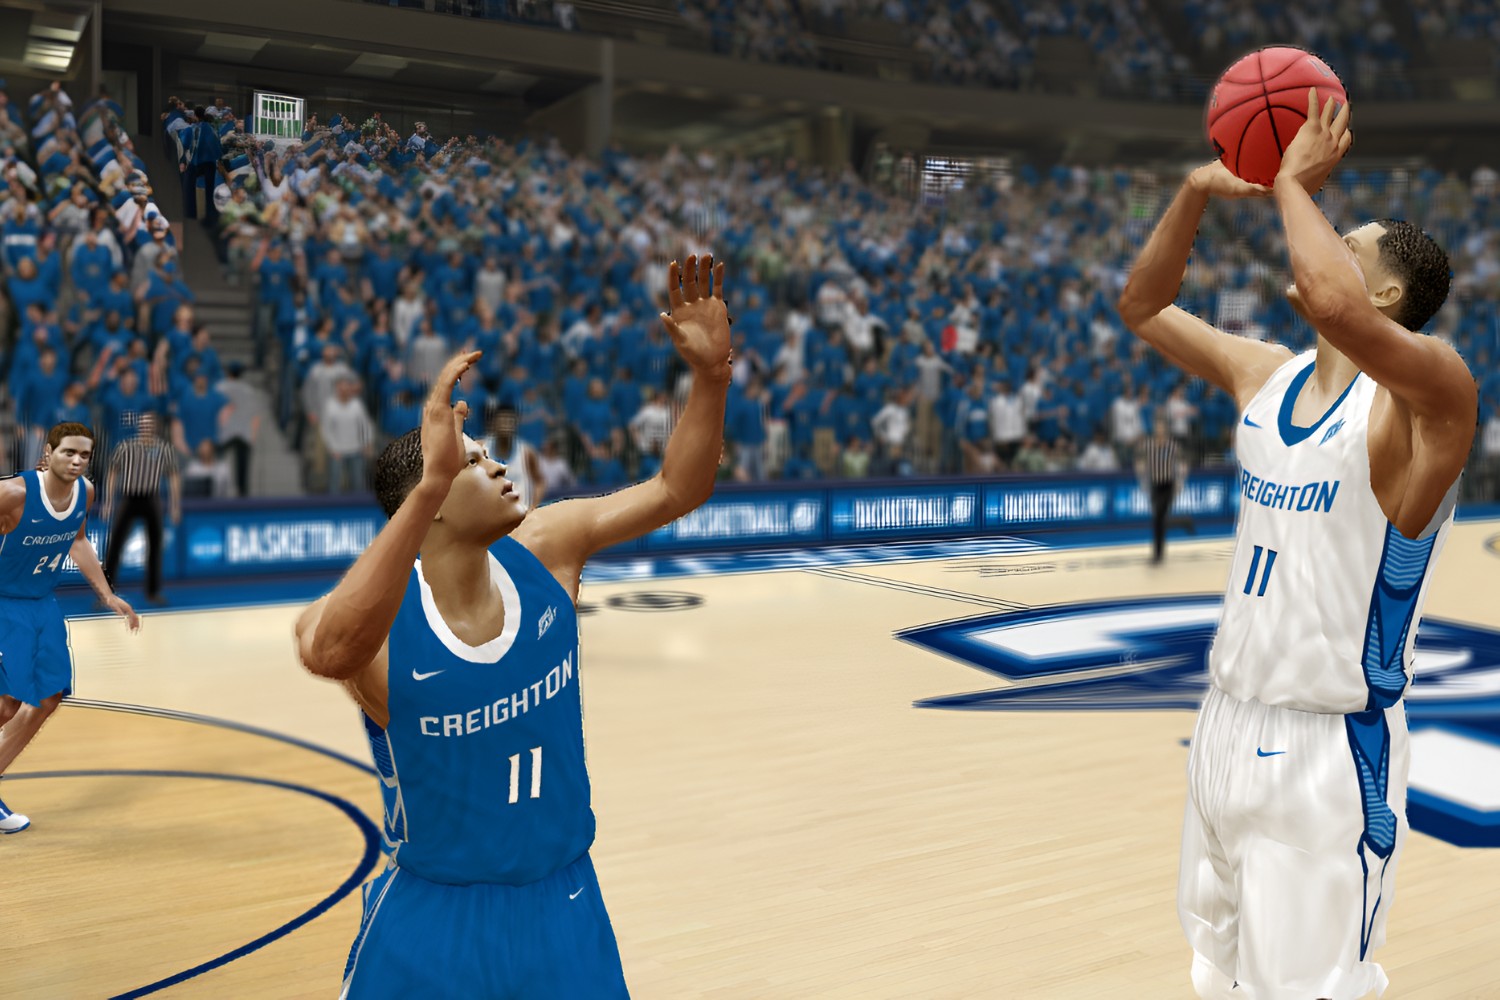
Welcome to the world of college football gaming! If you’re a fan of the NCAA Football series and want to experience the excitement of playing NCAA 14 on your PC, you’re in luck. In this guide, we’ll walk you through the steps to download and play NCAA 14 using an emulator, bringing the thrill of college football right to your computer screen.
NCAA 14, developed by EA Sports, is one of the most beloved college football games ever released. Unfortunately, it’s only available for consoles like Xbox 360 and PlayStation 3, leaving PC gamers with no official version of the game. However, through the use of emulators, you can still enjoy NCAA 14 on your PC and engage in thrilling matches, create your own dynasty, and compete for the national championship.
Before we dive into the details, it’s important to note that downloading and playing NCAA 14 on PC using an emulator may potentially infringe on copyright laws, as it involves using game files for which you may not have obtained legal ownership. Make sure to consider the legal implications and your personal ethics before proceeding with the steps outlined in this guide.
Now that we have the necessary disclaimers out of the way, let’s get started! To successfully play NCAA 14 on your PC, you’ll need to follow a series of steps, starting with downloading the emulator and acquiring the game files. Don’t worry – we’ll guide you through each stage of the process to ensure a smooth and enjoyable gaming experience.
Requirements
Before you begin the process of playing NCAA 14 on your PC, there are a few requirements you’ll need to meet. Here is what you’ll need:
- A computer running Windows or macOS
- A reliable internet connection for downloading the necessary files
- A compatible game controller or keyboard for gameplay
- Enough storage space on your computer to accommodate the emulator and game files
- An emulator software capable of running Xbox 360 or PlayStation 3 games
- The NCAA 14 ISO file, which can be obtained through various sources (keep in mind the legal implications mentioned earlier)
When it comes to choosing an emulator, there are a few options available, such as Xenia for Xbox 360 games and RPCS3 for PlayStation 3 games. These emulators have been developed by dedicated teams of programmers and are constantly being improved to enhance compatibility and performance.
For optimum gaming experience, it’s recommended to have a computer with a decent processor and graphics card to handle the demands of the emulator and game. While you don’t need a top-of-the-line gaming rig, a moderately powerful machine will help ensure smooth gameplay without any significant lag or performance issues.
Additionally, having a comfortable game controller or a keyboard with customizable controls is essential. NCAA 14 requires precise button inputs, and having a controller that you’re familiar with and comfortable using will greatly enhance your enjoyment of the game.
Once you have all the necessary requirements in place, you’re ready to move on to the next steps in the process. In the following sections, we’ll guide you through downloading the emulator, acquiring the game files, configuring the settings, and finally, getting into the gameplay itself.
Step 1: Downloading the Emulator
The first step in playing NCAA 14 on your PC is to download the emulator software. As mentioned earlier, there are different emulators available for Xbox 360 and PlayStation 3 games.
If you’re planning to play NCAA 14 using an Xbox 360 emulator, a popular choice is Xenia. To download Xenia, follow these steps:
- Open your web browser and navigate to the official Xenia website.
- Look for the “Downloads” section on the website and click on it.
- Choose the appropriate version of Xenia for your operating system (Windows or macOS).
- Click on the download link to start the download process.
- Once the download is complete, locate the installation file on your computer and run it.
- Follow the on-screen instructions to install Xenia on your computer.
If you prefer to play NCAA 14 using a PlayStation 3 emulator, one of the best options is RPCS3. To download RPCS3, proceed as follows:
- Visit the official RPCS3 website using your web browser.
- Navigate to the “Download” section on the website.
- Choose the appropriate version of RPCS3 for your operating system.
- Click on the download link to initiate the download.
- Once the download is finished, locate the installation file and run it.
- Follow the instructions provided in the setup wizard to install RPCS3 on your computer.
After successfully downloading and installing the emulator of your choice, you’re one step closer to playing NCAA 14 on your PC. In the next section, we’ll discuss how to obtain the necessary NCAA 14 ISO file.
Step 2: Obtaining the NCAA 14 ISO file
In order to play NCAA 14 on your PC using an emulator, you’ll need to obtain the game’s ISO file. An ISO file is an exact copy of the game disc that can be used to run the game on your computer.
It’s important to note that obtaining game files through unauthorized means may violate copyright laws. We advise you to obtain the game legally if possible, such as by purchasing a physical copy of NCAA 14 for Xbox 360 or PlayStation 3.
If you already own a physical copy of the game, you can create an ISO file from the disc using software such as ImgBurn (for Windows) or Disk Utility (for macOS).
However, if you don’t have access to a physical copy of the game, you may need to search for the NCAA 14 ISO file from alternative sources. Various websites offer game ISO files for download, but it’s essential to exercise caution and ensure that you’re obtaining the file from a reputable and trustworthy source.
When searching for the NCAA 14 ISO file, make sure to include relevant keywords such as “NCAA 14 ISO download” or “NCAA Football 14 ISO file.” Take the time to research and read user reviews or comments to determine the legitimacy and safety of the source.
Once you’ve found a trusted source to download the NCAA 14 ISO file, follow these general steps:
- Click on the download link or button provided on the website.
- Be patient as the file may be large and take some time to download, depending on your internet connection speed.
- Once the download is complete, locate the file on your computer.
- It’s always a good idea to scan the file for viruses or malware before proceeding. Use an up-to-date antivirus program to ensure your computer’s safety.
By obtaining the NCAA 14 ISO file, you’re now ready to proceed to the next step: installing the emulator and the game. We’ll guide you through this process in the following section.
Step 3: Installing the Emulator and the Game
Now that you have downloaded the emulator and obtained the NCAA 14 ISO file, it’s time to install the emulator and get the game ready for play on your PC. Follow these steps to install the emulator and game:
- Locate the emulator file that you downloaded in Step 1 and run the installer.
- Follow the on-screen instructions to complete the installation process. Make sure to choose the appropriate installation options and destination folder.
- Once the emulator is installed, open the emulator software on your PC.
- If required, you might need to perform additional setup steps, such as configuring BIOS files for the emulator. Check the documentation or online guides specific to the emulator you’re using for detailed instructions.
- After setting up the emulator, locate the NCAA 14 ISO file that you obtained in Step 2.
- In the emulator software, look for an option to load or mount the ISO file.
- Select the option to browse for the NCAA 14 ISO file and choose it from its location on your computer.
- Click on the “Load” or “Mount” button to begin the process of loading the game.
- Wait for the emulator to load the game, which may take a few moments.
Once the game is successfully loaded, you’re ready to dive into the action! The emulator should present you with options to start the game or access its settings. Make sure to personalize any desired options or settings based on your preferences.
By completing this step, you have successfully installed the emulator and loaded the NCAA 14 game on your PC. In the next section, we’ll guide you through configuring the emulator settings for optimal performance and customization.
Step 4: Configuring the Emulator Settings
Once you have installed the emulator and loaded the NCAA 14 game, it’s important to configure the emulator settings to ensure optimal performance and customization. Follow these steps to configure the emulator settings:
- Open the emulator software on your PC if it’s not already open.
- Look for a settings or configuration menu within the emulator. This may be accessible through a toolbar, drop-down menu, or settings icon.
- Explore the various settings available, such as graphics, audio, gamepad controls, and system settings.
- Adjust the graphics settings based on your computer’s capabilities and personal preferences. You may have options for resolution, anti-aliasing, texture filtering, and more. Experiment with these settings to achieve the desired balance between visual quality and performance.
- Configure the audio settings to your liking. You may have options to adjust volume levels, audio output devices, and audio enhancements.
- If you’re using a gamepad, ensure that it is properly detected by the emulator. Check the input or controller settings to map the buttons according to your preference.
- In addition, explore the system settings available in the emulator. These settings might include power management, save and load states, screenshot capabilities, and network settings.
- Take some time to familiarize yourself with these settings and customize them according to your preferences for an optimal gaming experience.
- Once you have configured the settings to your satisfaction, save or apply the changes.
Configuring the emulator settings helps to optimize the gameplay experience, ensure smooth performance, and tailor the controls and visuals to your liking. Experiment with different settings until you find the perfect balance for your PC and personal preferences.
Now that you have configured the emulator settings, you’re ready to move on to the next step: customizing the controls. In the next section, we’ll guide you through the process of customizing the controls to suit your gameplay style.
Step 5: Customizing Controls
Customizing the controls is an essential step in ensuring a smooth and enjoyable gaming experience while playing NCAA 14 on your PC. Follow these steps to customize the controls to your preference:
- Open the emulator software on your PC if it’s not already open.
- Access the controller or input settings within the emulator. This is where you can customize the controls.
- If you’re using a gamepad or controller, make sure it is properly connected to your PC and recognized by the emulator.
- Depending on the emulator, you will find options to map the various buttons and analog sticks of your controller to the corresponding actions in the game.
- Click on each control or button mapping option and follow the prompts to assign the desired physical control to the corresponding action.
- Take note of the default control scheme in NCAA 14 and consider if it feels comfortable to you. If not, customize the controls to match your preferred layout and button assignments.
- Test the controls to ensure they are working as intended. Make any necessary adjustments if certain buttons are unresponsive or if the controls feel awkward or unintuitive.
- Save your customized control settings.
Customizing the controls allows you to play NCAA 14 on your PC in a way that feels natural and comfortable to you. By mapping the buttons and analog sticks to your preferred configuration, you can enhance your gameplay performance and overall enjoyment of the game.
Now that you have customized the controls, you’re ready to move on to the next step: starting the game. In the next section, we’ll guide you through the process of launching NCAA 14 on your PC and explain the gameplay basics.
Step 6: Starting the Game
After completing the previous steps, you’re now ready to start playing NCAA 14 on your PC! Follow these steps to initiate the game:
- Ensure that your controller or keyboard is properly connected to your PC.
- Open the emulator software on your PC if it’s not already open.
- In the emulator, navigate to the game library or game list.
- Locate NCAA 14 in the list and select it.
- Click on the “Start” or “Play” button to launch the game.
- Wait for the game to load. This may take a few moments, depending on your computer’s processing speed and the complexity of the game.
- Once the game has loaded, you should see the main menu of NCAA 14 on your screen.
- From here, you can choose different game modes, such as “Play Now,” “Dynasty,” or “Road to Glory.”
- Select the desired mode and start your journey into the world of college football gaming.
Congratulations! You have successfully started NCAA 14 on your PC using the emulator. Take some time to explore the various game modes, navigate the menus, and get familiar with the controls. Immerse yourself in the thrilling virtual world of college football and experience the excitement of playing NCAA 14 right on your computer.
In the next sections, we’ll provide some tips and tricks to improve your performance and offer guidance on navigating menus and modes in NCAA 14.
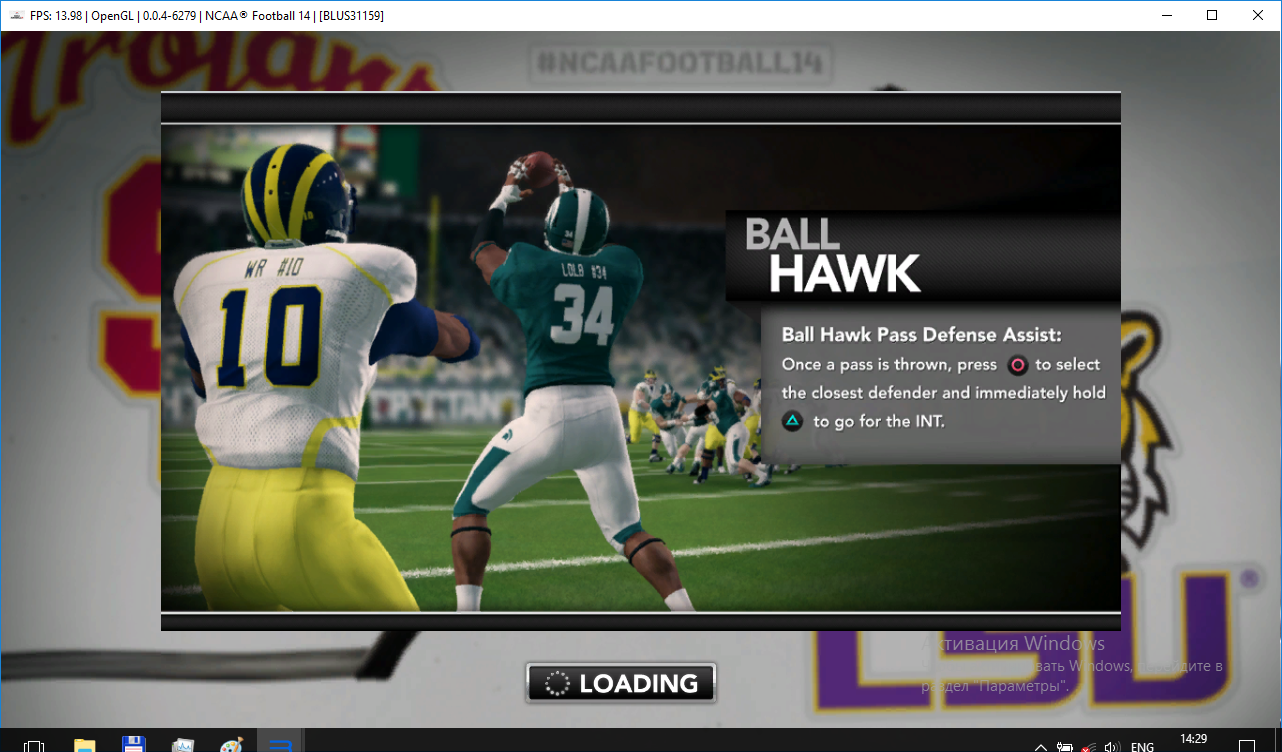
Step 7: Understanding Gameplay Basics
Now that you have started playing NCAA 14 on your PC, it’s essential to familiarize yourself with the gameplay basics. Understanding the core mechanics and controls will help you become a more skilled player and enjoy the game to its fullest. Here are some key gameplay basics to keep in mind:
- Movement: Use the left analog stick on your controller or the arrow keys on your keyboard to control the movement of your player.
- Passing: Press the designated button to throw a pass to one of your receivers. Aim using the analog stick or arrow keys.
- Rushing: Hold down the designated button to sprint with the ball carrier or perform special moves such as spins or jukes.
- Tackling: Use the designated button to initiate a tackle on the opposing player with the ball.
- Kicking: When attempting field goals or extra points, carefully time your button press to ensure accuracy and power.
- Playcalling: Choose offensive and defensive plays from the playbook by navigating through the menus and selecting the desired play.
- Defense: Control the defensive players and strategically position them to disrupt the offense and prevent scoring.
- Game Flow: The game consists of multiple quarters, and you’ll need to manage the clock and make strategic decisions to outscore your opponent.
Keep in mind that practice makes perfect when it comes to gameplay. Spend time experimenting with different strategies, mastering the controls, and becoming familiar with the nuances of NCAA 14’s gameplay mechanics. The more you play, the better you’ll become at executing plays, reading the game, and making split-second decisions.
Now that you’re equipped with the gameplay basics, let’s move on to the next section, where we’ll guide you through navigating menus and modes in NCAA 14.
Step 8: Navigating Menus and Modes
Navigating menus and modes is an important aspect of playing NCAA 14 on your PC. Understanding how to navigate through the various menus and modes will allow you to customize your experience and fully enjoy the game. Here are the steps to navigate menus and modes in NCAA 14:
- Main Menu: When you first start the game, you’ll be greeted by the main menu. Here, you’ll find options to choose game modes, adjust settings, and access various features of NCAA 14.
- Game Modes: NCAA 14 offers a variety of game modes, including “Play Now,” “Dynasty,” “Road to Glory,” and more. Select the desired mode to embark on your preferred gameplay experience.
- Play Now: In this mode, you can quickly jump into a single game or matchup of your choice. Select your teams, adjust settings if desired, and start the game.
- Dynasty: This mode allows you to create and manage your own college football dynasty. You can recruit players, schedule games, upgrade facilities, and lead your team to success over multiple seasons.
- Road to Glory: In this mode, you create and control a single player’s journey from high school to college football stardom. Improve your player’s skills and reputation as you strive for greatness.
- Menus and Submenus: Within each game mode, you’ll encounter menus and submenus where you can access different features and options. Use the controller or keyboard controls to navigate through these menus and make selections.
- Settings: NCAA 14 offers various settings that you can customize to your preference. These include audio settings, difficulty levels, presentation options, and more. Explore the settings menu to personalize your gameplay experience.
- Saving and Loading: NCAA 14 allows you to save your progress and load previously saved games. Utilize the save and load options in the appropriate menus to continue your gaming sessions or go back to a specific point in time.
Take your time to explore and navigate through the menus and modes of NCAA 14. Experiment with different game modes, customize settings, and immerse yourself in the world of college football gaming on your PC.
In the next section, we’ll provide some tips and tricks to help you enhance your performance and optimize the gameplay experience in NCAA 14.
Step 9: Tips and Tricks for Better Performance
To elevate your gameplay experience in NCAA 14 on PC, here are some helpful tips and tricks to enhance your performance and optimize the overall experience:
- Master the Controls: Spend time practicing and familiarizing yourself with the controls. Understanding the button placements and timing will enable you to execute plays more effectively.
- Study the Playbook: Take the time to understand the different offensive and defensive plays in the playbook. Knowing the strengths and weaknesses of each play will help you make strategic decisions on the field.
- Manage the Clock: Time management is crucial in NCAA 14. Learn when to run the clock down, conserve time-outs, and make quick decisions to maximize your scoring opportunities.
- Utilize Audibles and Hot Routes: Experiment with audibles and hot routes to adjust your offensive playcalling at the line of scrimmage. This flexibility can help you exploit defensive weaknesses and keep your opponent guessing.
- Play to Your Team’s Strengths: Understand the strengths and weaknesses of your team, and build your game plan around them. Whether it’s a strong running game, a reliable defense, or a dynamic passing attack, leverage your team’s assets for success.
- Monitor Fatigue and Injuries: Keep an eye on player fatigue and potential injuries during games. Substituting players at the right time can help maintain performance and prevent unnecessary risks.
- Practice Defensive Adjustments: Experiment with different defensive formations and strategies to counter your opponent’s offensive style. Making appropriate adjustments based on your opponent’s tendencies can greatly improve your defensive performance.
- Watch Game Tapes: After each game, take the time to watch replay highlights or review the entire game. Analyzing your gameplay can help you identify areas for improvement and refine your skills.
- Join Online Communities: Engage with the NCAA 14 community online. Participate in discussions, ask for advice, and share strategies with fellow players. Learning from others can open new pathways to improve your skills.
- Enjoy the Journey: Remember to have fun and enjoy the experience of playing NCAA 14 on your PC. Embrace the ups and downs of college football, celebrate your victories, and learn from your defeats.
By applying these tips and tricks, you’ll be well on your way to improving your performance and enjoying NCAA 14 to its fullest potential. Embrace the challenge, embrace the spirit of college football, and create unforgettable moments on your gaming journey.
Now that you’ve learned these valuable tips and tricks, feel free to put them into practice and experience the joy of playing NCAA 14 on your PC. The next section will wrap up this guide and summarize the key points we’ve covered throughout.
Conclusion
Congratulations! You have successfully learned how to play NCAA 14 on your PC using an emulator. By following the step-by-step guide outlined in this article, you’ve gained the knowledge and skills necessary to bring the excitement of college football gaming to your computer screen.
Throughout this guide, we covered the requirements needed to play NCAA 14 on your PC, the steps to download the emulator and acquire the game files, and the process of installing the emulator and the game. We also discussed how to configure the emulator settings, customize the controls, start the game, understand gameplay basics, navigate menus and modes, and provided some tips and tricks for better performance.
Keep in mind that playing NCAA 14 on your PC using an emulator may have legal implications, and it’s important to consider copyright and intellectual property laws. Always strive to obtain games through legal means and respect the rights of game developers and publishers.
Now that you are equipped with the knowledge to play NCAA 14 on your PC, don your virtual helmet and lead your team to victory. Experience the thrill of college football, create dynasties, and enjoy the immersive gameplay that NCAA 14 has to offer.
Remember, practice and patience are key to mastering the game. Embrace the challenges, learn from your mistakes, and continually improve your skills as you embark on your college football gaming journey.
Thank you for choosing this guide, and happy gaming!