Introduction
Emulators have revolutionized the gaming industry by allowing users to play classic video games on modern devices. Whether you’re a nostalgic gamer or someone looking to explore the rich history of gaming, emulators provide a convenient and immersive way to experience the games of yesteryear.
But what exactly is an emulator? In simple terms, an emulator is a software program that replicates the functions of a different system or device. It enables your computer or smartphone to mimic the behavior of a gaming console, computer, or other electronic devices.
The popularity of emulators is not just limited to gaming enthusiasts. They have also gained significant attention among developers, software testers, and those seeking to run specific applications designed for different platforms.
In this article, we will guide you through the process of downloading an emulator and playing games on it. Whether you’re an absolute beginner or a seasoned gamer, this step-by-step guide will help you get started.
Before we dive into the intricacies of downloading and configuring an emulator, let’s explore some of the reasons why you might want to use an emulator in the first place.
What is an Emulator?
An emulator is a software program that recreates the functionality of a specific hardware or software environment on a different platform. In the context of gaming, emulators are primarily used to mimic the behavior of gaming consoles, such as the Nintendo Entertainment System (NES), Super Nintendo (SNES), PlayStation, or Game Boy.
By emulating the hardware and software systems of these consoles, emulators allow users to play their favorite games directly on their computers or mobile devices without owning the original console or cartridges. This opens up a whole new world of possibilities for gamers, as they can relive their nostalgic gaming experiences or discover classic titles that they may have missed.
Emulators work by replicating the underlying system’s architecture, including the central processing unit (CPU), memory, sound chips, and graphics processing units (GPUs). This simulation allows the emulator to interpret and execute the game code, providing an authentic gaming experience on a different platform.
While emulators primarily focus on gaming consoles, they are not limited to them. Emulators also exist for computer systems, such as the Commodore 64 or the Amiga, allowing users to run old software or play retro games on modern hardware.
One important distinction to make is that emulators themselves do not contain any copyrighted games or software. They are merely the platform on which these games are played. Users are required to provide their own game files, commonly known as ROMs (Read-Only Memory) or ISOs (disc image files), which contain the game data. It is generally considered illegal to download or distribute copyrighted ROMs or ISOs without proper authorization.
Now that you have a basic understanding of what an emulator is, let’s explore some of the reasons why you might want to use one.
Why Use an Emulator?
There are several compelling reasons why you might want to use an emulator to play games:
- Access to Classic Games: Emulators give you the chance to play classic games from older consoles that may no longer be available in the market. Whether it’s reliving childhood memories or exploring the gaming history, emulators offer a gateway to the past.
- Cost-Saving: Purchasing original hardware and game cartridges can be expensive, especially for vintage consoles. Emulators eliminate the need to buy physical copies, allowing you to enjoy the games for free or at a fraction of the cost.
- Convenience: Instead of setting up multiple gaming consoles, emulators provide all-in-one accessibility. You can have a library of games from different consoles on a single device, saving space and minimizing clutter.
- Enhanced Gaming Experience: Emulators often offer additional features and options not present in the original hardware, such as improved graphics, customizable controls, and the ability to save and load game progress. These features enhance your overall gaming experience.
- Portability: Emulators allow you to play games on a variety of devices, including laptops, smartphones, and tablets. This means you can carry your favorite games with you wherever you go, eliminating the need for dedicated gaming consoles.
- Community and Modding: Emulator communities are active and vibrant, providing opportunities to connect with fellow enthusiasts, share experiences, and even modify games to enhance gameplay or introduce new content.
It is important to note that while emulators themselves are legal, the legality of downloading and using ROMs or ISOs can vary depending on the specific game and your jurisdiction’s laws. Always ensure you have the necessary permissions or own physical copies of the games you intend to play on an emulator.
Now that we have explored the benefits of using an emulator, let’s move on to the step-by-step process of downloading and setting up an emulator on your device.
Step 1: Researching Emulators
Before diving into the world of emulators, it’s essential to conduct thorough research to find the right emulator for your needs. With various emulators available for different consoles and platforms, choosing the right one will ensure a smooth gaming experience.
Here are some key factors to consider during your research:
- Platform Compatibility: Make sure the emulator you choose is compatible with your device’s operating system. Whether you’re using a Windows PC, Mac, Linux, or mobile devices like iOS or Android, there are different emulators available for each platform.
- Gaming Console Compatibility: Determine which console(s) you would like to emulate. Each emulator is designed to work with specific gaming consoles, such as NES, SNES, PlayStation, or Game Boy. Ensure that the emulator you choose supports the console(s) you want to play games on.
- User Interface: Look for an emulator with a user-friendly interface that is easy to navigate. A well-designed interface makes it easier to configure settings, load games, and access additional features.
- Performance and Compatibility: Check user reviews and forums to determine if the emulator performs well and is compatible with a wide range of games. Emulators can vary in terms of performance, stability, and compatibility with different game titles.
- Developer Support and Updates: Emulators that are actively maintained by developers tend to receive regular updates and bug fixes. Look for emulators that have an active community and receive regular support from developers to ensure a smooth gaming experience.
- Additional Features: Some emulators offer additional features like save states, cheat code support, and multiplayer functionality. Consider whether these features are important to you and look for emulators that provide them.
- Legal Considerations: Ensure that the emulator you choose adheres to legal standards and does not promote piracy. While emulators themselves are legal, downloading or using copyrighted ROMs without proper authorization is illegal. It’s best to use legally obtained game ROMs or ISOs.
By conducting comprehensive research, you can make an informed decision and select the emulator that best suits your requirements. Once you have chosen the emulator that fits your needs, you can proceed to the next step of downloading and installing the emulator.
Step 2: Choosing an Emulator
Now that you’ve conducted your research and have a good understanding of what you’re looking for in an emulator, it’s time to choose the specific emulator that will meet your gaming needs.
Here are some key factors to consider when choosing an emulator:
- Console Compatibility: Ensure that the emulator you choose supports the console(s) you want to play games from. Different emulators are designed to work with specific consoles, such as NES, SNES, PlayStation, or Game Boy. Check the emulator’s documentation or website to verify its supported consoles.
- Platform Compatibility: Consider the platform you will be using the emulator on. Whether you’re using a Windows PC, Mac, Linux, or a mobile device, such as iOS or Android, make sure the emulator is compatible with your operating system.
- Performance and Stability: Look for emulators that have a reputation for excellent performance and stability. Read user reviews, browse forums, and check the emulator’s website for information on performance optimizations and stability improvements.
- User Interface: Consider the user interface of the emulator. Look for an emulator with a clean and intuitive interface that allows easy navigation and configuration of settings. A user-friendly interface will ensure a smooth and enjoyable gaming experience.
- Community and Support: Check if the emulator has an active and supportive community. A strong community often means regular updates, bug fixes, and additional features. Having a community to turn to for help and support can greatly enhance your experience with the emulator.
- Features: Evaluate the additional features offered by the emulator. Some emulators provide features like save states, cheat code support, controller customization, and online multiplayer options. Consider the features that are important to you and choose an emulator that provides them.
- Legal Considerations: Ensure that the emulator you choose adheres to legal standards and does not promote piracy. Emulators themselves are legal, but downloading or using copyrighted ROMs without proper authorization is illegal. Make sure to use legally obtained game ROMs or ISOs.
By carefully considering these factors, you can choose an emulator that aligns with your preferences and requirements. Remember, selecting the right emulator is crucial for ensuring a seamless gaming experience. Once you have chosen the emulator, you’re ready to move on to the next step: checking the system requirements.
Step 3: Checking System Requirements
Before downloading and installing an emulator, it’s crucial to check if your system meets the minimum requirements. Running an emulator on a device that doesn’t meet the requirements may result in poor performance, lag, or even the emulator failing to run altogether.
Here’s how you can check the system requirements:
- Operating System: Verify that your operating system is compatible with the emulator. Some emulators may only work on specific platforms, such as Windows, Mac, Linux, iOS, or Android. Check the emulator’s documentation or website to ensure compatibility with your system.
- CPU and Memory: Emulators can be demanding on your computer’s CPU and memory. Check the recommended and minimum system requirements to ensure that your device has a compatible processor and sufficient RAM to run the emulator smoothly.
- Graphics Card: For emulators that utilize 3D graphics or require advanced rendering capabilities, you may need a dedicated graphics card. Check the emulator’s requirements to see if your device’s graphics card meets the specifications.
- Storage Space: Emulators require storage space to install and store game files. Ensure that your device has enough free disk space to accommodate both the emulator and the games you plan to play.
- Additional Peripherals: Some emulators may require specific peripherals, such as gamepads or controllers, to enhance the gaming experience. Check if the emulator you’re interested in supports the peripherals you have or if you need to purchase additional hardware.
By verifying that your system meets the recommended or minimum requirements, you can ensure a smooth and enjoyable gaming experience with the emulator. If your device doesn’t meet the requirements, consider upgrading your hardware or exploring alternative emulators that are compatible with your system.
Once you have confirmed that your system meets the necessary requirements, you’re ready to proceed to the next step: downloading the emulator.
Step 4: Downloading an Emulator
Now that you have researched and chosen the emulator that best suits your needs, it’s time to download the software onto your device. Here is a step-by-step guide on how to download an emulator:
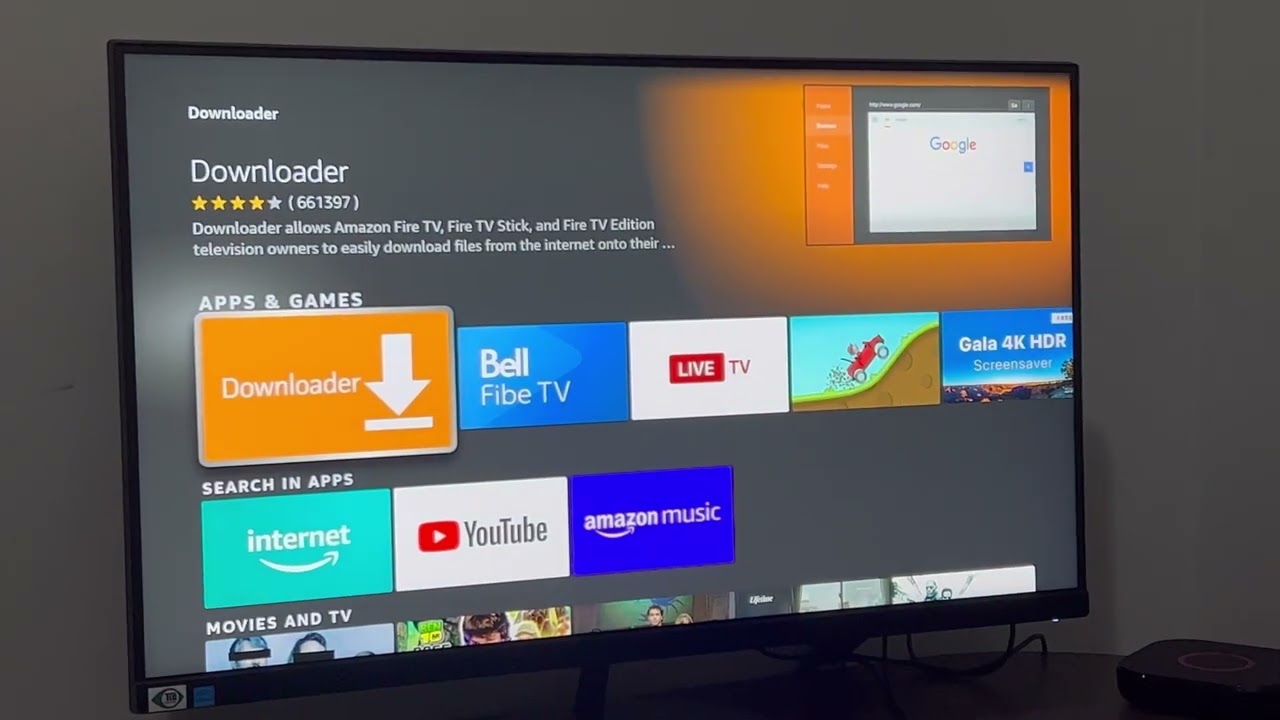
- Visit the Official Website: Open a web browser and navigate to the official website of the emulator you have chosen. It’s essential to download emulators from trusted sources to ensure safety and the latest version.
- Navigate to the Downloads Section: Once on the emulator’s official website, locate the “Downloads” or “Get the Emulator” section. This is where you will find the download files for your specific operating system.
- Choose the Correct Version: Ensure that you select the download that corresponds to your device’s operating system. Most emulators offer different versions for Windows, Mac, Linux, iOS, or Android, so make sure to choose the appropriate version for your operating system.
- Download the Emulator: Click on the download link or button to start downloading the emulator installer file. Depending on your internet connection and the size of the file, the download may take a few moments to complete.
- Saving the Installer File: After the download is complete, choose a location on your device where you want to save the installer file. It’s recommended to save it in an easily accessible location, such as the Downloads folder.
- Run the Installer: Locate the downloaded installer file and double-click on it to run the installer. Follow the on-screen instructions to proceed with the installation. Make sure to review and agree to any terms of use or license agreements presented during the installation process.
- Select Installation Options: During the installation, you may be given the option to choose specific settings or customize the installation. Read through the options carefully and choose the settings that best suit your preferences.
- Complete the Installation: Once you have selected the desired options, click “Finish” or “Complete” to finalize the installation process. The emulator should now be installed on your device.
After completing these steps, you should have successfully downloaded and installed the emulator on your device. Congratulations! You are now one step closer to playing your favorite games from the console of your choice. The next step is to set up the emulator and configure it to enhance your gaming experience.
Step 5: Installing the Emulator
Now that you have downloaded the emulator onto your device, the next step is to install it. Follow these step-by-step instructions to install the emulator:
- Locate the Installer File: Find the installer file that you downloaded in the previous step. It is usually in your Downloads folder unless you specified a different location.
- Run the Installer: Double-click on the installer file to launch the installation wizard. This will guide you through the process of installing the emulator.
- Review the Installation Settings: Read through the installation settings and options provided by the installer. You may have the choice to select the destination folder for the emulator and choose any additional features or components to install.
- Select the Installation Location: Choose the folder or directory where you want to install the emulator. The default location is usually the recommended option, but you can choose a different location if you prefer.
- Agree to the Terms and Conditions: Read and accept any terms of use or license agreements presented during the installation process. Make sure to carefully review any agreements to ensure compliance with legal requirements.
- Start the Installation: Click on the “Install” or “Next” button to begin the installation process. The installer will copy the necessary files to the specified location and configure the emulator on your device.
- Wait for the Installation to Complete: The installation process may take a few moments. Be patient and wait for the progress bar or indicator to reach 100% or for a completion message to appear.
- Launch the Emulator: Once the installation is complete, you will usually have the option to launch the emulator immediately. If not, you can find the installed emulator in your Start Menu or Applications folder.
After following these steps, the emulator should now be installed and ready to use on your device. Make sure to keep the installation files in case you need to reinstall or update the emulator in the future. In the next step, we will guide you through the process of setting up the emulator to ensure optimal performance and customization.
Step 6: Setting Up the Emulator
After installing the emulator on your device, it’s time to set it up to optimize your gaming experience. Follow these steps to set up the emulator:
- Launch the Emulator: Open the emulator by clicking on its icon or accessing it from the Start Menu or Applications folder.
- Configure Emulator Settings: Depending on the emulator, you may have access to various settings and options. Explore the emulator’s menus to access settings such as graphics, sound, controller configurations, and game-specific settings.
- Graphics Settings: Adjust the graphics settings to suit your preferences and device capabilities. You may have options to change resolution, aspect ratio, visual filters, and other display-related settings.
- Audio Settings: Configure the audio settings to ensure optimal sound quality and compatibility. You may have options to adjust volume, audio output devices, and other audio-related settings.
- Controller Configuration: If you are using a gamepad or controller, set up the controller configuration. Most emulators allow you to map buttons and adjust sensitivity to match your preferred control scheme.
- Save and Load Configuration: Some emulators allow you to save your configuration settings so you won’t have to reconfigure them every time you launch the emulator. Take advantage of this feature to save time and maintain consistency.
- Game-Specific Settings: Depending on the emulator, you may have access to specific settings for individual games. These settings can include cheats, save states, or other enhancements that enhance your experience with certain games.
- Experiment and Explore: Take some time to experiment with different settings and options to find the best balance for your system and preferences. Every emulator has unique features and settings, so don’t hesitate to explore and discover new configurations.
- Refer to Documentation or Online Resources: If you have any specific questions or encounter difficulties during the setup process, consult the emulator’s documentation or online resources. There are often user guides, tutorials, and forums available for additional guidance and support.
By configuring the emulator settings according to your preferences and system capabilities, you can ensure a smooth and personalized gaming experience. Once you have customized the emulator settings, you’re ready to move on to the next step: configuring game controls.
Step 7: Configuring Game Controls
Configuring the game controls is an important step in setting up your emulator for a seamless gaming experience. Follow these steps to configure the game controls:
- Open the Emulator’s Settings: Launch the emulator and navigate to the settings or options menu. Look for a section related to controller or input configurations.
- Connect the Gamepad or Controller: If you have a gamepad or controller, connect it to your device using the appropriate method (USB cable, Bluetooth, etc.). Ensure that the device is recognized and functioning correctly on your system.
- Access the Controller Configuration: In the settings or options menu, locate the controller configuration section. This is where you can map the buttons on your gamepad or controller to correspond with the corresponding actions in the game.
- Button Mapping: Follow the instructions provided by the emulator to map the buttons on your gamepad or controller. This typically involves selecting a function (e.g., “Jump”) and pressing the corresponding button on your gamepad or controller to assign it to that function.
- Analog Stick and D-Pad Configuration: If your gamepad or controller has an analog stick or a directional pad (D-pad), configure its sensitivity and dead zone settings. Adjusting these settings ensures precise and accurate control in games that require analog or directional input.
- Test the Configuration: After mapping the buttons and configuring the analog stick or D-pad, it’s essential to test the configuration. Launch a game and verify that the buttons and controls respond as expected. Make any necessary adjustments in the controller configuration menu if needed.
- Save the Configuration: Once you are satisfied with the game controls, save the configuration in the emulator’s settings. This allows you to easily load your preferred control scheme whenever you play games using the emulator.
- Adjustments for Specific Games: Some emulators provide options to set game-specific control configurations. If you encounter issues with controlling certain games, explore the emulator’s settings to find game-specific control options or workarounds.
- Refer to the Emulator’s Documentation: If you need additional assistance or guidance during the controller configuration process, refer to the emulator’s documentation or online resources. These resources often provide detailed instructions and troubleshooting tips.
By accurately configuring the game controls to match your gamepad or controller, you can fully immerse yourself in the gaming experience. Take some time to experiment with the configuration to find the optimal settings that suit your preferences. With the game controls set up, you’re now ready to move on to the next step: finding ROMs/ISOs to play on the emulator.
Step 8: Finding ROMs/ISOs
Now that you have set up the emulator and configured the game controls, you will need to find ROMs or ISOs to play the games on the emulator. ROMs and ISOs are digital copies of the original game cartridges or discs.
Follow these guidelines to find ROMs/ISOs for your emulator:
- Legal Considerations: It’s essential to adhere to legal standards when obtaining ROMs or ISOs. Downloading or sharing copyrighted games without proper authorization is illegal. Make sure you own the original physical copy of the game or acquire ROMs/ISOs from legitimate sources.
- Official Websites: Some console manufacturers or game publishers offer official websites where you can legally purchase and download games for use with emulators. Check if the console manufacturer or game publisher of the specific console you are emulating has an official source for obtaining digital game copies.
- Community Websites: Retro gaming communities and forums often share legal game backups, known as “homebrew” games, that are developed by independent creators. These games are typically allowed to be freely distributed. Joining such communities can be a great way to discover legal ROMs/ISOs.
- Public Domain Games: Public domain games are games that are no longer protected by copyright and can be freely distributed. Some websites specialize in providing such games, allowing you to legally obtain them.
- Community Recommendations: Engage with the retro gaming community to seek recommendations for websites that offer legal ROMs/ISOs. You can find dedicated forums or online communities where passionate gamers share their knowledge and resources.
- Remember to Verify: When downloading ROMs or ISOs from websites, exercise caution and verify the reliability and legitimacy of the source. Check for user reviews, ratings, and forums to gauge the trustworthiness of the website.
- Scan for Viruses: Use reliable antivirus software to scan ROMs or ISO files for any potential viruses or malware. This ensures the safety of your device and protects your personal information.
By following these guidelines, you can obtain ROMs or ISOs legally and ethically. Remember, it is crucial to respect intellectual property rights and support game developers by purchasing games through legal channels whenever possible. Once you have acquired the necessary ROMs or ISOs, you can move on to the next step: downloading the game files.
Step 9: Downloading ROMs/ISOs
After locating reliable sources to obtain ROMs or ISOs for your emulator, you can proceed with downloading the game files. Remember to adhere to legal standards and ensure that you have the necessary rights to download and use the game files.
Follow these steps to download ROMs or ISOs for your emulator:
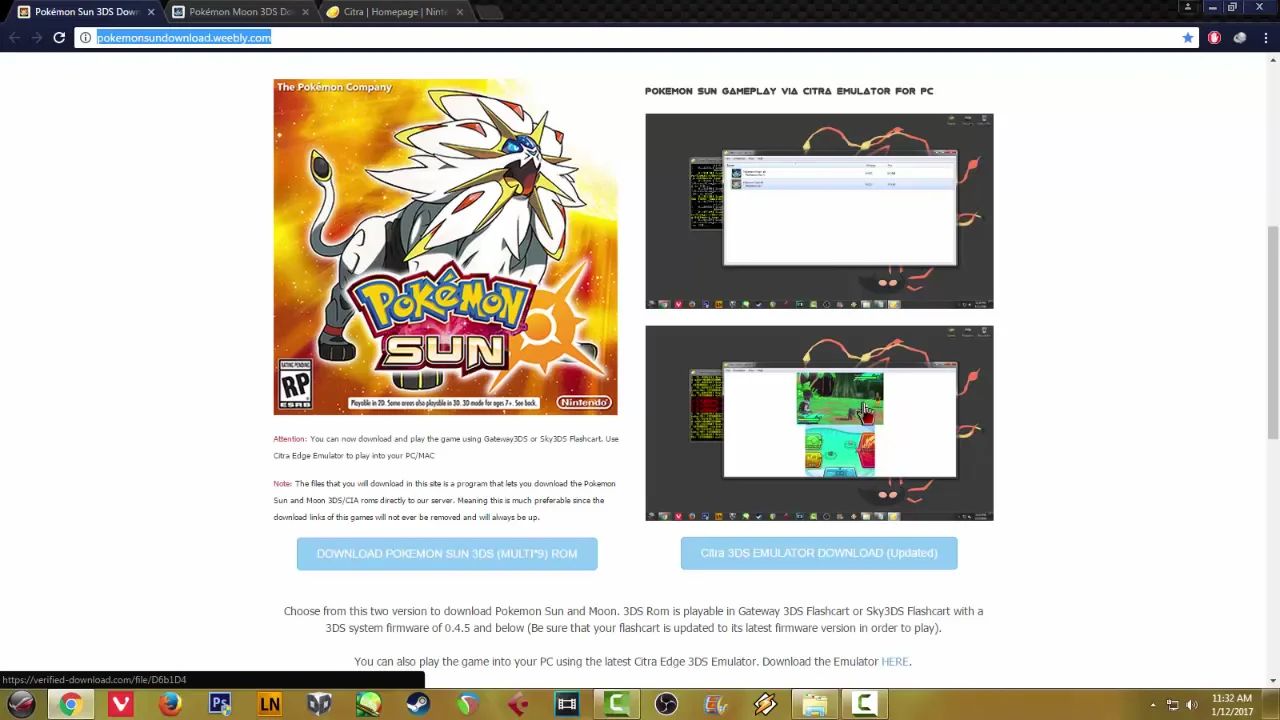
- Visit Trusted Websites: Access reputable websites that offer legally obtained ROMs or ISOs. Ensure that the website has a good reputation and positive user reviews.
- Navigate to the Game Section: Browse the website and locate the section where you can download games. This may be under categories like “ROMs,” “ISOs,” or specific console titles.
- Search for the Desired Game: Use the search function or browse the available games to find the specific ROM or ISO file that you want to download.
- Select the Game File: Click on the game title or the download button to initiate the download process for the ROM or ISO file.
- Save the Game File: Choose a location on your device where you want to save the downloaded ROM or ISO file. Remember to select a location that is easily accessible for future use.
- Check File Integrity: After the download is complete, check the downloaded file for any corruption or errors. Some websites provide instructions on how to verify the integrity of the downloaded file.
- Organize Your Game Files: Create a dedicated folder for your downloaded ROM or ISO files. Keeping them organized will make it easier for you to locate and load the games within your emulator.
- Backup Your Game Files: It is recommended to regularly back up your downloaded ROM or ISO files. Create a backup copy on external storage or cloud services to prevent data loss in case of device failure or accidental deletion.
By following these steps and obtaining ROMs or ISOs from reputable sources, you can ensure that the game files are reliable, compatible, and legally obtained. Once you have downloaded the necessary game files, you can proceed to the final step: playing games on the emulator.
Step 10: Playing Games on the Emulator
Now that you have set up your emulator, configured the game controls, and downloaded the game files, you are ready to start playing your favorite games. Follow these steps to begin playing games on the emulator:
- Launch the Emulator: Open the emulator by clicking on its icon or accessing it from the Start Menu or Applications folder on your device.
- Import or Load the Game: In the emulator’s interface, look for an option to import or load game files. Navigate to the folder where you stored your downloaded ROM or ISO files.
- Select the Game: Choose the game you want to play from the list of available ROM or ISO files. Click on it to select and load the game in the emulator.
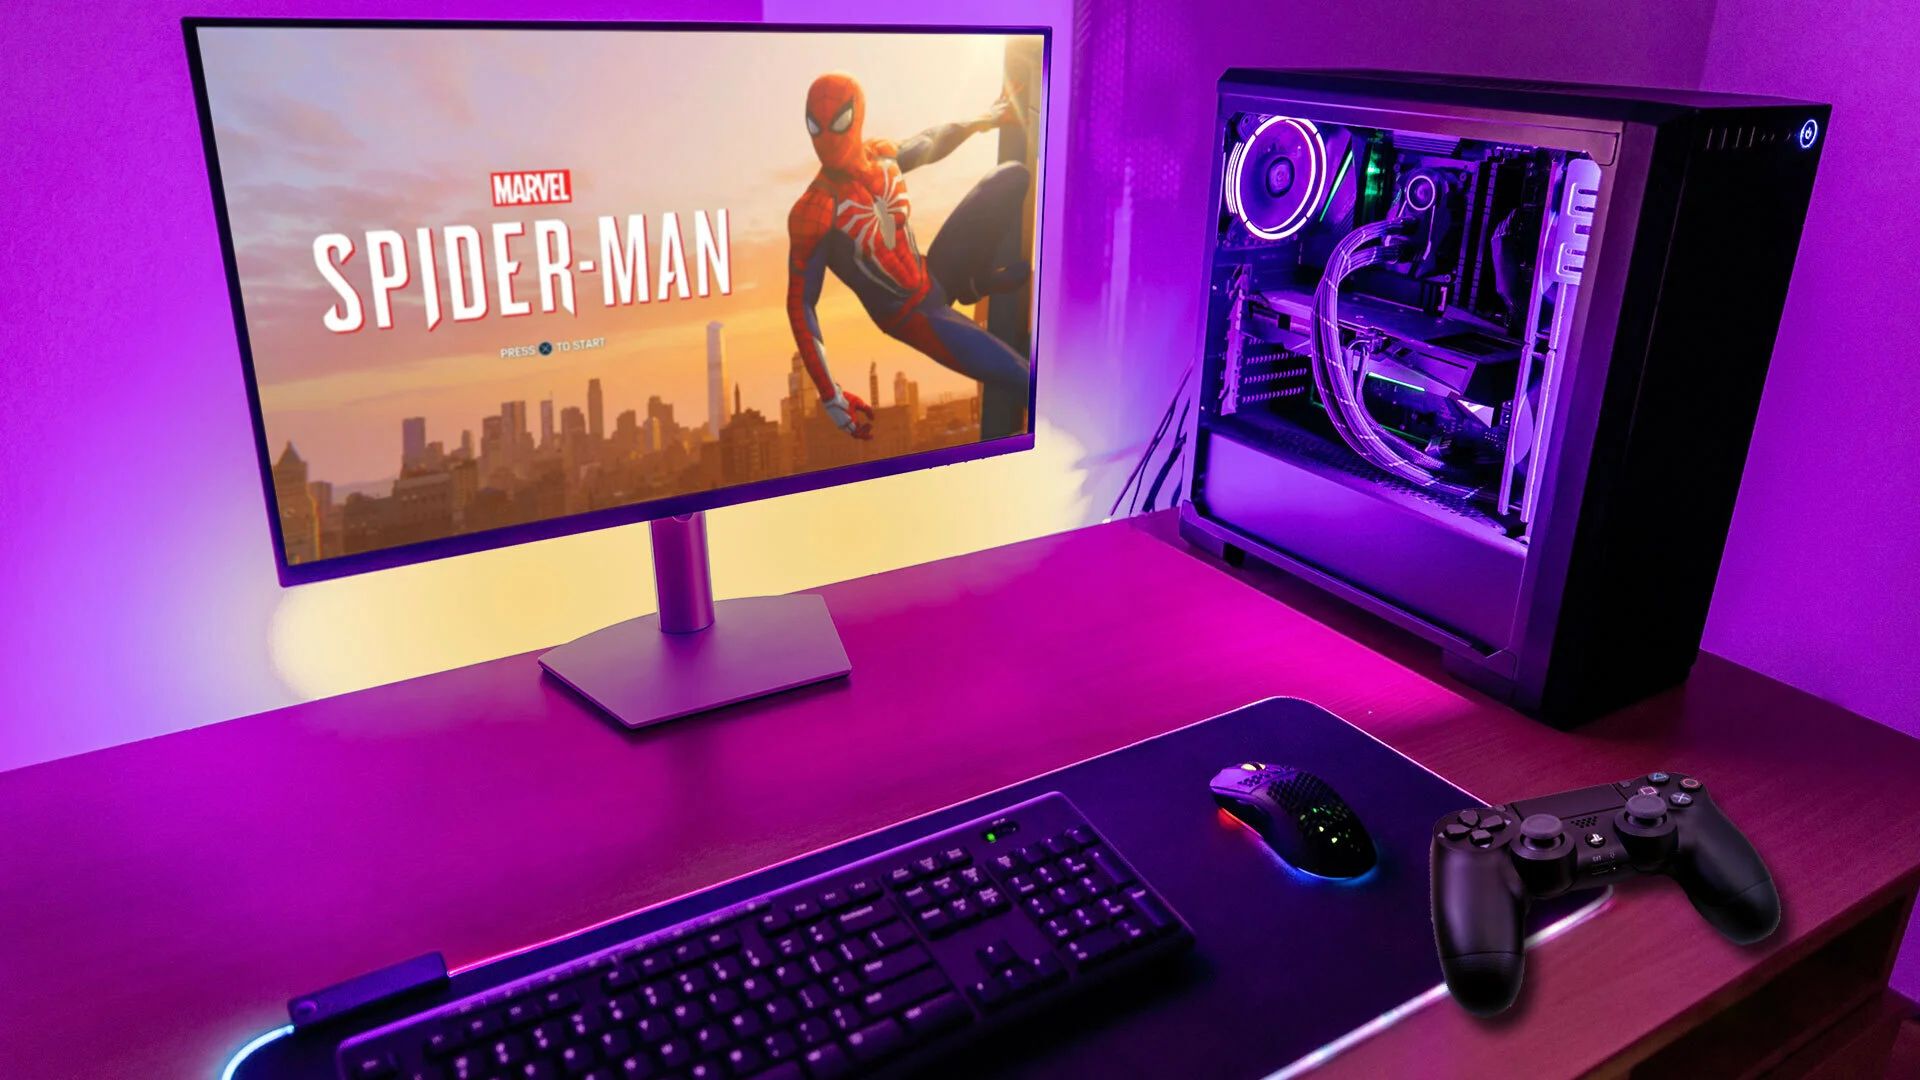
- Enjoy the Game: Once the game is loaded, you can start playing. Use the configured game controls (keyboard, gamepad, or controller) to navigate through menus, control the characters, and experience the gameplay.
- Configure Game Settings: Depending on the emulator, you may have access to additional game settings. These settings can include options to adjust display settings, sound preferences, save states, and cheat codes. Explore the emulator’s menus to customize your gameplay experience.
- Save and Load Game Progress: Many emulators allow you to save and load game progress at any point during gameplay. Utilize the save state feature to save your progress and load it later, ensuring that you can continue playing from where you left off.
- Explore Emulator Features: Emulators often offer additional features that can enhance your gaming experience. These can include graphical filters to mimic the original appearance, screen recording capabilities, or even online multiplayer options. Take advantage of these features to enhance your gameplay.
- Refer to Documentation and Guides: If you encounter any issues or have questions about specific emulator features, consult the emulator’s documentation or look for user guides and tutorials online. These resources often provide helpful tips and troubleshooting advice.
- Share Your Experience: Engage with fellow retro gaming enthusiasts by joining online communities or forums dedicated to gaming and emulators. Share your experiences, ask questions, and discover new games to play.
Enjoy the immersive gaming experience that emulators provide, bringing classic games back to life on your modern device. Remember to respect intellectual property rights and abide by legal regulations when obtaining and playing game files. Now that you have all the necessary steps to play games on the emulator, have fun exploring the vast library of retro games available!
Conclusion
Emulators have opened up a world of possibilities for gaming enthusiasts, allowing them to experience the nostalgia of classic games on modern devices. Through this step-by-step guide, we have explored the process of setting up and playing games on an emulator.
We started by understanding what an emulator is and why it is a popular choice among gamers and developers alike. We then delved into the importance of researching and choosing the right emulator for your needs, checking system requirements, and downloading and installing the emulator on your device.
Next, we discussed the significance of configuring the emulator and game controls to provide a customized and optimal gaming experience. We emphasized the importance of finding reputable sources for legally obtaining ROMs or ISOs and the steps to download them responsibly.
Finally, we outlined the steps to start playing games on the emulator, including launching the emulator, importing game files, adjusting game settings, and exploring additional features offered by the emulator.
Remember to respect intellectual property rights and abide by legal regulations while gaming on emulators. Ensure that you have the necessary rights to the game files you download and play, and always consider supporting game developers by purchasing games through official channels.
Now that you have learned how to set up and play games on an emulator, it’s time to dive into the vast library of retro games and relive those cherished gaming experiences. Have fun exploring the classics and discovering new adventures!