Introduction
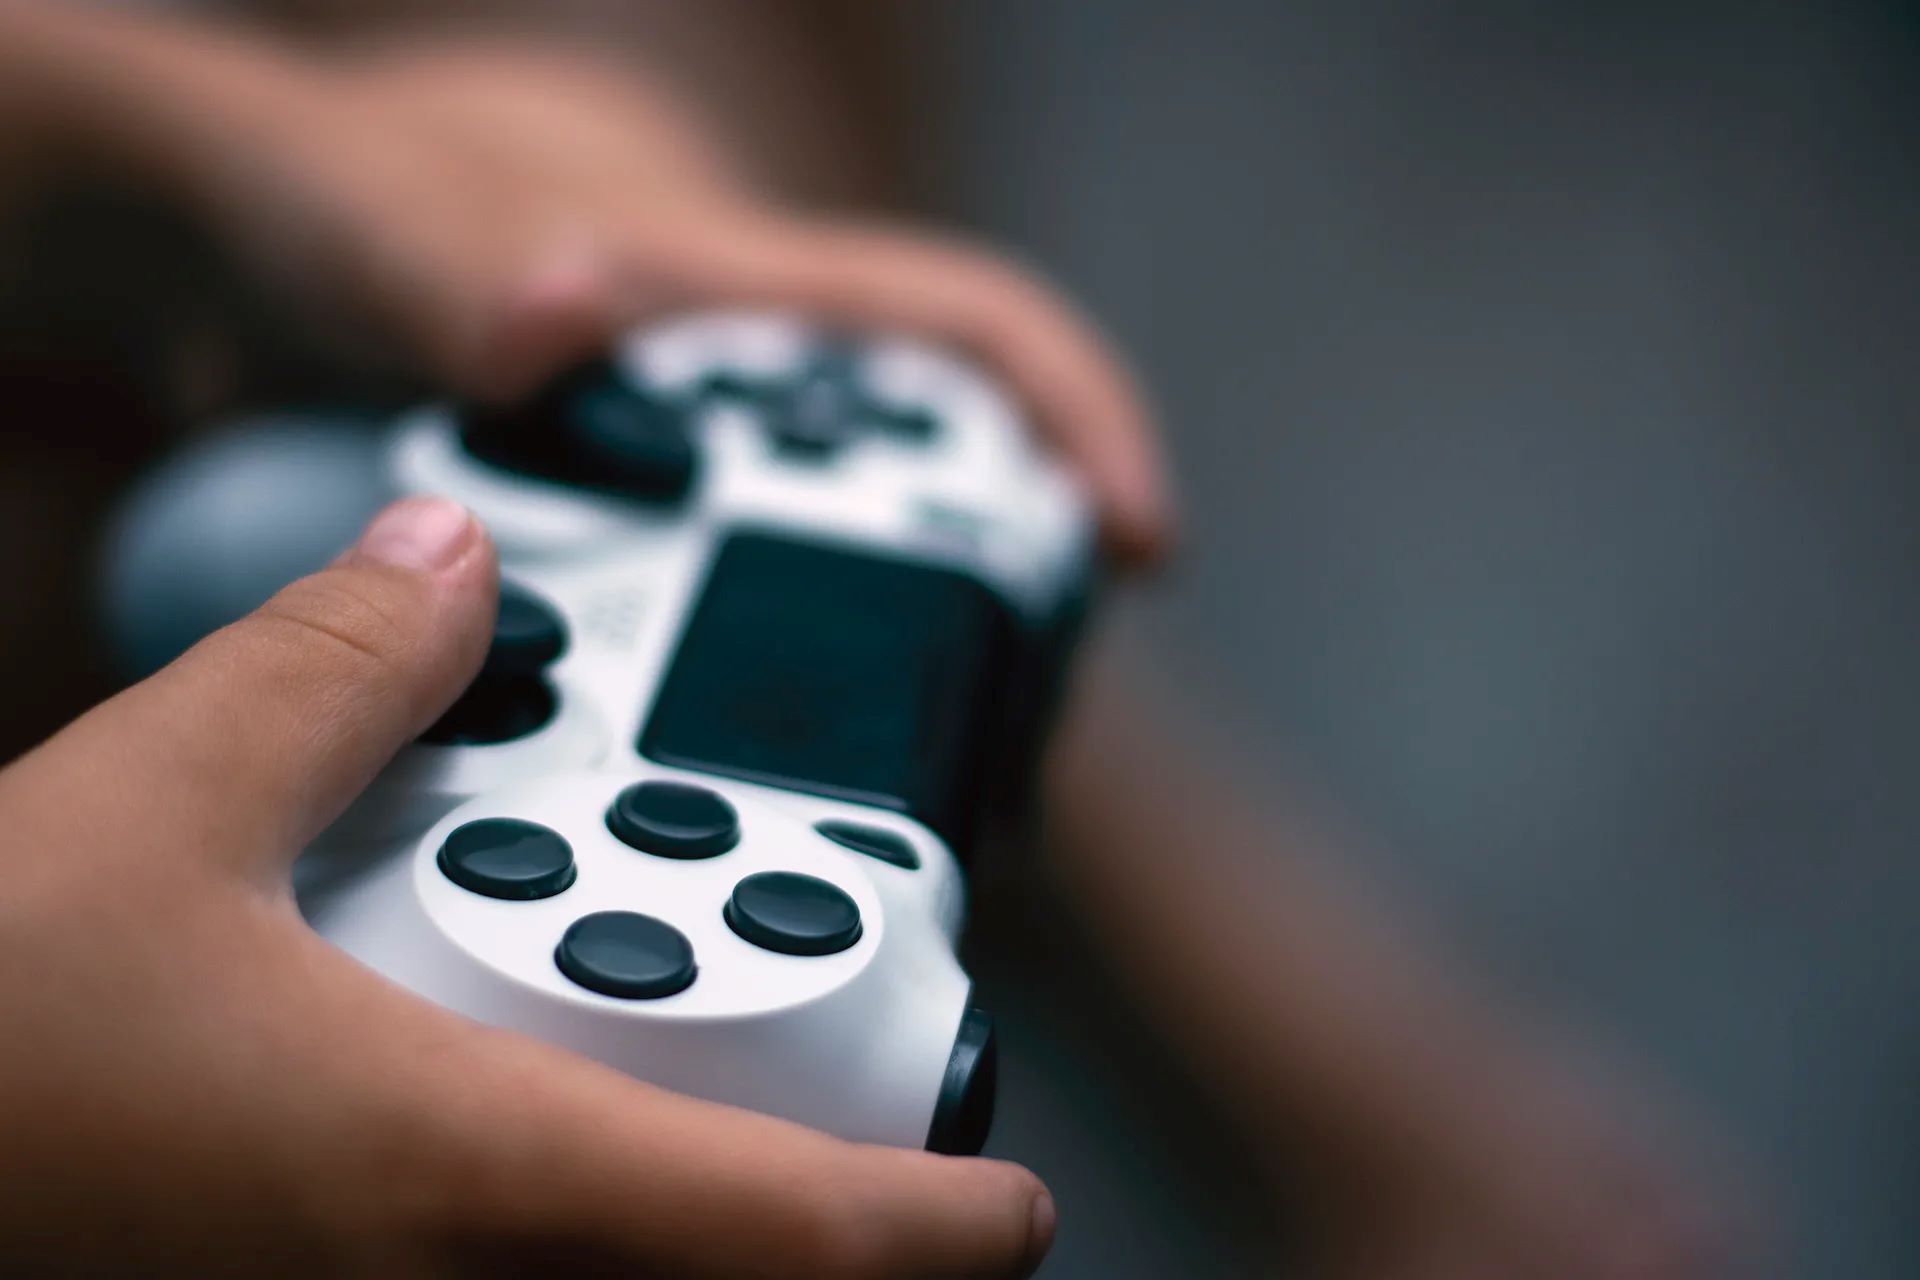
Gaming controllers are essential tools for any gamer, but over time, they can become sticky and grimy due to prolonged use. This not only affects the aesthetics but also the functionality of the controller. However, fear not, as cleaning a sticky game controller is a simple task that can be done at home with just a few basic materials. By following the steps outlined in this guide, you can restore your controller to its former glory and ensure smooth and precise gameplay.
A sticky game controller can be caused by various factors, such as spills, accumulated dirt and sweat, or simply the natural breakdown of materials over time. Regardless of the cause, a sticky controller can detract from the gaming experience and even affect gameplay. Therefore, regular maintenance and cleaning are essential to keep your controller in optimal condition.
In this guide, we will walk you through the step-by-step process of cleaning a sticky game controller, from disassembling the controller to cleaning the exterior, buttons, and joysticks, to reassembling the controller for seamless gaming. With just a few simple materials and some patience, you can effectively clean your game controller and extend its lifespan.
So, if you've been struggling with a sticky game controller, or if you simply want to maintain your controller in top-notch condition, read on to discover the simple yet effective methods for cleaning your game controller and restoring it to its original state. Let's dive into the process and get your game controller feeling fresh and responsive once again.
Materials Needed
Before embarking on the journey to clean your sticky game controller, it’s essential to gather the necessary materials to ensure a thorough and effective cleaning process. Here’s a list of items you’ll need:
- Clean, lint-free cloths or microfiber towels: These are essential for wiping down the exterior and removing any grime or sticky residue from the controller’s surface.
- Cotton swabs: These are useful for reaching small crevices and cleaning around buttons and joysticks where dirt and grime tend to accumulate.
- Isopropyl alcohol (70% or higher): Isopropyl alcohol is an effective solvent for breaking down sticky residues and disinfecting the controller without causing damage.
- Warm water: Used in combination with mild dish soap for cleaning the exterior of the controller.
- Mild dish soap: A small amount of mild dish soap mixed with warm water can help to remove dirt, sweat, and grime from the surface of the controller.
- Small screwdriver set: If your controller requires disassembly for a thorough cleaning, a small screwdriver set will be necessary to remove the screws holding the controller together.
- Canned air or air blower: This is useful for removing dust and debris from hard-to-reach areas within the controller.
- Optional: Toothpicks or plastic opening tools: These tools can be handy for prying open the controller or reaching tight spots during the cleaning process.
By ensuring you have these materials on hand, you’ll be well-equipped to tackle the task of cleaning your sticky game controller effectively and safely. With these items at your disposal, you can proceed with confidence, knowing that you have everything you need to restore your controller to its optimal condition.
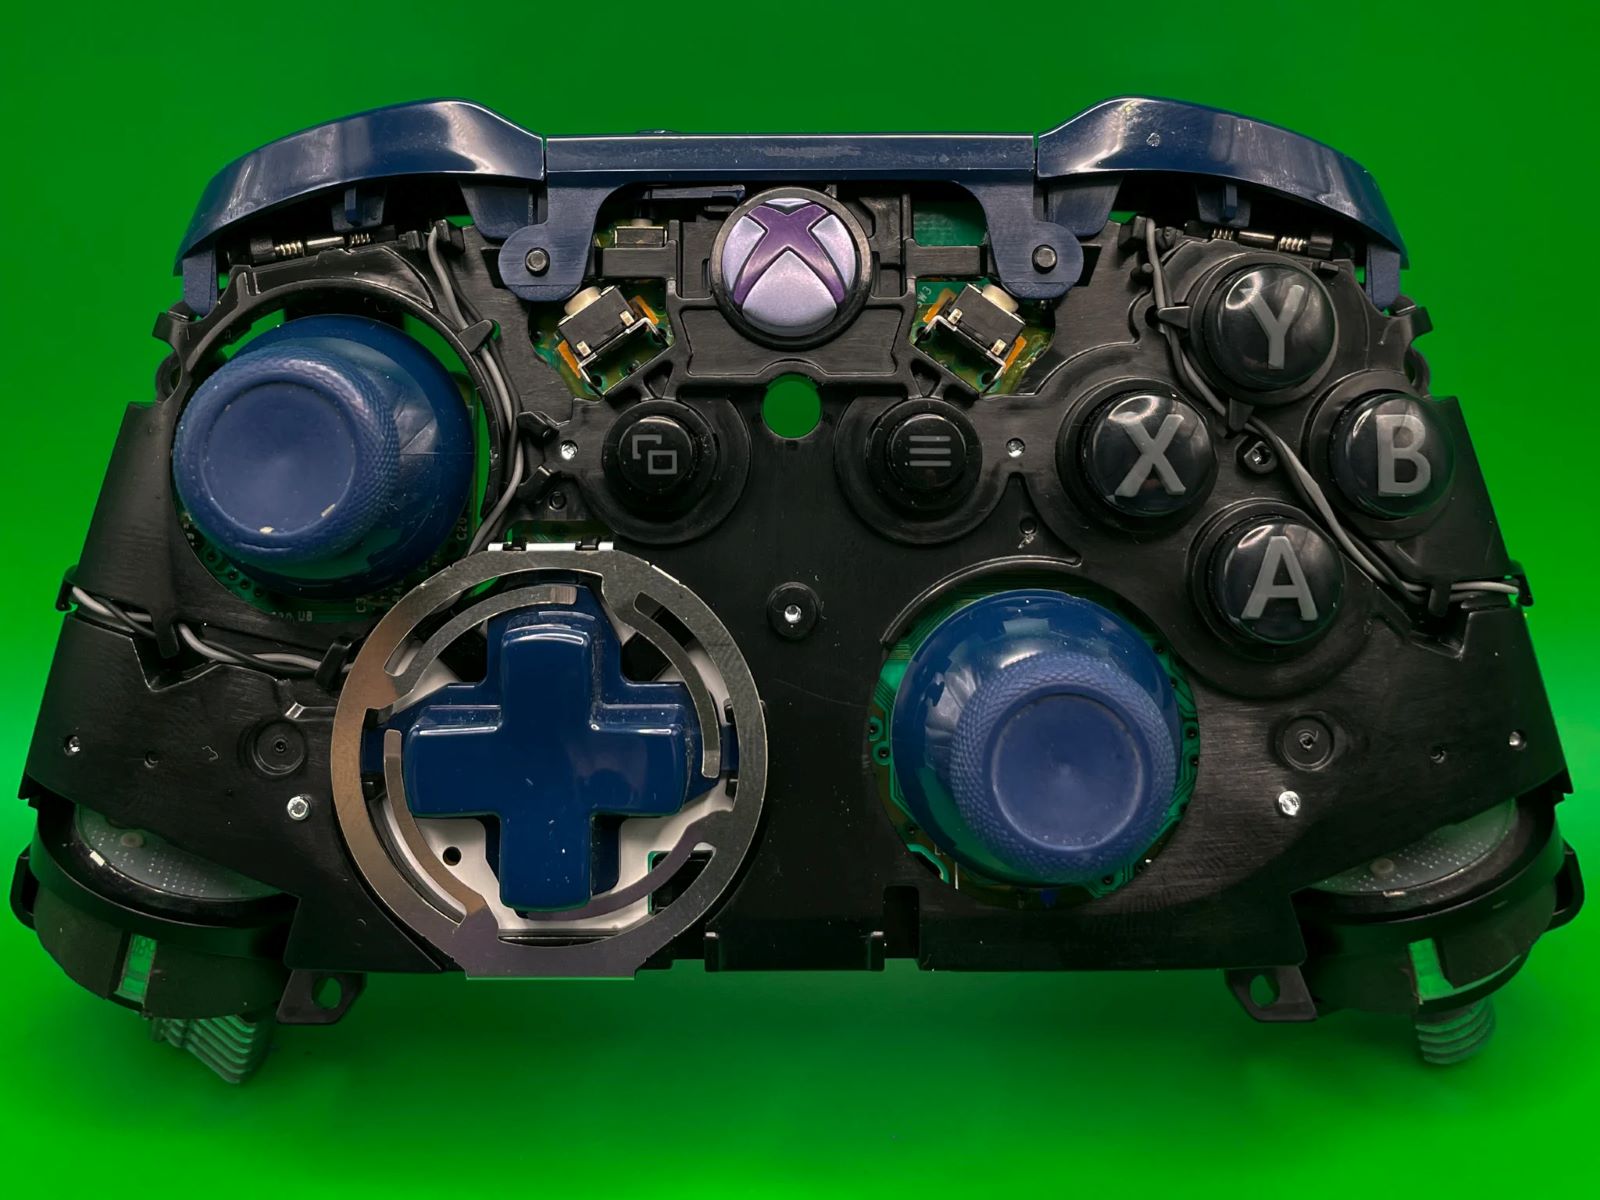
Step 1: Disassemble the Controller
Before diving into the cleaning process, it’s important to disassemble the game controller to access all the nooks and crannies where dirt and grime may have accumulated. Keep in mind that not all controllers are designed to be disassembled, so it’s crucial to check the manufacturer’s guidelines or seek professional advice if you’re uncertain about disassembling your specific controller model. If your controller is designed for disassembly, follow these general steps:
- Gather the Necessary Tools: Depending on the controller model, you may need a small screwdriver set to remove the screws holding the controller together. Ensure you have the appropriate tools on hand before starting the disassembly process.
- Power Off the Controller: To avoid any electrical mishaps or damage, ensure that the controller is completely powered off and disconnected from any power source before proceeding with disassembly.
- Remove the Screws: Carefully locate and remove the screws holding the controller’s casing together. Keep the screws in a safe place to prevent loss during the cleaning process.
- Separate the Casing: Gently separate the controller’s casing, taking care not to force it apart. Some controllers may have clips or additional screws inside, so proceed with caution to avoid damaging any internal components.
- Take Note of the Layout: As you disassemble the controller, take note of the layout and placement of internal components. This will help ensure that you reassemble the controller correctly after cleaning.
Once you’ve successfully disassembled the controller, you’ll have clear access to the internal components and can proceed with the cleaning process to address any sticky or grimy areas. However, if you’re unsure about disassembling your controller or encounter any difficulties during the process, it’s best to seek guidance from the controller’s manufacturer or a professional technician to avoid causing damage to the device.
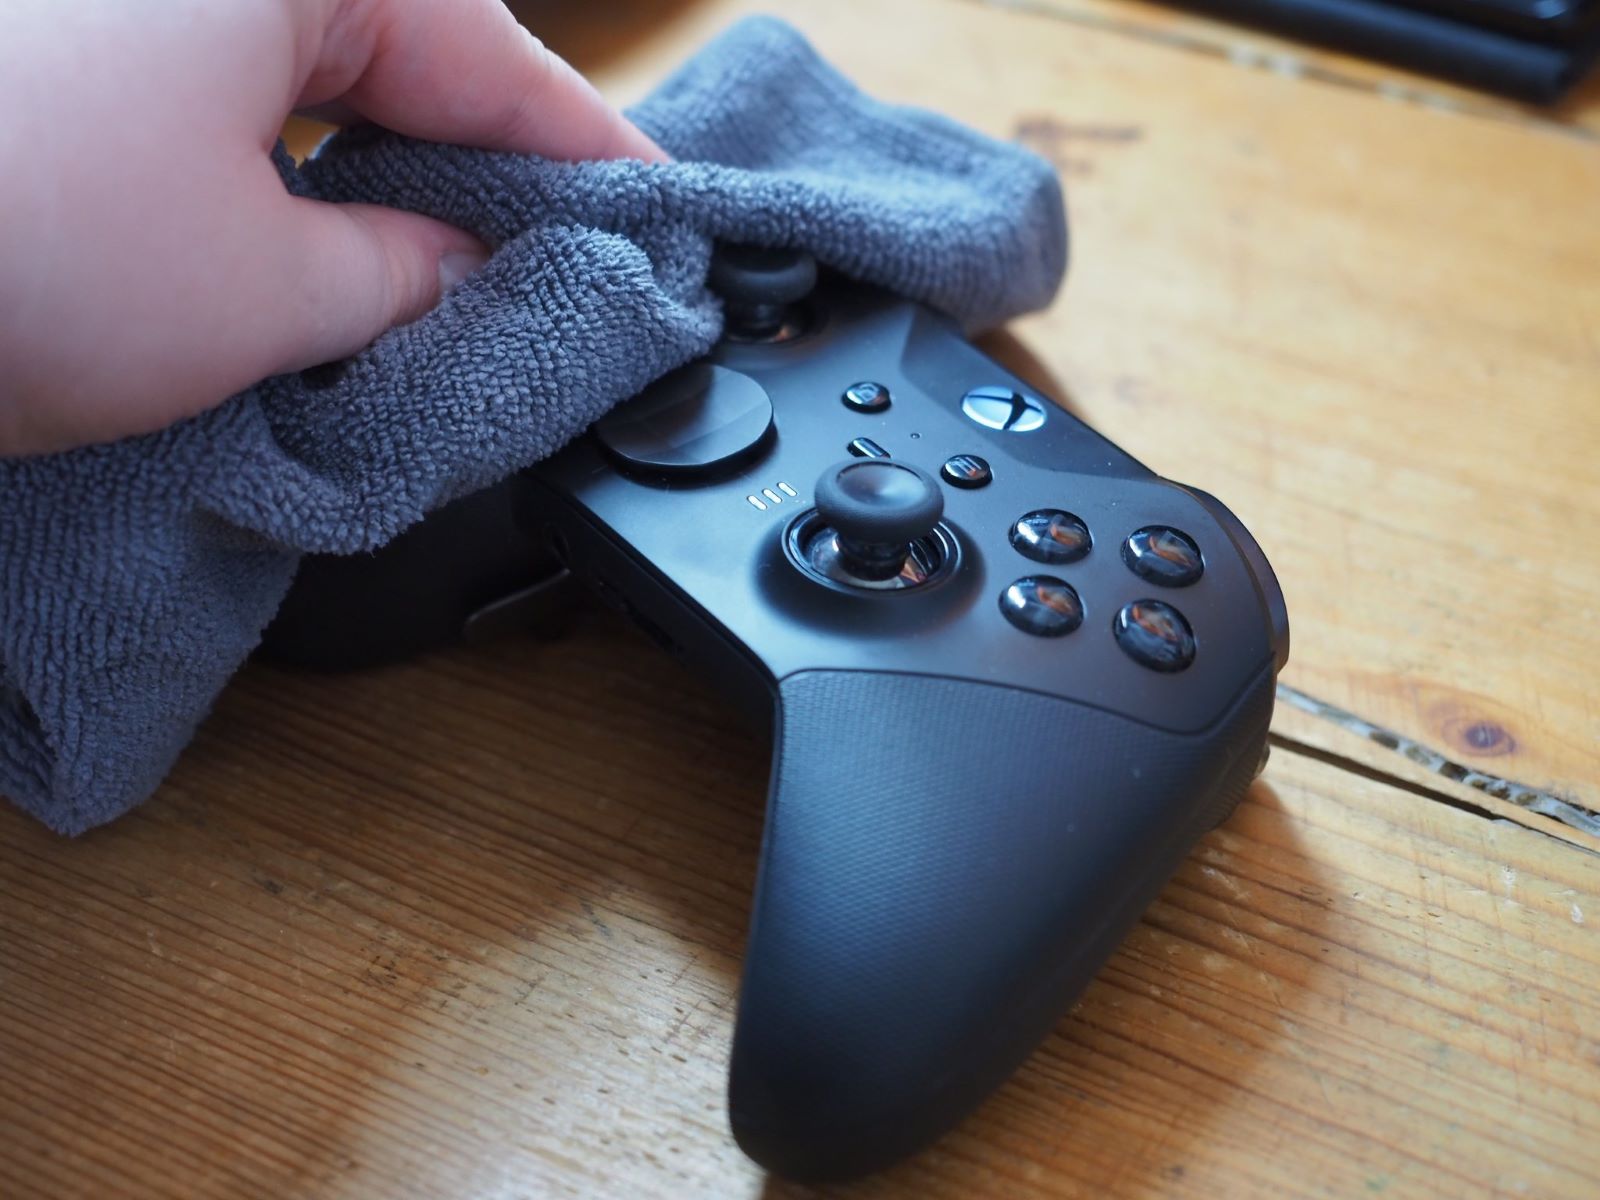
Step 2: Clean the Exterior
With the controller disassembled, it’s time to focus on cleaning the exterior surfaces to remove any accumulated grime, sticky residues, and fingerprints. The following steps outline the process for effectively cleaning the exterior of the controller:
- Use a Lint-Free Cloth: Begin by wiping down the exterior surfaces of the controller with a clean, lint-free cloth or microfiber towel. This will help remove any loose dirt, dust, or surface grime.
- Prepare a Cleaning Solution: If the exterior of the controller requires deeper cleaning, prepare a mild cleaning solution by mixing a small amount of mild dish soap with warm water. Dampen a lint-free cloth with the solution, ensuring it’s not overly wet, and gently wipe down the exterior surfaces of the controller.
- Focus on Problem Areas: Pay close attention to areas where sticky residues or grime have accumulated, such as around buttons, seams, and textured grips. Use gentle pressure and circular motions to dislodge stubborn residues without causing damage to the controller’s surface.
- Use Isopropyl Alcohol for Stubborn Residues: For particularly stubborn sticky residues or tough-to-clean areas, dampen a cotton swab with isopropyl alcohol and carefully swab the affected areas. Isopropyl alcohol is effective in breaking down sticky residues and evaporates quickly, making it safe for use on electronic devices.
- Dry Thoroughly: After cleaning, use a dry lint-free cloth to thoroughly dry the exterior surfaces of the controller. Ensure that no moisture remains, especially around buttons and seams, to prevent any potential damage to the internal components when reassembling the controller.
By following these steps, you can effectively clean the exterior of the controller, removing sticky residues, grime, and other contaminants that may have accumulated over time. Once the exterior is clean and dry, you can proceed to the next step of addressing the controller’s buttons and joysticks to ensure a comprehensive cleaning process.
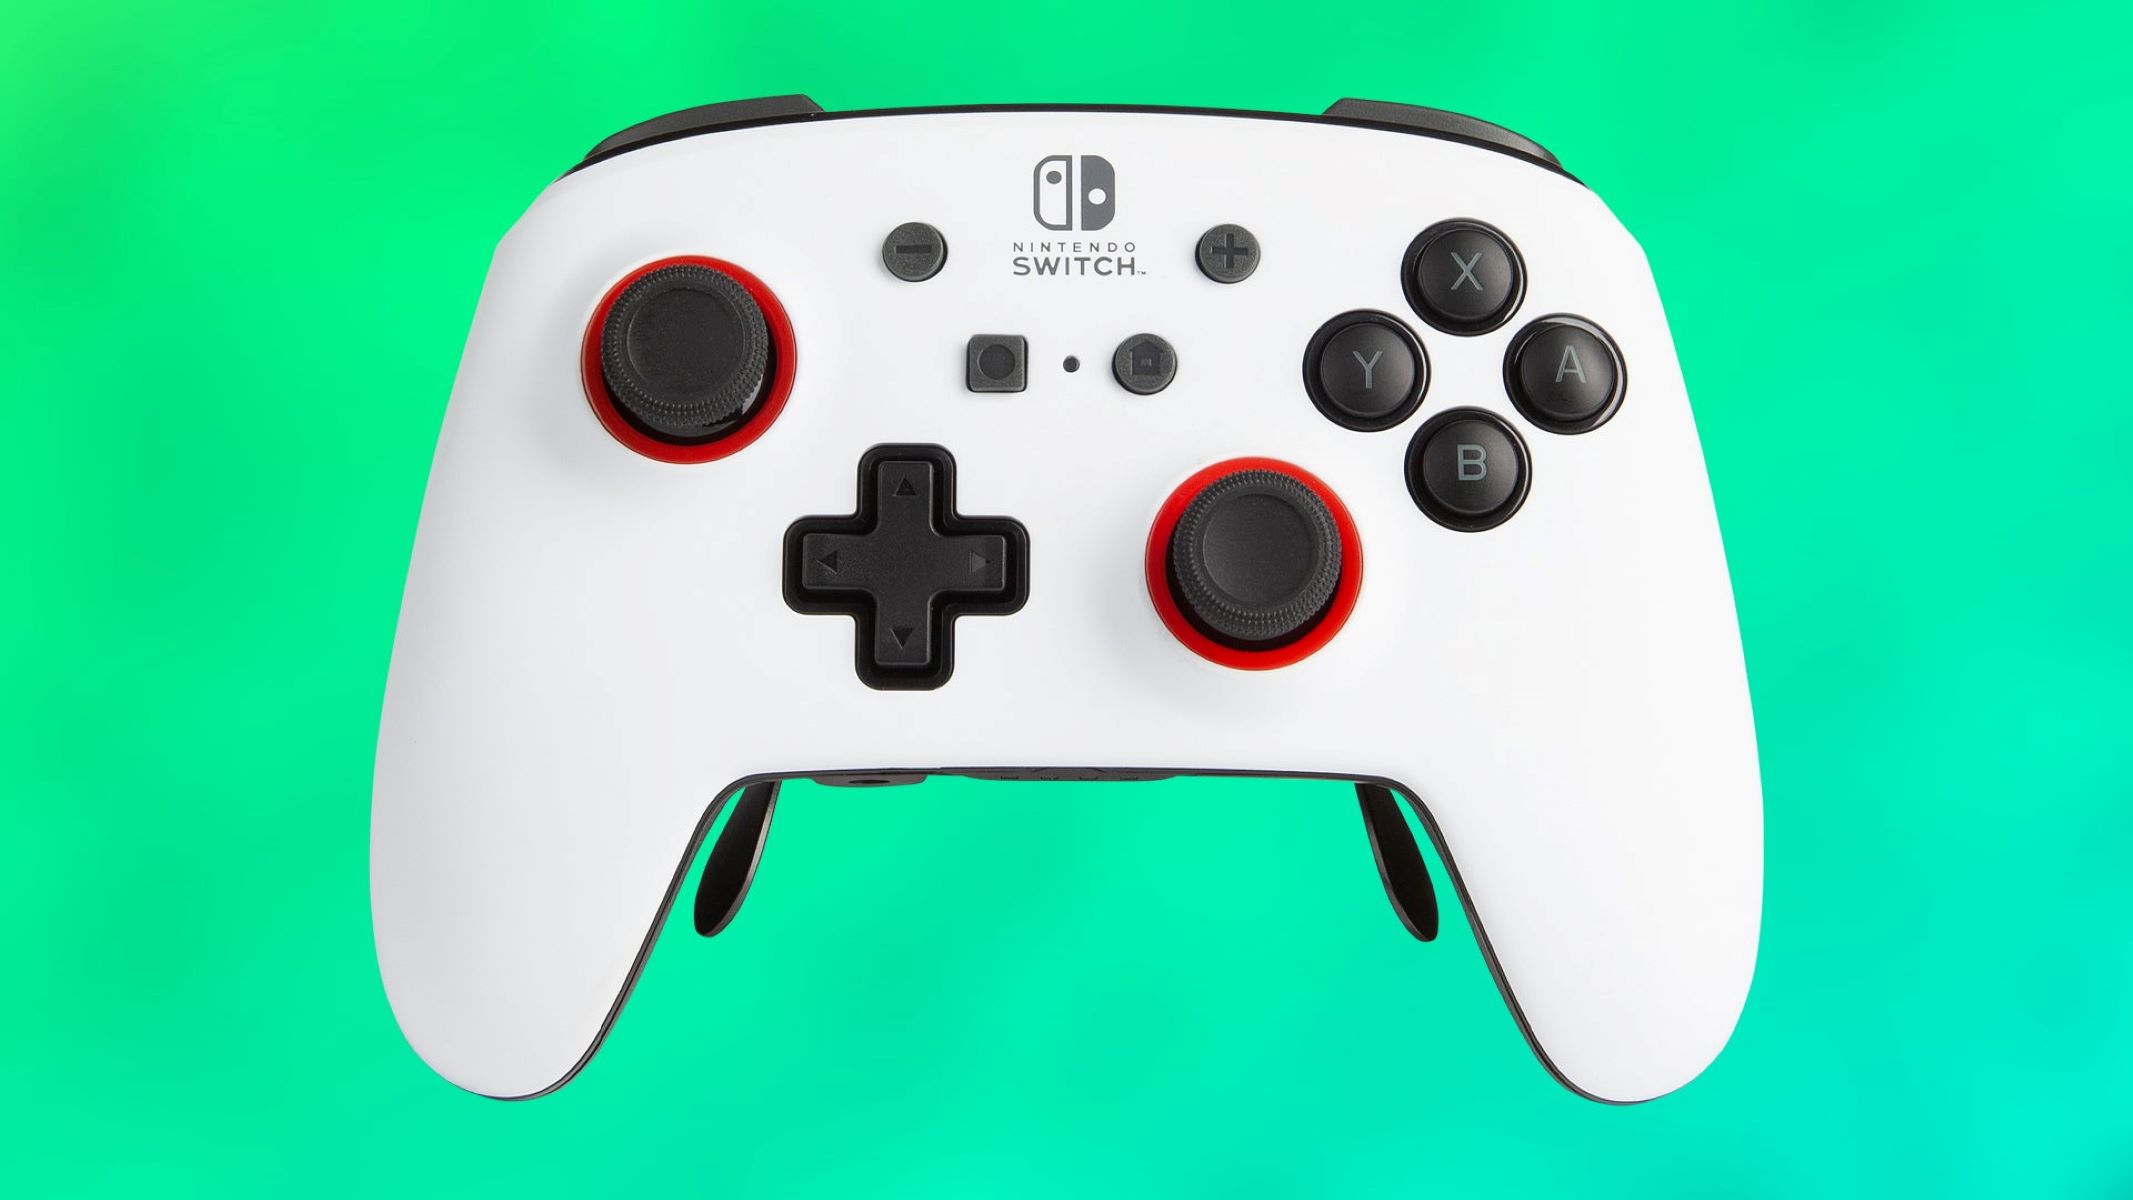
Step 3: Clean the Buttons and Joysticks
After addressing the exterior surfaces, it’s crucial to focus on cleaning the buttons and joysticks, which are integral to the controller’s functionality. These components often accumulate dirt, grime, and sticky residues, affecting their responsiveness and overall performance. Follow these steps to effectively clean the buttons and joysticks:
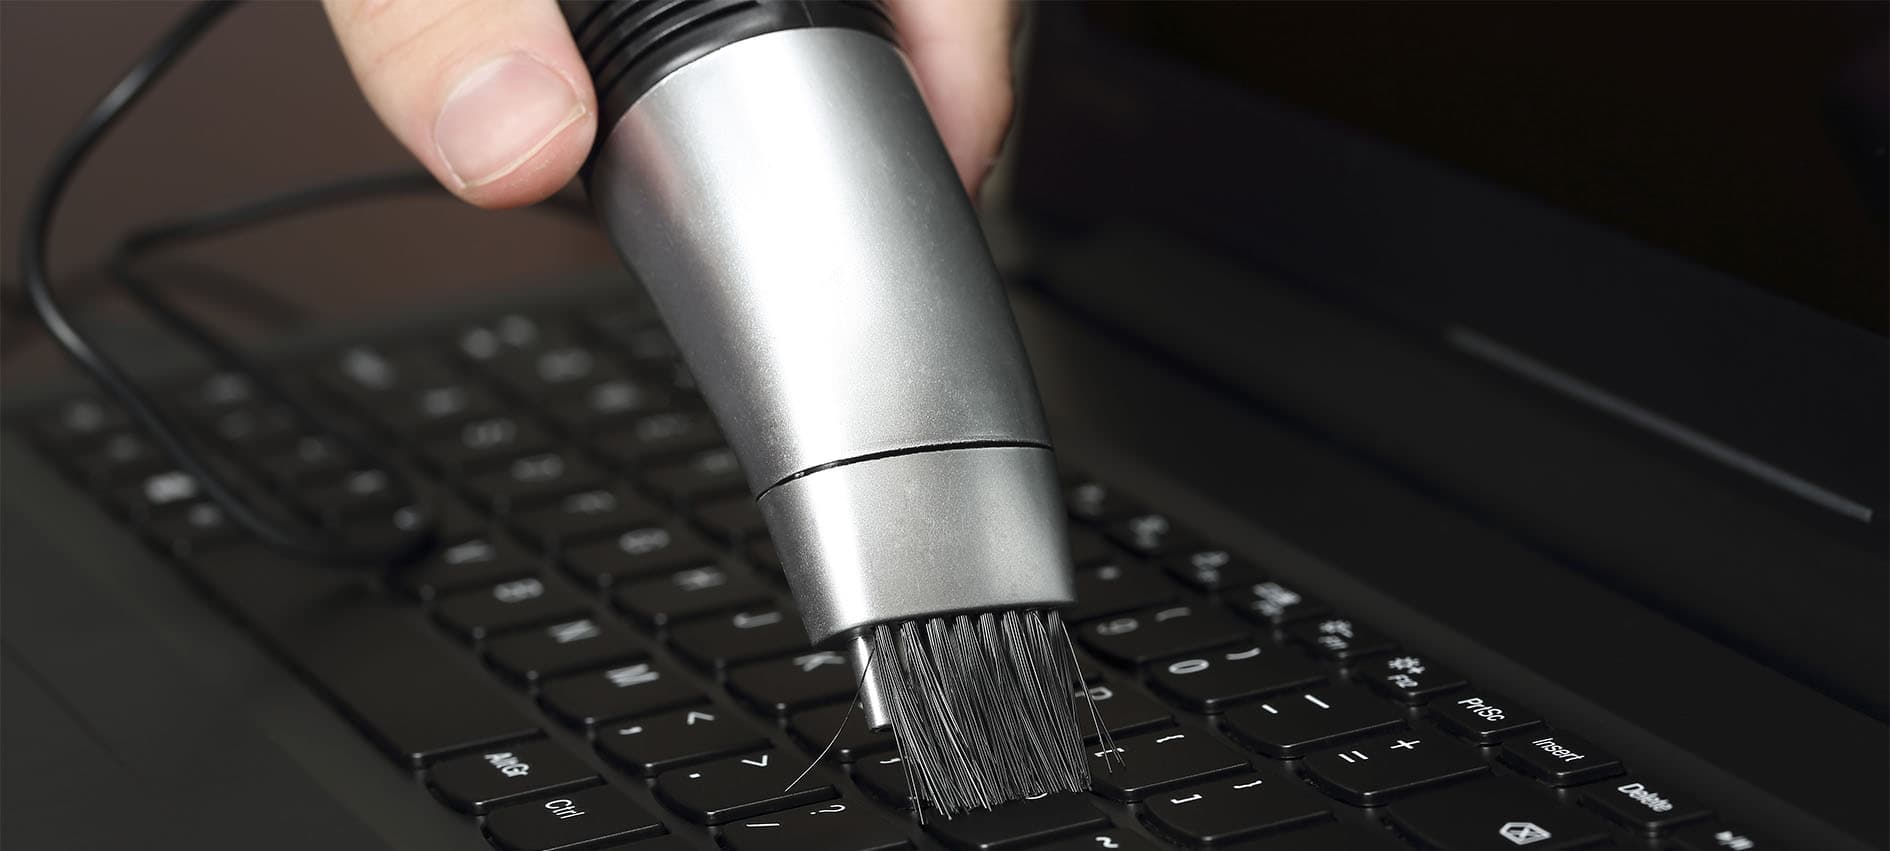
- Inspect for Debris: Carefully examine the buttons and joysticks for any visible debris, sticky residues, or buildup. Use a can of compressed air or an air blower to gently dislodge and remove any loose debris or dust from these components.
- Use Cotton Swabs and Isopropyl Alcohol: Dampen a cotton swab with isopropyl alcohol and carefully clean around the edges and crevices of the buttons and joysticks. This will help remove any stubborn residues and grime that may have accumulated in these areas. Exercise caution to prevent excess moisture from entering the internal components.
- Wipe Down the Buttons and Joysticks: Using a clean, lint-free cloth or microfiber towel, lightly dampened with isopropyl alcohol, gently wipe down the surfaces of the buttons and joysticks to ensure thorough cleaning. Pay particular attention to the areas where the buttons make contact with the controller’s circuit board or sensors.
- Dry Thoroughly: After cleaning, allow the buttons and joysticks to air dry or use a dry lint-free cloth to ensure they are completely dry before reassembling the controller. It’s essential to prevent any moisture from affecting the controller’s functionality when it’s put back together.
By diligently cleaning the buttons and joysticks, you can ensure that these critical components operate smoothly and responsively, enhancing your gaming experience. Once these components are thoroughly cleaned and dry, you can proceed to reassemble the controller, bringing together all the cleaned parts for a complete restoration of your sticky game controller.
Step 4: Reassemble the Controller
After completing the cleaning process, it’s time to carefully reassemble the controller, bringing together all the components that have been thoroughly cleaned. Follow these steps to ensure a successful reassembly of your game controller:
- Refer to Layout Notes: If you took note of the layout and placement of internal components during the disassembly process, use this information as a guide to correctly position and reassemble the controller. Ensuring that the components are reassembled in the correct orientation is crucial for the controller’s functionality.
- Carefully Align the Casing: When rejoining the controller’s casing, align the parts carefully, ensuring that any clips or screws are securely fastened. Take your time to avoid forcing the casing together, as this could cause damage to the internal components.
- Secure the Screws: If your controller requires screws to hold the casing together, carefully reinstall and tighten the screws according to the manufacturer’s specifications. Be mindful not to overtighten the screws, as this can lead to damage or misalignment of the components.
- Double-Check the Assembly: Once the controller is reassembled, double-check that all components are securely in place and that the casing is properly aligned. This step is crucial to ensure that the controller functions as intended and that no parts have been overlooked during reassembly.
By following these steps, you can successfully reassemble your game controller, bringing together the clean and refreshed components to restore the controller to its optimal condition. With the controller fully reassembled, you can now enjoy a clean, responsive, and comfortable gaming experience, free from the distractions of sticky residues and grime that may have previously affected the controller’s performance.
Conclusion
Cleaning a sticky game controller is a simple yet essential task that can significantly enhance your gaming experience. By following the step-by-step process outlined in this guide, you can effectively restore your controller to its former cleanliness and functionality. From disassembling the controller to meticulously cleaning the exterior, buttons, and joysticks, to reassembling the controller, the cleaning process ensures that your controller not only looks fresh but also operates smoothly.
Regular maintenance and cleaning of your game controller can extend its lifespan, prevent sticky residues from affecting its performance, and provide a more comfortable and hygienic gaming experience. By using basic materials such as lint-free cloths, isopropyl alcohol, and mild cleaning solutions, you can maintain your controller in optimal condition without the need for professional assistance.
Remember to refer to the manufacturer’s guidelines for your specific controller model and seek professional advice if you are uncertain about disassembling or cleaning your controller. Additionally, always ensure that the controller is completely dry before reassembling and using it to prevent any potential damage to the internal components.
With a clean and responsive game controller at your disposal, you can fully immerse yourself in your gaming adventures without the distraction of a sticky or grimy controller. By incorporating regular cleaning into your gaming routine, you can prolong the lifespan of your controller and enjoy a consistently enjoyable gaming experience.
So, grab your freshly cleaned controller, dive into your favorite games, and experience gaming at its best, free from the annoyance of a sticky controller. Happy gaming!