Introduction
Introduction
Calibrating a game controller on Windows 7 is essential for ensuring optimal performance and responsiveness during gameplay. Whether you're using a traditional console-style gamepad, a joystick, or a specialized controller, proper calibration can significantly enhance your gaming experience. By fine-tuning the controller settings, you can minimize input lag, improve accuracy, and enjoy more precise control over your in-game actions.
In this guide, we'll walk through the step-by-step process of calibrating a game controller on a Windows 7 system. Whether you're a seasoned gamer or new to the world of PC gaming, understanding how to calibrate your controller can make a substantial difference in your overall gaming experience. With just a few simple adjustments, you can ensure that your controller responds accurately to your commands, allowing you to immerse yourself fully in the virtual worlds of your favorite games.
By following the instructions provided in this guide, you'll be able to navigate the Control Panel, access the Game Controllers settings, and perform the necessary calibration steps with ease. Additionally, we'll cover how to test the calibration to confirm that your controller is functioning optimally. With these fundamental skills at your disposal, you'll be well-equipped to fine-tune your game controller and elevate your gaming performance on Windows 7.
So, if you're ready to take your gaming experience to the next level by optimizing your game controller's performance, let's dive into the step-by-step process of calibrating your controller on Windows 7. Whether you're preparing for an intense gaming session or simply aiming to enhance your overall gaming proficiency, mastering the art of controller calibration is a valuable skill for any PC gamer. Let's get started!
Step 1: Connect the Game Controller
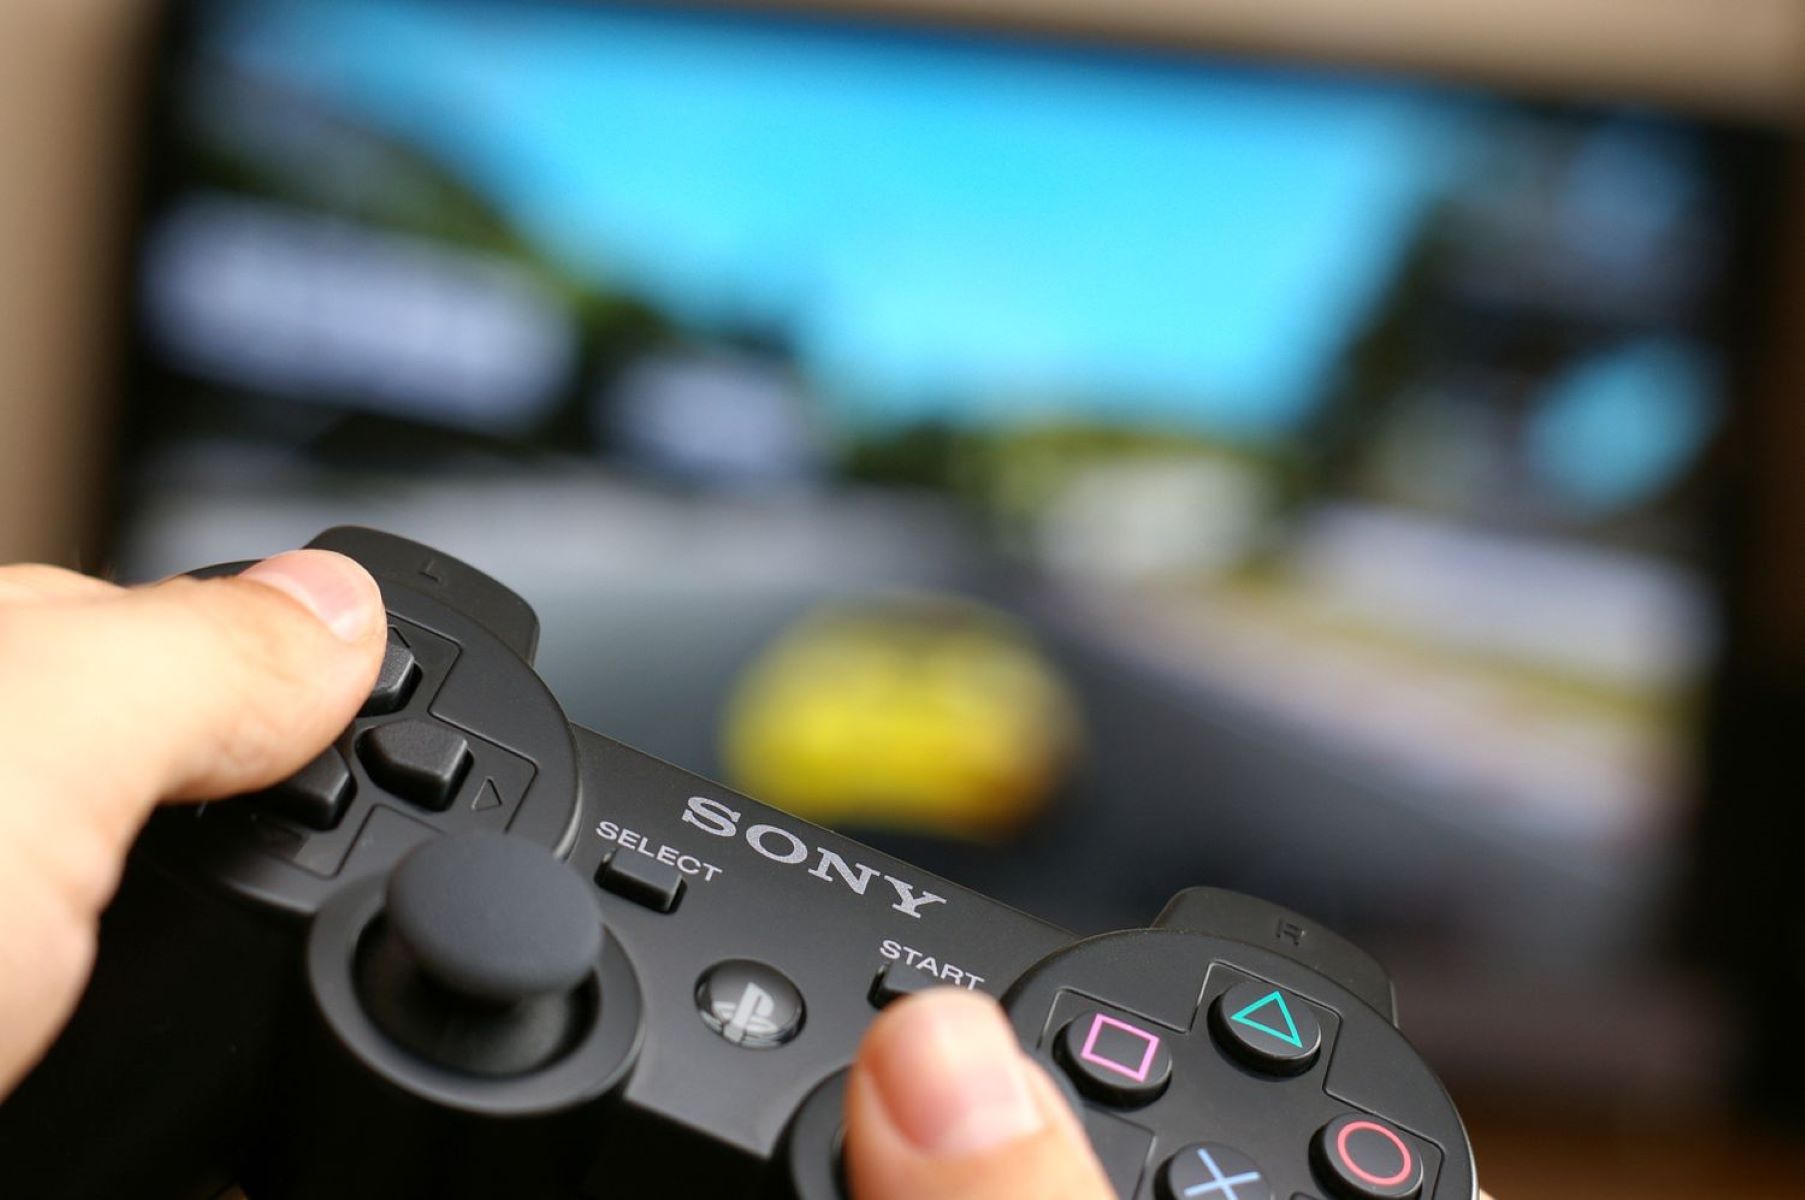
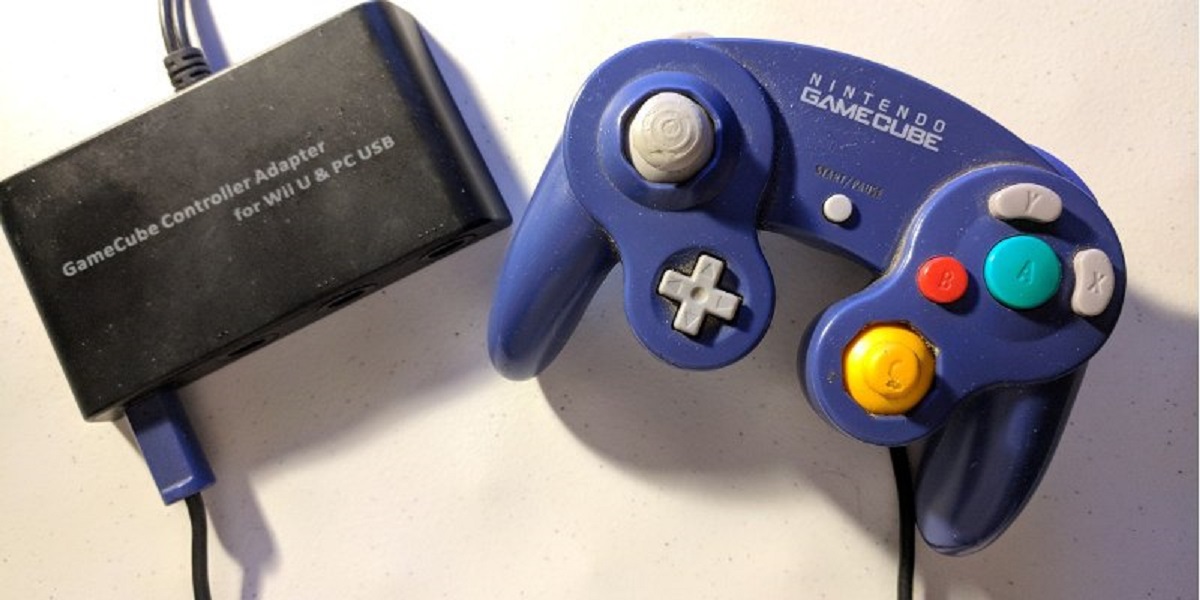
Before you can begin the calibration process, it’s crucial to ensure that your game controller is properly connected to your Windows 7 computer. The method of connection may vary depending on the type of controller you’re using, whether it’s a wired USB controller, a wireless Bluetooth controller, or a specialized gaming peripheral. Here’s how to connect your game controller:
- Wired USB Controller: If you’re using a traditional wired USB game controller, simply plug the controller’s USB cable into an available USB port on your computer. Windows 7 should automatically detect the controller and install any necessary drivers.
- Wireless Bluetooth Controller: For wireless controllers that utilize Bluetooth connectivity, ensure that your computer has a Bluetooth adapter or built-in Bluetooth capability. Put the controller into pairing mode and use the Windows 7 Bluetooth settings to pair the controller with your computer.
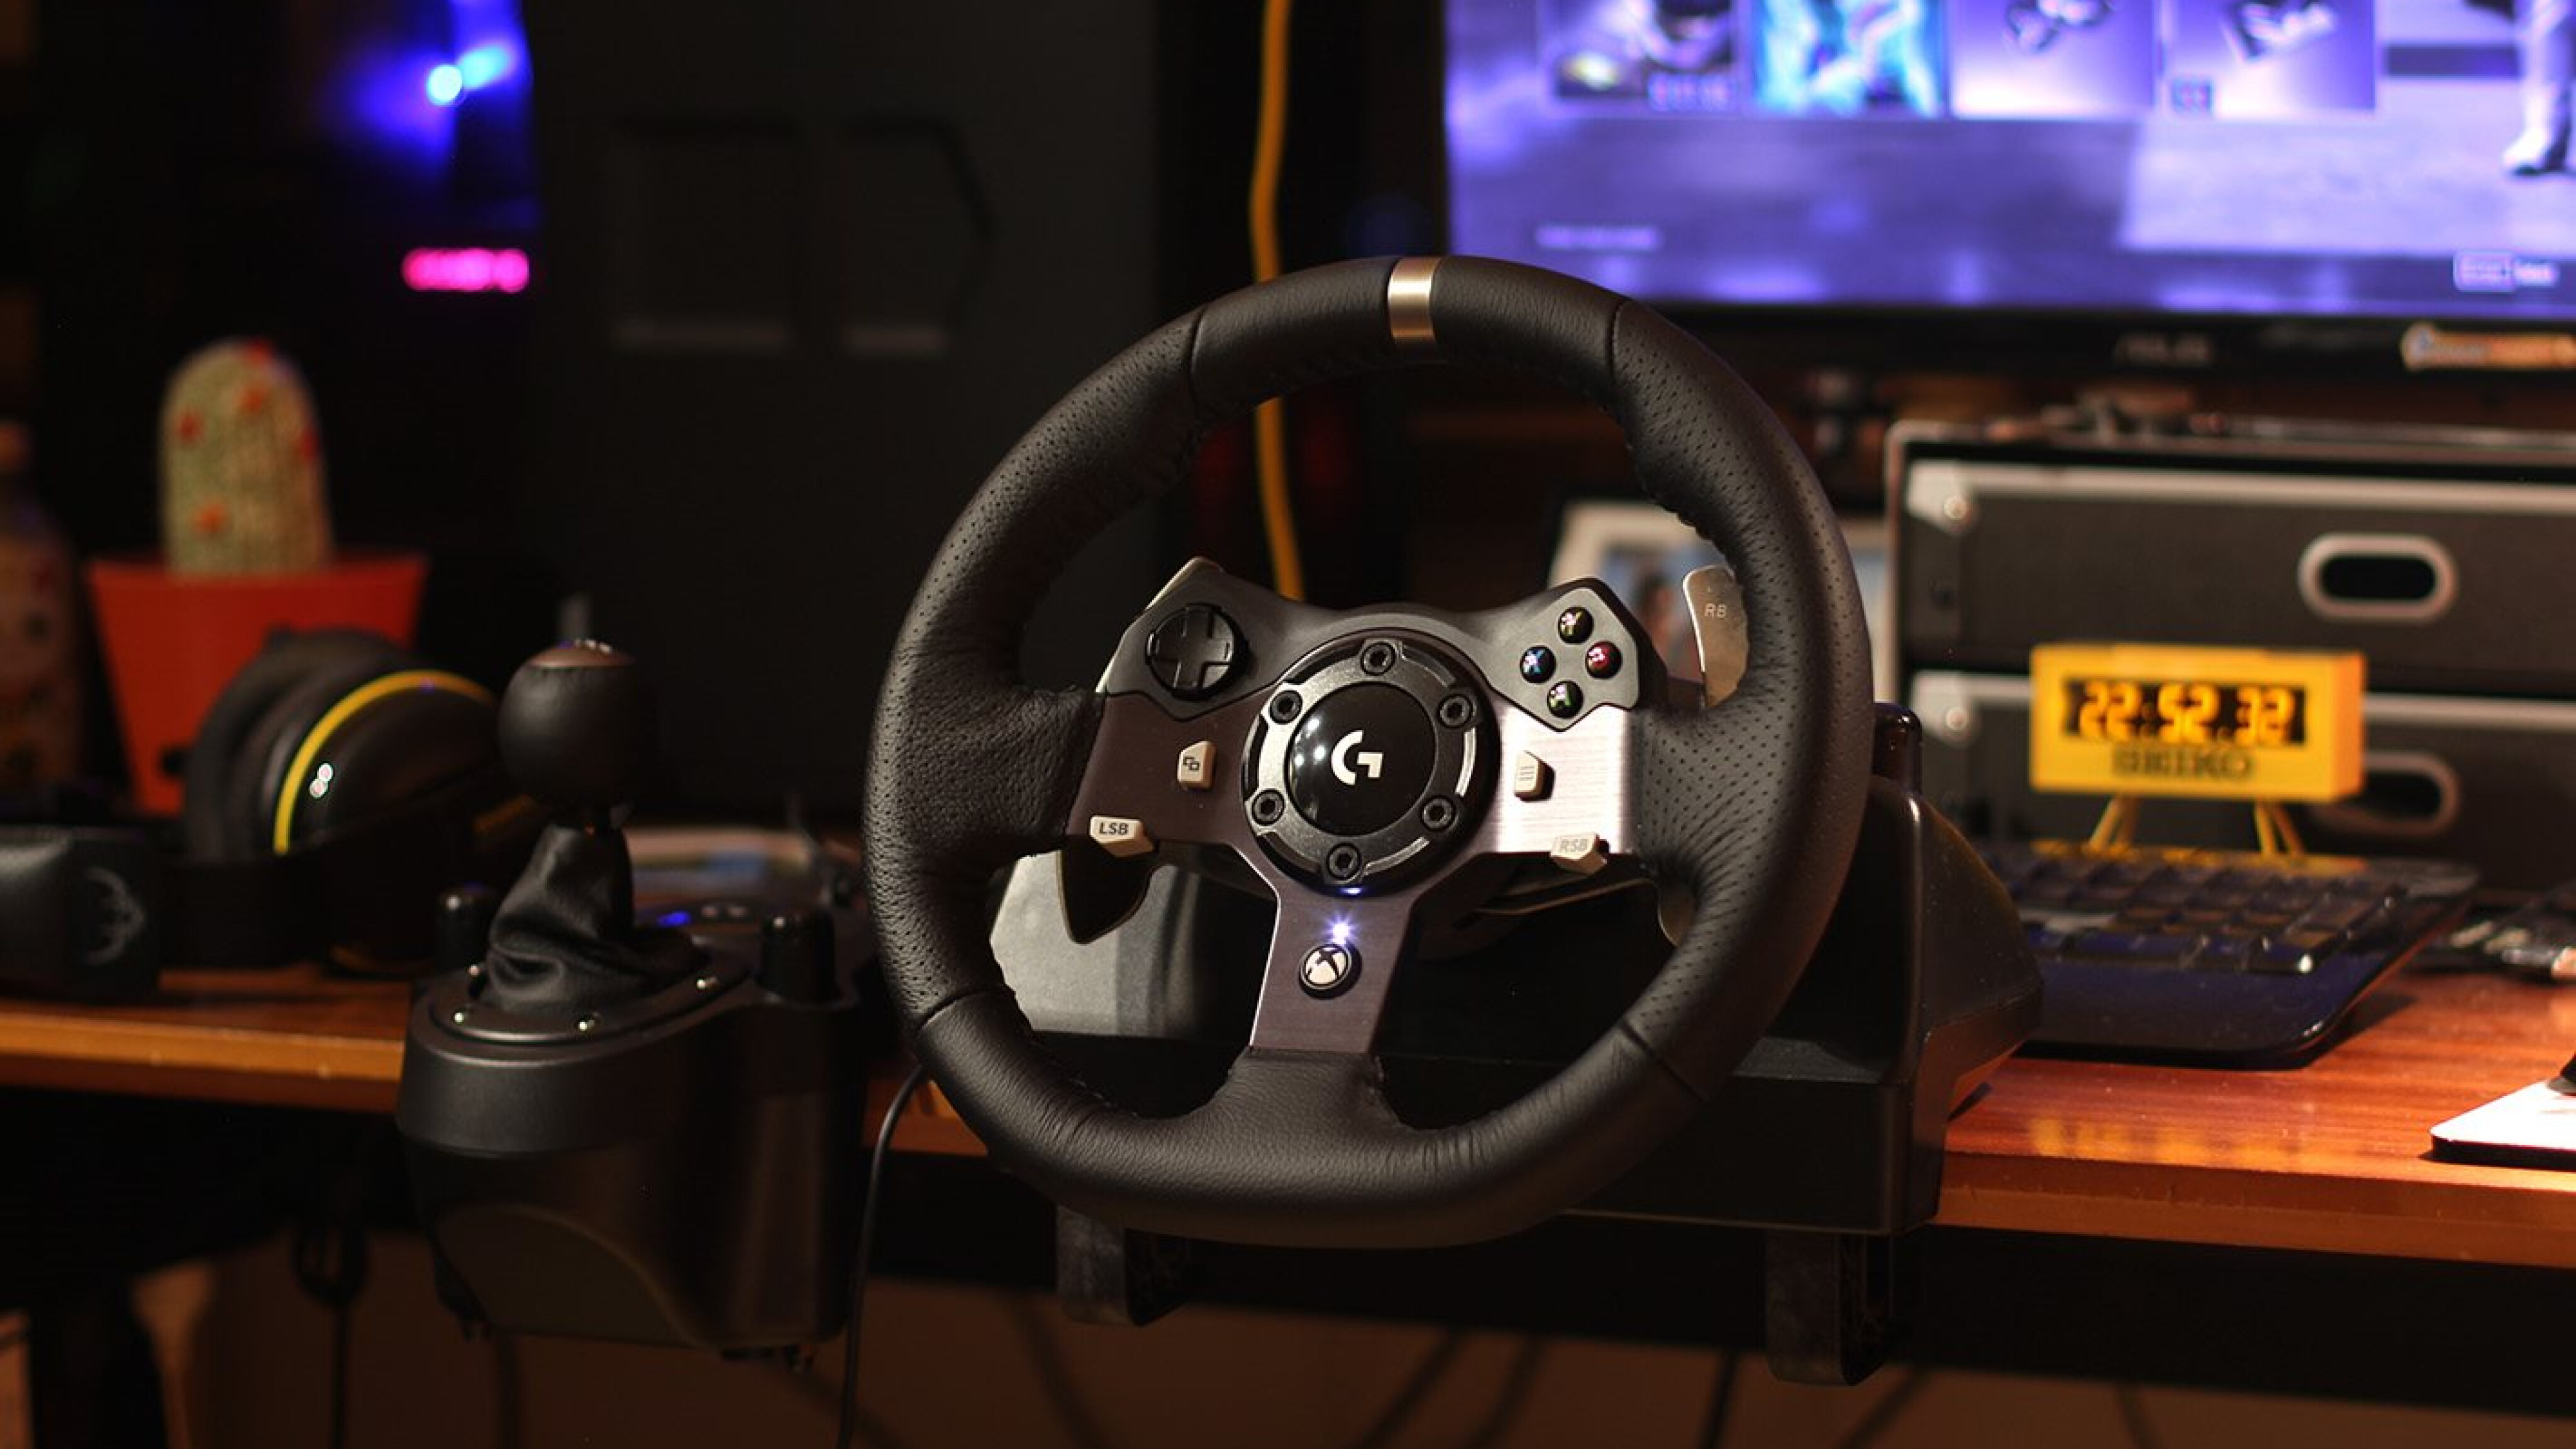
- Specialized Gaming Peripheral: If you’re using a specialized gaming peripheral, such as a flight stick or racing wheel, follow the manufacturer’s instructions for connecting the device to your computer. This may involve using USB connections, proprietary adapters, or specialized software provided by the manufacturer.
Once your game controller is successfully connected to your Windows 7 system, you’re ready to proceed to the next step in the calibration process. A secure and stable connection is essential for accurate calibration, so be sure to verify that your controller is recognized by your computer before moving on to the calibration steps.
By ensuring that your game controller is properly connected, you’ll set the stage for a smooth and effective calibration process. With the physical connection established, you can focus on accessing the necessary settings and fine-tuning your controller’s performance to suit your gaming preferences. Now that your controller is connected, let’s move on to the next step in the calibration process.
Step 2: Open the Control Panel
Opening the Control Panel is the initial step in accessing the settings required to calibrate your game controller on Windows 7. The Control Panel serves as the centralized hub for configuring various system settings, including those related to hardware peripherals such as game controllers. Here’s how you can open the Control Panel on your Windows 7 computer:
- Click on the Start Menu: In the lower-left corner of your screen, click on the Start button to access the Start Menu.
- Locate the Control Panel: Within the Start Menu, you’ll find a link to the Control Panel. Depending on your Start Menu configuration, the Control Panel may be listed directly in the Start Menu, or it may be located within a submenu such as “All Programs” or “Windows System.”
- Open the Control Panel: Once you’ve located the Control Panel link, click on it to open the Control Panel window. This will provide access to a wide range of system settings and configuration options.
Alternatively, you can also access the Control Panel by typing “Control Panel” into the search bar within the Start Menu and selecting the Control Panel from the search results. This method allows for quick access to the Control Panel without navigating through the Start Menu’s hierarchical structure.
Upon opening the Control Panel, you’ll be presented with a variety of settings categories, ranging from system security and maintenance to hardware and sound. It’s within this interface that you’ll locate the specific settings related to game controllers, which will be essential for the calibration process. With the Control Panel now accessible, you’re ready to proceed to the next step and access the game controller settings required for calibration.
By successfully opening the Control Panel, you’ve taken a crucial step toward accessing the necessary settings for calibrating your game controller. The Control Panel serves as the gateway to a multitude of system configurations, and by navigating its interface, you’ll gain access to the tools needed to optimize your game controller’s performance. With the Control Panel at your fingertips, let’s move on to the next step in the calibration process.
Step 3: Access the Game Controllers Settings
After opening the Control Panel, the next vital step in calibrating your game controller on Windows 7 is to access the specific settings dedicated to game controllers. These settings allow you to configure and calibrate your controller to ensure optimal performance during gameplay. Here’s how you can access the game controllers settings:
- Navigate to the “Hardware and Sound” Category: Within the Control Panel, locate and click on the “Hardware and Sound” category. This section contains various settings related to hardware devices and their configurations.
- Access the “Devices and Printers” Option: Within the “Hardware and Sound” category, you’ll find the “Devices and Printers” section. Click on this option to proceed to the next step.
- Locate Your Game Controller: In the “Devices and Printers” window, you should see an icon or listing for your connected game controller. This may be displayed as a specific controller model or as a generic game controller icon.
- Right-Click on the Game Controller: Once you’ve located your game controller, right-click on its icon or listing to reveal a context menu of options.
- Select “Game Controller Settings”: From the context menu, choose the “Game Controller Settings” option. This will open the Game Controllers window, which provides access to the calibration and configuration settings for your game controller.
Upon accessing the Game Controllers settings, you’ll be presented with a window that displays your connected game controller and allows you to configure its settings, test its functionality, and perform the necessary calibration steps. This interface provides essential tools for fine-tuning your controller’s performance to suit your gaming preferences and ensure precise responsiveness during gameplay.
By successfully accessing the game controllers settings, you’ve reached a pivotal stage in the calibration process. The Game Controllers window serves as the gateway to the specific configurations and adjustments needed to optimize your game controller’s performance on Windows 7. With access to these settings, you’re now prepared to proceed to the next step and begin the calibration process for your game controller.
Step 4: Calibrate the Game Controller
Once you’ve accessed the Game Controllers settings, the next crucial step is to initiate the calibration process for your game controller. Calibration is essential for ensuring that the controller’s inputs are accurately interpreted by your Windows 7 system, resulting in precise and responsive performance during gameplay. Here’s how you can calibrate your game controller:
- Select Your Game Controller: Within the Game Controllers window, locate and select your connected game controller from the list of available devices. This highlights the controller and allows you to proceed with the calibration process.
- Initiate the Calibration Process: After selecting your game controller, look for an option or button within the Game Controllers window that allows you to initiate the calibration process. This may be labeled as “Calibrate,” “Properties,” or a similar descriptive term.
- Follow the On-Screen Instructions: Upon initiating the calibration process, you’ll be guided through a series of on-screen instructions that prompt you to perform specific actions with your game controller. These actions may include moving joysticks, pressing buttons, or engaging triggers to allow the system to capture and calibrate the controller’s input range.
- Complete the Calibration Steps: As you follow the on-screen instructions, ensure that you perform each action as directed to complete the calibration process thoroughly. This may involve moving the controller’s input devices through their full range of motion to allow for accurate calibration.
- Save the Calibration Settings: Once you’ve completed the calibration steps, you’ll have the option to save the calibration settings for your game controller. This ensures that the calibrated parameters are retained for future use, providing consistent performance across your gaming sessions.
By calibrating your game controller, you’re fine-tuning its responsiveness and ensuring that it accurately translates your physical inputs into in-game actions. This meticulous calibration process is instrumental in optimizing your gaming experience, allowing you to wield precise control over your virtual avatars, vehicles, and other in-game elements.
With the calibration process successfully completed, your game controller is now primed to deliver optimal performance on your Windows 7 system. By following these calibration steps, you’ve taken a proactive approach to enhancing your gaming experience and ensuring that your controller responds accurately to your commands. With your game controller calibrated, let’s proceed to the next step and test the calibration to confirm its effectiveness.
Step 5: Test the Calibration
After completing the calibration process for your game controller, it’s essential to test the calibration to confirm that your controller is functioning optimally. Testing the calibration allows you to verify that the controller accurately interprets your inputs and responds precisely within your games. Here’s how you can test the calibration of your game controller:
- Open a Game or Testing Application: Launch a game that supports game controllers or a dedicated testing application that allows you to interact with and test the functionality of your game controller. This could be a game from your existing library or a specialized testing program designed to assess controller performance.
- Verify In-Game Responsiveness: Once you’re in the game or testing application, take note of how your game controller responds to your inputs. Test the movement of joysticks, the responsiveness of buttons, and the accuracy of triggers to ensure that the controller’s actions align precisely with your physical inputs.
- Assess Input Lag and Accuracy: Pay attention to any signs of input lag or inaccuracies in the controller’s response. Input lag refers to the delay between your physical input and the corresponding action in the game. Assess whether the calibration has minimized input lag and improved the accuracy of your controller’s performance.
- Adjust Calibration if Necessary: If you notice any issues with the controller’s responsiveness or accuracy during testing, consider revisiting the calibration settings to make further adjustments. Some game controllers may require fine-tuning to achieve the ideal balance of responsiveness and precision.
- Confirm Consistent Performance: Test the calibration across multiple games or applications to confirm that your controller delivers consistent performance across various scenarios. This ensures that the calibration settings are well-suited for a range of gaming experiences.
By thoroughly testing the calibration of your game controller, you can gain confidence in its performance and make any necessary adjustments to optimize its responsiveness. The testing phase allows you to experience firsthand the impact of the calibration process on your gaming experience and make informed decisions about further adjustments.
Upon confirming the effectiveness of the calibration through testing, you can proceed with confidence, knowing that your game controller is finely tuned to deliver precise and responsive performance in your favorite games. With the calibration successfully tested, you’re now equipped to enjoy an enhanced gaming experience, leveraging the optimized performance of your game controller on Windows 7.
Conclusion
Calibrating a game controller on Windows 7 is a fundamental process that empowers gamers to optimize their gaming experience by ensuring precise and responsive control over in-game actions. By following the step-by-step instructions outlined in this guide, you’ve gained the essential knowledge and skills needed to calibrate your game controller effectively. From connecting the controller to accessing the calibration settings and testing its performance, each step plays a crucial role in fine-tuning the controller’s responsiveness.
With your game controller successfully calibrated, you’ve taken a proactive approach to enhancing your gaming proficiency and immersing yourself fully in the virtual worlds of your favorite games. The meticulous calibration process ensures that your controller accurately translates your physical inputs into seamless in-game actions, minimizing input lag and maximizing precision.
By mastering the art of controller calibration, you’ve unlocked the potential for a more immersive and enjoyable gaming experience on your Windows 7 system. Whether you’re navigating intense combat scenarios, piloting virtual aircraft, or exploring vast open worlds, the optimized performance of your calibrated game controller enhances your ability to interact with virtual environments and characters.
As you continue your gaming journey, remember that periodic recalibration and testing of your game controller can further refine its performance and adapt to your evolving gaming preferences. Stay attuned to the responsiveness and accuracy of your controller, and don’t hesitate to revisit the calibration settings to maintain peak performance.
With your game controller now calibrated and ready for action, you’re well-equipped to embark on thrilling gaming adventures with enhanced precision and control. Embrace the immersive capabilities of your finely-tuned game controller and elevate your gaming experience on Windows 7 to new heights.