Introduction
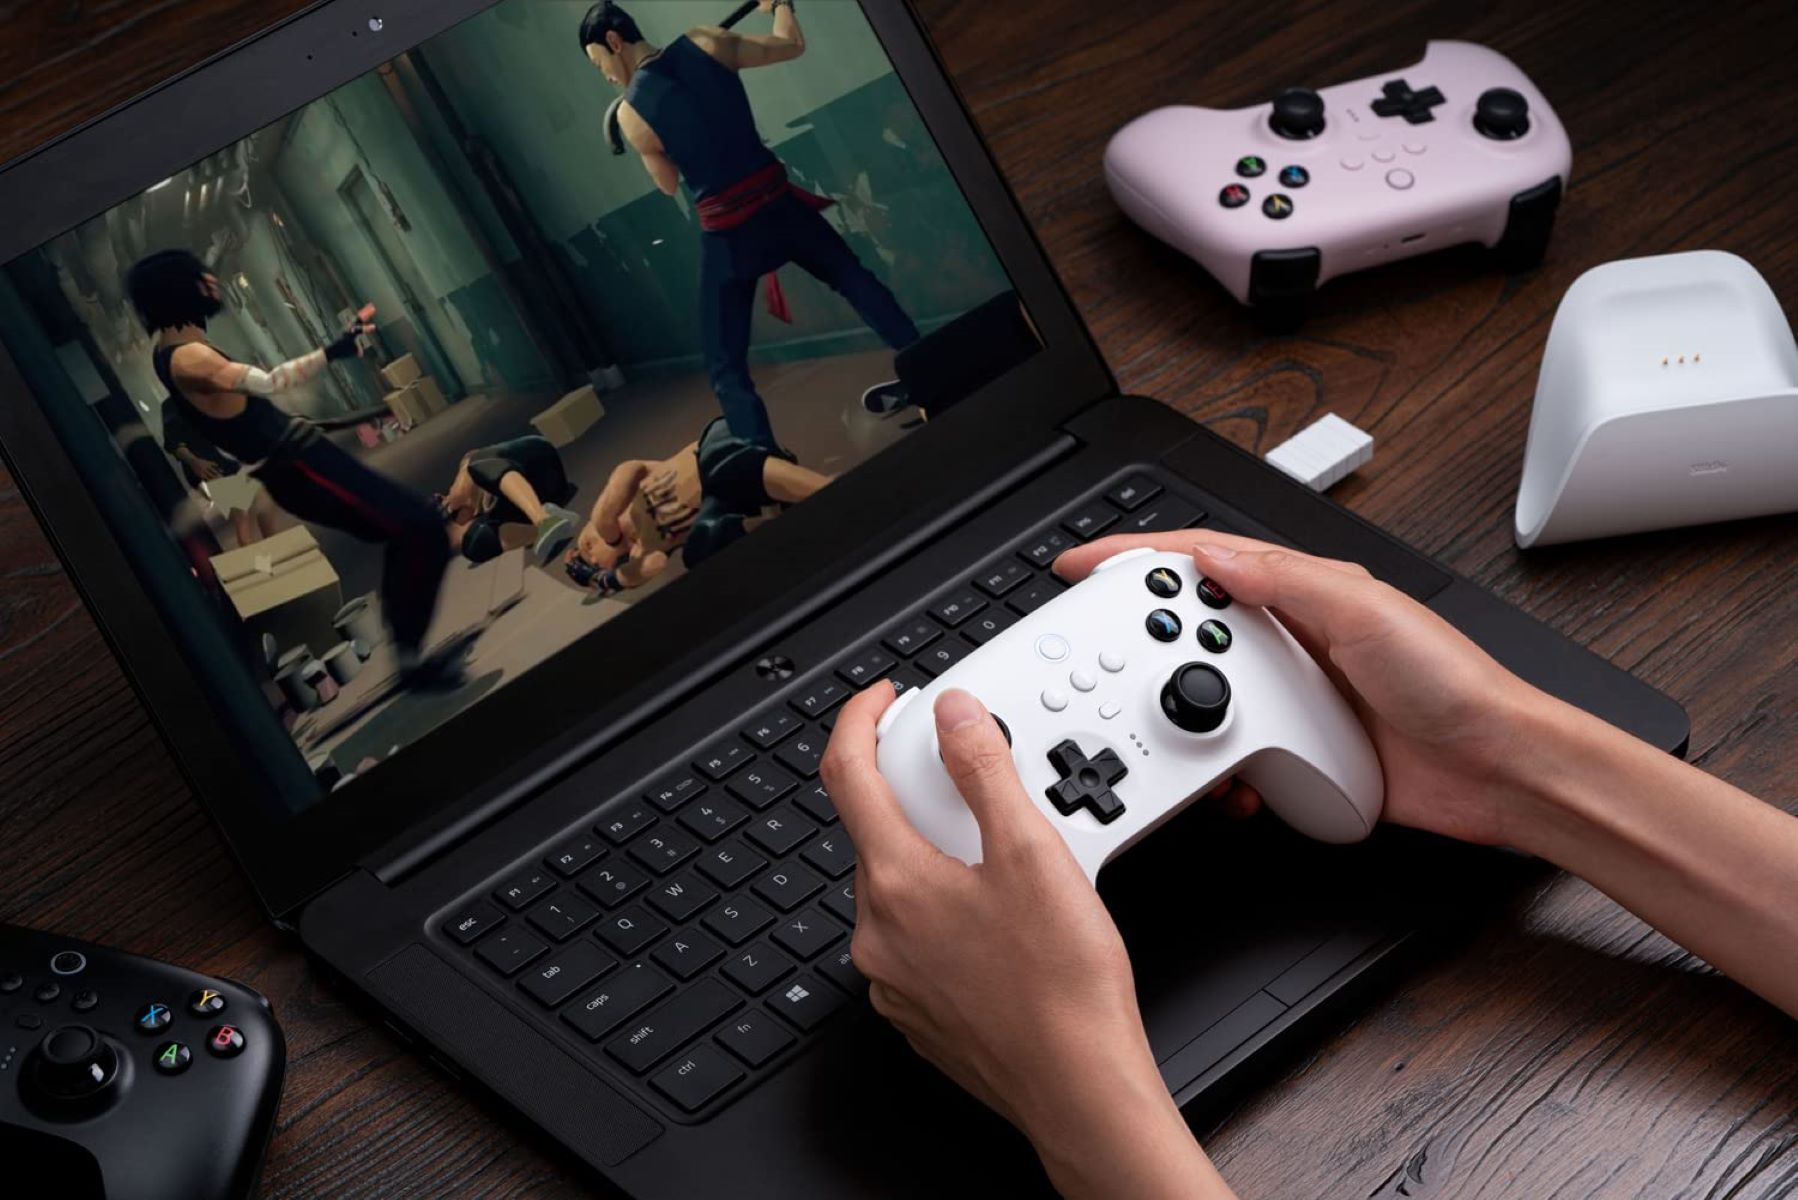
Calibrating a game controller on Windows 10 can significantly enhance your gaming experience by ensuring precise and responsive control inputs. Whether you're an avid gamer or a casual player, having a properly calibrated game controller is essential for enjoying your favorite games to the fullest. Fortunately, Windows 10 provides a straightforward method for calibrating your game controller, allowing you to fine-tune its sensitivity and responsiveness.
In this guide, we'll walk you through the step-by-step process of calibrating your game controller on Windows 10. We'll cover everything from checking for updates to testing the controller after calibration, ensuring that you have all the necessary information to optimize your gaming setup. By following these instructions, you can eliminate input lag, improve accuracy, and customize the performance of your game controller to suit your preferences.
Whether you're using a gamepad, joystick, or other type of game controller, the calibration process can help you achieve better control and precision in your games. With just a few simple adjustments, you can ensure that your game controller accurately reflects your movements and commands in the virtual world, giving you a competitive edge and a more immersive gaming experience.
So, let's dive into the process of calibrating your game controller on Windows 10 and unlock its full potential for gaming enjoyment. Whether you're embarking on an epic adventure, competing in intense multiplayer battles, or simply relaxing with a casual game, a well-calibrated game controller can make all the difference in your gaming experience. Let's get started!
Checking for Updates
Before calibrating your game controller on Windows 10, it’s important to ensure that your system and device drivers are up to date. Keeping your operating system and drivers updated can help resolve compatibility issues and ensure that the calibration process proceeds smoothly.
To begin, navigate to the “Settings” app on your Windows 10 system. From there, select “Update & Security” and then click on “Windows Update” in the left-hand menu. Here, you can check for any available updates for your operating system. If updates are found, download and install them to ensure that your system is running the latest software, which can address any potential conflicts that may affect the calibration process.
In addition to updating your operating system, it’s also crucial to check for driver updates specific to your game controller. Visit the manufacturer’s website or use the device manager in Windows to check for any available driver updates for your game controller. Installing the latest drivers can resolve performance issues and provide the necessary support for calibration features.
By verifying that your system and drivers are up to date, you can create an optimal environment for calibrating your game controller. This proactive approach can help prevent potential issues and ensure that the calibration process proceeds without any unnecessary complications.
Once you’ve confirmed that your system and drivers are updated, you’re ready to proceed to the next step: accessing the game controller settings in Windows 10.
Accessing the Game Controller Settings
Accessing the game controller settings on Windows 10 is the next crucial step in the calibration process. Windows 10 provides a convenient interface for managing and calibrating game controllers, allowing you to customize their behavior to suit your preferences.
To access the game controller settings, begin by connecting your game controller to your Windows 10 system. This can be done via USB, Bluetooth, or other supported connection methods. Once your game controller is connected, follow these steps to access the settings:
- Navigate to the “Settings” app on your Windows 10 system.
- Click on “Devices,” which will open the “Bluetooth & other devices” settings.
- Under the “Bluetooth & other devices” settings, select “Connected devices.”
- Locate your game controller in the list of connected devices and click on it to access its settings.
- Once you’ve accessed the settings for your game controller, you can proceed to the calibration process by selecting the appropriate options or tabs related to controller configuration.
Alternatively, you can access the game controller settings by using the “Control Panel” in Windows 10. To do this, follow these steps:
- Open the “Control Panel” from the Windows 10 start menu.
- Click on “Hardware and Sound.”
- Under the “Devices and Printers” section, select “Device Manager.”
- In the Device Manager window, locate and expand the “Sound, video and game controllers” category.
- Right-click on your game controller and select “Properties” to access its settings and calibration options.
By following these steps, you can easily access the game controller settings in Windows 10, allowing you to proceed with the calibration process and fine-tune the performance of your game controller to enhance your gaming experience. Once you’ve accessed the settings, you’re ready to move on to the next step: calibrating the game controller.
Calibrating the Game Controller
Calibrating your game controller on Windows 10 is a crucial step to ensure accurate and responsive input during gaming sessions. The calibration process allows you to fine-tune the sensitivity and behavior of the controller, optimizing it for your gaming preferences. Here’s a step-by-step guide to calibrating your game controller:
- Access the Calibration Tool: In Windows 10, you can access the calibration tool by navigating to the “Control Panel” and selecting “Hardware and Sound.” Under the “Devices and Printers” section, choose “Device Manager” and expand the “Sound, video and game controllers” category. Right-click on your game controller and select “Properties.” Then, navigate to the “Settings” or “Calibration” tab to access the calibration tool.
- Initiate the Calibration Process: Once you’ve accessed the calibration tool, follow the on-screen instructions to begin the calibration process. This typically involves a series of prompts and actions to be performed with the game controller, such as moving the joysticks, pressing buttons, or rotating analog sticks. By following these prompts, you can provide input to the calibration tool, allowing it to analyze and adjust the controller’s behavior.
- Adjust Calibration Settings: During the calibration process, you may have the opportunity to adjust various settings to fine-tune the controller’s behavior. This can include sensitivity adjustments, dead zone settings, and other parameters that affect how the controller responds to your input. Take the time to carefully review and adjust these settings to achieve the desired level of control and responsiveness.
- Complete the Calibration: Once you’ve followed the prompts and adjusted the calibration settings, complete the calibration process as instructed by the tool. This may involve saving the calibration settings or confirming the changes made to the controller’s configuration. By completing the calibration, you ensure that the adjustments are applied to the controller, optimizing its performance for gaming.
By following these steps, you can successfully calibrate your game controller on Windows 10, allowing you to tailor its behavior to your gaming preferences. Whether you prefer precise and responsive controls for competitive gaming or a more relaxed experience for casual play, calibration empowers you to optimize the performance of your game controller.
Once you’ve completed the calibration process, the next step is to test the game controller to ensure that the adjustments have achieved the desired results. This will allow you to confirm that the controller’s behavior aligns with your expectations and provides an enhanced gaming experience.
Testing the Game Controller
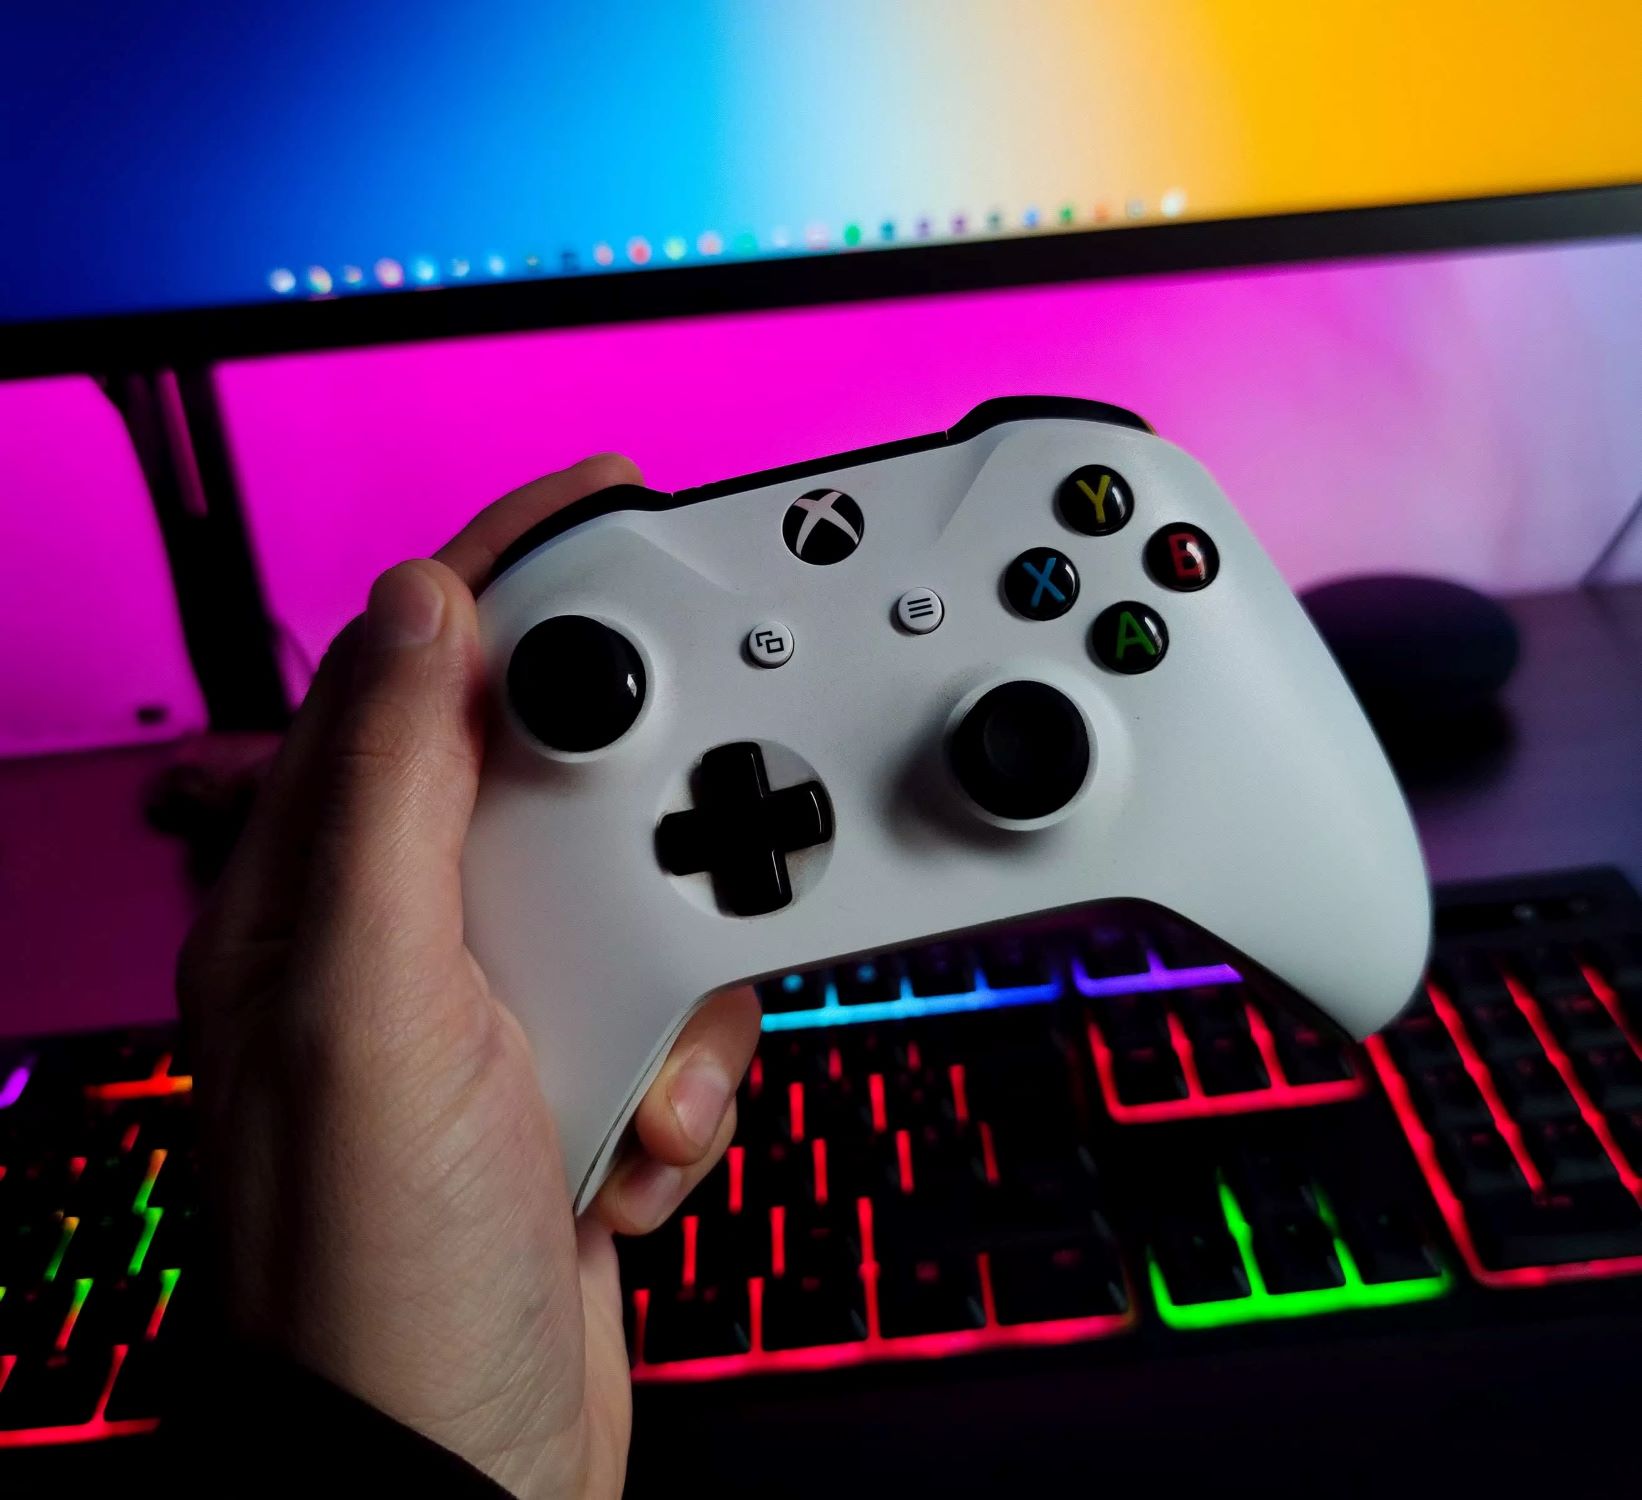
After calibrating your game controller on Windows 10, it’s essential to test its functionality to ensure that the adjustments made during the calibration process have achieved the desired results. Testing the game controller allows you to verify its responsiveness, accuracy, and overall performance, providing confidence in its suitability for gaming. Here’s how to effectively test your game controller:
- Open a Game or Testing Application: Launch a game that supports game controllers or use a dedicated testing application to assess the performance of your game controller. Choose a game or application that allows you to interact with the controller’s inputs, such as button presses, joystick movements, and trigger actions.
- Assess Responsiveness: Once in the game or testing application, pay close attention to how the game controller responds to your inputs. Test the joysticks, buttons, triggers, and other controls to ensure that they accurately reflect your actions in the game. Look for any signs of input lag, unresponsiveness, or unexpected behavior that may indicate further adjustments are needed.
- Verify Accuracy: Evaluate the accuracy of the controller’s inputs by performing precise movements and actions within the game or testing environment. Check for any discrepancies between your physical input and the on-screen response, ensuring that the controller accurately translates your commands without issues such as drifting, misalignment, or inconsistent behavior.
- Test Different Scenarios: Experiment with various in-game scenarios that require different types of input from the game controller. This can include rapid button presses, complex joystick movements, and nuanced control actions. By testing the controller in diverse situations, you can assess its performance across a range of gaming experiences.
- Make Further Adjustments if Necessary: If you encounter any issues or inconsistencies during testing, consider revisiting the calibration settings to make further adjustments. Fine-tuning the sensitivity, dead zones, or other parameters based on your testing observations can help optimize the controller’s performance for specific games and gameplay styles.
By thoroughly testing your game controller after calibration, you can gain confidence in its performance and suitability for gaming. The testing process allows you to identify any potential issues and make informed decisions about additional adjustments or optimizations to enhance the controller’s behavior.
Once you’re satisfied with the performance of your game controller, you can confidently immerse yourself in your favorite games, knowing that your controller is finely tuned to deliver a responsive and enjoyable gaming experience.
Conclusion
Calibrating a game controller on Windows 10 is a fundamental process that can significantly improve the gaming experience for players of all levels. By following the steps outlined in this guide, you can ensure that your game controller is finely tuned to your preferences, providing accurate and responsive input during gameplay.
From checking for updates to accessing the game controller settings, the calibration process empowers you to customize the behavior of your controller to suit your gaming style. By initiating the calibration process, adjusting settings, and thoroughly testing the controller, you can optimize its performance and eliminate potential issues such as input lag, inaccuracies, or unresponsiveness.
Whether you’re navigating virtual worlds, engaging in intense battles, or enjoying casual gaming sessions, a well-calibrated game controller can enhance your immersion and enjoyment. The ability to tailor the sensitivity, dead zones, and other parameters of the controller allows you to achieve precise and reliable control, giving you a competitive edge and a more immersive gaming experience.
By taking the time to calibrate your game controller on Windows 10, you can unlock its full potential and ensure that it accurately reflects your commands and movements in the virtual environment. This level of control empowers you to fully engage with your favorite games, confident in the responsiveness and accuracy of your game controller.
As you embark on your gaming adventures, remember that calibration is not a one-time process. Regularly revisiting the calibration settings and testing the controller can help maintain its optimal performance and adapt to different gaming experiences. By staying proactive in managing your game controller’s calibration, you can continue to enjoy precise and responsive control in all your gaming endeavors.
With a well-calibrated game controller, you’re equipped to immerse yourself in the rich and dynamic worlds of modern gaming, confident in your ability to interact with precision and responsiveness. Embrace the potential of your game controller and elevate your gaming experience to new heights through the power of calibration.