Introduction
Drawing an electric guitar can be a rewarding and enjoyable experience for artists of all levels. Whether you're a beginner looking to improve your sketching skills or an experienced artist seeking a new challenge, creating a lifelike representation of this iconic instrument allows you to explore intricate details and hone your artistic abilities. From the sleek curves of the body to the intricate components of the hardware, each element presents an opportunity to practice perspective, shading, and precision.
In this tutorial, we will explore the step-by-step process of drawing an electric guitar, guiding you through each stage to ensure a comprehensive understanding of the instrument's anatomy and design. By following these instructions, you will have the opportunity to develop your skills in sketching, detailing, and shading, ultimately producing a striking depiction of an electric guitar.
Through this creative endeavor, you will gain insight into the fundamental principles of sketching and illustration, including proportion, perspective, and texture. Additionally, you will have the chance to experiment with shading techniques to bring depth and realism to your artwork. Whether you aim to capture the classic elegance of a vintage model or the modern flair of a contemporary design, this tutorial will equip you with the knowledge and techniques needed to bring your vision to life on paper.
So, gather your artistic tools and prepare to embark on an engaging artistic journey as we delve into the process of drawing an electric guitar. With a blend of creativity and attention to detail, you can create a captivating representation of this beloved instrument, showcasing your artistic prowess and passion for music in a visually stunning manner.
Materials Needed
Before beginning the process of drawing an electric guitar, it’s essential to gather the necessary materials to ensure a smooth and enjoyable artistic experience. Here’s a list of items that will aid you in creating a detailed and realistic representation of this iconic instrument:
- Pencil: A set of high-quality drawing pencils, including varying degrees of hardness (e.g., 2H, HB, 2B, 4B, and 6B), to allow for precise lines and shading.
- Eraser: A soft, kneaded eraser for gently correcting mistakes and creating highlights, as well as a precision eraser for fine details.
- Drawing Paper: Acid-free, heavyweight paper or sketch pad that can withstand multiple layers of pencil and eraser without smudging or tearing.
- Ruler: A straight edge for creating precise lines and ensuring accurate proportions when sketching the guitar’s components.
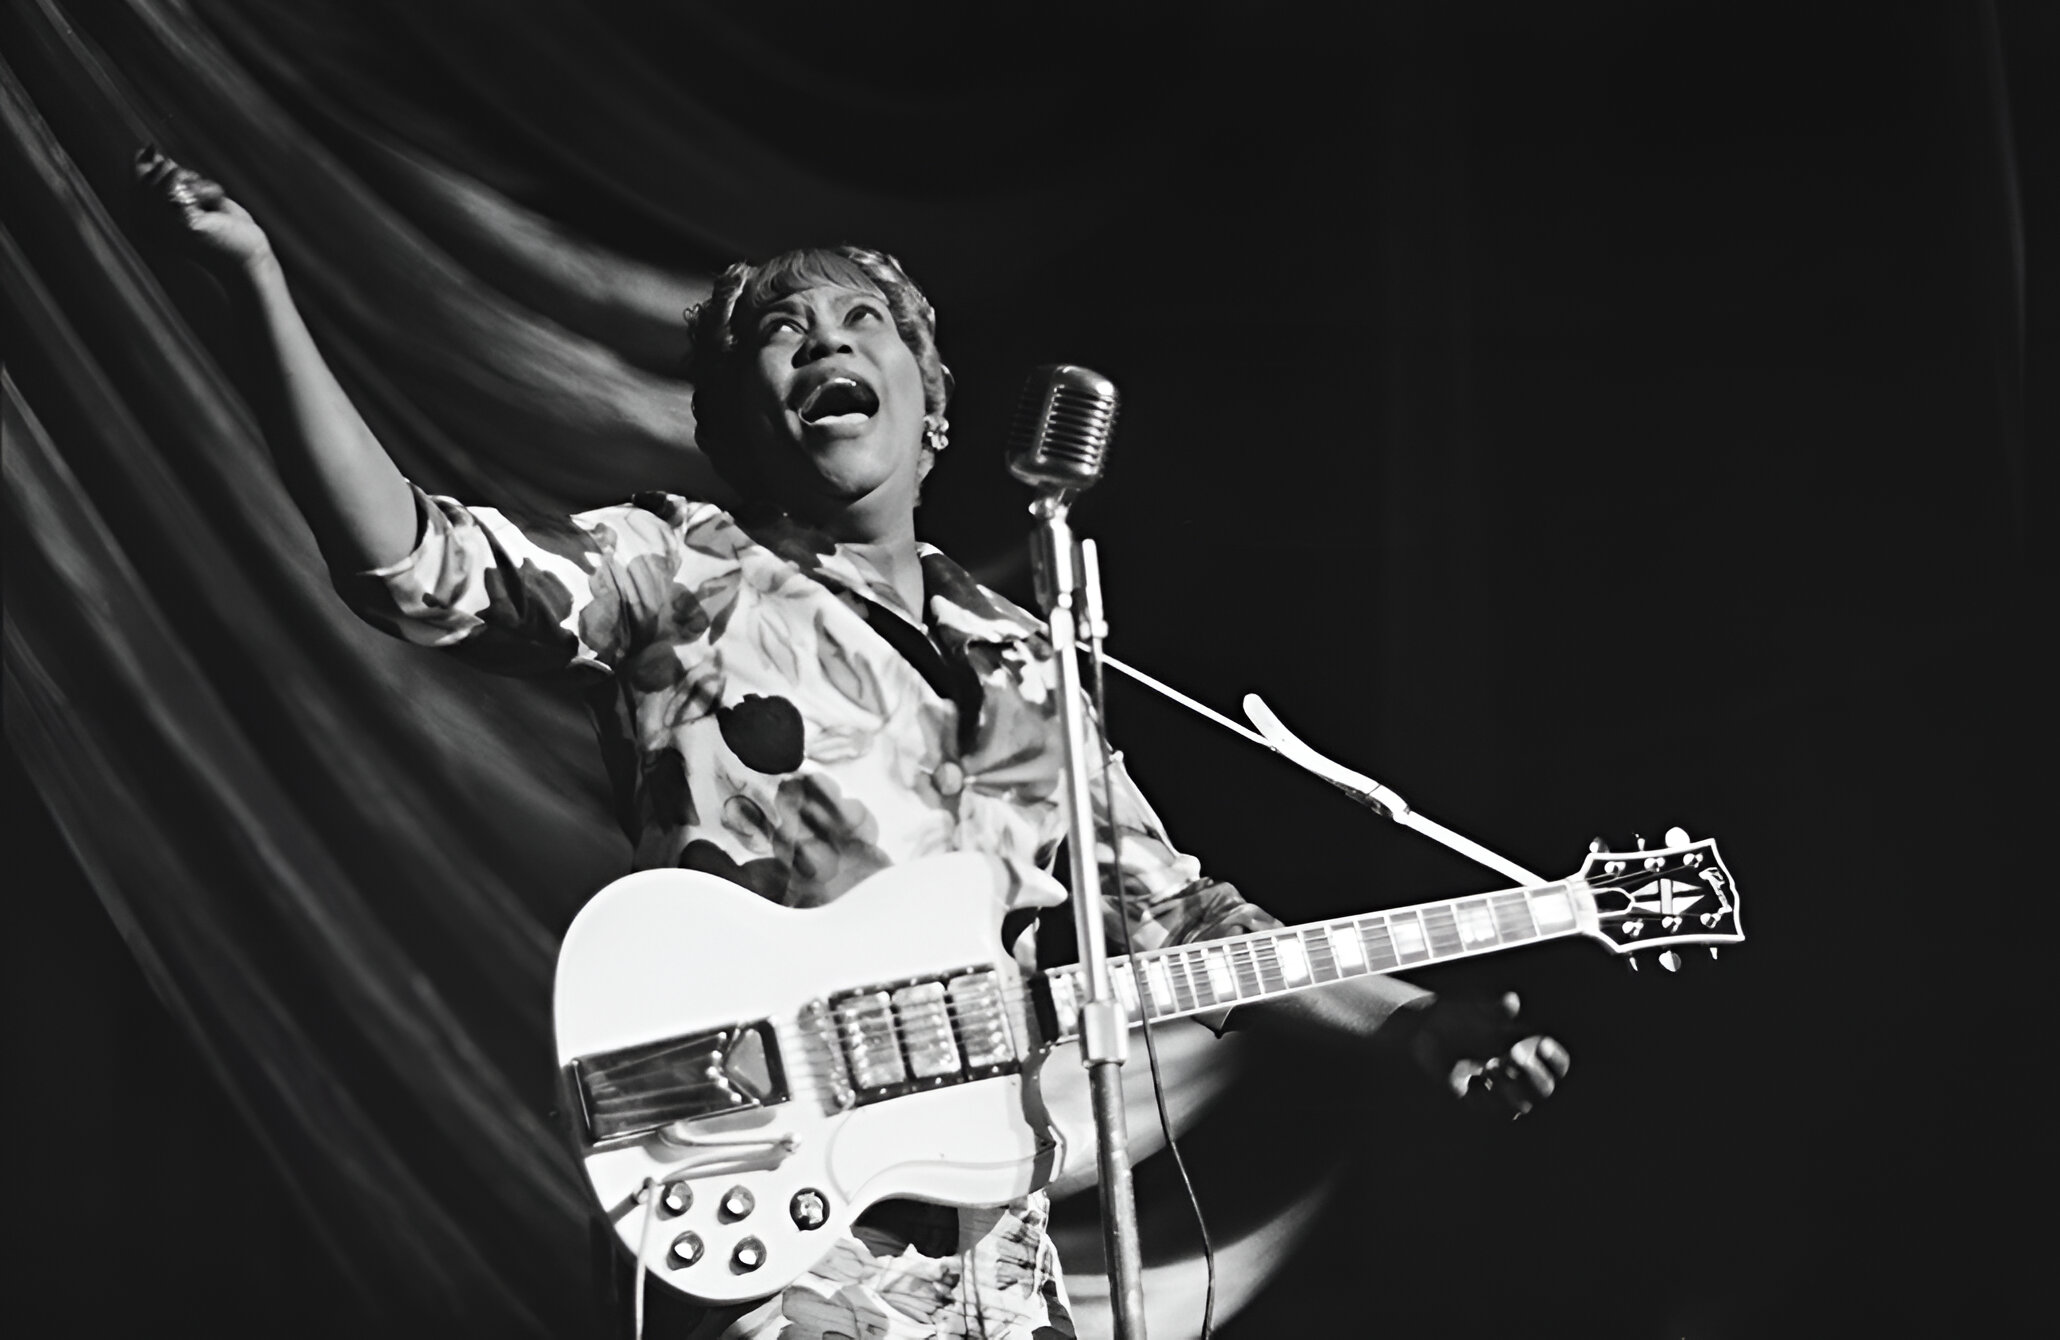
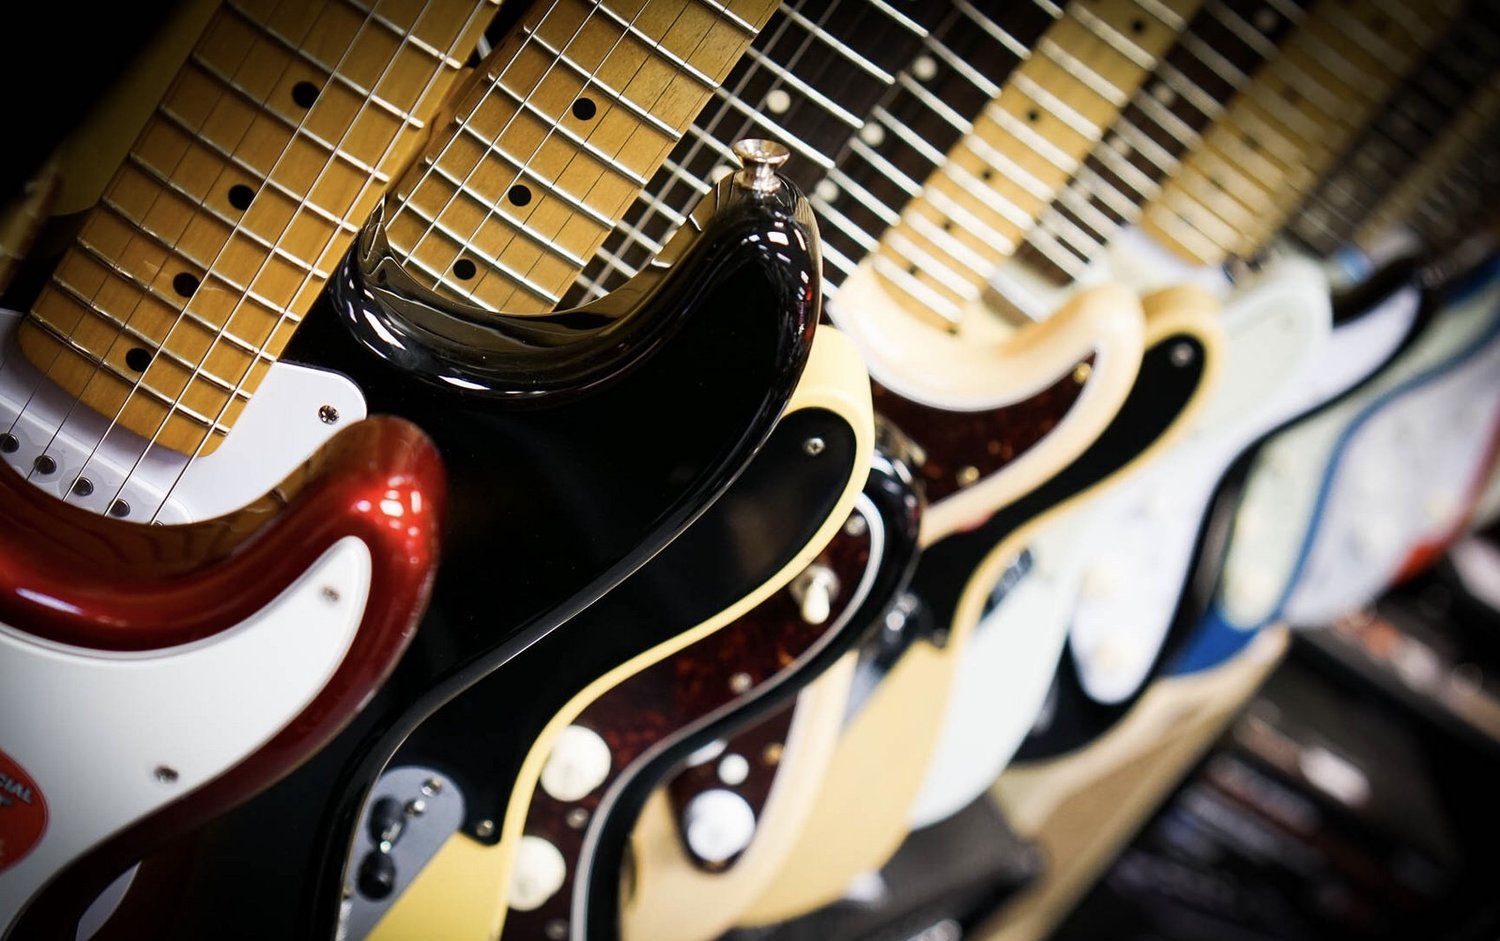
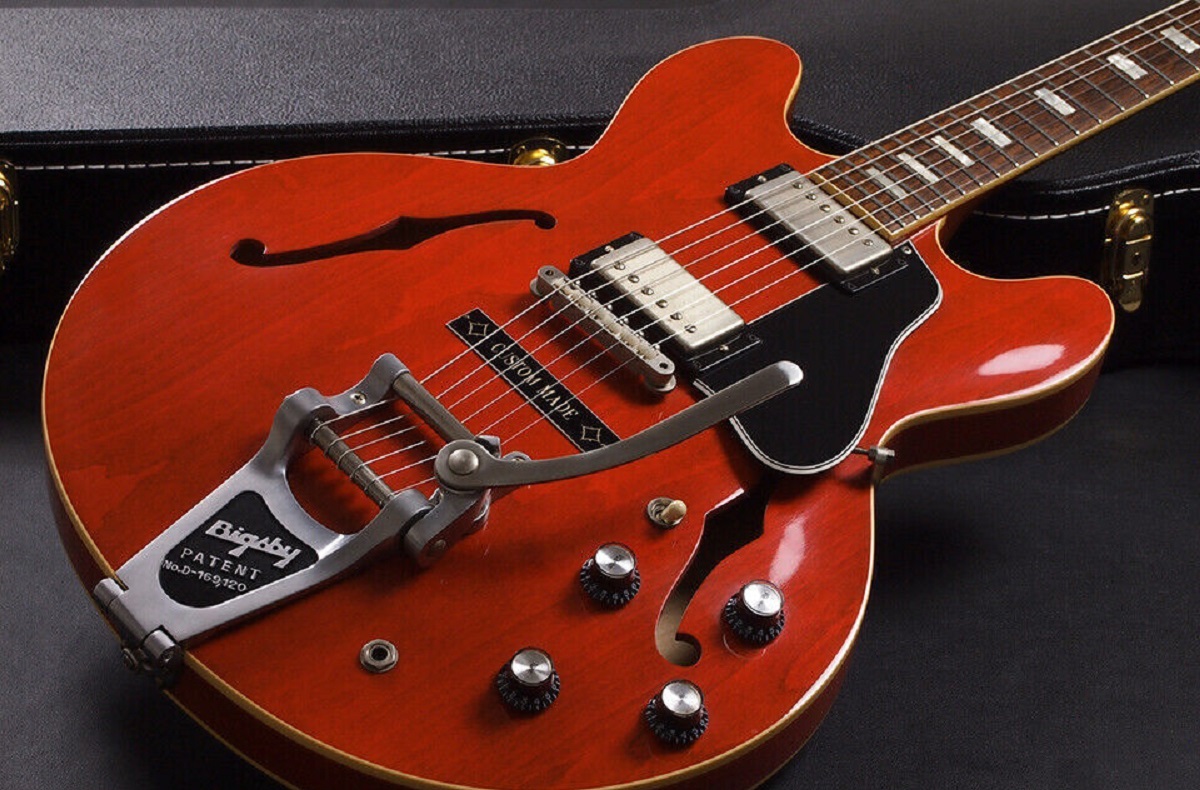
- Reference Image: A clear, detailed photograph or illustration of an electric guitar to serve as a visual reference for accuracy and inspiration.
- Blending Stump: A blending tool for smoothly blending and shading areas of the guitar to achieve a realistic, seamless appearance.
- Fineliner or Ink Pen (Optional): For outlining and emphasizing specific details with precision and clarity.
- Light Source: A well-lit workspace to accurately perceive shadows and highlights while sketching and shading.
By ensuring that you have these materials at hand, you can approach the drawing process with confidence, knowing that you have the necessary tools to create a striking and detailed representation of an electric guitar. With these supplies in place, you are ready to embark on a creative journey that will allow you to explore the intricacies of this beloved instrument and develop your artistic skills along the way.
Sketching the Body
When drawing an electric guitar, the initial step involves sketching the body, the defining element that sets the instrument’s aesthetic tone. Begin by lightly outlining the overall shape of the guitar, considering the distinctive curves and contours that give it its characteristic silhouette. Pay close attention to the proportions and ensure that the body, neck, and headstock are accurately represented in relation to one another.
Next, focus on adding the finer details that contribute to the guitar’s personality. This includes delineating the cutaways, which vary in depth and curvature depending on the guitar model, and the contours of the body, which may feature bevels, carves, or other design elements. Take your time to capture these details with precision, as they significantly impact the visual appeal and authenticity of the drawing.
As you progress, consider the placement of the bridge, tailpiece, and any other hardware components that are integral to the body’s functionality and appearance. These elements should be positioned accurately and in proportion to the overall design. Additionally, be mindful of any decorative features, such as binding or inlays, that embellish the body, as they contribute to the guitar’s character and charm.
Throughout the sketching process, use varying pencil pressures to create depth and dimension, allowing certain areas to appear darker and more defined while keeping others lighter to convey subtle gradients. This technique adds a sense of realism to the drawing, enhancing the three-dimensional quality of the guitar’s form.
By meticulously sketching the body of the electric guitar, you lay the foundation for a detailed and captivating representation of this iconic instrument. Paying attention to the contours, details, and proportions of the body ensures that your drawing captures the essence of the guitar, setting the stage for the subsequent stages of the artistic process.
Drawing the Neck and Headstock
As you continue to render the electric guitar, the next crucial step involves drawing the neck and headstock, which are essential components that contribute to the instrument’s playability and aesthetic appeal. Begin by carefully outlining the straight, slender shape of the neck, ensuring that it seamlessly connects to the body with accurate proportions and alignment. Pay close attention to the placement of the frets, which should be evenly spaced and diminishing in size as they approach the headstock.
When drawing the headstock, take into account its unique design, as this component often showcases the manufacturer’s logo, intricate inlays, or other decorative details. Capture the distinct shape of the headstock, whether it’s a classic six-in-line configuration or a more elaborate design, and incorporate any distinguishing features that contribute to the guitar’s visual identity.
Furthermore, add depth and dimension to the neck and headstock by carefully shading and highlighting specific areas to create the illusion of volume and texture. Utilize your pencils to convey the wood grain and any subtle contours, ensuring that the drawing accurately reflects the tactile qualities of the guitar’s components.
Throughout this process, maintain a steady hand and a keen eye for detail, as precision is crucial in accurately representing the intricate features of the neck and headstock. By dedicating attention to these elements, you contribute to the overall authenticity and charm of the electric guitar drawing, setting the stage for the subsequent stages of the artistic endeavor.
By meticulously rendering the neck and headstock, you continue to build a comprehensive and lifelike portrayal of the electric guitar, capturing the instrument’s distinctive features and enhancing its visual impact. This stage of the drawing process showcases your ability to convey the intricate details and craftsmanship of the guitar, further immersing you in the artistry of this creative endeavor.
Adding the Pickguard and Pickups
As you progress with the drawing of the electric guitar, the inclusion of the pickguard and pickups is essential in capturing the instrument’s functionality and distinctive visual elements. Begin by carefully sketching the pickguard, taking into account its shape, position, and any accompanying screws or mounting hardware. The pickguard serves both a practical and aesthetic purpose, protecting the guitar’s finish while also contributing to its overall design.
When rendering the pickups, pay close attention to their placement and configuration, as these components play a pivotal role in capturing the guitar’s unique tonal characteristics. Whether the guitar features single-coil, humbucker, or other variations of pickups, accurately depicting their size, positioning, and details is crucial in conveying the instrument’s sonic capabilities and visual allure.
Furthermore, consider the fine details of the pickguard and pickups, such as any decorative elements, textures, or reflective surfaces. Utilize shading techniques to create depth and realism, allowing light to interact with the surfaces of these components to enhance their visual impact and contribute to the overall authenticity of the drawing.
By thoughtfully incorporating the pickguard and pickups into your drawing, you not only showcase the technical aspects of the electric guitar but also add depth and character to the instrument’s visual representation. These components serve as focal points in the drawing, highlighting the guitar’s unique features and contributing to its overall allure.
Through the meticulous depiction of the pickguard and pickups, you further enrich the visual narrative of the electric guitar, infusing your drawing with elements that capture the instrument’s functionality and distinctive aesthetic appeal. This stage of the artistic process allows you to explore the intricate details of the guitar’s components, enhancing your understanding of its design and enriching the overall artistic composition.
Detailing the Hardware
As you delve deeper into the process of drawing an electric guitar, attention to detail becomes paramount, particularly when capturing the intricate hardware that contributes to the instrument’s functionality and visual allure. Begin by meticulously outlining and shading components such as the bridge, tuners, control knobs, and any additional hardware that adorns the guitar’s body and headstock.
When rendering the bridge, pay close attention to its structure and design, ensuring that individual parts, such as the saddles and tremolo system, are accurately represented. These details not only contribute to the guitar’s visual appeal but also play a crucial role in its playability and tonal characteristics. Likewise, accurately depicting the tuners and control knobs adds a layer of authenticity to the drawing, showcasing the precision and craftsmanship inherent in the instrument’s construction.
Furthermore, consider the materials and finishes of the hardware components, whether they feature chrome, gold, or aged patina. Use shading techniques to convey the reflective surfaces and textures, allowing light to interact with the metal, plastic, or other materials to create a sense of depth and realism.
Additionally, pay attention to the fine details, such as screws, bolts, and other fasteners, that secure the hardware to the guitar. These seemingly minor elements contribute to the overall authenticity of the drawing, showcasing your dedication to capturing the intricacies of the instrument’s construction.
By meticulously detailing the hardware of the electric guitar, you not only enrich the visual narrative of the drawing but also gain a deeper appreciation for the craftsmanship and engineering that underpins the instrument’s design. This stage of the artistic process allows you to immerse yourself in the technical intricacies of the guitar, further enhancing your understanding of its construction and enriching the overall artistic composition.
Adding the Strings
As you progress with the depiction of the electric guitar, the addition of strings is a pivotal step in capturing the instrument’s essence and visual impact. Begin by carefully sketching the path of the strings from the bridge to the tuning pegs, ensuring that they follow a consistent trajectory and maintain proper spacing. Consider the angle at which the strings pass over the nut and bridge, as this detail contributes to the authenticity of the drawing.
When rendering the strings, pay attention to their thickness, material, and the method of attachment at the bridge and tuning pegs. Whether the guitar features steel, nickel, or other types of strings, accurately depicting their appearance and tension adds a layer of realism to the drawing, conveying the tactile qualities and sonic potential of the instrument.
Additionally, consider the interaction of the strings with the hardware, such as the bridge saddles and nut. Capture the subtle curvature and tension of the strings as they make contact with these components, showcasing the mechanical precision and functionality inherent in the guitar’s design.
Furthermore, use shading techniques to convey the reflective properties of the strings, allowing them to appear taut and luminous against the backdrop of the guitar. Pay attention to the play of light and shadow on the strings, creating a sense of depth and dimension that enhances the overall realism of the drawing.
By thoughtfully incorporating the strings into your drawing, you not only showcase the technical aspects of the electric guitar but also add a dynamic visual element that contributes to the instrument’s character and allure. The inclusion of strings brings the drawing to life, imbuing it with a sense of energy and musical potential.
Through the meticulous depiction of the strings, you further enrich the visual narrative of the electric guitar, infusing your drawing with elements that capture the instrument’s functionality and distinctive aesthetic appeal. This stage of the artistic process allows you to explore the tactile and sonic qualities of the guitar, enhancing your understanding of its design and enriching the overall artistic composition.
Final Touches and Shading
As you near the completion of your electric guitar drawing, the final touches and shading play a crucial role in enhancing the overall realism and visual impact of the artwork. Take this opportunity to refine the details, fine-tune the shading, and add depth to specific areas, ensuring that the drawing accurately captures the nuances of the instrument’s design.
Begin by assessing the overall composition and making any necessary adjustments to proportions, contours, and details. This stage allows you to refine the accuracy of the drawing, ensuring that each component of the guitar is faithfully represented in relation to the whole, creating a cohesive and visually appealing portrayal of the instrument.
Next, focus on shading and adding depth to the drawing. Utilize varying pencil pressures and blending techniques to create gradients, shadows, and highlights, effectively conveying the three-dimensional form of the guitar. Pay close attention to the interplay of light and shadow on different surfaces, such as the body, neck, and hardware, to evoke a sense of realism and depth.
Consider the materials and textures present in the guitar’s construction, such as the smooth finish of the body, the grain of the wood, or the reflective surfaces of the hardware. Use shading to convey these textural elements, adding richness and tactile quality to the drawing, further enhancing its visual appeal.
As you add the final touches and shading, take the time to step back and assess the drawing as a whole, ensuring that it captures the essence of the electric guitar with accuracy and artistry. This stage allows you to infuse the artwork with a sense of craftsmanship and attention to detail, showcasing your dedication to creating a compelling and lifelike representation of the instrument.
By meticulously refining the final touches and shading, you bring the electric guitar drawing to its culmination, imbuing it with a sense of depth, realism, and visual allure. This stage of the artistic process allows you to immerse yourself in the intricacies of the guitar’s design, enhancing your understanding of its construction and enriching the overall artistic composition.