Introduction
Are you an avid racing game enthusiast who's looking to take your gaming experience to the next level? Perhaps you've recently acquired an Xbox racing wheel and are eager to harness its full potential on your computer. Well, you're in luck! In this comprehensive guide, we'll walk you through the process of seamlessly integrating your Xbox racing wheel with your computer, allowing you to dive into the immersive world of virtual racing with unparalleled precision and control.
With the increasing popularity of racing simulators and games on various gaming platforms, many gamers are seeking ways to enhance their experience by using specialized gaming peripherals such as racing wheels. While Xbox racing wheels are designed for use with Xbox consoles, they can also be compatible with computers, providing a thrilling and realistic racing experience.
In the following steps, we will explore how to check the compatibility of your Xbox racing wheel with your computer, install the necessary drivers, connect the racing wheel to your computer, calibrate the wheel for optimal performance, and configure it within your favorite racing games. By the end of this guide, you'll be well-equipped to seamlessly integrate your Xbox racing wheel with your computer and enjoy an exhilarating and immersive racing experience like never before. So, let's dive in and unleash the full potential of your Xbox racing wheel on your computer!
Step 1: Check Compatibility
Before embarking on the journey of connecting your Xbox racing wheel to your computer, it’s crucial to ensure that the wheel is compatible with your system. While Xbox racing wheels are primarily designed for Xbox consoles, many models are also compatible with Windows-based PCs. To determine compatibility, start by checking the specifications of your racing wheel and your computer system.
Firstly, identify the model of your Xbox racing wheel. Most manufacturers provide detailed information about the compatibility of their products on their official websites. Visit the manufacturer’s website or refer to the product manual to verify if the racing wheel is compatible with Windows operating systems. Look for specific mentions of compatibility with Windows versions, such as Windows 7, 8, 10, or later.
Additionally, check if the racing wheel utilizes USB connectivity. Many Xbox racing wheels can be connected to a computer via USB, simplifying the integration process. Ensure that your computer has available USB ports that are compatible with the racing wheel’s specifications.
If your racing wheel is wireless, confirm whether it requires a separate wireless adapter for PC connectivity. Some wireless racing wheels are compatible with computers when used in conjunction with a dedicated wireless adapter. Verify if the necessary wireless adapter is included with your racing wheel or if it can be purchased separately.
Furthermore, research whether there are specific driver requirements for using the Xbox racing wheel on a computer. Manufacturers often provide downloadable drivers and software updates to enable seamless integration with Windows-based systems. Check the manufacturer’s website for driver downloads and compatibility information.
By conducting thorough research and verifying compatibility, you can ensure a smooth transition from using your Xbox racing wheel on an Xbox console to enjoying its full functionality on your computer. Once you’ve confirmed compatibility, you’re ready to proceed to the next steps of installing drivers and connecting the racing wheel to your computer.
Step 2: Install Drivers
After confirming the compatibility of your Xbox racing wheel with your computer, the next crucial step is to install the required drivers to facilitate seamless communication between the racing wheel and your operating system. Drivers serve as the intermediary software that enables the computer to recognize and effectively utilize the functionalities of the racing wheel.
Begin by visiting the official website of the racing wheel’s manufacturer. Navigate to the support or downloads section of the website to locate the appropriate drivers for your specific model of Xbox racing wheel. Manufacturers often provide dedicated drivers and software tailored for Windows-based systems, ensuring optimal performance and compatibility.
Download the latest version of the driver software that corresponds to your operating system. Whether you’re using Windows 7, 8, 10, or later versions, ensure that you select the correct driver package. It’s important to prioritize drivers that are specifically designed for your operating system to avoid compatibility issues and ensure a smooth installation process.
Once the driver package is downloaded, proceed to install the drivers by following the provided instructions. Typically, the installation process involves running the driver setup file and following the on-screen prompts to complete the installation. During the installation, ensure that the racing wheel is not connected to the computer until prompted to do so.
After the driver installation is complete, connect the Xbox racing wheel to your computer using the appropriate cables or wireless connectivity, if applicable. The computer should detect the connected racing wheel and initialize the driver installation process. Follow any additional on-screen prompts to finalize the driver setup and ensure that the racing wheel is recognized and ready for use.
By installing the requisite drivers for your Xbox racing wheel, you establish a vital link between the racing wheel and your computer, paving the way for seamless integration and optimal performance. With the drivers successfully installed, you’re now prepared to proceed to the next step of connecting the racing wheel to your computer and calibrating it for an immersive racing experience.
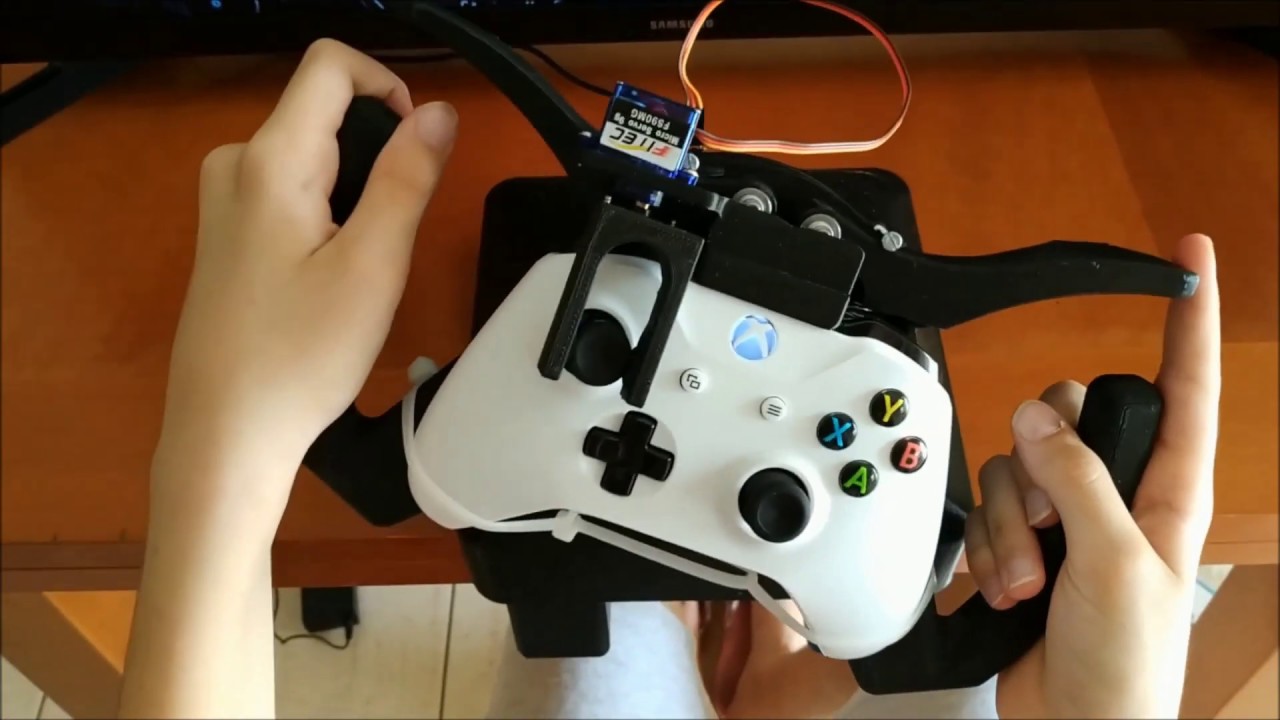
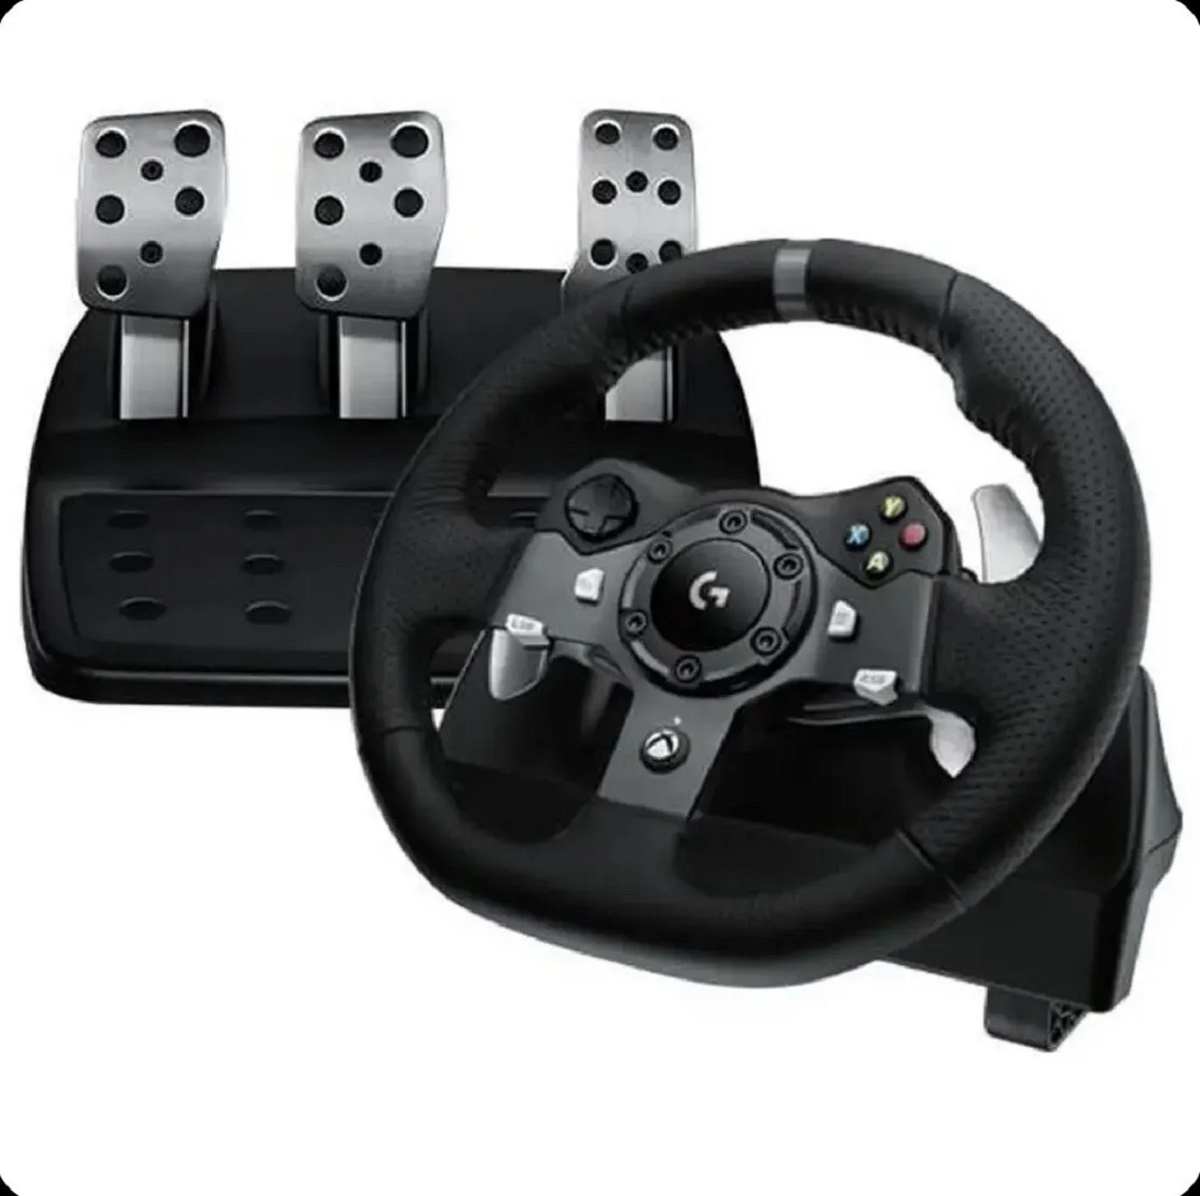
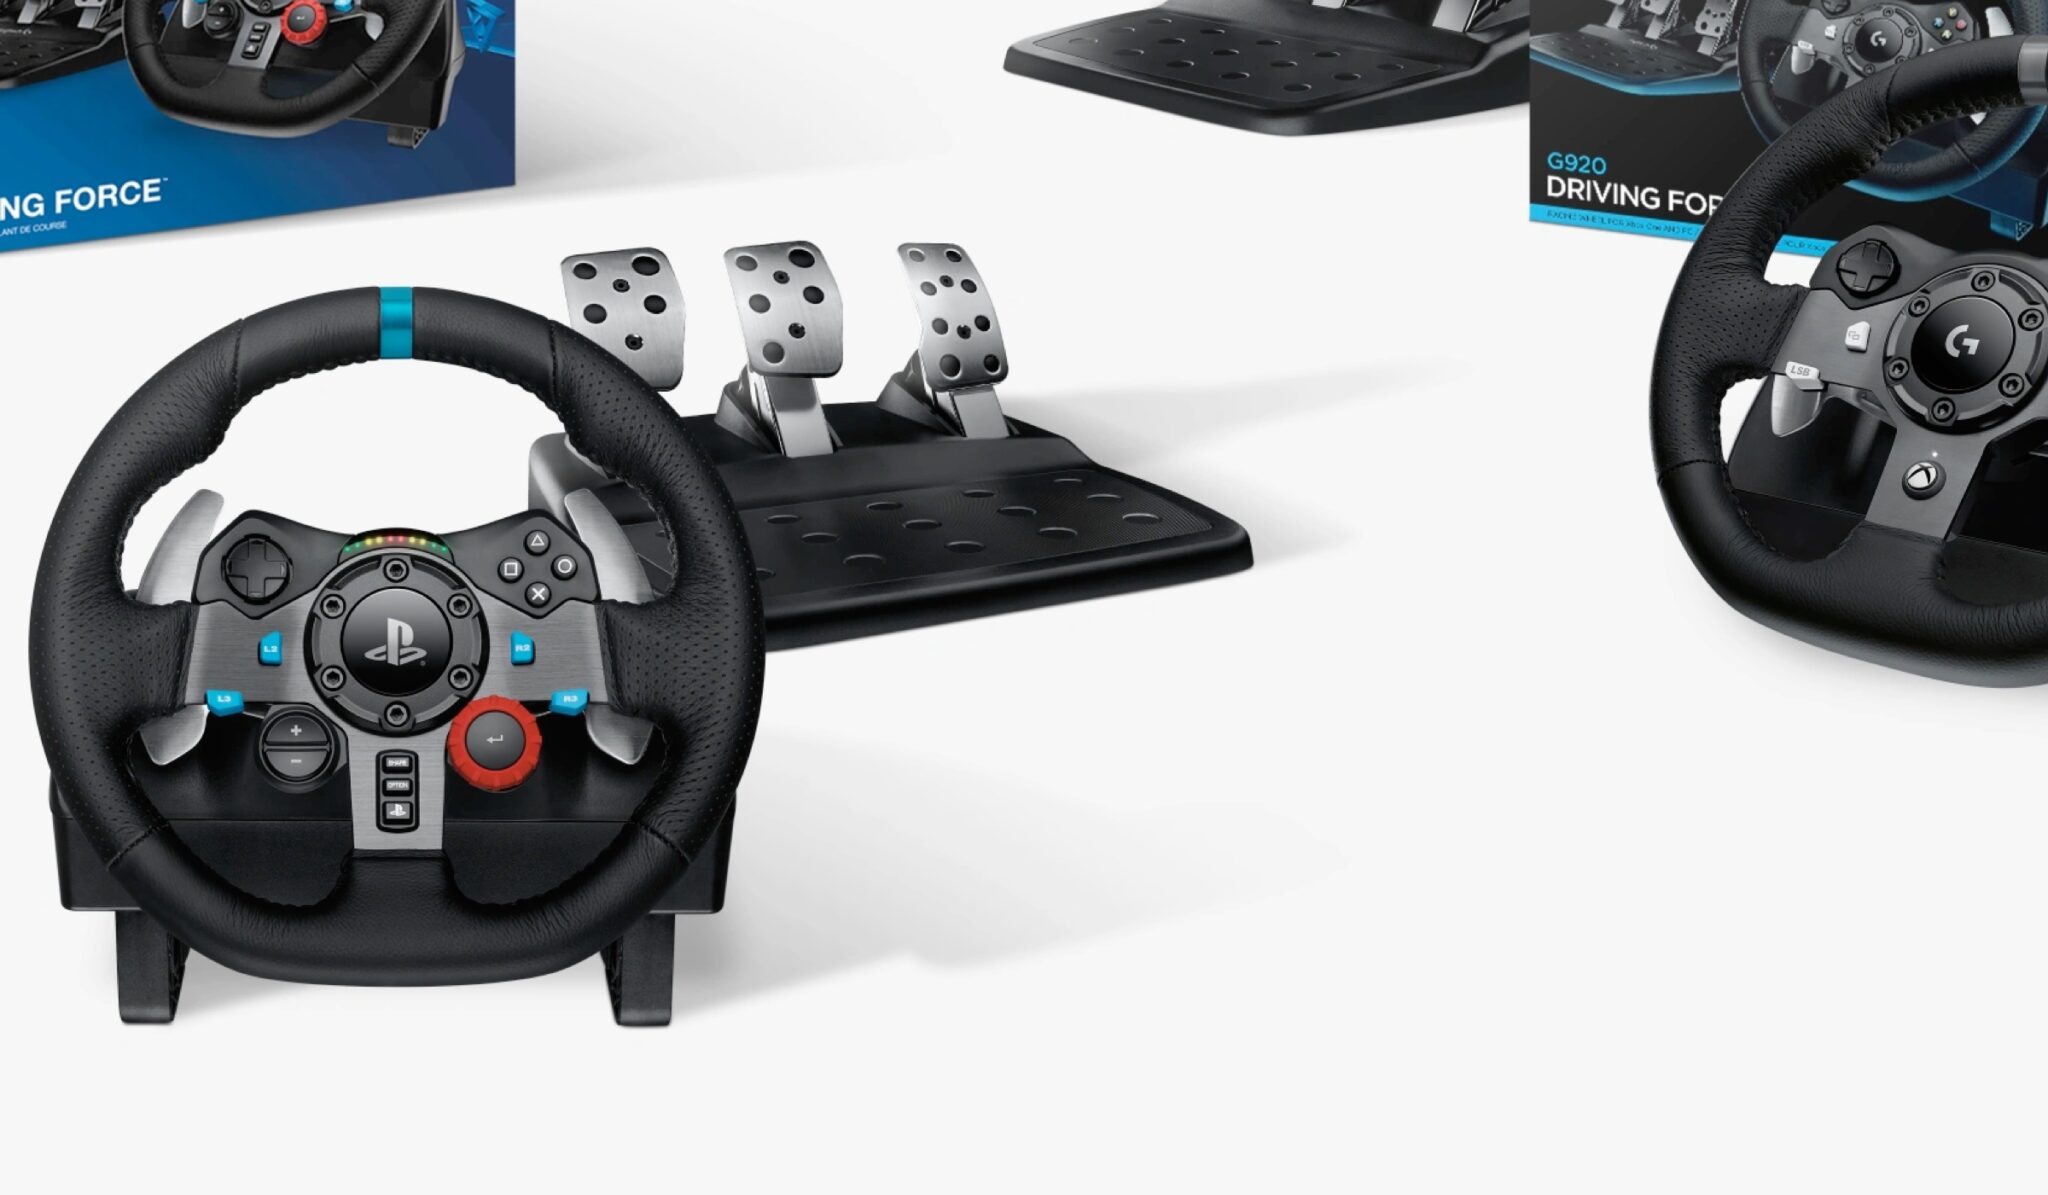
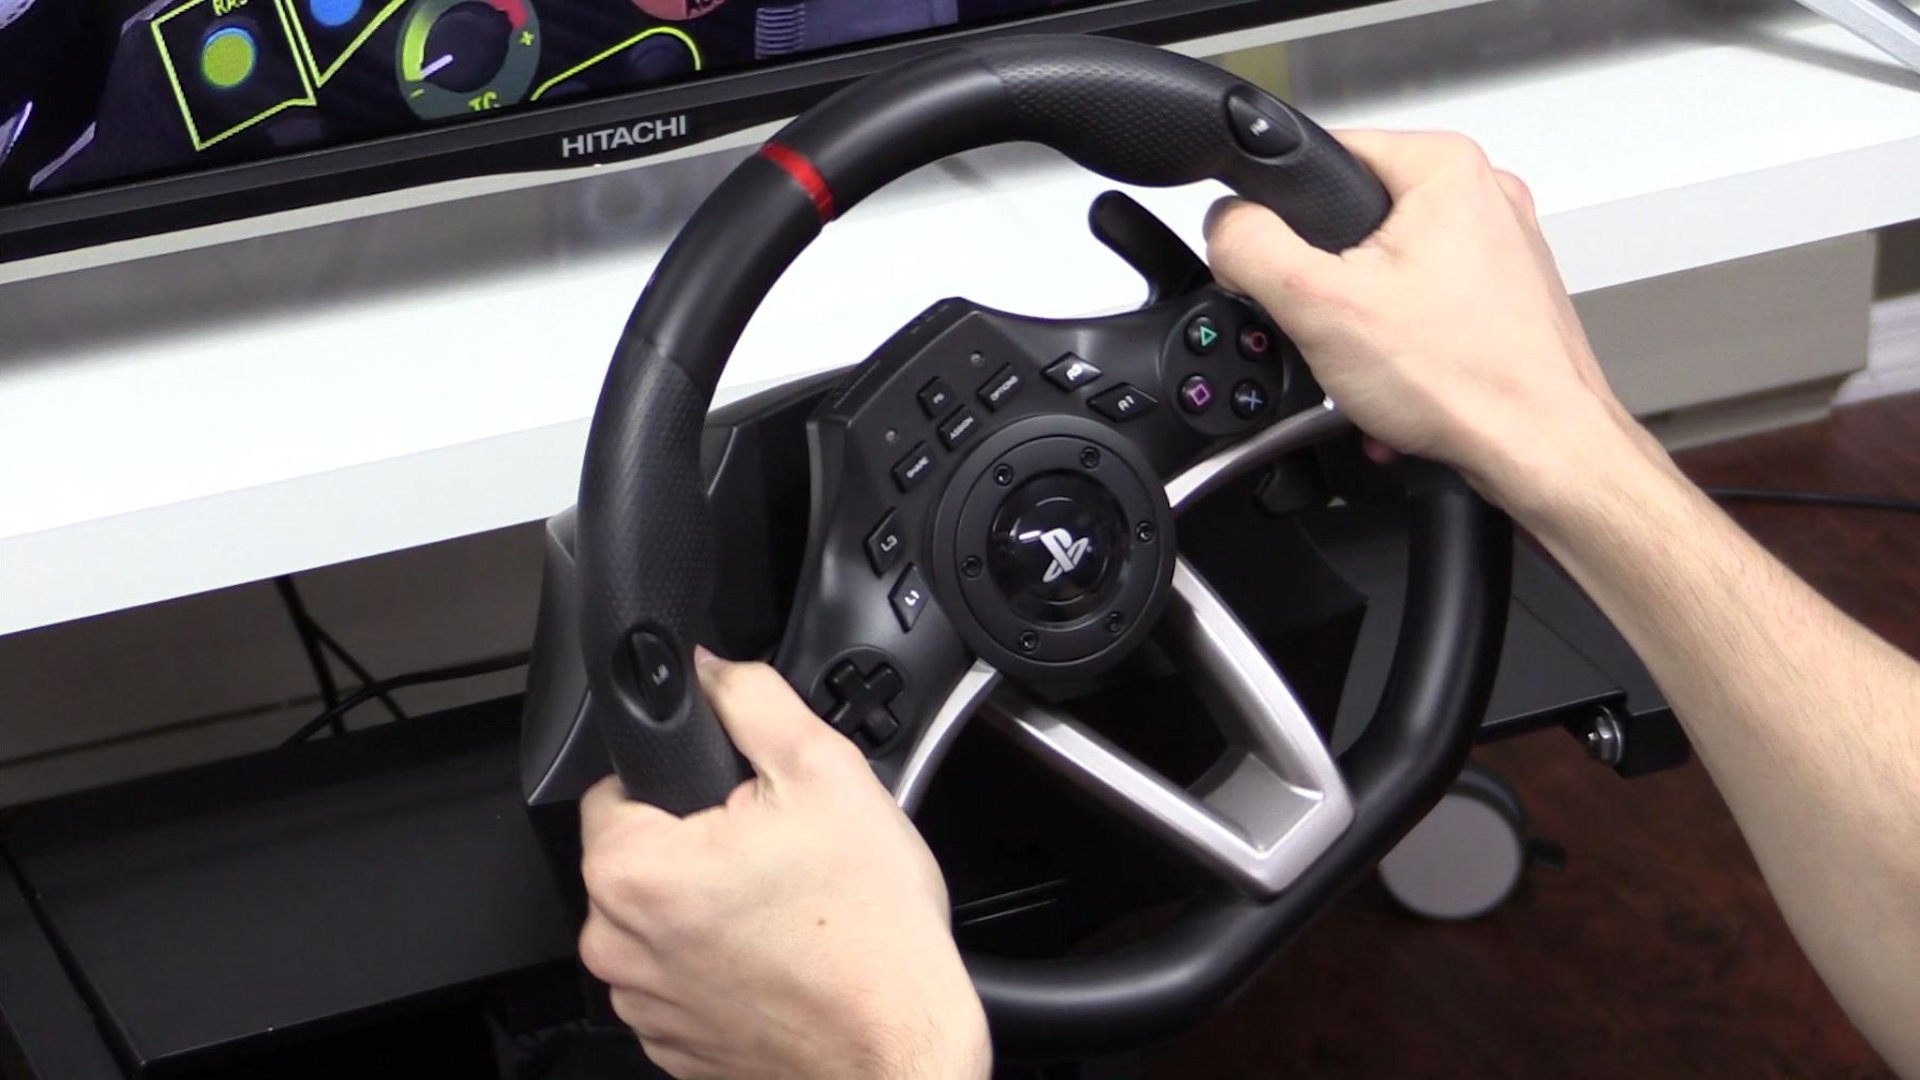
Step 3: Connect the Racing Wheel
With the drivers successfully installed, it’s time to establish the physical connection between your Xbox racing wheel and your computer. Depending on the model of the racing wheel and its connectivity options, the connection process may vary. Whether your racing wheel utilizes USB, wireless, or proprietary connectors, ensuring a secure and proper connection is essential for seamless operation.
If your Xbox racing wheel uses a USB connection, simply plug the USB cable into an available USB port on your computer. Windows will automatically detect the connected racing wheel and configure it for use. It’s advisable to use a USB port directly on the computer rather than a USB hub to ensure stable connectivity and optimal performance.
For wireless racing wheels that require a dedicated wireless adapter for PC connectivity, insert the wireless adapter into an available USB port on your computer. Follow any specific pairing instructions provided by the manufacturer to establish a wireless connection between the racing wheel and the computer. Once paired, the racing wheel should be ready for use in wireless mode.
In the case of racing wheels with proprietary connectors, refer to the product manual or manufacturer’s instructions for detailed guidance on establishing the connection with your computer. Some racing wheels may require specific adapters or interface modules to enable compatibility with computers. Ensure that all necessary components are securely connected and powered on.
After connecting the racing wheel, verify that the computer recognizes the device and that it appears in the list of connected peripherals. You can access the device manager or the gaming peripheral settings in your computer’s control panel to confirm the successful detection of the racing wheel.
By establishing a reliable physical connection between your Xbox racing wheel and your computer, you’re one step closer to immersing yourself in the thrilling world of virtual racing. With the racing wheel successfully connected, you’re now ready to proceed to the next step of calibrating the wheel to ensure precise and accurate control during gameplay.
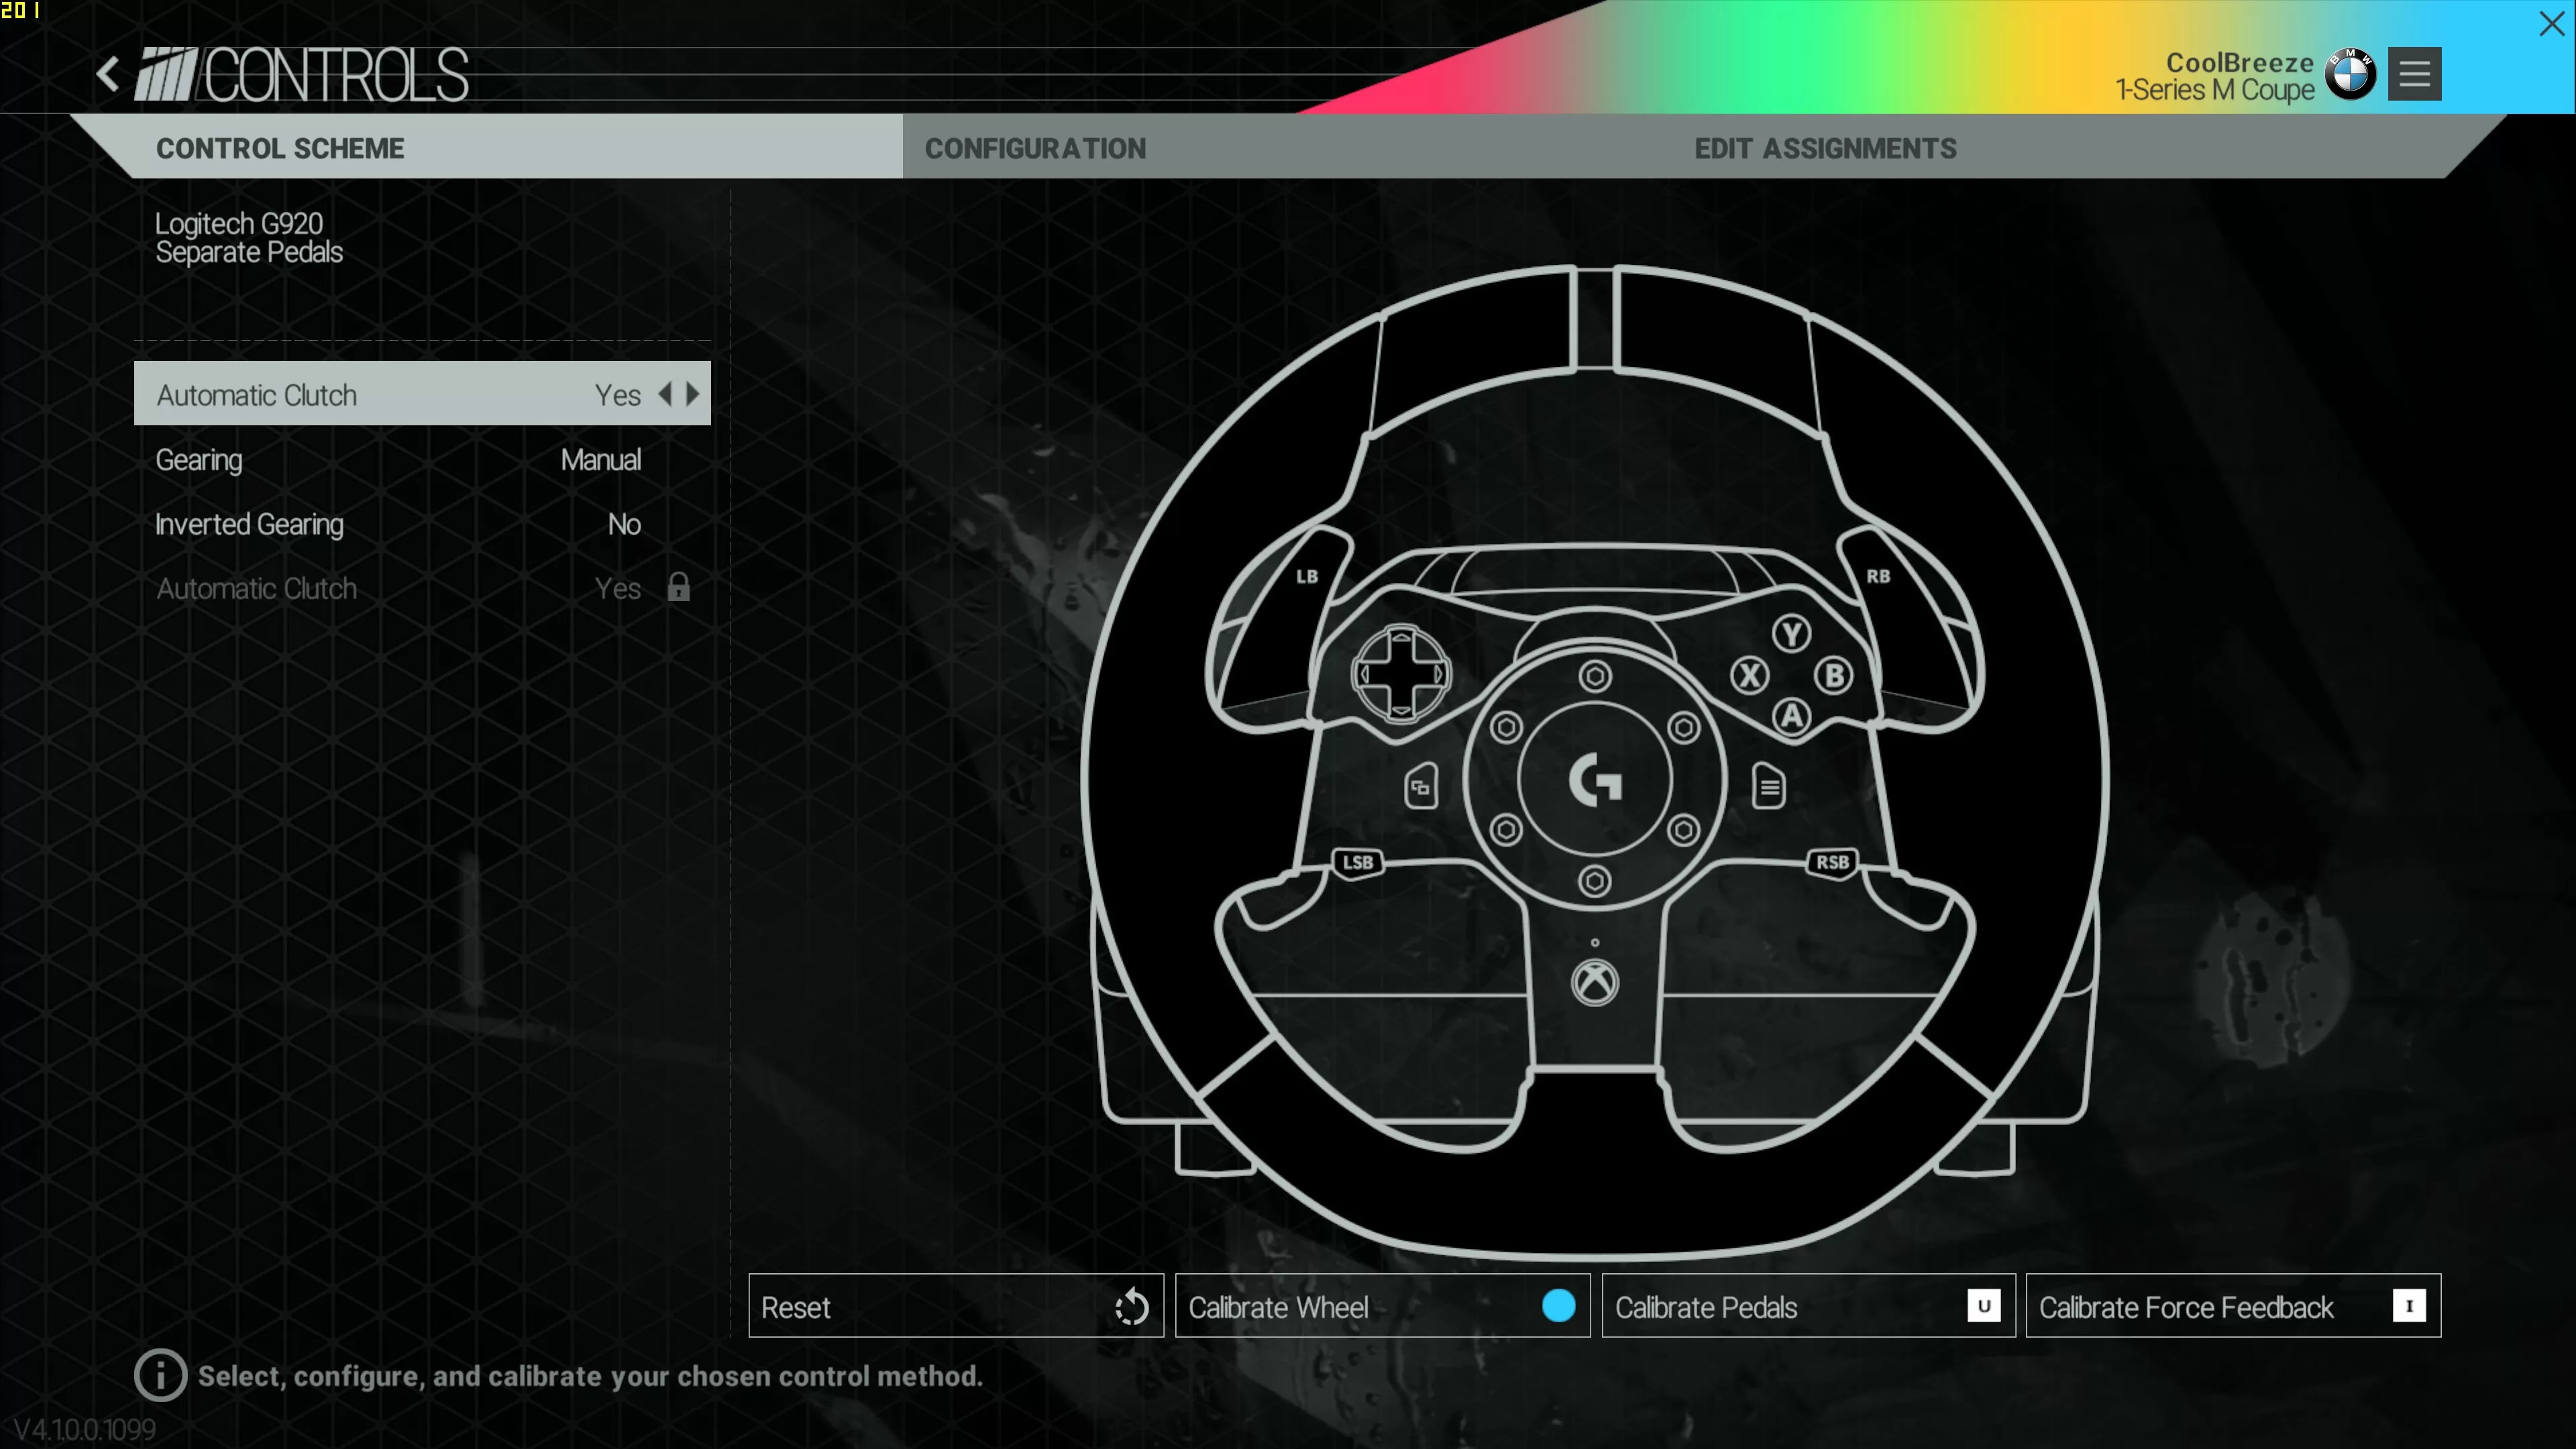
Step 4: Calibrate the Wheel
After connecting the Xbox racing wheel to your computer, it’s essential to calibrate the wheel to ensure that it functions accurately and responsively during gameplay. Calibration involves configuring the sensitivity, dead zones, and overall responsiveness of the racing wheel to match your preferences and optimize its performance.
Windows operating systems offer built-in tools for calibrating gaming peripherals, including racing wheels. To access the calibration settings, navigate to the control panel and locate the “Devices and Printers” or “Game Controllers” section. Here, you should find the connected racing wheel listed among the detected gaming devices.
Right-click on the racing wheel and select “Game controller settings” or “Properties” to access the calibration options. Within the properties window, navigate to the “Settings” or “Calibrate” tab to initiate the calibration process. Follow the on-screen instructions to adjust the sensitivity, dead zones, and other parameters of the racing wheel to suit your preferences.
During the calibration process, you may be prompted to perform specific actions with the racing wheel, such as rotating the wheel, pressing the pedals, or engaging the various buttons and controls. This enables the system to recognize the full range of motion and input from the racing wheel, ensuring precise and accurate responsiveness during gameplay.
While calibrating the racing wheel, pay close attention to the provided instructions and make adjustments based on your desired sensitivity and control preferences. Calibration settings can significantly impact your racing experience, allowing you to fine-tune the wheel’s responsiveness to achieve optimal performance in your favorite racing games.
Once the calibration process is complete, test the racing wheel’s functionality within the calibration tool to ensure that the adjustments have been applied successfully. Verify that the wheel responds accurately to your inputs and that the sensitivity settings align with your preferences for a seamless and immersive racing experience.
By calibrating the Xbox racing wheel to your specifications, you can fine-tune its performance and responsiveness, setting the stage for an exhilarating and immersive gaming experience. With the wheel effectively calibrated, you’re now prepared to proceed to the final step of configuring the racing wheel within your favorite racing games.
Step 5: Configure in Games
With your Xbox racing wheel successfully connected to your computer and calibrated to your preferences, it’s time to delve into your favorite racing games and configure the racing wheel to unleash its full potential. Configuring the racing wheel within games involves customizing settings, assigning controls, and optimizing the gameplay experience to fully leverage the capabilities of the racing wheel.
Launch your preferred racing game and navigate to the settings or options menu to access the control configuration. Look for specific options related to input devices or controllers, where you can select the Xbox racing wheel as the primary input device for steering, acceleration, braking, and additional functions.
Many modern racing games offer native support for popular gaming peripherals, including Xbox racing wheels, allowing for seamless integration and intuitive configuration. Within the game’s control settings, you may find preset configurations tailored for racing wheels, simplifying the setup process.
If the game provides customizable control mapping, take advantage of this feature to assign specific functions to the various controls on the racing wheel. For example, you can map the steering wheel, pedals, gear shifter, and additional buttons to correspond with the in-game driving controls, providing a personalized and immersive racing experience.
Adjust the sensitivity and force feedback settings within the game to align with your preferences and the capabilities of the racing wheel. Fine-tune the force feedback strength, wheel rotation angle, and pedal sensitivity to achieve a realistic and responsive driving experience that mirrors the nuances of real-world racing.
Before diving into intense racing sessions, take the time to test the configured settings within the game to ensure that the racing wheel responds accurately to your inputs. Make any necessary adjustments to the control mappings and sensitivity settings based on your initial gameplay experiences to refine the configuration to your liking.
By configuring the Xbox racing wheel within your favorite racing games, you can harness its full potential and immerse yourself in a captivating and authentic racing experience. With the racing wheel seamlessly integrated and optimized for gameplay, you’re now poised to embark on thrilling virtual races with unparalleled precision and control.
Conclusion
Congratulations! You’ve successfully navigated the process of integrating your Xbox racing wheel with your computer, unlocking a world of immersive and exhilarating virtual racing experiences. By following the comprehensive steps outlined in this guide, you’ve gained the knowledge and skills to seamlessly connect, calibrate, and configure your racing wheel, setting the stage for thrilling gameplay sessions and competitive races.
Through meticulous research and verification of compatibility, you’ve ensured that your Xbox racing wheel is well-suited for use with your computer, laying the foundation for a seamless integration process. By installing the necessary drivers tailored for your operating system, you’ve established a vital link between the racing wheel and your computer, enabling smooth communication and optimal performance.
With the physical connection established and the racing wheel calibrated to your preferences, you’ve fine-tuned its responsiveness and control settings, setting the stage for an authentic and immersive racing experience. By configuring the racing wheel within your favorite racing games, you’ve personalized the gameplay experience to align with your preferences, leveraging the full capabilities of the racing wheel to elevate your virtual racing endeavors.
As you embark on thrilling virtual races, remember to explore additional customization options within your games to further enhance the integration of the racing wheel and tailor the experience to your liking. Whether you’re navigating challenging tracks, competing in high-speed races, or mastering complex maneuvers, the Xbox racing wheel will serve as your trusted companion, offering unparalleled precision and control.
Embrace the adrenaline-pumping excitement of virtual racing, and immerse yourself in the captivating world of digital motorsport with the confidence that comes from seamlessly integrating your Xbox racing wheel with your computer. With your racing wheel primed for action, prepare to conquer the virtual racetracks and experience the thrill of high-speed competition like never before.
So, rev up your engines, tighten your grip on the racing wheel, and get ready to embark on an unforgettable journey through the dynamic and electrifying realm of virtual racing. The road ahead is yours to conquer, and with your Xbox racing wheel and computer in perfect harmony, the thrill of victory awaits at every turn.