Introduction
Setting up a game controller in Windows 7 can significantly enhance your gaming experience, allowing for precise control and immersive gameplay. Whether you prefer the classic feel of a gamepad or the precision of a joystick, Windows 7 offers seamless compatibility with a wide range of gaming peripherals. In this guide, you will learn how to effortlessly connect and configure your game controller, ensuring that you can dive into your favorite games without any technical hurdles.
Gaming controllers come in various forms, including gamepads, joysticks, and specialty controllers tailored to specific gaming genres. With the right setup, you can seamlessly integrate these devices with your Windows 7 system, unlocking a new level of gaming enjoyment. By following the steps outlined in this guide, you will be able to navigate the process with ease, even if you are new to configuring gaming peripherals on your computer.
Whether you are a casual gamer looking to unwind with some lighthearted fun or a dedicated enthusiast seeking precise control in competitive gaming, setting up a game controller in Windows 7 is a straightforward process that can greatly enrich your gaming sessions. So, let's dive into the steps required to connect, install drivers, and configure your game controller, ensuring that you are ready to embark on your gaming adventures with confidence and convenience.
Step 1: Connect the Game Controller to Your Computer
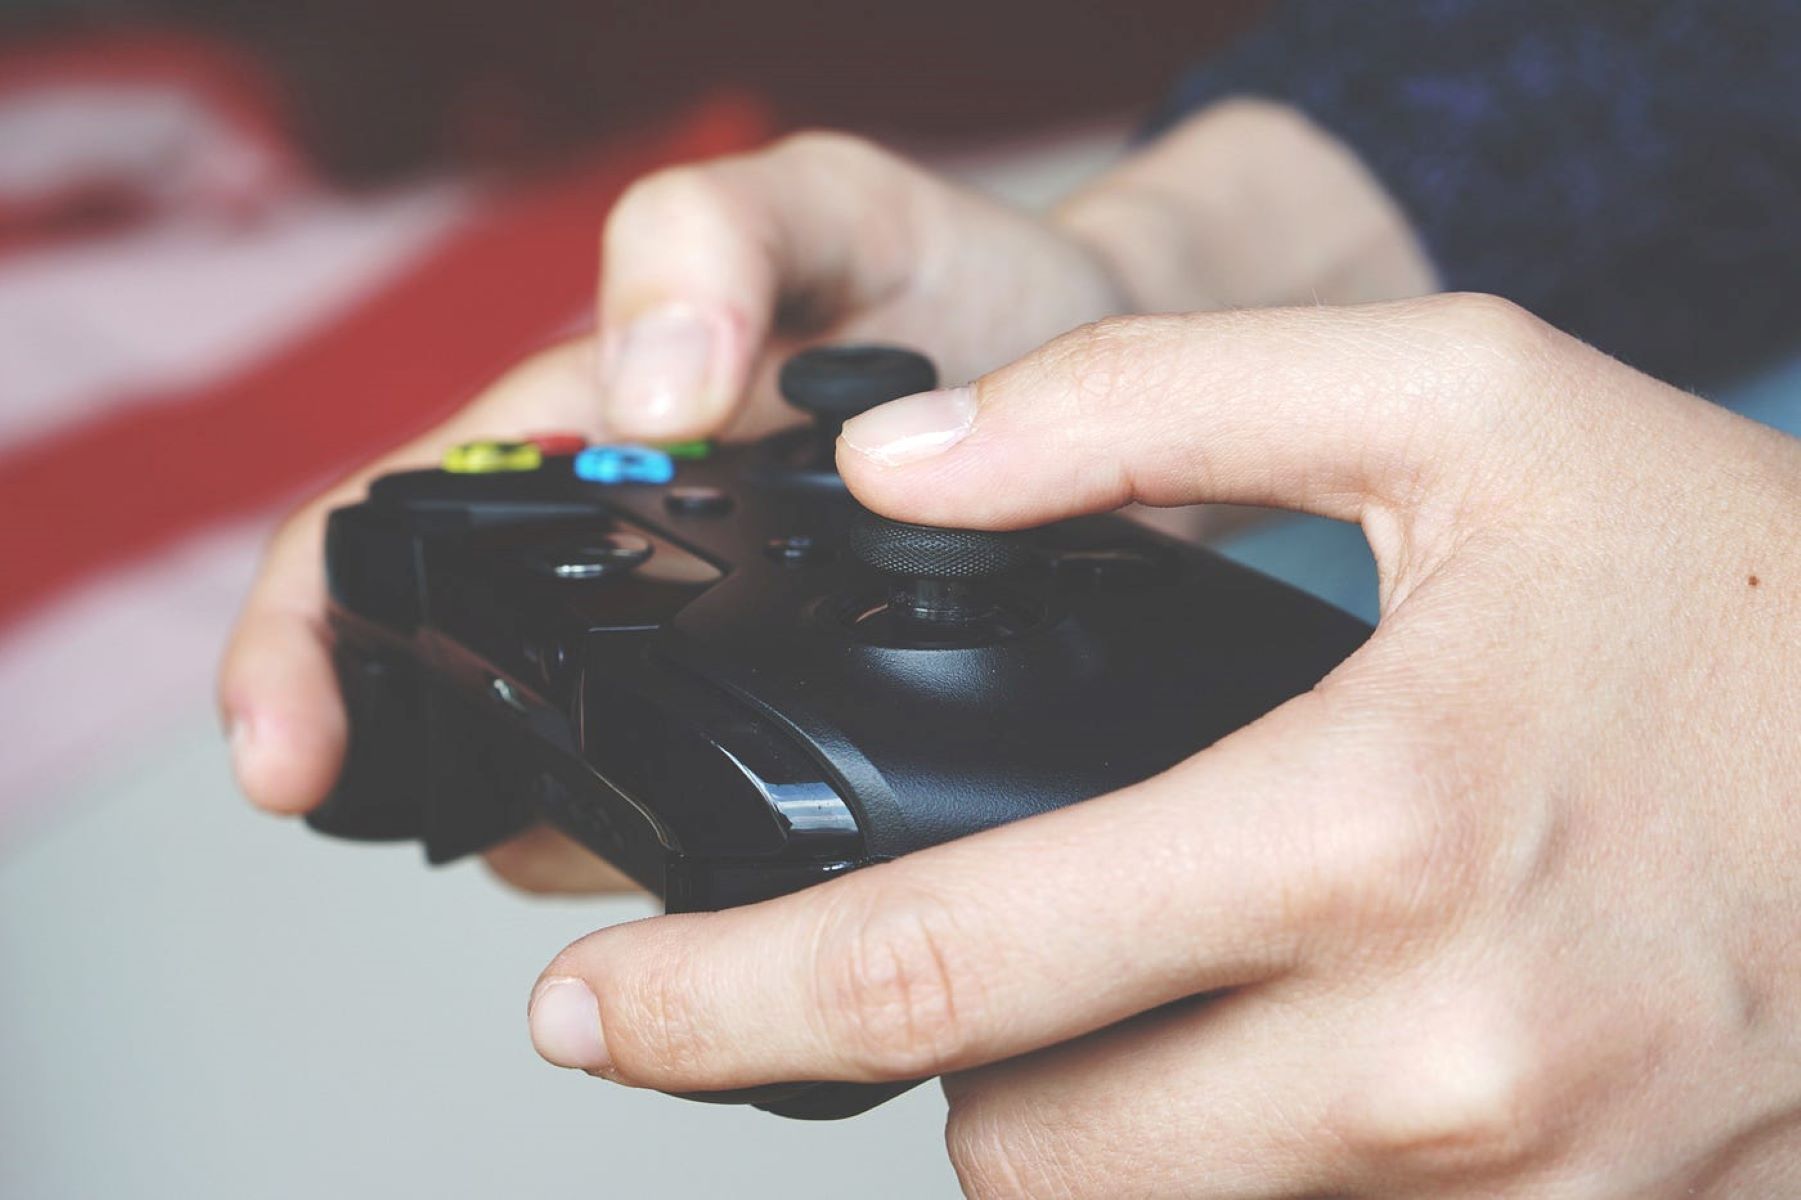
Before delving into the intricacies of configuring your game controller, the first step is to physically connect the device to your computer. The method of connection may vary depending on the type of controller you are using. Here are the general steps to connect the most common types of game controllers:
- Wired Game Controllers: If your game controller has a USB cable, simply plug the USB end into an available USB port on your computer. Windows 7 should automatically detect the controller and begin the installation process.
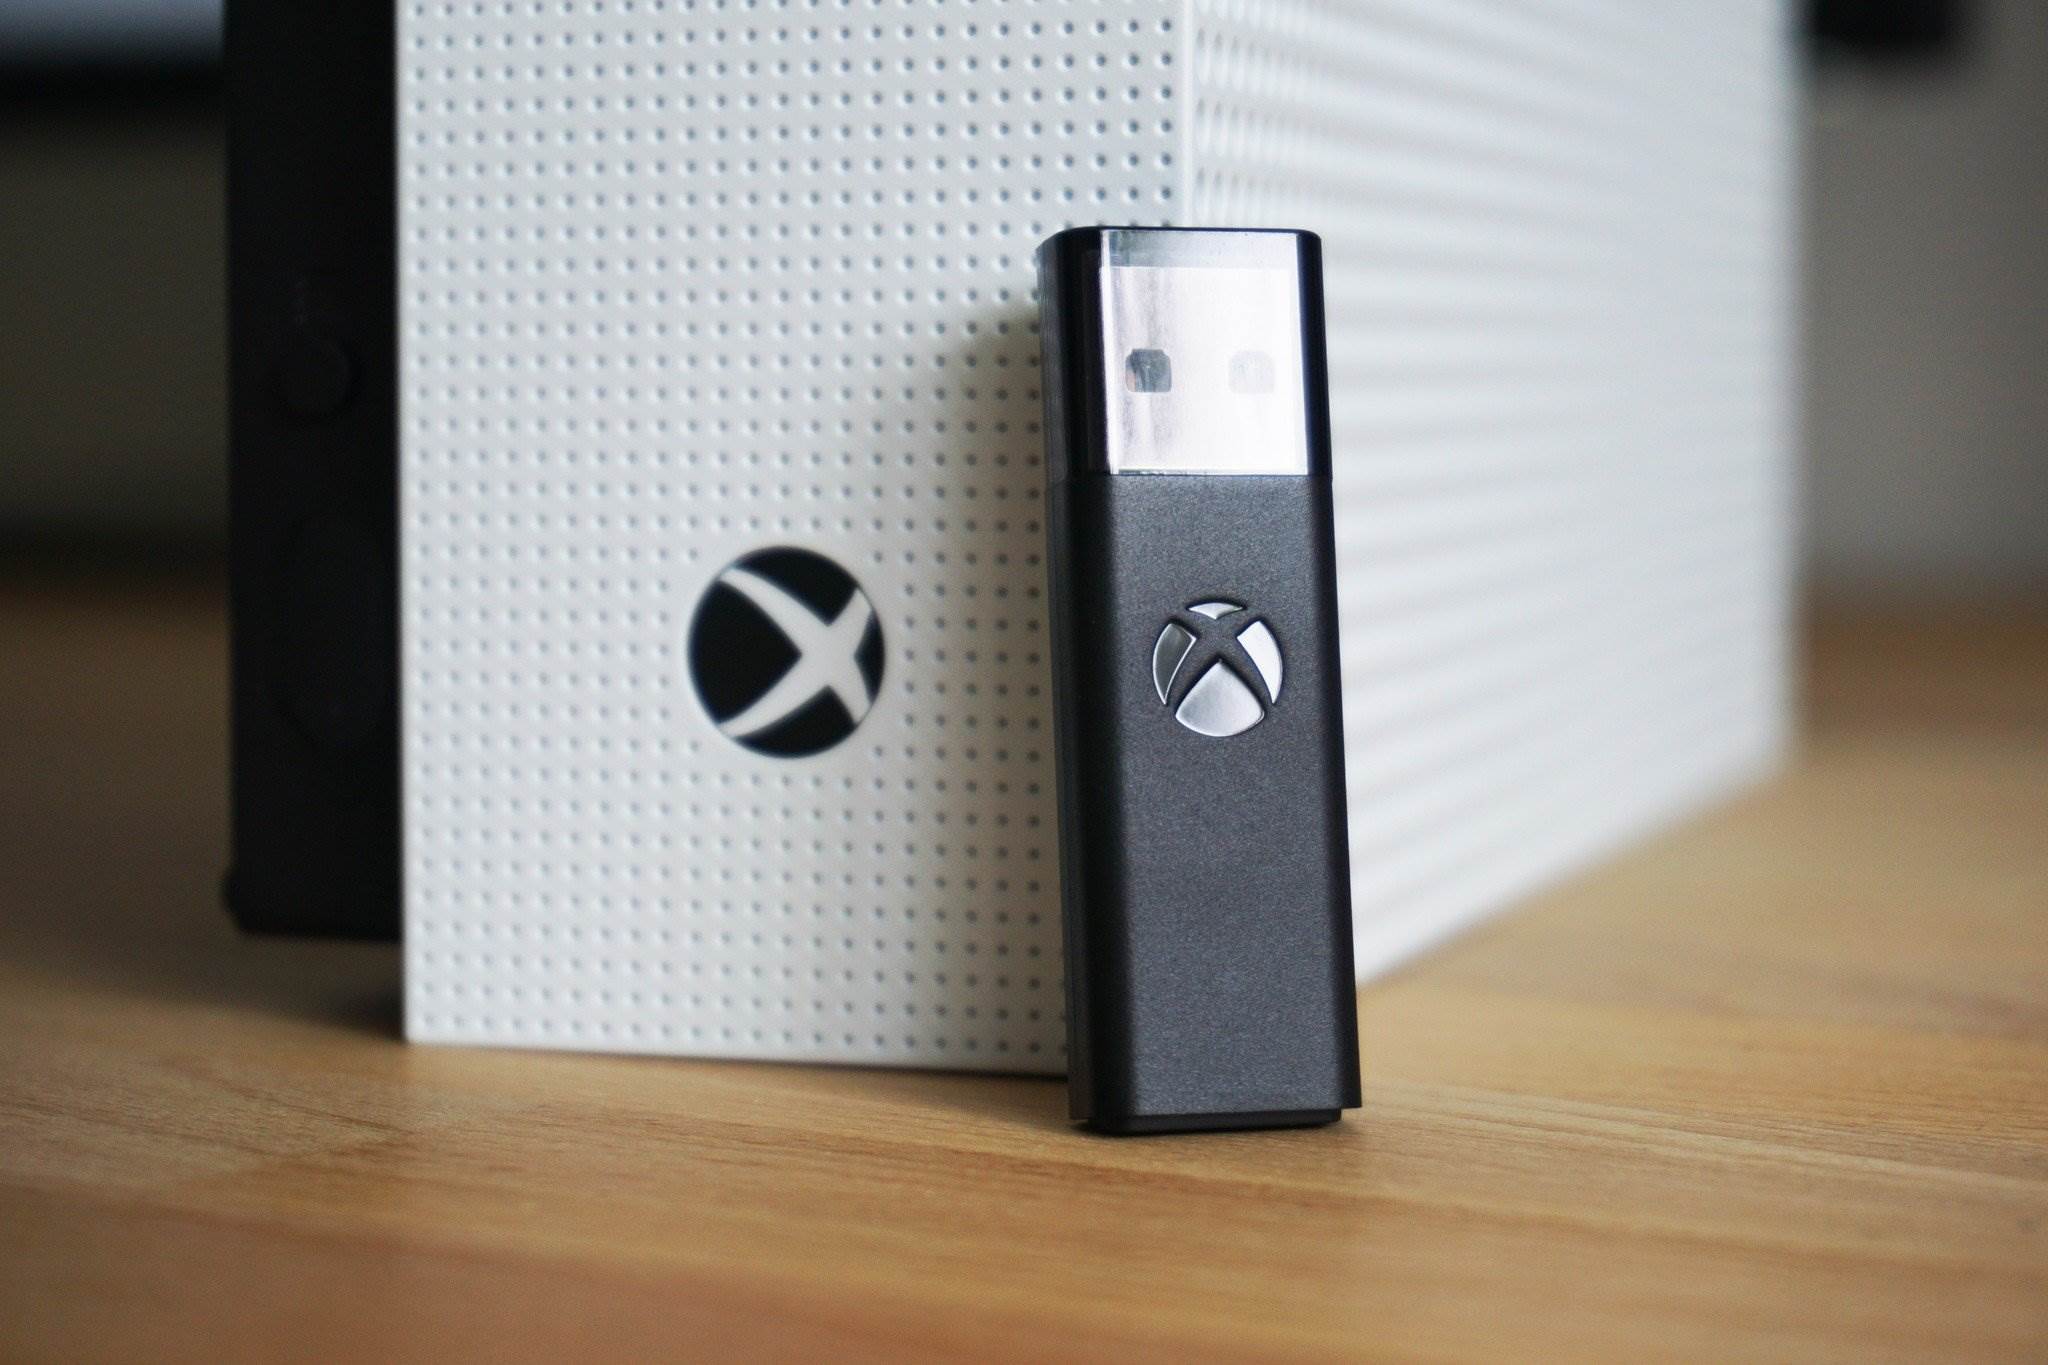
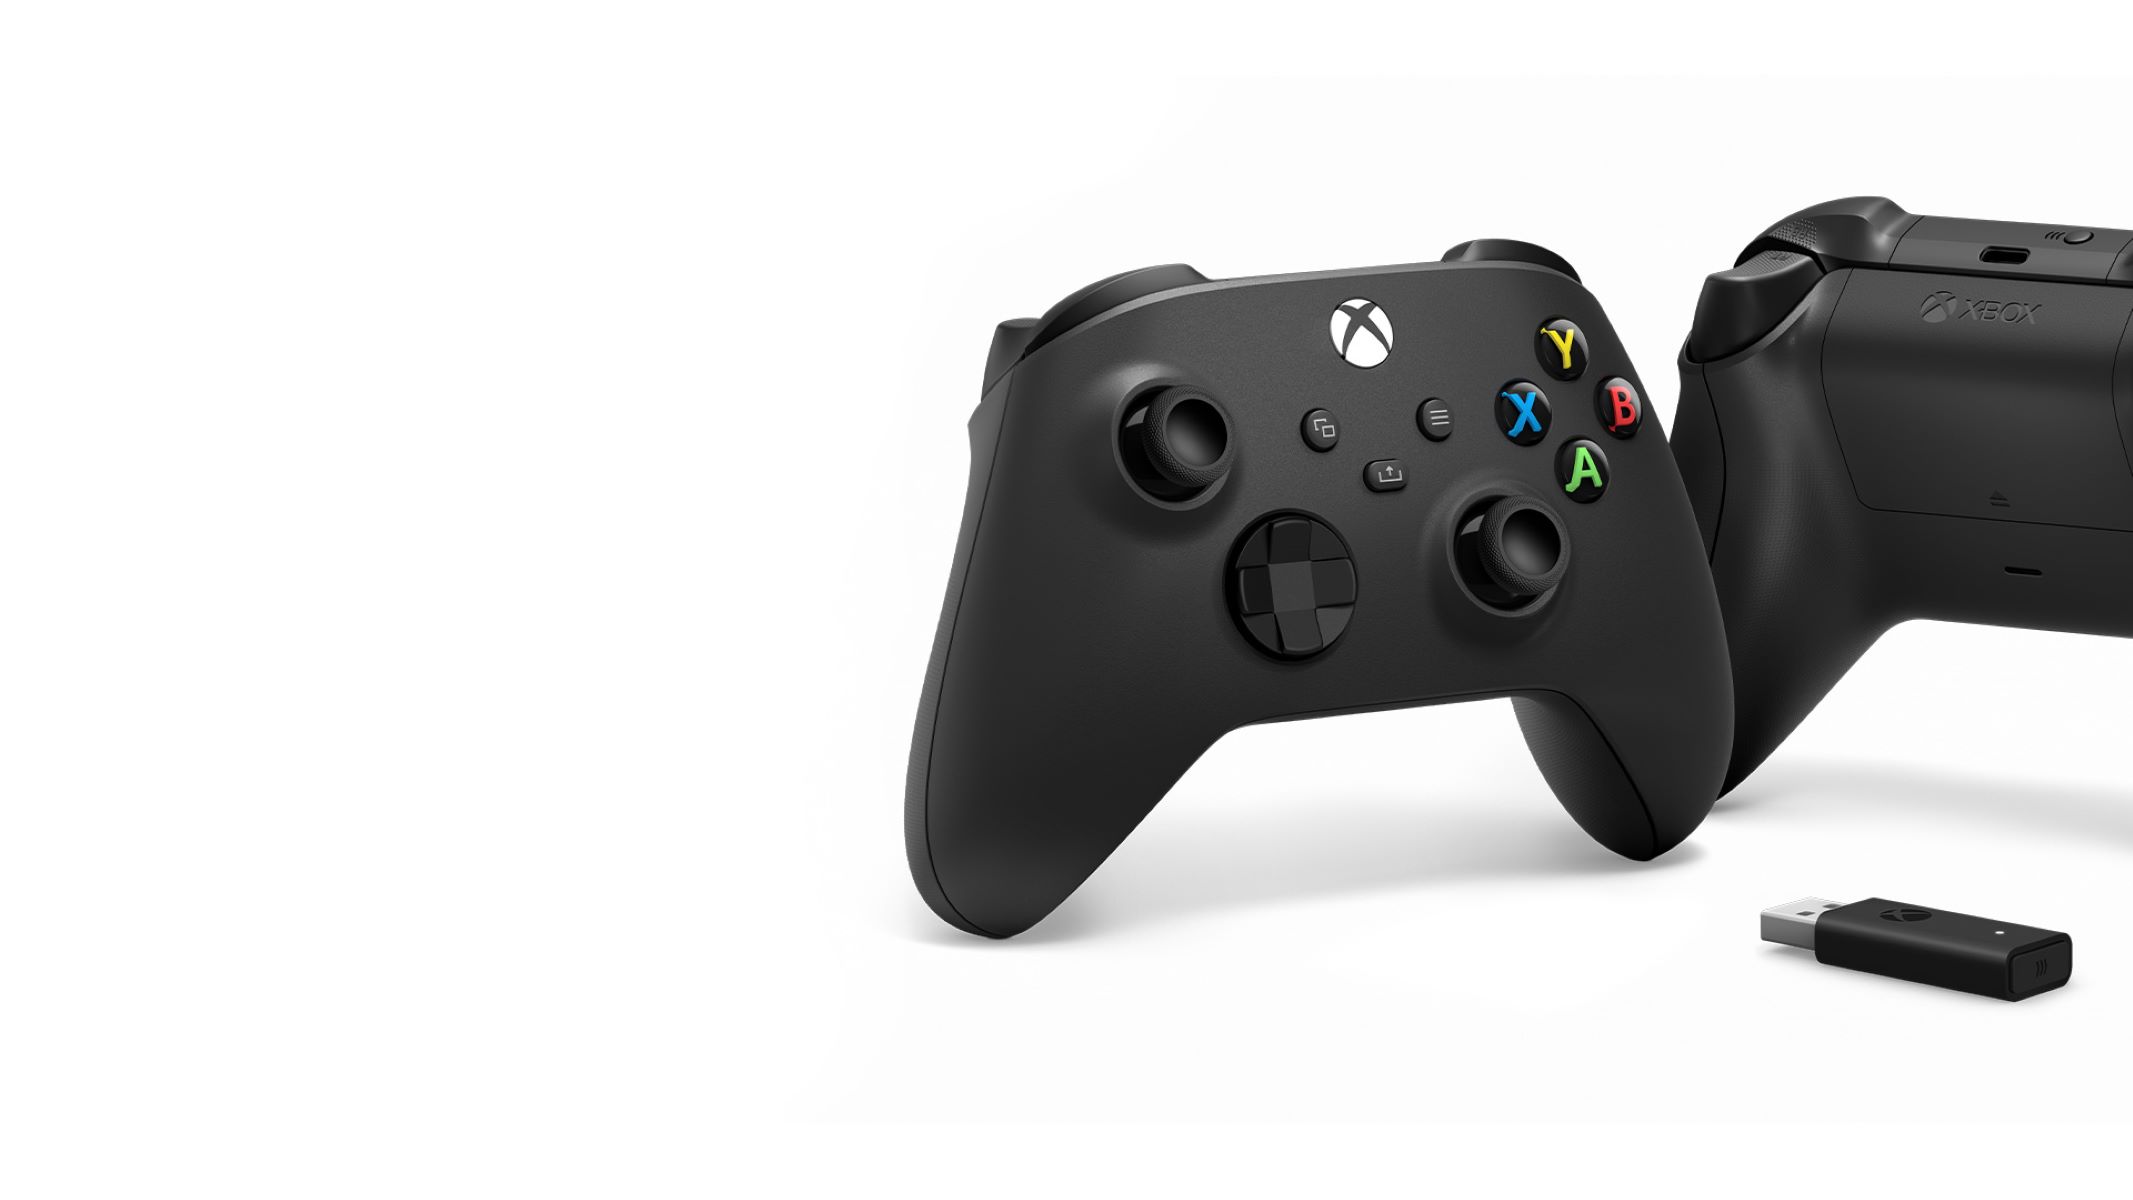
- Wireless Game Controllers: For wireless controllers, you will typically need to use a wireless receiver or Bluetooth connection to establish a link with your computer. Follow the manufacturer’s instructions to pair the controller with your computer, ensuring that the necessary drivers are installed as part of the setup process.
Once the physical connection is established, you are one step closer to immersing yourself in your favorite games. The next step involves ensuring that the required drivers are installed to enable seamless communication between the game controller and your Windows 7 system.
Step 2: Install the Necessary Drivers
After connecting your game controller to your Windows 7 computer, the next crucial step is to install the essential drivers that facilitate communication between the controller and your operating system. Depending on the type and brand of your controller, the driver installation process may vary. Here’s how you can proceed:
- Automatic Driver Installation: In many cases, Windows 7 will automatically search for and install the required drivers for your game controller. When you connect a new controller, the operating system will attempt to locate and install the appropriate drivers from its built-in library. This seamless process ensures that your controller is quickly recognized and ready for use.
- Manufacturer’s Installation Software: Some game controllers come with dedicated installation software provided by the manufacturer. If your controller includes such software, it is advisable to use it for driver installation, as it may offer additional customization options and ensure optimal compatibility with your system.
- Manual Driver Installation: In cases where automatic installation does not occur and specific drivers are needed, you can visit the manufacturer’s website and download the drivers directly. Once downloaded, follow the provided instructions to install the drivers, ensuring that your game controller is fully supported by your Windows 7 system.
By ensuring that the necessary drivers are installed, you pave the way for a seamless and responsive gaming experience, where your controller’s inputs are accurately recognized and translated into on-screen actions. With the drivers in place, you are now ready to proceed to the next step: configuring the game controller to suit your gaming preferences.
Step 3: Configure the Game Controller in Windows 7
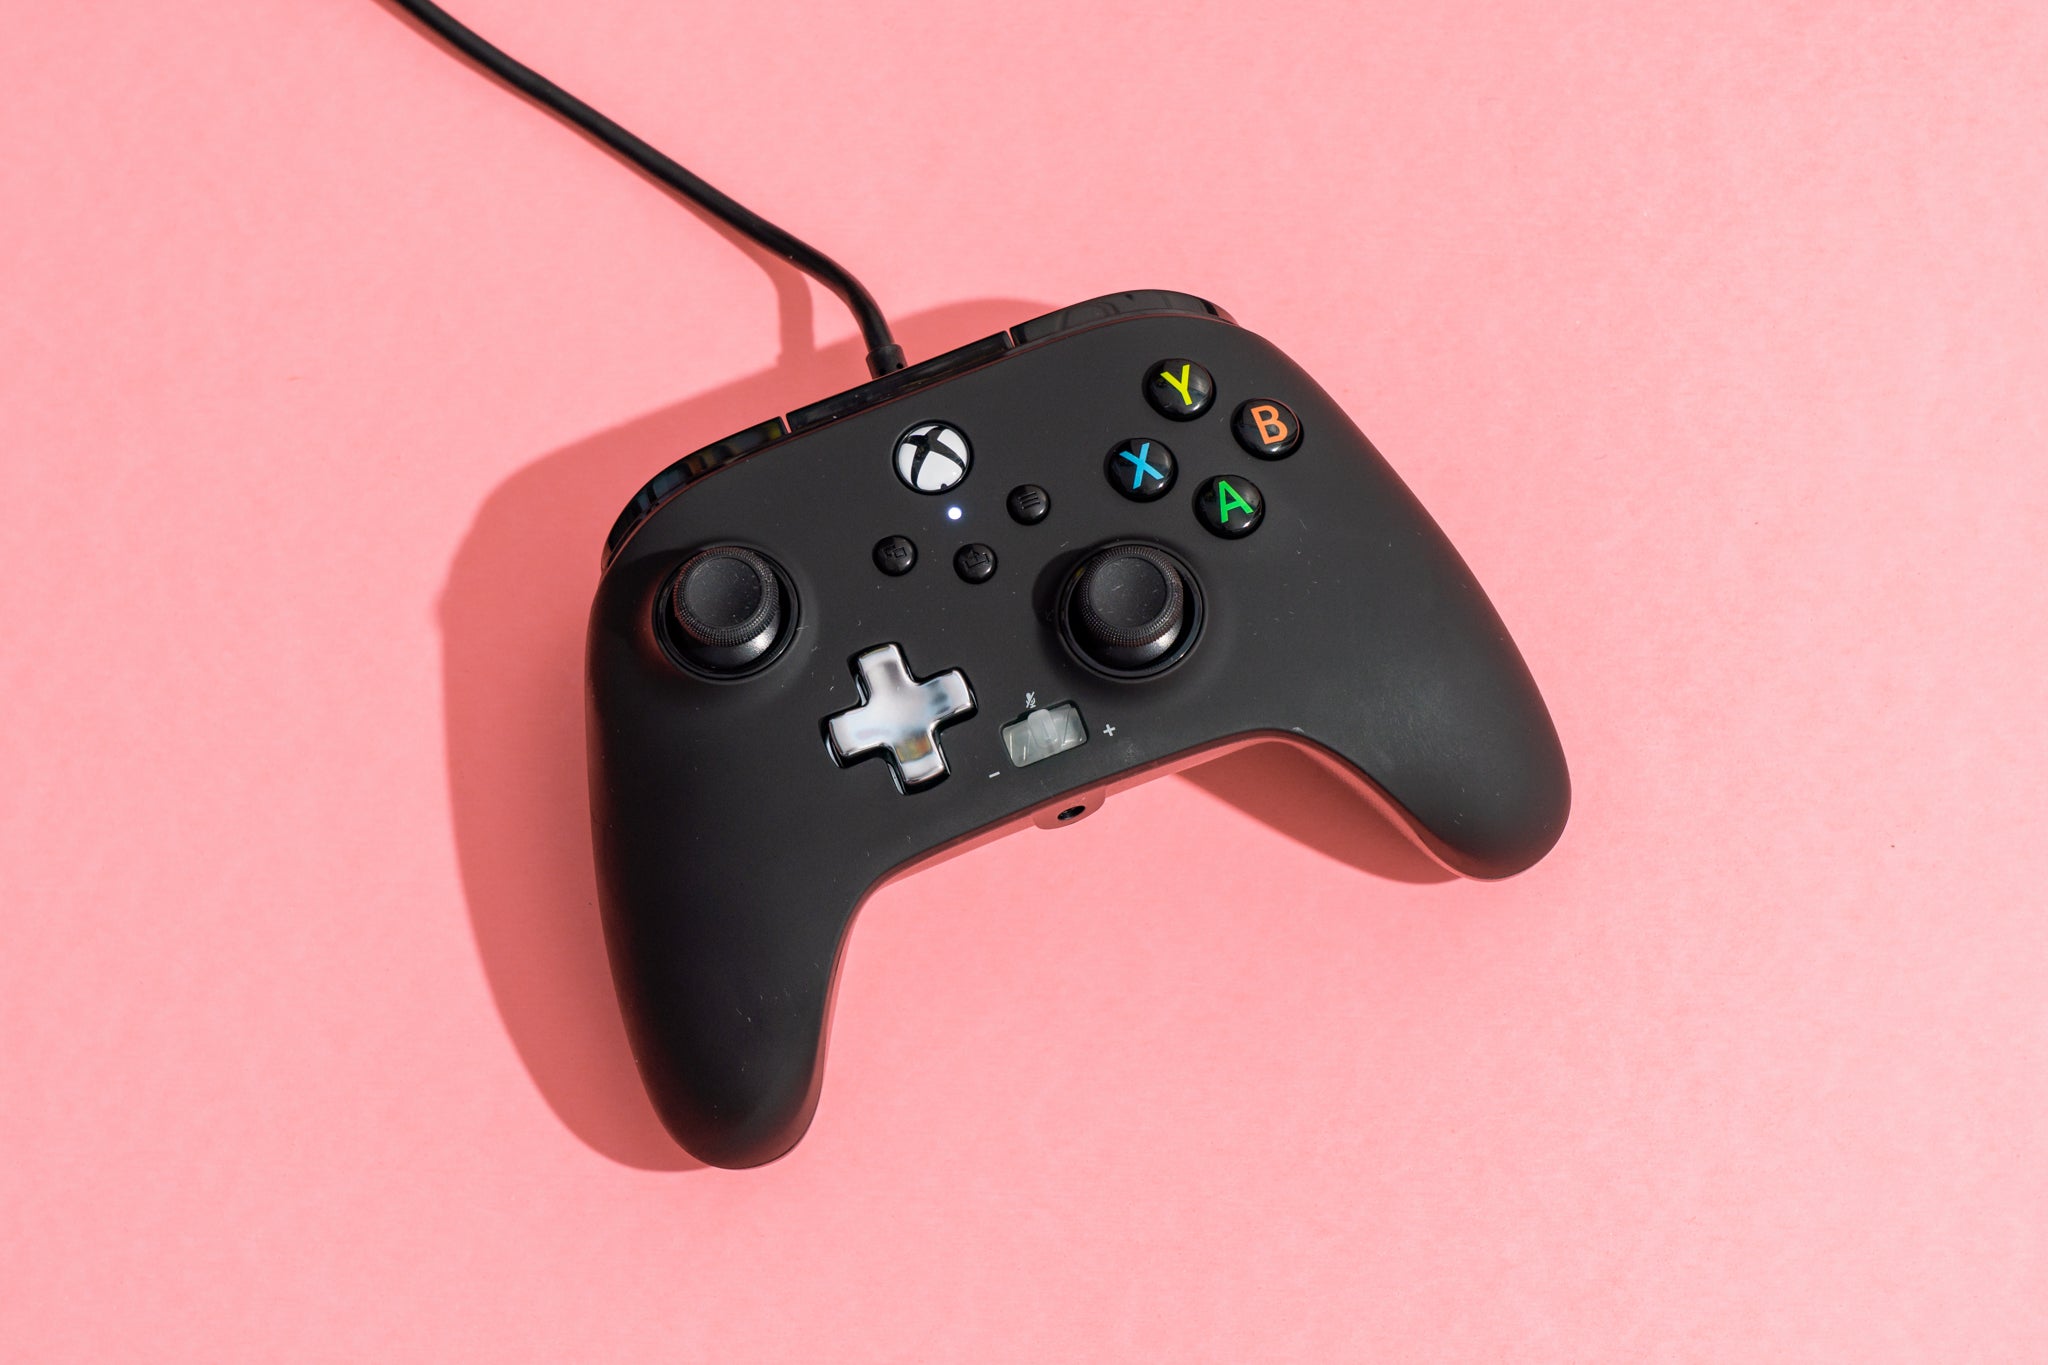
Once the necessary drivers are installed, the next step in setting up your game controller involves configuring it to suit your gaming preferences. Windows 7 provides built-in tools that enable you to customize and calibrate your controller, ensuring that it responds accurately to your input. Here’s how you can configure your game controller:
- Accessing the Game Controller Settings: To begin the configuration process, navigate to the Control Panel on your Windows 7 system. From there, locate and open the “Devices and Printers” or “Game Controllers” section. Here, you should see your connected game controller listed among the devices.
- Calibrating the Controller: Within the Game Controllers settings, you will find an option to calibrate your controller. This process involves following on-screen prompts to ensure that the controller’s inputs are accurately recognized and responsive. Calibration is particularly important for joysticks and other analog controllers, as it fine-tunes their sensitivity and dead zones.
- Customizing Button Assignments: Depending on your gaming preferences and the specific game you intend to play, you may want to customize the button assignments on your controller. Windows 7 allows you to remap buttons and axes, ensuring that your controller aligns with your preferred layout and gameplay style.
- Testing the Controller: Once you have configured the controller settings, it’s important to test its functionality. Windows 7 provides a built-in tool that allows you to verify whether the controller’s inputs are accurately recognized. This step ensures that your controller is ready for action when you launch your favorite games.
By taking the time to configure your game controller, you can tailor its behavior to suit your gaming needs, whether you require precise control in a flight simulator or responsive button inputs in a fast-paced action game. With the configuration complete, you are ready to proceed to the final step: testing the game controller to ensure that it performs as expected.
Step 4: Test the Game Controller
With the game controller connected, drivers installed, and settings configured, the final step in the setup process is to thoroughly test the controller to ensure that it functions as intended. Testing the controller allows you to verify its responsiveness and accuracy, providing peace of mind before diving into your favorite games. Here’s how you can effectively test your game controller in Windows 7:
- Using the Game Controller Properties: In the Game Controllers settings within the Control Panel, you can access the properties of your connected controller. This window displays real-time feedback for each button press, axis movement, and trigger input, allowing you to visually confirm that the controller’s inputs are being accurately registered by your system.
- Testing in Game: Launch a game that supports game controllers and navigate to the input settings within the game’s options menu. Here, you can test the controller’s functionality in a practical gaming environment, ensuring that it responds seamlessly to your commands. Pay attention to the controller’s behavior in-game, checking for any anomalies or unexpected input responses.
- Verifying Compatibility: If you encounter any issues during testing, it’s important to verify the controller’s compatibility with the specific game you are attempting to play. Some games may require additional configuration or may not fully support certain types of controllers. In such cases, consulting the game’s documentation or online forums for guidance can help troubleshoot compatibility issues.
Thoroughly testing your game controller ensures that it is ready for action, allowing you to enjoy a seamless gaming experience without interruptions or unexpected behavior. By confirming the controller’s functionality, you can enter your gaming sessions with confidence, knowing that your controller will faithfully translate your inputs into on-screen actions.
Conclusion
Setting up a game controller in Windows 7 is a straightforward process that can significantly enhance your gaming experience. By following the steps outlined in this guide, you have successfully connected your game controller to your computer, installed the necessary drivers, configured its settings, and thoroughly tested its functionality. As a result, you are now equipped to enjoy seamless and responsive gaming sessions, with your controller serving as a reliable input device for a wide range of games.
With your game controller seamlessly integrated into your Windows 7 system, you have unlocked a new level of immersion and control in your gaming endeavors. Whether you prefer the precision of a joystick, the familiarity of a gamepad, or a specialized controller tailored to a specific gaming genre, the setup process ensures that your chosen peripheral is ready to faithfully translate your inputs into on-screen actions.
By taking the time to connect, install drivers, configure, and test your game controller, you have laid a solid foundation for an enjoyable and responsive gaming experience. Your efforts in setting up the controller ensure that you can effortlessly navigate virtual worlds, execute precise maneuvers, and engage in thrilling gameplay with confidence.
As you embark on your gaming adventures, remember that the seamless integration of your game controller with your Windows 7 system is a testament to the versatility and compatibility of modern gaming peripherals. Whether you are exploring vast open worlds, engaging in intense multiplayer battles, or immersing yourself in captivating narratives, your game controller stands ready to be your trusted companion in the virtual realms of gaming.
With your game controller set up and ready for action, the only task left is to select your favorite game, launch it, and immerse yourself in the thrilling experiences that await. Whether you’re a casual gamer seeking relaxation or a competitive enthusiast striving for victory, your meticulously configured game controller is poised to elevate your gaming sessions to new heights of enjoyment and precision.