Introduction
Welcome to the exciting world of DIY game controllers! Building your own game controller can be an incredibly rewarding and enjoyable project, especially for gaming enthusiasts and tech-savvy individuals. In this guide, we will walk through the process of creating a teensy game controller using a Teensy microcontroller board. The Teensy is a versatile and powerful platform that allows for the customization of input devices, making it an ideal choice for crafting a personalized game controller.
Whether you're a hobbyist, a student exploring electronics, or a gaming aficionado looking to enhance your gaming experience, this project offers a hands-on opportunity to delve into the realms of hardware, programming, and gaming technology. By the end of this tutorial, you will have a fully functional game controller that you can customize to suit your gaming preferences and style.
Building a teensy game controller not only provides a sense of accomplishment but also offers a deeper understanding of the technology behind gaming peripherals. With a few basic materials, some simple wiring, and a bit of programming, you'll be well on your way to creating a unique game controller that reflects your creativity and technical prowess.
So, roll up your sleeves, gather your materials, and let's embark on this exciting journey of crafting a teensy game controller from scratch. Get ready to unleash your creativity and technical skills as we dive into the fascinating world of DIY game controller construction. Let's begin!
Materials Needed
Before diving into the construction of your teensy game controller, it’s essential to gather all the necessary materials and tools to ensure a smooth and efficient building process. Here’s a comprehensive list of the items you’ll need:
- Teensy microcontroller board: The heart of your game controller, the Teensy board serves as the central processing unit for receiving input from the buttons and joystick and transmitting it to your computer or gaming console.
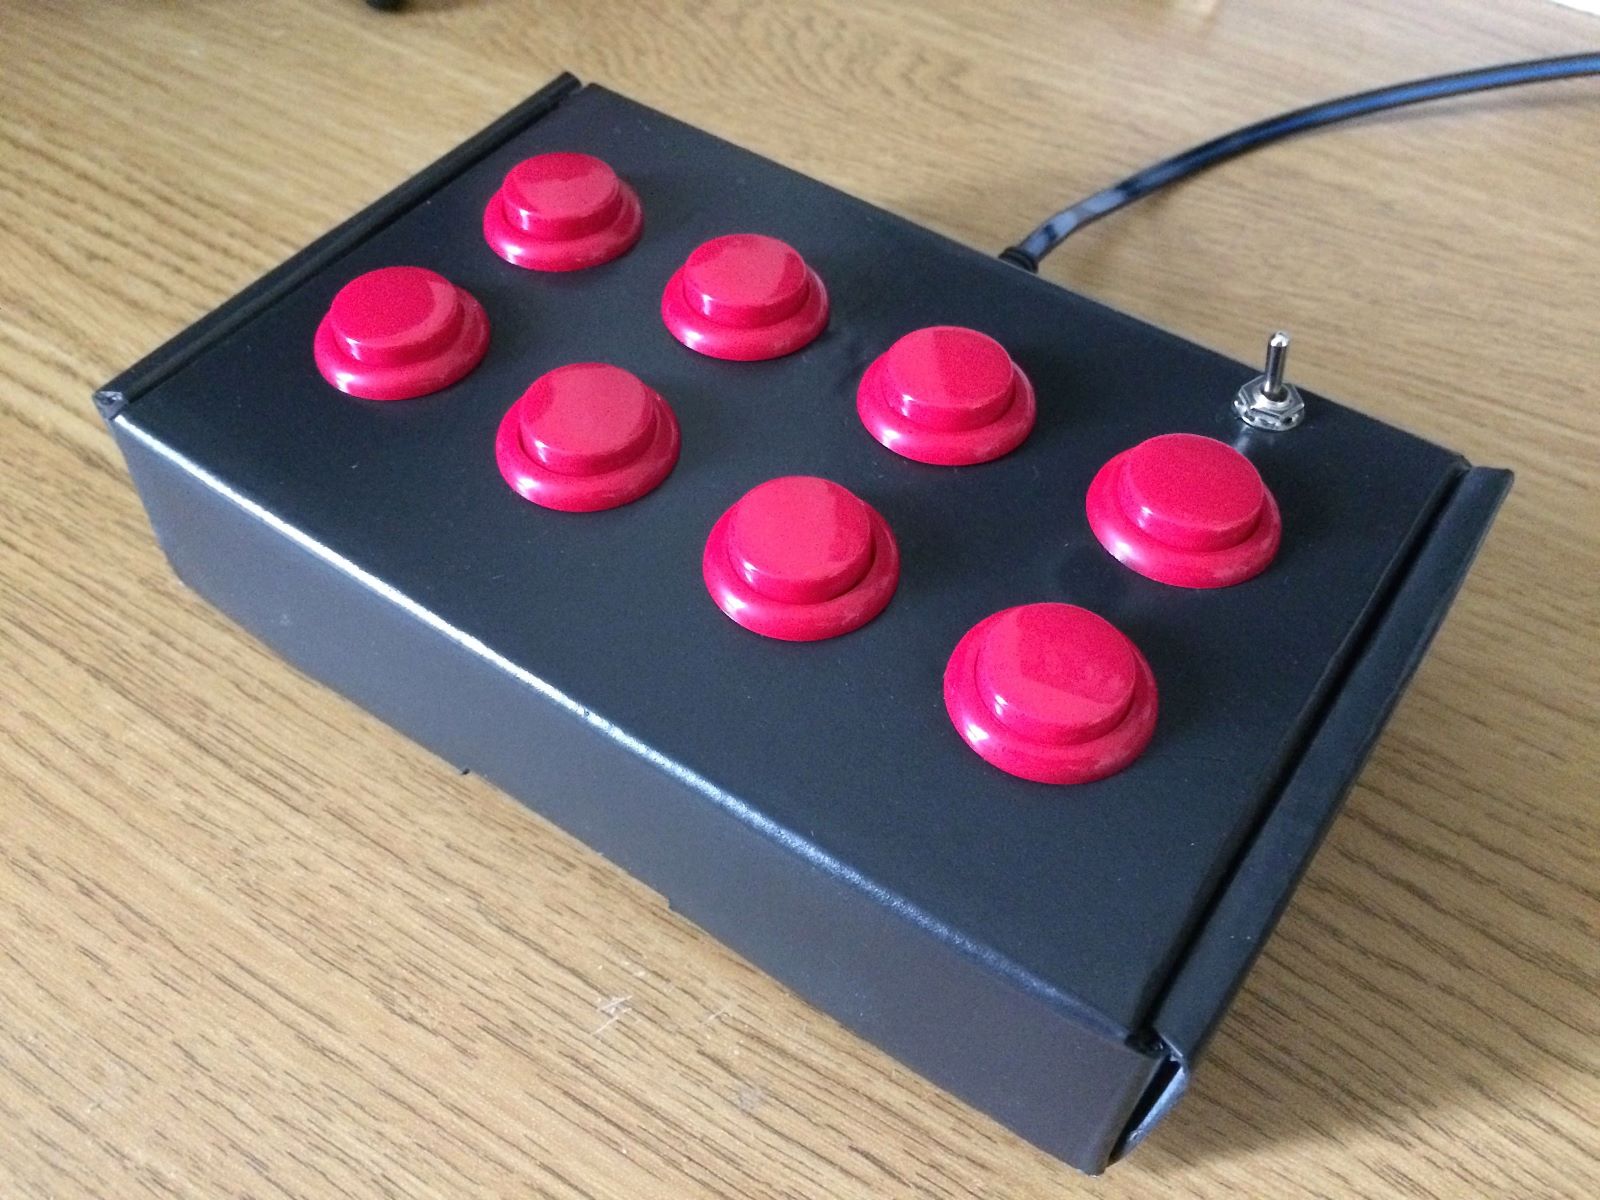
- Push buttons: These will serve as the primary input controls for your game controller, allowing you to map various functions such as jumping, shooting, or navigating in games.
- Joystick: A joystick module will provide analog control, enabling smooth and precise movement in games that require variable directional input.
- Wires: You’ll need a variety of jumper wires to connect the buttons, joystick, and Teensy board, ensuring proper electrical connections.
- Soldering iron and solder: For securing the electrical connections between the wires and the components, a soldering iron and solder are essential tools.
- Perfboard or protoboard: This will serve as the platform for mounting the buttons, joystick, and Teensy board, providing a stable and organized layout for your controller.
- Enclosure (optional): If you prefer a more polished and enclosed look for your game controller, consider acquiring a suitable enclosure to house the components securely.
- Computer with Arduino IDE: The Arduino Integrated Development Environment (IDE) will be used to program the Teensy board, so access to a computer with the Arduino software installed is necessary.
- USB cable: A standard USB cable will be required to connect the Teensy board to your computer for programming and testing.
- Basic tools: Additionally, standard tools such as wire cutters, wire strippers, and a screwdriver may be needed for assembling and testing the controller.
With these materials in hand, you’ll be well-equipped to commence the construction of your teensy game controller. Now that you’ve assembled all the necessary components, let’s move on to the next step: setting up the Teensy microcontroller board.
Setting Up the Teensy
Before delving into the wiring and programming aspects, it’s crucial to ensure that the Teensy microcontroller board is properly set up and ready for integration into your game controller. Follow these steps to prepare the Teensy for the construction process:
- Install Arduino IDE: Begin by downloading and installing the Arduino Integrated Development Environment (IDE) on your computer if you haven’t done so already. The Arduino IDE is essential for programming the Teensy board and uploading the necessary code for your game controller.
- Install Teensyduino: Next, you’ll need to install the Teensyduino add-on for the Arduino IDE. This add-on provides support for the Teensy board within the Arduino environment, allowing you to seamlessly program and upload code to the Teensy.
- Connect the Teensy: Once the Arduino IDE and Teensyduino are installed, connect the Teensy board to your computer using a standard USB cable. The Teensy should be recognized by the computer and appear as a programmable device within the Arduino IDE.
- Configure the Board: Within the Arduino IDE, select the appropriate Teensy board model and communication port from the “Tools” menu. This ensures that the IDE is configured to communicate with and program the specific Teensy board you are using.
- Test the Connection: To verify that the Teensy board is properly recognized and connected, upload a simple test sketch, such as blinking an LED, to the board. This step helps confirm that the communication between the Teensy and the Arduino IDE is functioning correctly.
By following these steps, you’ll establish a solid foundation for integrating the Teensy microcontroller into your game controller project. With the Teensy set up and ready for programming, you’re now prepared to move on to the next phase: wiring the buttons and joystick to the Teensy board.
Wiring the Buttons and Joystick
With the Teensy board set up and ready for integration, the next crucial step in building your teensy game controller is wiring the buttons and joystick to the microcontroller. Proper wiring ensures that the input signals from the buttons and joystick are accurately transmitted to the Teensy, allowing for seamless interaction with your games. Follow these steps to wire the components effectively:
- Identify Pin Assignments: Begin by identifying the pin assignments for the buttons and joystick on the Teensy board. Each button and the joystick will need to be connected to specific input pins on the Teensy to facilitate communication and input detection.
- Prepare the Wires: Cut and strip the wires to the appropriate lengths, ensuring that you have enough wire to reach from the buttons and joystick to the Teensy board while allowing for a clean and organized layout.
- Connect the Buttons: Using the prepared wires, connect each push button to a designated input pin on the Teensy board. Ensure that the connections are secure and that the wires are properly insulated to prevent short circuits.
- Wire the Joystick: Similarly, wire the joystick module to the Teensy, making sure to connect the X and Y axes, as well as any additional buttons on the joystick, to their respective input pins on the microcontroller.
- Check for Short Circuits: Before finalizing the connections, carefully inspect the wiring to confirm that there are no unintended short circuits or crossed wires that could potentially disrupt the functionality of the game controller.
- Secure the Connections: Once all the components are wired to the Teensy, use soldering to secure the connections and ensure reliable electrical contact. This step is crucial for maintaining stable and consistent input signals from the buttons and joystick.
By meticulously following these wiring steps, you’ll establish a robust electrical connection between the buttons, joystick, and the Teensy microcontroller. With the components properly wired, you’re now ready to move on to the exciting phase of programming the Teensy to interpret the input signals and emulate a functional game controller.
Programming the Teensy
Now that the physical components of your teensy game controller are wired to the Teensy microcontroller, it’s time to delve into the programming aspect. Programming the Teensy involves creating the necessary code to interpret the input signals from the buttons and joystick and emulate a functional game controller that can interface with your favorite games. Follow these essential steps to program the Teensy effectively:
- Open Arduino IDE: Launch the Arduino Integrated Development Environment (IDE) on your computer and ensure that the Teensy board is selected as the target platform for programming.
- Write the Code: Begin by writing the code that maps the input signals from the buttons and joystick to specific functions within the game. This may include assigning button presses to keyboard keys or mouse clicks, as well as interpreting the analog joystick input for directional movement.
- Implement Debouncing: To prevent erratic input behavior, incorporate debouncing techniques in the code to ensure that button presses are registered accurately and reliably, minimizing unintended triggers due to mechanical noise.
- Handle Analog Input: If your joystick module provides analog input for smooth movement, write code to interpret and process the analog signals, translating them into precise directional control within games that support analog input.
- Test the Code: Once the code is written, upload it to the Teensy board and perform thorough testing to verify that the input signals from the buttons and joystick are accurately interpreted and translated into the desired game controller functions.
- Refine and Optimize: Iterate on the code to refine the controller’s responsiveness and functionality, optimizing the mapping of inputs to game actions based on your preferences and the specific games you intend to play.
By following these programming steps, you’ll transform the Teensy microcontroller into a powerful and customizable game controller that aligns with your gaming needs and preferences. With the Teensy programmed to interpret and emulate game controller inputs, you’re now poised to embark on the final phase: testing the functionality of your newly crafted game controller.
Testing the Controller
With the teensy game controller fully assembled, wired, and programmed, it’s time to put your creation to the test. Testing the controller is a crucial step to ensure that all the components function as intended, and the input signals are accurately interpreted by the Teensy microcontroller. Follow these essential steps to thoroughly test the functionality of your newly crafted game controller:
- Connect the Controller: Using a standard USB cable, connect the Teensy-powered game controller to your computer or gaming console, ensuring a secure and stable connection.
- Launch a Game: Open a compatible game on your computer or gaming console, preferably one that allows for custom input mapping and supports the use of external game controllers.
- Test Button Inputs: Press each button on the controller and verify that the corresponding actions are executed within the game. This may include character movement, jumping, shooting, or any other functions mapped to the buttons.
- Verify Joystick Control: Utilize the joystick to navigate within the game environment, confirming that the directional input is accurately translated, providing smooth and responsive character or camera movement.
- Assess Analog Input: If your joystick module offers analog input, test its precision by observing the nuanced control it provides, particularly in games that support analog movement for enhanced gameplay experiences.
- Refine and Adjust: Based on your testing experience, make any necessary refinements to the controller’s functionality and input mapping, ensuring that it aligns with your gaming preferences and offers a seamless gaming experience.
By meticulously testing the controller and fine-tuning its performance, you’ll ensure that your custom-built game controller meets your expectations and enhances your gaming enjoyment. With the controller successfully tested and validated, you’re now ready to immerse yourself in an exciting gaming experience, empowered by the unique and personalized game controller you’ve crafted from scratch.


