Introduction
Are you a fan of classic video games and wish you could relive the nostalgia of playing them on the original consoles? Building a retro gaming console may be the perfect solution for you! With the rapid advancements in technology, it has become easier than ever to recreate the gaming experience from the past.
In this guide, we will take you through the process of building your very own retro gaming console. From choosing the right hardware to configuring the emulators and customizing the interface, we will provide you with step-by-step instructions to help you create a gaming setup that will transport you back in time.
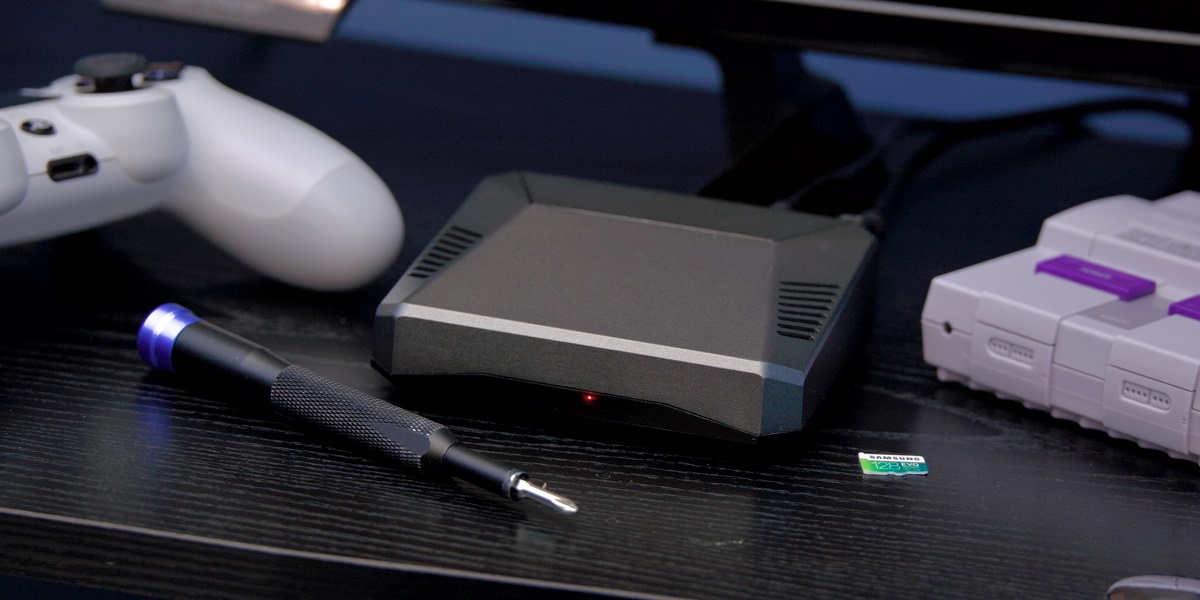
One of the first steps in building a retro gaming console is selecting the appropriate hardware. This includes choosing the right single-board computer, such as a Raspberry Pi, which will serve as the foundation for your console. Additionally, you will need to gather the necessary peripherals, such as controllers and storage devices, to ensure a smooth gaming experience.
Once you have acquired the necessary hardware, the next step is to install the operating system. There are several options available, including popular choices like RetroPie and Lakka, which are specifically designed for retro gaming. These operating systems provide a user-friendly interface and easy installation process, making it straightforward even for beginners.
With the operating system in place, it’s time to set up the emulators. Emulators are software programs that mimic the functionality of old gaming systems, allowing you to play games from a variety of consoles on your retro gaming console. There are emulators available for a wide range of systems, including Nintendo Entertainment System (NES), Super Nintendo Entertainment System (SNES), Sega Genesis, and more. Installing these emulators on your console will enable you to play your favorite retro games.
After installing the emulators, you will need to add game ROMs to your console. ROMs are digital copies of the game cartridges or discs and are available for download from various sources. It’s essential to ensure that you own the original copy of any games you download to comply with copyright laws. Once you have obtained the ROMs, you can transfer them to your console and start playing!
Configuring the controllers is another crucial step in building a retro gaming console. Depending on the emulator and the controllers you choose, you may need to map the buttons to ensure proper functionality. Fortunately, most emulators provide easy-to-use configuration menus that allow you to customize the controller settings to your preference.
Finally, you can take your retro gaming console to the next level by customizing the interface. With various themes and options available, you can create a visually appealing and personalized gaming environment. From selecting the background images and menu layouts to adjusting the display settings, you can tailor the console’s interface to suit your style.
In this guide, we will also address common troubleshooting issues that you may encounter and provide tips to resolve them. From performance optimization to troubleshooting hardware compatibility problems, we will ensure that you have all the necessary information to overcome any obstacles that may arise during the building process.
By the end of this guide, you will have a fully functional retro gaming console that allows you to enjoy classic games from the comfort of your own home. So, without further ado, let’s dive into the exciting world of building a retro gaming console!
Choosing the Right Hardware
When it comes to building a retro gaming console, selecting the right hardware is crucial to ensure a smooth gaming experience. The hardware components you choose will determine the performance and compatibility of your console, so it’s essential to make informed decisions. Here are the key considerations when choosing the hardware for your retro gaming console:
1. Single-Board Computer (SBC): The heart of your retro gaming console will be a single-board computer like the Raspberry Pi. These compact and affordable devices offer excellent performance for retro gaming. Make sure to choose a model with sufficient processing power and RAM to handle the emulators and games you plan to play.
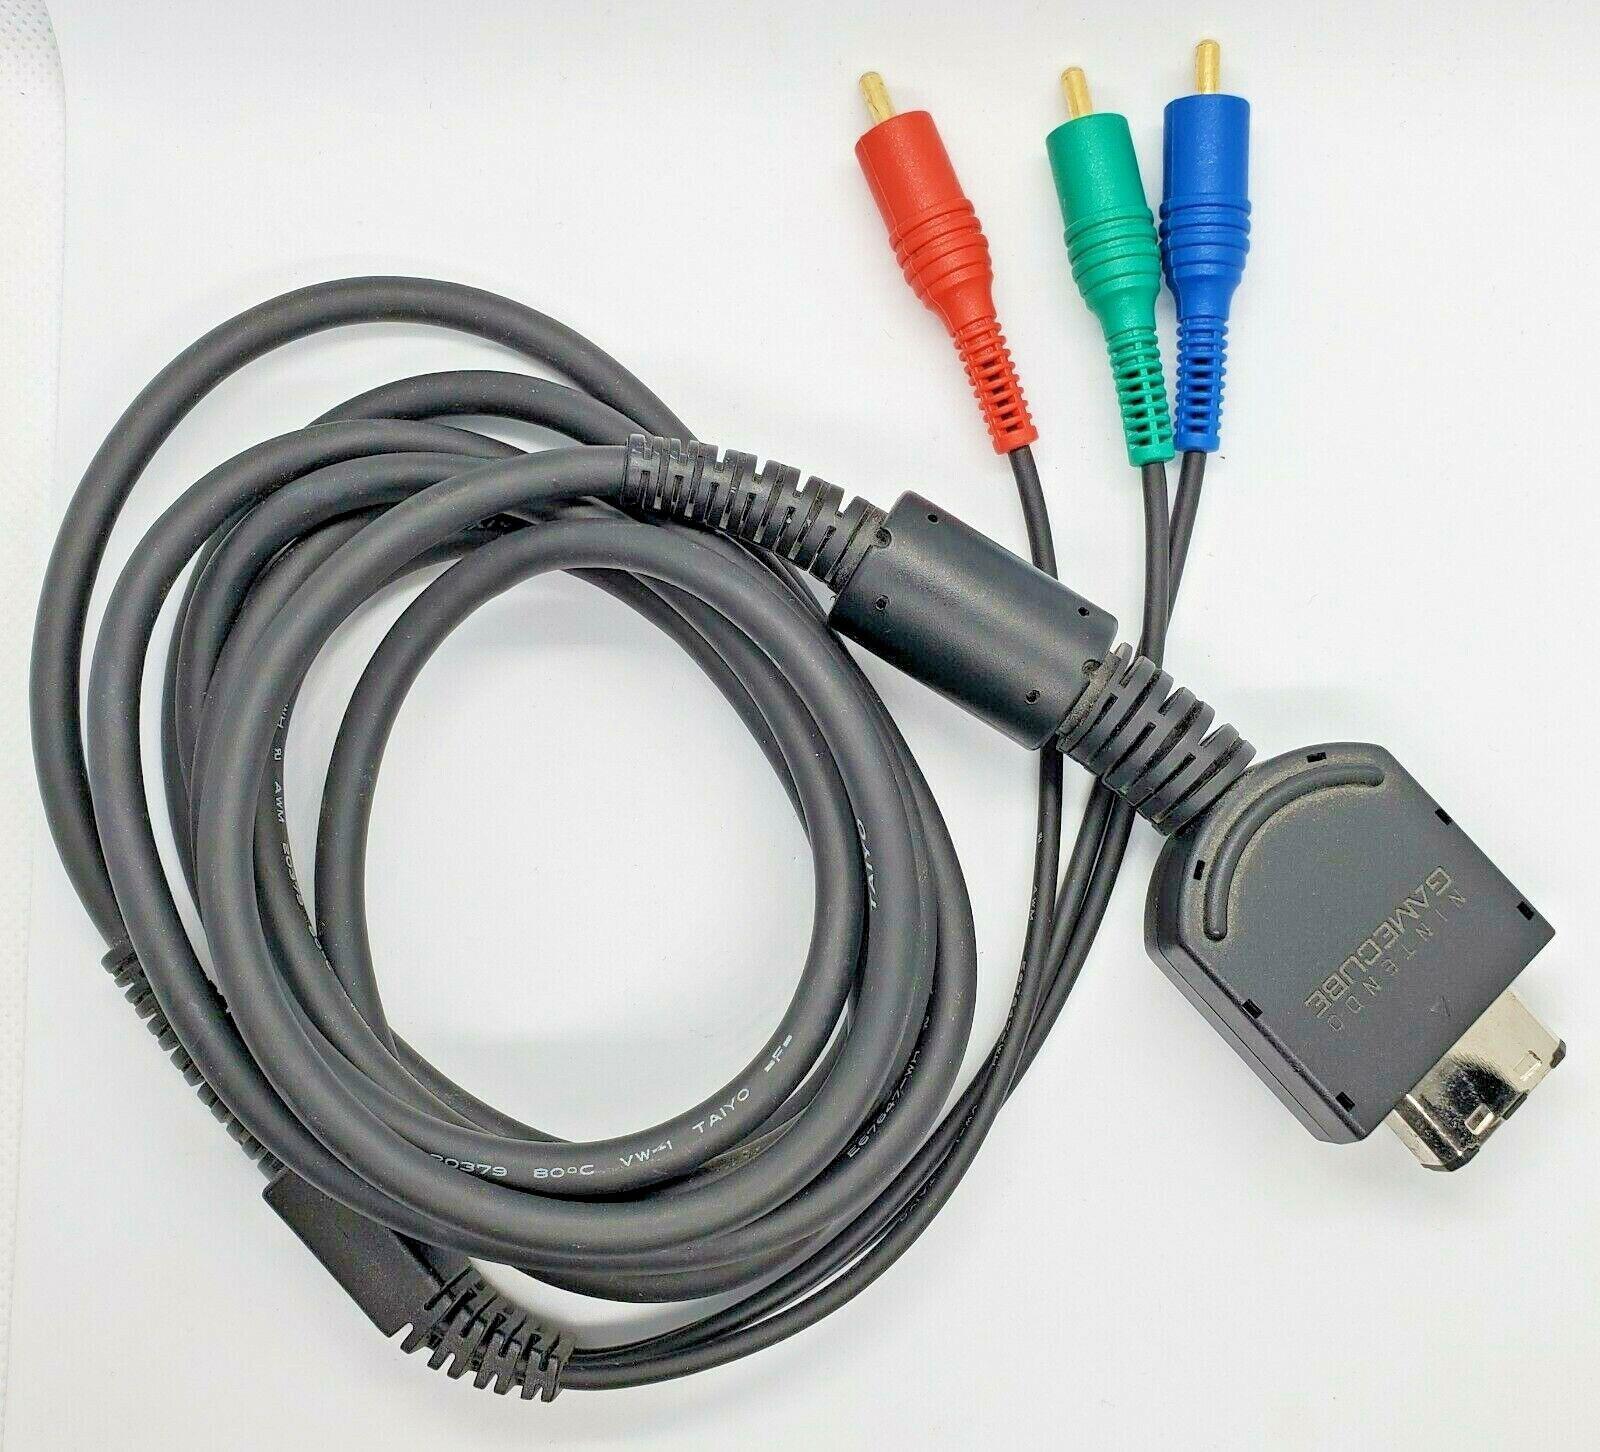
2. GPU and Video Output: The graphics processing unit (GPU) plays a vital role in delivering smooth and crisp graphics on your console. Look for an SBC that offers quality GPU capabilities, ensuring a visually pleasing gaming experience. Consider the video outputs supported by the SBC, such as HDMI or composite, depending on the display you plan to connect.
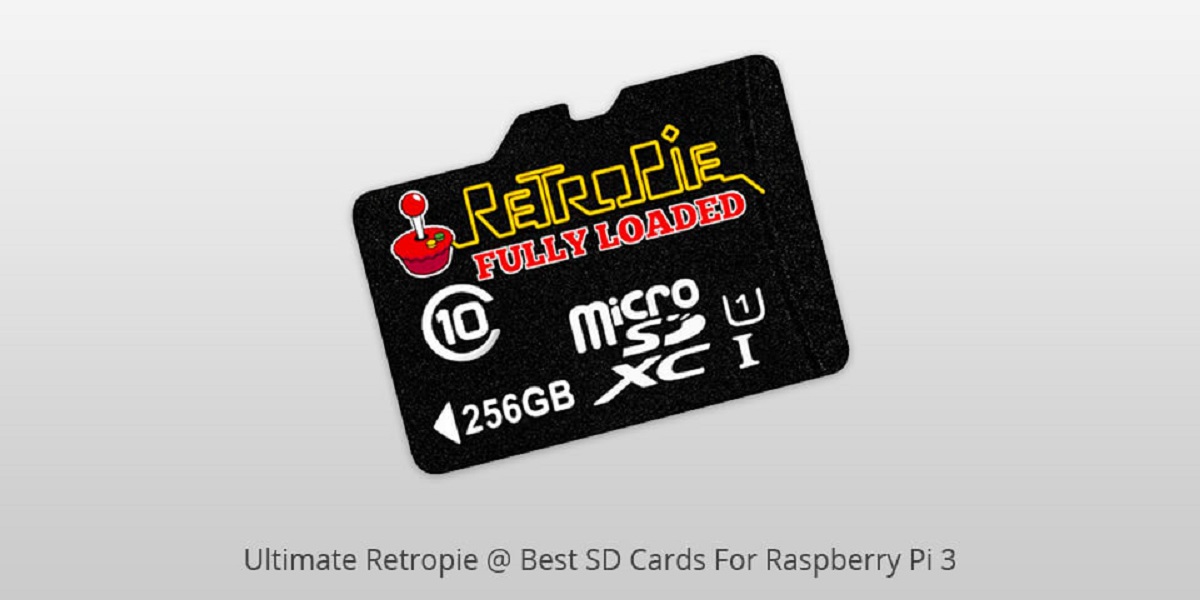
3. Storage: You will need storage to store the operating system, emulators, and game ROMs. Opt for a microSD card with ample storage capacity to accommodate your collection of games. Keep in mind that retro games are relatively small in size, so a 32GB or 64GB microSD card should be sufficient.
4. Controller Support: Ensure that the SBC you choose supports the controllers you plan to use. Most retro gaming enthusiasts prefer USB controllers for their convenience and compatibility. Make sure to check the compatibility of your preferred controllers with the chosen SBC to avoid any compatibility issues.
5. Power Supply: A reliable power supply is essential to keep your retro gaming console running smoothly. Look for a power supply that provides stable voltage to avoid any sudden shutdowns or power-related issues. Consider getting a power supply that has passed safety certifications to ensure your console’s safety.
6. Cooling: Retro gaming consoles can generate heat, especially during extended gaming sessions. Adequate cooling is crucial to prevent overheating and maintain the longevity of your hardware. Look for compact heatsinks or cooling fans designed specifically for the SBC you choose to keep the temperatures at bay.
By carefully considering these factors, you can choose the right hardware components that suit your budget and gaming preferences. It’s always a good idea to check online forums and communities dedicated to retro gaming to gather recommendations and insights from experienced builders. With the right hardware in place, you’re one step closer to creating your dream retro gaming console!
Step-by-Step Guide to Building a Retro Gaming Console
Building a retro gaming console may seem daunting at first, but with the right guidance, it can be a rewarding and enjoyable process. Follow these step-by-step instructions to create your very own retro gaming console:
Step 1: Gather the Necessary Hardware: Start by collecting all the hardware components you will need, including a single-board computer (like the Raspberry Pi), storage (microSD card), controllers, power supply, and any additional accessories. Ensure that you have all the required components before proceeding.
Step 2: Install the Operating System: Install the preferred operating system for retro gaming, such as RetroPie or Lakka, onto the microSD card. Follow the instructions provided by the operating system’s official website to properly flash the image onto the card. Insert the microSD card into the single-board computer.
Step 3: Connect the Hardware: Connect the necessary peripherals to the single-board computer. This typically includes connecting the HDMI or composite video output to your display, plugging in the USB controllers, and connecting the power supply. Ensure that all connections are secure.
Step 4: Power Up the Console: Power up the retro gaming console by connecting it to a power source. You should see the operating system’s boot screen on your display. Follow the initial setup instructions provided by the operating system to configure basic settings, such as language and Wi-Fi connectivity.
Step 5: Configure the Emulators: Access the settings menu of the retro gaming operating system and configure the emulators you intend to use. This may involve selecting the appropriate emulator for each gaming system, adjusting display settings, and mapping controls for your controllers. Refer to the operating system’s documentation for detailed instructions.
Step 6: Add Game ROMs: Obtain legal game ROMs for the consoles you wish to emulate. Connect the microSD card to your computer and transfer the game ROMs to the appropriate folder on the microSD card. Ensure that the ROMs are in the correct format and naming conventions specified by the operating system’s documentation.
Step 7: Customize the Interface: Personalize the interface of your retro gaming console by choosing themes, adjusting menu layouts, and selecting background images. Experiment with different customization options to create a visually appealing and nostalgic gaming environment.
Step 8: Test and Enjoy: Once you have configured the emulators and added your favorite game ROMs, it’s time to test out your retro gaming console. Launch the emulators, select a game from your library, and start playing! Adjust the settings as needed to ensure optimal performance and enjoy the nostalgia of classic gaming.
Building a retro gaming console is not only a fun project, but it also allows you to experience the joy of playing timeless games from the past. Take your time with each step, and don’t hesitate to seek help from online communities and forums if you encounter any challenges along the way. With patience and enthusiasm, you’ll soon have your very own retro gaming console that brings back the memories of gaming eras gone by.
Installing the Operating System
Installing the operating system is a critical step in building a retro gaming console. It serves as the foundation for running the emulators and games that will bring your console to life. Here’s a step-by-step guide on how to install the operating system on your retro gaming console:
Step 1: Choose the Operating System: Select the retro gaming operating system that best suits your needs. Two popular choices are RetroPie and Lakka. RetroPie is a versatile option with a user-friendly interface, while Lakka provides a lightweight and efficient retro gaming experience.
Step 2: Download the Image: Visit the official website of your chosen operating system and download the image file. Ensure that you download the image file designed for your single-board computer, such as the Raspberry Pi. The image file is usually in a compressed format (e.g., .zip or .gz).
Step 3: Prepare the microSD Card: Insert the microSD card into your computer using a card reader. Format the microSD card using a formatting tool recommended by the operating system’s instructions. This ensures that the card is clean and ready for the operating system installation.
Step 4: Flash the Image onto the microSD Card: Use a reliable image flashing tool to write the downloaded image file onto the microSD card. Etcher is a widely-used tool that provides a simple and intuitive interface for flashing images onto storage devices. Select the downloaded image file and the microSD card, then click “Flash” to begin the flashing process.
Step 5: Eject and Insert the microSD Card: Once the flashing process is complete, safely eject the microSD card from your computer. Insert the microSD card into the designated slot on your single-board computer. Ensure that the microSD card is securely inserted to avoid any connection issues.
Step 6: Power Up the Console: Connect the power supply to your retro gaming console and power it on. The boot process may take a moment as the operating system initializes. You should see the operating system’s logo or boot screen on your display. Follow any initial setup prompts that appear on-screen.
Step 7: Configure Basic Settings: Once the operating system has booted up, you will typically be guided through a set of initial setup prompts. This may include selecting the language, connecting to Wi-Fi, and setting up controllers. Follow the on-screen instructions to configure these basic settings.
Step 8: Update the Operating System: It is recommended to update the operating system to ensure you have the latest features and security fixes. Depending on the operating system, there may be an option to update within the settings menu. Connect your retro gaming console to the internet and follow the instructions to update to the latest version.
Step 9: Explore Additional Options: Depending on the operating system you chose, you may have additional customization options available, such as theme selection, menu layout adjustments, and system configurations. Take some time to explore and personalize your retro gaming console to enhance your gaming experience.
By following these steps, you will successfully install the chosen operating system on your retro gaming console. It lays the groundwork for running the emulators and playing your favorite classic games. Once the installation is complete, you can move on to the next step of configuring the emulators and adding game ROMs.
Setting Up the Emulators
Now that you have installed the operating system on your retro gaming console, it’s time to set up the emulators. Emulators are software programs that replicate the behavior of classic gaming consoles, allowing you to play retro games on your console. Here’s a step-by-step guide on how to set up the emulators:
Step 1: Access the Emulator Settings: Navigate to the settings menu of your retro gaming operating system. Look for the options related to the emulators or gaming systems you want to emulate. Different operating systems may have varying layouts, but you should find a section dedicated to configuring the emulators.
Step 2: Choose the Emulator: In the emulator settings, select the emulator that corresponds to the gaming system you want to emulate. From popular consoles like NES, SNES, and Sega Genesis to more niche systems, there are emulators available for a wide range of gaming platforms.
Step 3: Adjust Display and Audio Settings: Within the emulator settings, you may find options to customize the display and audio settings to your preference. This can include aspect ratio, resolution, scanlines, and audio enhancements. Experiment with different settings to find the configuration that best replicates the gaming experience you desire.
Step 4: Configure Controller Inputs: Connect your USB controllers to the retro gaming console and access the controller configuration settings within the emulator. Follow the on-screen prompts to map the buttons on your controller to the corresponding functions in the game. This step ensures that the controls are properly recognized and responsive during gameplay.
Step 5: Set up Save and Load States: Many emulators offer the ability to save and load game states, allowing you to easily resume your progress or try different strategies. Familiarize yourself with the save state features within the emulator settings and configure them according to your preferences.
Step 6: BIOS and System Files: Some emulators require additional system files or BIOS ROMs to run specific gaming systems. Consult the documentation or online resources related to the emulator you are using to determine if these files are necessary. If so, download and place them in the appropriate directories as specified by the emulator documentation.
Step 7: Test and Fine-Tune: Once you have configured the emulator settings, it’s time to test them out. Launch a game and play for a while to ensure that the controls are responsive, the graphics and audio are satisfactory, and there are no noticeable issues. Make any necessary adjustments in the emulator settings to optimize the gameplay experience.
Step 8: Explore Advanced Settings: Depending on the emulator and operating system, there may be additional advanced settings available. These settings can include options for shaders, filters, and latency reduction. Experiment with these settings to further customize your gaming experience and achieve the desired visual and performance enhancements.
By following these steps, you can successfully set up the emulators on your retro gaming console. Take the time to fine-tune the settings and explore additional customization options to create a gaming experience that truly captures the essence of retro gaming.
Adding Game ROMs
One of the most exciting parts of building a retro gaming console is adding game ROMs. ROMs, or Read-Only Memory files, contain digital copies of the games you want to play on your console. Here’s a step-by-step guide on how to add game ROMs to your retro gaming console:
Step 1: Obtain Legal Game ROMs: It’s essential to ensure the legality of the game ROMs you download. While sharing and downloading ROMs of games that you do not own is illegal, you can create backups of your own game collection. Ensure that you have legal access to the game ROMs you intend to add to your console.
Step 2: Connect the microSD Card to Your Computer: Remove the microSD card from your retro gaming console and connect it to your computer using a card reader. Ensure that the microSD card is recognized and accessible by your computer’s operating system.
Step 3: Create Folders for the Game Systems: On the microSD card, create separate folders for each gaming system you plan to emulate. For example, if you want to play games from the NES and SNES, create folders named “NES” and “SNES” on the microSD card.
Step 4: Transfer the Game ROMs: Locate the game ROMs you want to add to your console on your computer. Select the game ROMs for a specific gaming system and copy them into the corresponding folder you created on the microSD card. Ensure that the game ROMs have the correct file extensions and follow any naming conventions specified by the emulator or the game system.
Step 5: Safely Eject the microSD Card: Once you have transferred the game ROMs to the appropriate folders on the microSD card, safely eject the card from your computer. This ensures that the files are properly saved and avoids any potential data corruption.
Step 6: Insert the microSD Card into Your Retro Gaming Console: Insert the microSD card with the added game ROMs back into the designated slot on your retro gaming console. Ensure that the microSD card is securely inserted to establish a proper connection.
Step 7: Launch the Emulator and Play: Power on your retro gaming console and navigate to the emulator for the gaming system you added the corresponding game ROMs to. Browse through the emulator’s menus and locate the game you want to play. Select the game, and enjoy playing the retro game on your console!
Note: Different retro gaming operating systems and emulators may have specific requirements or procedures for adding game ROMs. Consult the documentation or support resources provided by the operating system and emulator to ensure that the process is correctly followed.
By following these steps, you can successfully add game ROMs to your retro gaming console and expand your library of playable games. Remember to always respect copyright laws and only use game ROMs for games you lawfully own or have permission to use.
Configuring Controllers
Configuring the controllers is a crucial step in building your retro gaming console. Properly mapping the buttons on your controllers ensures a seamless and enjoyable gaming experience. Here’s a step-by-step guide on how to configure the controllers for your retro gaming console:
Step 1: Connect the Controllers: Connect your USB controllers to the appropriate ports on your retro gaming console. Make sure the controllers are properly recognized by the operating system and emulators.
Step 2: Access the Controller Configuration: Navigate to the settings menu of your retro gaming operating system. Look for the options related to controller configuration or input settings. Different operating systems and emulators may have different ways of accessing the controller configuration settings.
Step 3: Controller Recognition: In the controller configuration settings, you should see a list of recognized controllers. Verify that your connected controllers are listed and recognized by the system. If any controllers are not recognized, unplug and reconnect them to ensure a proper connection.
Step 4: Mapping the Buttons: Select a controller from the list, and you will usually be presented with a mapping interface. Follow the on-screen prompts to map each button on your controller to the corresponding function in the game. This ensures that the controls work correctly during gameplay.
Step 5: Testing the Controls: After mapping the buttons, it’s essential to test the controls to ensure that they are working as intended. Launch an emulator or game and navigate through the menus using the controller. Confirm that each button performs the expected action and that the controls feel comfortable.
Step 6: Adjusting Sensitivity and Deadzones: Within the controller configuration settings, you may find options to adjust sensitivity and deadzones. Sensitivity settings determine how much movement or pressure is required to register a button press, while deadzones refer to the amount of movement or pressure needed for the joystick to register input. Fine-tune these settings to suit your preferences and playstyle.
Step 7: Saving Controller Profiles: If you have multiple controllers or prefer different button configurations for specific games, most emulators allow you to save controller profiles. This enables you to switch between different profiles or presets depending on the game you are playing. Take advantage of this feature to streamline the control setup process.
Step 8: Configuring Hotkeys: Many emulators offer the ability to assign hotkeys to various functions, such as saving and loading states, accessing the emulator menu, or exiting the game. Check the emulator’s settings to see if it provides hotkey configuration options, and map the desired functions to the available buttons on your controllers for convenient access during gameplay.
Step 9: Fine-tuning and Personalization: Once you have configured the basic controller settings, spend some time fine-tuning and personalizing your controls. Experiment with different configurations, sensitivity levels, or button assignments to find the setup that feels most comfortable and suits your gaming preferences.
By following these steps, you can successfully configure the controllers for your retro gaming console. Taking the time to map the buttons and adjust the settings ensures a smooth gaming experience and allows you to fully immerse yourself in the nostalgia of classic gaming.
Customizing the Interface
Customizing the interface of your retro gaming console allows you to create a personalized and visually appealing gaming environment. With various theme options and customization features available, you can make your retro gaming console reflect your unique style. Here’s a step-by-step guide on how to customize the interface of your console:
Step 1: Theme Selection: Most retro gaming operating systems offer a selection of pre-installed themes. Browse through the available themes and choose the one that suits your preferences. Themes can range from minimalistic designs to vibrant visuals that mimic the look and feel of classic consoles.
Step 2: Adjusting Menu Layout: Explore the customization options to adjust the menu layout. Many retro gaming operating systems allow you to customize the order and arrangement of game icons, system settings, and other menu items. Play around with different layouts until you find the one that is most intuitive and visually pleasing.
Step 3: Background Images and Screensavers: Customize the look of your console’s interface by selecting background images and screensavers. Many retro gaming operating systems allow you to choose from a selection of images or even upload your own. Consider using nostalgic gaming-themed wallpapers or artwork that enhances the retro gaming atmosphere.
Step 4: Icon Styles: Some retro gaming operating systems provide the option to change the style or shape of the icons. Experiment with different icon styles, such as square or rounded, to give your console a unique look and feel.
Step 5: Display Settings: Fine-tune the display settings of your retro gaming console to achieve the desired visuals. Adjust options such as resolution, aspect ratio, and video filters to emulate the look of the original gaming systems or enhance the graphics for a more modern interpretation.
Step 6: Sounds and Audio Effects: Explore options to customize the interface’s audio effects. Some retro gaming operating systems allow you to change the system sounds, menu navigation sounds, and even enable authentic console startup sounds. Select audio effects that match the nostalgic experience you want to recreate.
Step 7: Additional Customization: Depending on the retro gaming operating system, you may find additional customization options. These can include changing the font styles, adjusting transparency settings, or even installing user-created themes. Take advantage of these options to further personalize your console’s interface.
Step 8: Experiment and Evolve: Customizing the interface is a creative process, and your preferences may change over time. Don’t be afraid to experiment and try out different themes, backgrounds, and layout configurations. As you discover new themes or artwork, you can continue to evolve and refine the aesthetics of your retro gaming console.
By following these steps, you can create a customized interface for your retro gaming console that reflects your taste and preferences. Enjoy the process of personalizing your gaming environment to enhance your nostalgia-filled gaming experience.
Troubleshooting Common Issues
While building and setting up your retro gaming console, you may encounter common issues that can hinder your gaming experience. It’s essential to be prepared to troubleshoot and resolve these issues effectively. Here’s a guide to help you troubleshoot common problems:
1. Emulator or Game Compatibility: Some games may not run correctly or at all on certain emulators. Ensure that you are using the appropriate emulator for the gaming system and that the game ROMs are compatible with the emulator’s version. Check online forums and communities dedicated to retro gaming for insights and advice on resolving compatibility issues.
2. Slow Performance: If you experience slow performance while playing games, it may be due to the hardware limitations of the single-board computer or improper settings. Try adjusting the emulator settings, such as reducing graphics enhancements or increasing frame skipping, to optimize performance. Additionally, closing any unnecessary background applications or processes on your retro gaming console can help free up system resources.
3. Controller Recognition Issues: If your controllers are not recognized or not functioning correctly, ensure that they are properly connected to the console. Try reconnecting the controllers, restarting the console, or re-mapping the buttons within the controller configuration settings. In some cases, certain controllers may require additional drivers or firmware updates to work correctly.
4. Audio/Video Issues: If you experience audio or video problems, such as distorted sounds or blurry visuals, check the cable connections between your retro gaming console and the display device. Ensure that the cables are securely plugged in and not damaged. Adjust the display settings within the retro gaming operating system to ensure the correct aspect ratio and resolution for your display.
5. Game Freezing or Crashing: If games freeze or crash during gameplay, it can be due to various factors, such as incompatible game ROMs, corrupted files, or insufficient system resources. Double-check that the game ROMs are from reputable sources and properly transferred to the microSD card. If the issue persists, try restarting the console and adjusting the emulator settings to increase available memory.
6. Network Connectivity: If you encounter issues with network connectivity, such as difficulty connecting to Wi-Fi or accessing online features, ensure that your retro gaming console is within range of a stable Wi-Fi signal. Check the wireless settings and ensure the correct network credentials are entered. If the issue persists, try restarting your router and checking for any firmware updates for your retro gaming operating system.
7. System Updates: Regularly check for system updates for your retro gaming operating system. These updates often include bug fixes, performance improvements, and new features. Keeping the operating system up to date ensures a smoother gaming experience and helps resolve any known issues.
8. Community Support: If you’re unable to resolve an issue on your own, seek support from online communities and forums dedicated to retro gaming. These communities are filled with knowledgeable individuals who can provide guidance and solutions for a wide range of technical issues.
Remember to approach troubleshooting with patience and perseverance. Every issue has a solution, and often, with a bit of research and experimentation, you can overcome any obstacles in your retro gaming journey.
Conclusion
Building a retro gaming console is a rewarding and nostalgic experience. By following this step-by-step guide, you have learned how to choose the right hardware, install the operating system, set up emulators, add game ROMs, configure controllers, customize the interface, and troubleshoot common issues. You now have the knowledge and tools to embark on your retro gaming adventure.
Remember, building a retro gaming console requires attention to detail and patience. Take your time during each step of the process, ensuring that you have the proper hardware and following the instructions provided by the retro gaming operating system and emulator of your choice. Engage with online communities and forums for advice and support.
Once your retro gaming console is up and running, you can relive the nostalgia of classic video games from consoles of the past. Immerse yourself in the timeless gameplay, rekindle childhood memories, and discover new favorites from a bygone era.
With regular updates and ongoing support from the retro gaming community, your console can continue to evolve and stay relevant as new games and enhancements become available. Embrace the flexibility and customization options offered by your retro gaming operating system to create a unique gaming experience tailored to your liking.
Now, it’s time to power up your retro gaming console, select your favorite game, and embark on an adventure filled with pixelated graphics, memorable soundtracks, and countless hours of enjoyment. Get ready to experience the magic of retro gaming and create new memories that will last a lifetime.


