Introduction
Welcome to the world of Non-Fungible Tokens (NFTs), where digital assets are bought, sold, and owned securely using blockchain technology. NFTs have revolutionized the concept of ownership in the digital realm, allowing artists, collectors, and enthusiasts to monetize and trade unique digital creations.
Whether you’re an artist looking to showcase your work, or an individual interested in investing in digital collectibles, understanding how to upload an NFT is essential. In this guide, we will walk you through the step-by-step process of uploading an NFT, from creating a digital wallet to choosing an NFT marketplace.
Before we dive into the specifics, let’s briefly define what an NFT is. NFT stands for Non-Fungible Token, which means it is a unique digital asset that cannot be exchanged on a one-to-one basis like cryptocurrencies such as Bitcoin or Ethereum. Each NFT possesses distinct characteristics and ownership, making it one-of-a-kind in the digital world.
NFTs can represent various digital creations, including artworks, music, videos, virtual real estate, and even virtual pets. These digital assets are stored on a blockchain, a decentralized and transparent digital ledger, ensuring the authenticity, provenance, and ownership history of each NFT.
Now that we have a basic understanding of NFTs let’s delve into the step-by-step process of uploading an NFT. By the end of this guide, you will be equipped with the knowledge and skills to navigate the exciting world of NFTs and share your unique creations with the world.
What is an NFT?
In recent years, you may have heard the term “NFT” popping up in conversations or trending on social media. But what exactly is an NFT?
An NFT, short for Non-Fungible Token, is a digital asset that represents ownership or proof of authenticity of a unique item or piece of content. Unlike cryptocurrencies such as Bitcoin or Ethereum, which are fungible and can be exchanged on a one-to-one basis, NFTs are indivisible and cannot be exchanged at an equal value.
Think of an NFT as a digital certificate of ownership for a specific item, whether it be a piece of artwork, a collectible trading card, a virtual real estate parcel, or even a tweet. Each NFT has a distinct value and unique set of characteristics that separate it from any other NFT.
One of the key features of NFTs is that they are built on blockchain technology, typically utilizing the Ethereum blockchain. Blockchain is a decentralized digital ledger that records and verifies transactions, ensuring the transparency and security of each NFT’s ownership history.
By leveraging blockchain, NFTs offer several advantages. They allow creators to directly monetize their digital content and retain ownership and control over their creations. NFTs provide a way for artists, musicians, writers, and other creators to sell their work in a digital format, opening up new avenues for revenue and audience engagement.
Furthermore, NFTs enable collectors and enthusiasts to acquire and trade unique digital assets in a secure and transparent manner. Owning an NFT grants the holder exclusive rights and provenance over the digital item, providing a sense of rarity and authenticity in the digital realm.
It’s important to note that the value and market for NFTs are driven by demand and perceived worth, similar to traditional art or collectibles markets. The uniqueness, scarcity, and desirability of an NFT contribute to its value and can result in significant sales and investments.
Now that we have a better understanding of what an NFT is, let’s explore the step-by-step process of uploading an NFT so you can participate in this exciting digital ecosystem.
Step 1: Create a Wallet
Before you start uploading your NFT, you need to create a digital wallet. A digital wallet serves as your personal vault for storing and managing your NFTs securely. It also acts as your unique identifier on the blockchain.
There are various types of digital wallets you can choose from, including web-based, desktop, and mobile wallets. Each type offers its own set of features and security measures, so it’s important to choose one that aligns with your needs and preferences.
To create a wallet, follow these steps:
- Research and choose a reliable and reputable digital wallet provider. Ensure that the wallet supports the blockchain platform used for your NFTs, typically Ethereum. Some popular wallet options include MetaMask, Trust Wallet, and Coinbase Wallet.
- Visit the website or app store of your chosen wallet provider and download the wallet application.
- Open the wallet application and follow the on-screen instructions to set up your wallet.
- Create a strong and unique password for your wallet. This password will be required to access your wallet, so make sure to choose one that is difficult to guess.
- Backup your wallet’s recovery phrase or seed phrase. This is a series of words that can be used to restore your wallet in case you forget your password or lose access to your device.
- Once your wallet is set up, you will be provided with a unique wallet address. This address is similar to a bank account number and is used to send and receive NFTs and other digital assets.
It’s essential to keep your wallet address and recovery phrase in a safe and secure place. Losing access to your wallet or sharing your private information can result in permanent loss of your NFTs.
With your wallet created, you are now ready to move on to the next step: purchasing or creating an NFT.
Step 2: Purchase or Create an NFT
Once you have set up your digital wallet, the next step is to acquire an NFT. There are two main options: purchasing an existing NFT or creating your own.
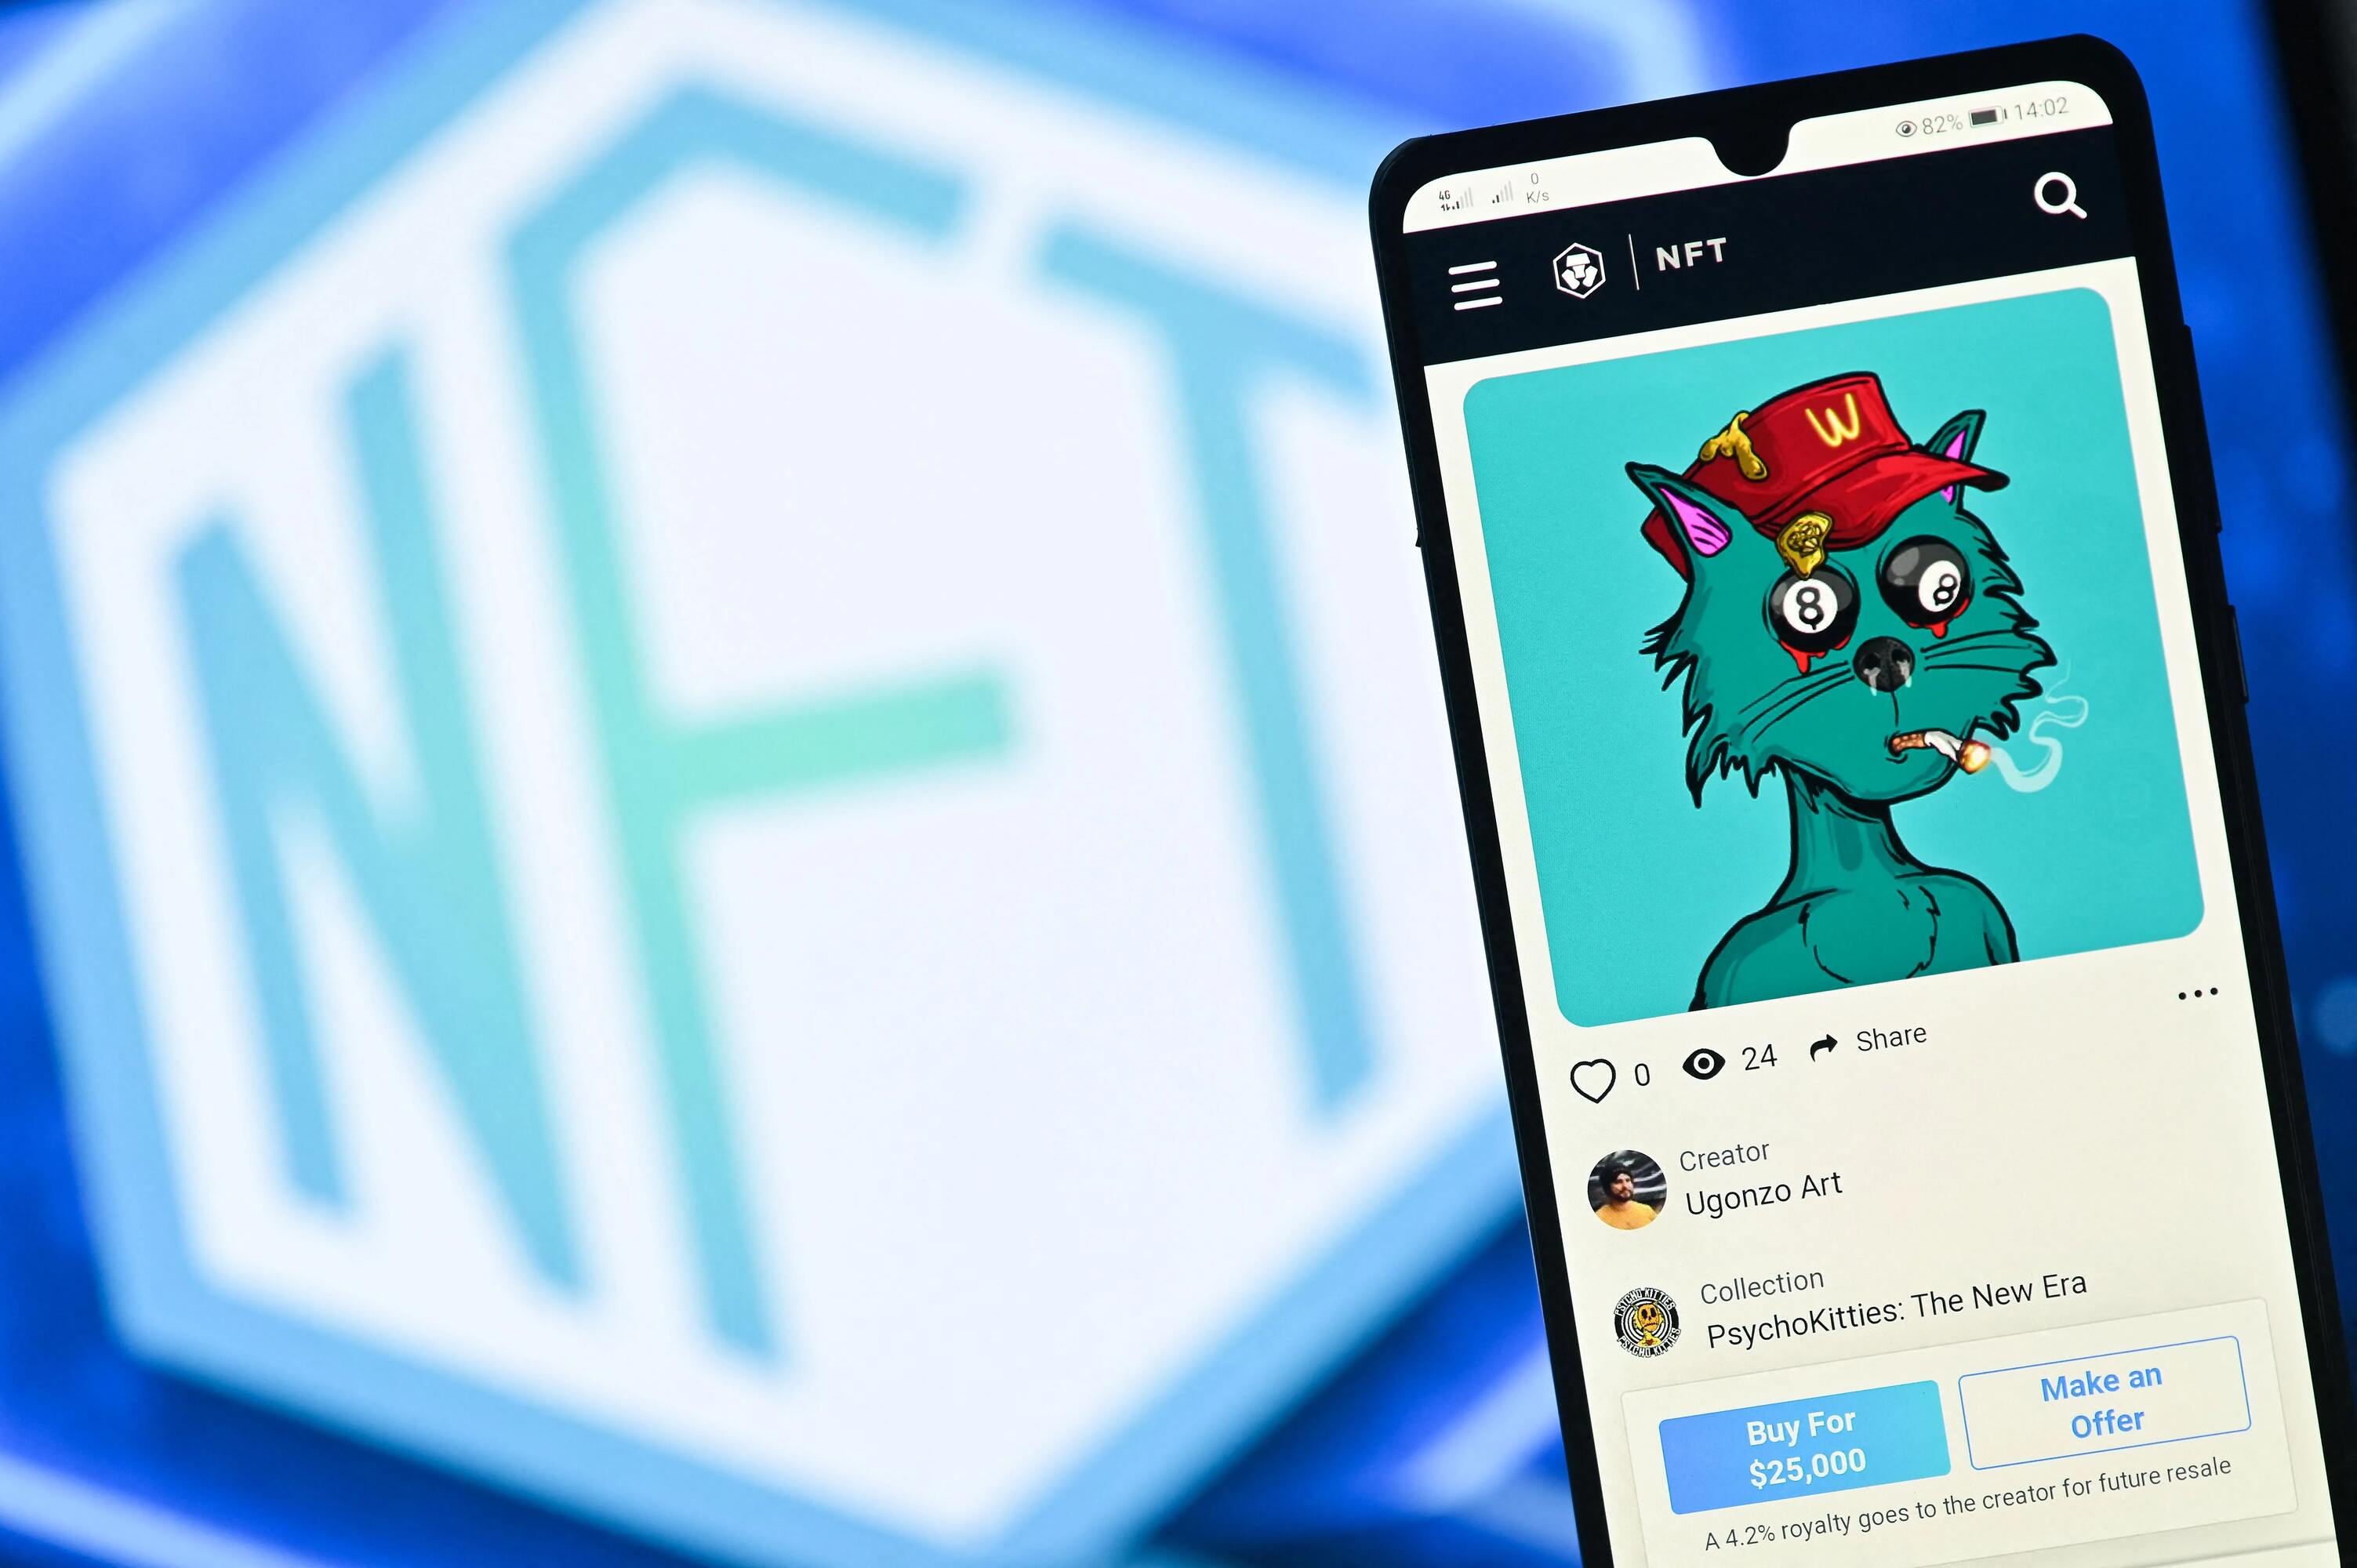
If you’re interested in purchasing an NFT, you can browse various NFT marketplaces, such as OpenSea, Rarible, or SuperRare. These marketplaces offer a wide range of digital assets, including artwork, collectibles, virtual land, and more. Simply search for the type of NFT you’re interested in and explore the available options.
When considering purchasing an NFT, it’s important to research the artist or creator, the scarcity of the item, and the overall demand in the market. Set a budget for yourself and be mindful of the potential risks and fluctuations in NFT prices. It’s also crucial to verify the authenticity of the NFT and ensure that it aligns with your personal tastes and interests.
If you prefer to create your own NFT, you have the opportunity to unleash your creativity and share your unique digital creations with the world. Creating an NFT allows you to retain full ownership and control over your artwork, music, or any other digital content.
To create an NFT, follow these steps:
- Select an NFT marketplace that supports minting, such as OpenSea or Mintbase.
- Connect your digital wallet to the chosen marketplace. This process typically involves logging into your wallet and granting authorization.
- Prepare your digital content for minting. This may involve converting your artwork to a digital format, finalizing your music track, or completing any necessary edits to your digital creation.
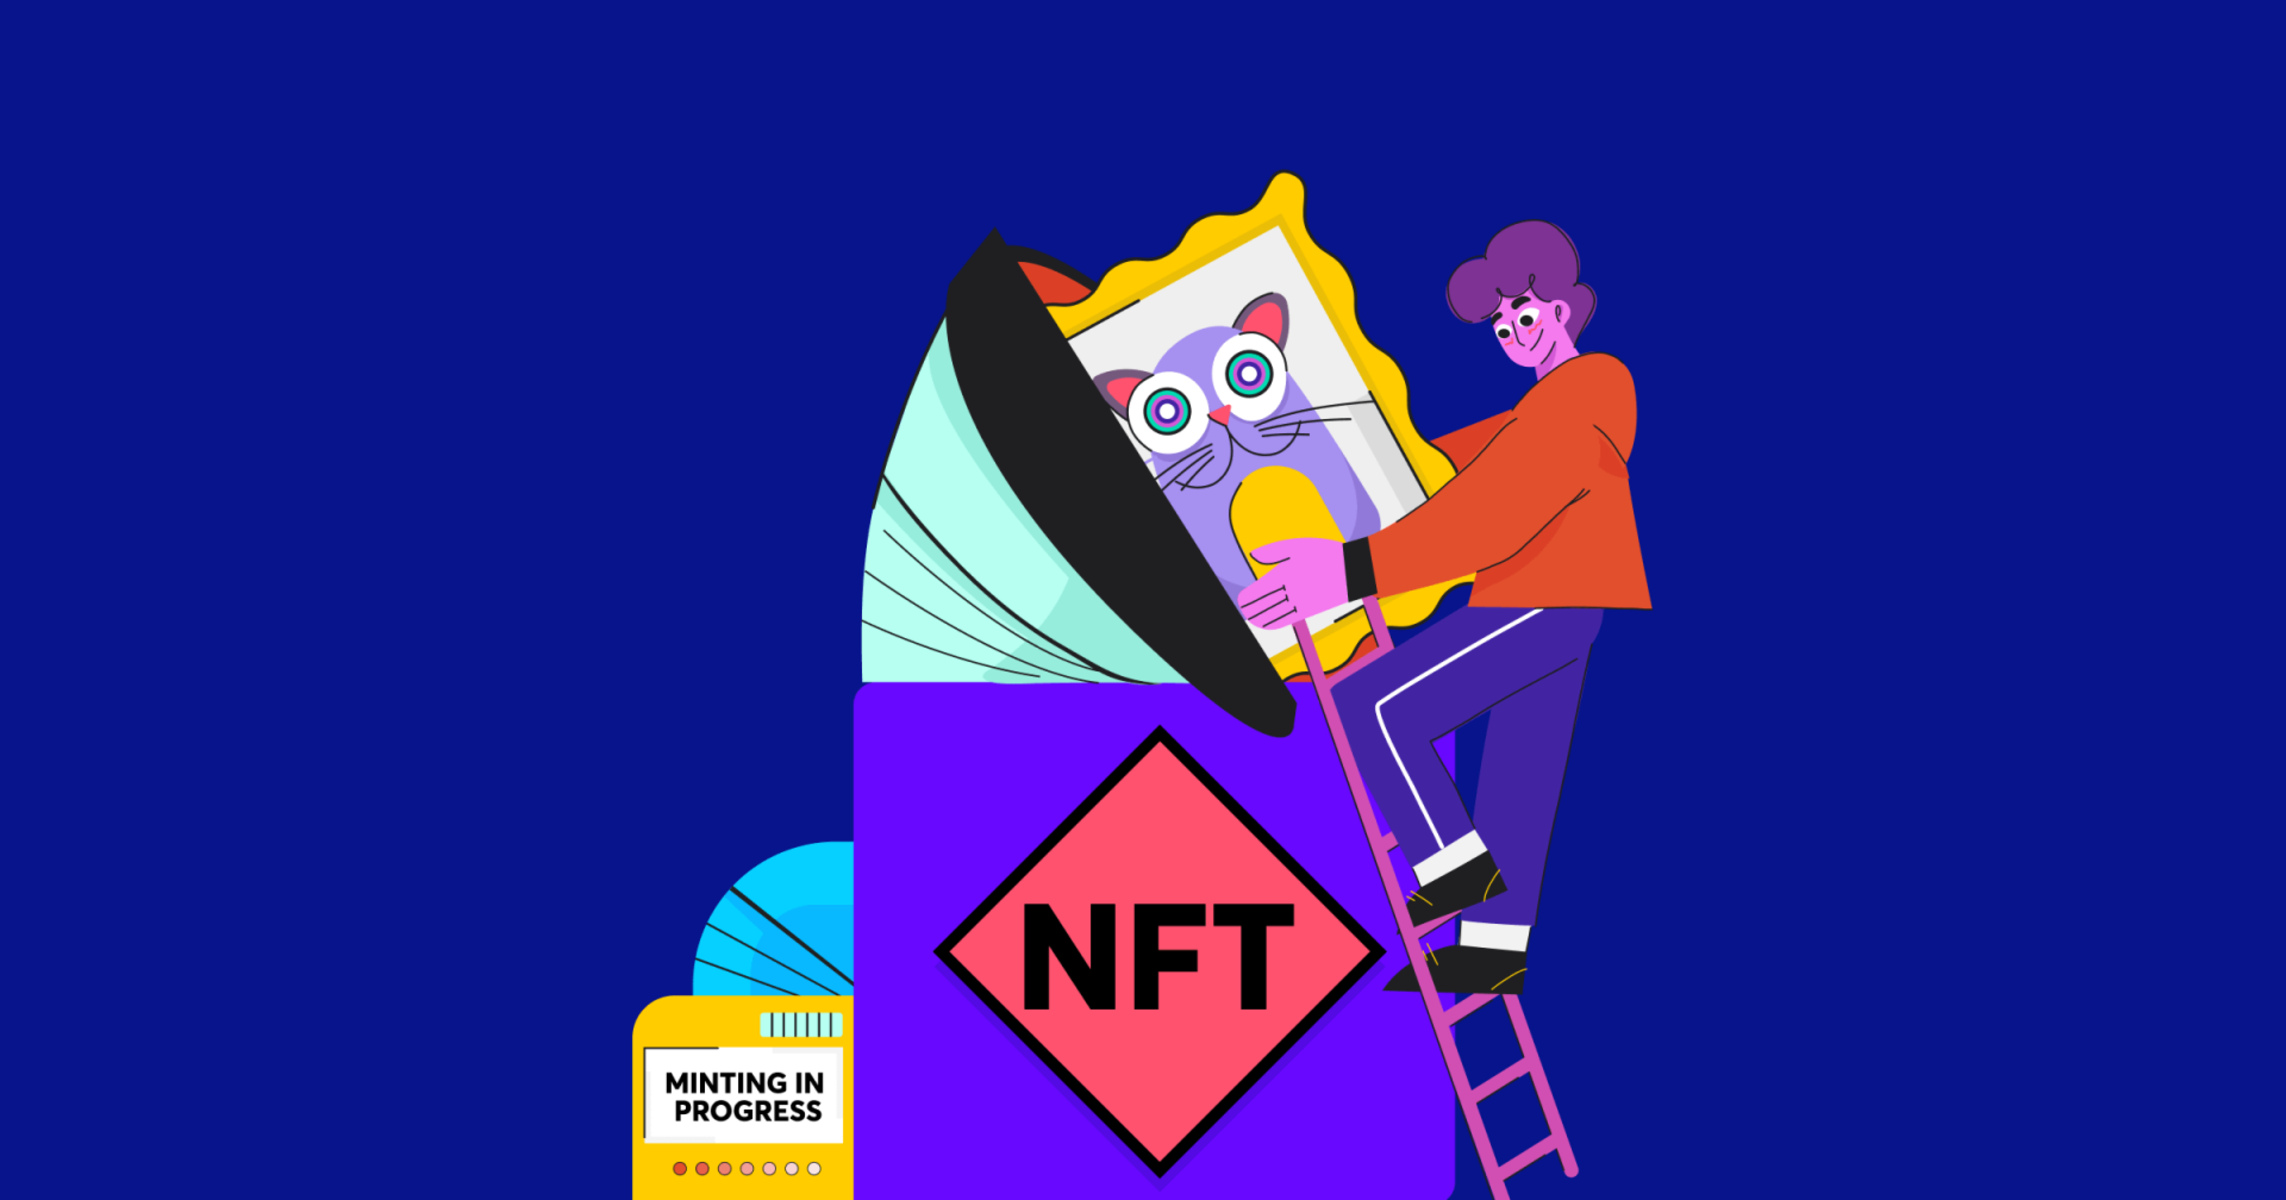
- Follow the instructions provided by the marketplace to mint your NFT. This typically involves uploading your files, adding a title, description, and optional attributes or properties.
- Pay the minting fee, which is usually paid in cryptocurrency such as Ethereum. The fee covers the transaction costs and processing on the blockchain.
- Once the minting process is complete, your NFT will be created and visible on the marketplace for others to discover and potentially purchase.
Remember, the process of purchasing or creating an NFT involves careful consideration, research, and adherence to the marketplace’s guidelines. Whether you decide to buy or create an NFT, this step brings you closer to sharing and showcasing your digital assets in the thriving NFT ecosystem.
Step 3: Prepare the NFT for Upload
Once you have acquired or created an NFT, the next step is to prepare it for upload. This involves ensuring that your NFT files and metadata are in the correct format and meet the requirements of the chosen NFT marketplace.
Here are some important considerations for preparing your NFT:
- File Format: Verify the supported file formats for your NFT. Common formats include JPEG or PNG for images, MP3 or WAV for music files, and MP4 or GIF for videos. Convert or export your digital content to the appropriate format if needed.
- Quality and Resolution: Ensure that your NFT files are of high quality and resolution to showcase your digital creation in the best possible way. Consider the recommended resolution and size guidelines provided by the marketplace to optimize the viewing experience for potential buyers.
- Metadata: Metadata is essential for providing information about your NFT, such as the title, description, artist name, and any additional attributes. Craft a compelling and accurate description that highlights the unique aspects of your NFT and provides context to potential buyers. You may also have the option to add optional attributes or properties, depending on the marketplace.
- Media Licensing and Rights: If you are using copyrighted or licensed content, ensure that you have the necessary permissions and rights to include them in your NFT. Respect intellectual property rights and avoid unauthorized use of copyrighted material to prevent legal issues in the future.
- Storage and Backup: It’s crucial to securely store and backup your NFT files and metadata. Consider using cloud storage or external hard drives to ensure that your digital assets are protected against loss or accidental deletion. Keep multiple copies in different locations for added security.
By taking the time to properly prepare your NFT for upload, you enhance its appeal, credibility, and marketability. Attention to detail and high-quality presentation can greatly impact the success and value of your NFT in the marketplace.
Now that your NFT is prepared and ready, it’s time to move on to selecting an NFT marketplace where you can showcase and sell your digital creation.
Step 4: Choose an NFT Marketplace
Choosing the right NFT marketplace is a crucial step in the process of uploading your NFT. The marketplace you select will play a significant role in determining the visibility, reach, and potential sales of your digital creation. Here are some factors to consider when choosing an NFT marketplace:
- Popularity and Reach: Look for marketplaces that have a wide user base and a strong reputation within the NFT community. Popular marketplaces often attract a larger audience, increasing the visibility of your NFT to potential buyers and collectors.
- Specialization: Consider whether the marketplace focuses on specific types of NFTs or caters to a particular niche. Some marketplaces might be more suitable for artwork, while others may specialize in virtual real estate, collectibles, or gaming-related NFTs. Choose a marketplace that aligns with the category of your NFT to target the right audience.
- Transaction Fees: Review the marketplace’s fee structure, including listing fees, transaction fees, and any additional charges. Different marketplaces have varying fee models, so it’s important to understand the costs involved and how they will impact your potential earnings.
- User Experience: Evaluate the user interface, usability, and overall experience offered by the marketplace. Look for an intuitive and user-friendly platform that facilitates easy navigation, clear information display, and seamless interaction between buyers and sellers.
- Community and Support: Research the marketplace’s community engagement, support resources, and educational materials. A vibrant community and accessible support can greatly assist you in navigating the marketplace, optimizing your listings, and resolving any queries or issues that may arise.
Some popular NFT marketplaces include OpenSea, Rarible, SuperRare, and NBA Top Shot. However, it’s essential to stay informed about emerging marketplaces and evaluate their offerings to identify the best platform for your NFT.
Take your time to research and compare different marketplaces, weighing the pros and cons of each. Consider seeking advice from experienced NFT artists and collectors who have firsthand knowledge and experience with various platforms. This will help you make an informed decision and select the marketplace that aligns with your goals and requirements.
Once you have decided on a marketplace, you’re ready to proceed to the next step: uploading your NFT and making it available to potential buyers.
Step 5: Uploading the NFT
With your chosen NFT marketplace in mind, it’s time to proceed with uploading your NFT to make it available for purchase by potential buyers. The process of uploading may vary depending on the marketplace, but here are the general steps to follow:
- Login to your account on the chosen NFT marketplace.
- Find the option to “Upload” or “Create” an NFT. This is typically located in the user dashboard or the marketplace’s main navigation.
- Select the file or files that represent your NFT. This may be an image, video, audio file, or a combination depending on the type of digital asset you are uploading. Make sure the NFT files conform to the marketplace’s specifications regarding size, format, and quality standards.
- Provide the required information for your NFT. This typically includes the name or title, a description that provides details about your NFT, any additional attributes or properties, and tags or categories to help potential buyers discover your NFT.
- Set a price for your NFT. You can choose to list your NFT at a fixed price or opt for an auction-style listing where buyers can bid on your NFT. Consider market trends, the uniqueness of your NFT, and your personal goals when determining the price.
- Review and confirm the details of your NFT listing. Double-check that all the information provided is accurate, and ensure that you comply with the marketplace’s guidelines and terms of service.
- Submit your NFT listing to the marketplace. Depending on the blockchain network used, the transaction may require a certain amount of gas fees (transaction fees) to be paid. This fee covers the cost of processing and verifying the transaction on the blockchain network.
Once your NFT upload is complete, it may take some time for the marketplace to process and display your NFT on their platform. Be patient and regularly check your listing to ensure it is active and visible to potential buyers.
It’s important to note that some marketplaces may require your NFT to go through a moderation process before it becomes publicly available. This process ensures that your uploaded content complies with their guidelines and standards.
By successfully uploading your NFT to the marketplace, you have taken a significant step towards showcasing your unique digital creation to the world. Now, it’s time to move on to the next step: setting a price and description for your NFT.
Step 6: Setting a Price and Description
Setting the right price and crafting an engaging description are crucial steps when listing your NFT for sale on a marketplace. A compelling price and description can attract potential buyers and increase the chances of a successful sale. Here’s how to approach these elements effectively:
1. Setting a Price:
When determining the price for your NFT, consider the following factors:
- Market Trends: Research the market and take note of the prices for similar NFTs. Understand the demand for your specific type of digital asset and assess how it may impact the pricing.
- Uniqueness and Rarity: Assess the rarity, uniqueness, and scarcity of your NFT. Items that are one-of-a-kind, limited editions, or have special characteristics can usually command higher prices.
- Artist or Creator Reputation: Your reputation as an artist or creator can influence the perceived value of your NFT. Established artists or creators may be able to price their NFTs higher due to their existing fan base and strong track record.
- Evaluate Personal Goals: Consider your personal goals for selling the NFT. Are you aiming for a quick sale or looking to maximize your profit? Adjust the pricing strategy accordingly.
2. Crafting an Engaging Description:
An effective NFT description should showcase the unique aspects of your creation and entice potential buyers. Here are some tips:
- Title: Use a captivating title that grabs attention and reflects the essence of your NFT. It should be concise but descriptive.
- Description: Write a detailed, engaging description that provides insight into the story, inspiration, or technical aspects of your NFT. Include relevant details about the medium, technique, and any notable features.
- Storytelling: Share the narrative behind your creation to create an emotional connection with potential buyers. Explain the concept, symbolism, or personal journey that influenced your work.
- Educate and Entertain: Your description can also serve as an educational component, helping buyers understand the value and significance of your NFT. Provide additional context, historical references, or explanations of the technical elements.
Remember to proofread your description for grammar and spelling errors. A well-written and engaging description can capture the imagination of potential buyers and compel them to make a purchase.
By carefully considering the pricing and crafting an engaging description, you enhance the marketability and perceived value of your NFT. Now, it’s time to move on to the final step: confirming the upload of your NFT on the marketplace.
Step 7: Confirming the Upload
After setting the price and crafting an enticing description for your NFT, you are almost ready to finalize the upload process. The final step is to review and confirm the details of your NFT listing before making it publicly available for potential buyers.
Here’s what you should do to confirm the upload:
- Double-Check Listing Details: Carefully review the information you have provided, including the title, description, pricing, and any additional attributes. Ensure that the details are accurate, compelling, and aligned with your intentions.
- Verify Image and File Quality: Take a close look at the uploaded images or files to ensure they are of high quality and accurately represent your NFT. Make any necessary adjustments if any issues are detected, such as blurriness or incorrect file format.
- Confirm Metadata and Descriptive Tags: Revisit the metadata and tags associated with your NFT listing. Make sure they accurately depict the attributes and relevant information about your NFT, helping potential buyers discover and evaluate your creation.
- Consider Pricing and Competitiveness: Evaluate your pricing strategy once more, considering the current market trends and the value of similar NFTs. If needed, make any necessary adjustments to ensure your NFT is competitively priced.
- Read Marketplace Guidelines: Familiarize yourself with the guidelines and terms of service provided by the marketplace. Ensure that you are compliant with the platform’s rules to avoid potential issues or violations.
- Submit and Publish: Once you are confident that all the details are accurate and in line with your expectations, submit your listing and proceed with the final steps required by the marketplace to make your NFT publicly available for potential buyers.
Keep in mind that the confirmation process may vary slightly depending on the marketplace you have chosen. Some platforms may require additional steps, such as confirming the transaction or going through a moderation process before your NFT listing becomes visible to others.
After you have successfully confirmed the upload, your NFT will be live on the marketplace, awaiting potential buyers and collectors. Regularly monitor your listing, engage with the community, and be prepared to respond to inquiries or offers from interested buyers.
Congratulations! You have completed the process of uploading your NFT to an online marketplace. Now, it’s time to promote and market your NFT to gain visibility and increase the chances of a successful sale. Good luck!
Conclusion
Congratulations on navigating the process of uploading an NFT to a marketplace! You have successfully embarked on a journey into the exciting world of digital ownership and creativity. By following the steps outlined in this guide, you now have the knowledge and skills to share your unique digital creations with the world.
We started by understanding what an NFT is—a non-fungible token that represents ownership or proof of authenticity for a unique digital asset. We then explored the step-by-step process of uploading an NFT, from creating a digital wallet to choosing an appropriate marketplace.
During the journey, we discussed the importance of preparing your NFT for upload by ensuring that files are in the correct format, metadata is accurate, and your digital assets are of the highest quality. We also learned about the significance of setting a competitive price and crafting an engaging description to attract potential buyers.
Lastly, we concluded with the final step of reviewing and confirming the upload of your NFT, ensuring that all the details are accurate and aligned with your goals. With this, your NFT is now live on the marketplace, ready for discovery and potential sales.
Remember, the world of NFTs is dynamic and ever-evolving. Stay connected with the latest trends, continue to learn and adapt, and engage with the vibrant NFT community. Promote your NFT through social media, online communities, and networking to increase its visibility and reach.
As you embark on your NFT journey, embrace the creativity, expression, and opportunities that this digital landscape offers. Whether you’re an artist showcasing your artwork or someone passionate about collecting unique digital assets, the world of NFTs invites you to explore, connect, and redefine the concept of ownership in the digital realm.
Now, go forth and share your digital creations with the world. Best of luck on your NFT endeavors!


