Introduction
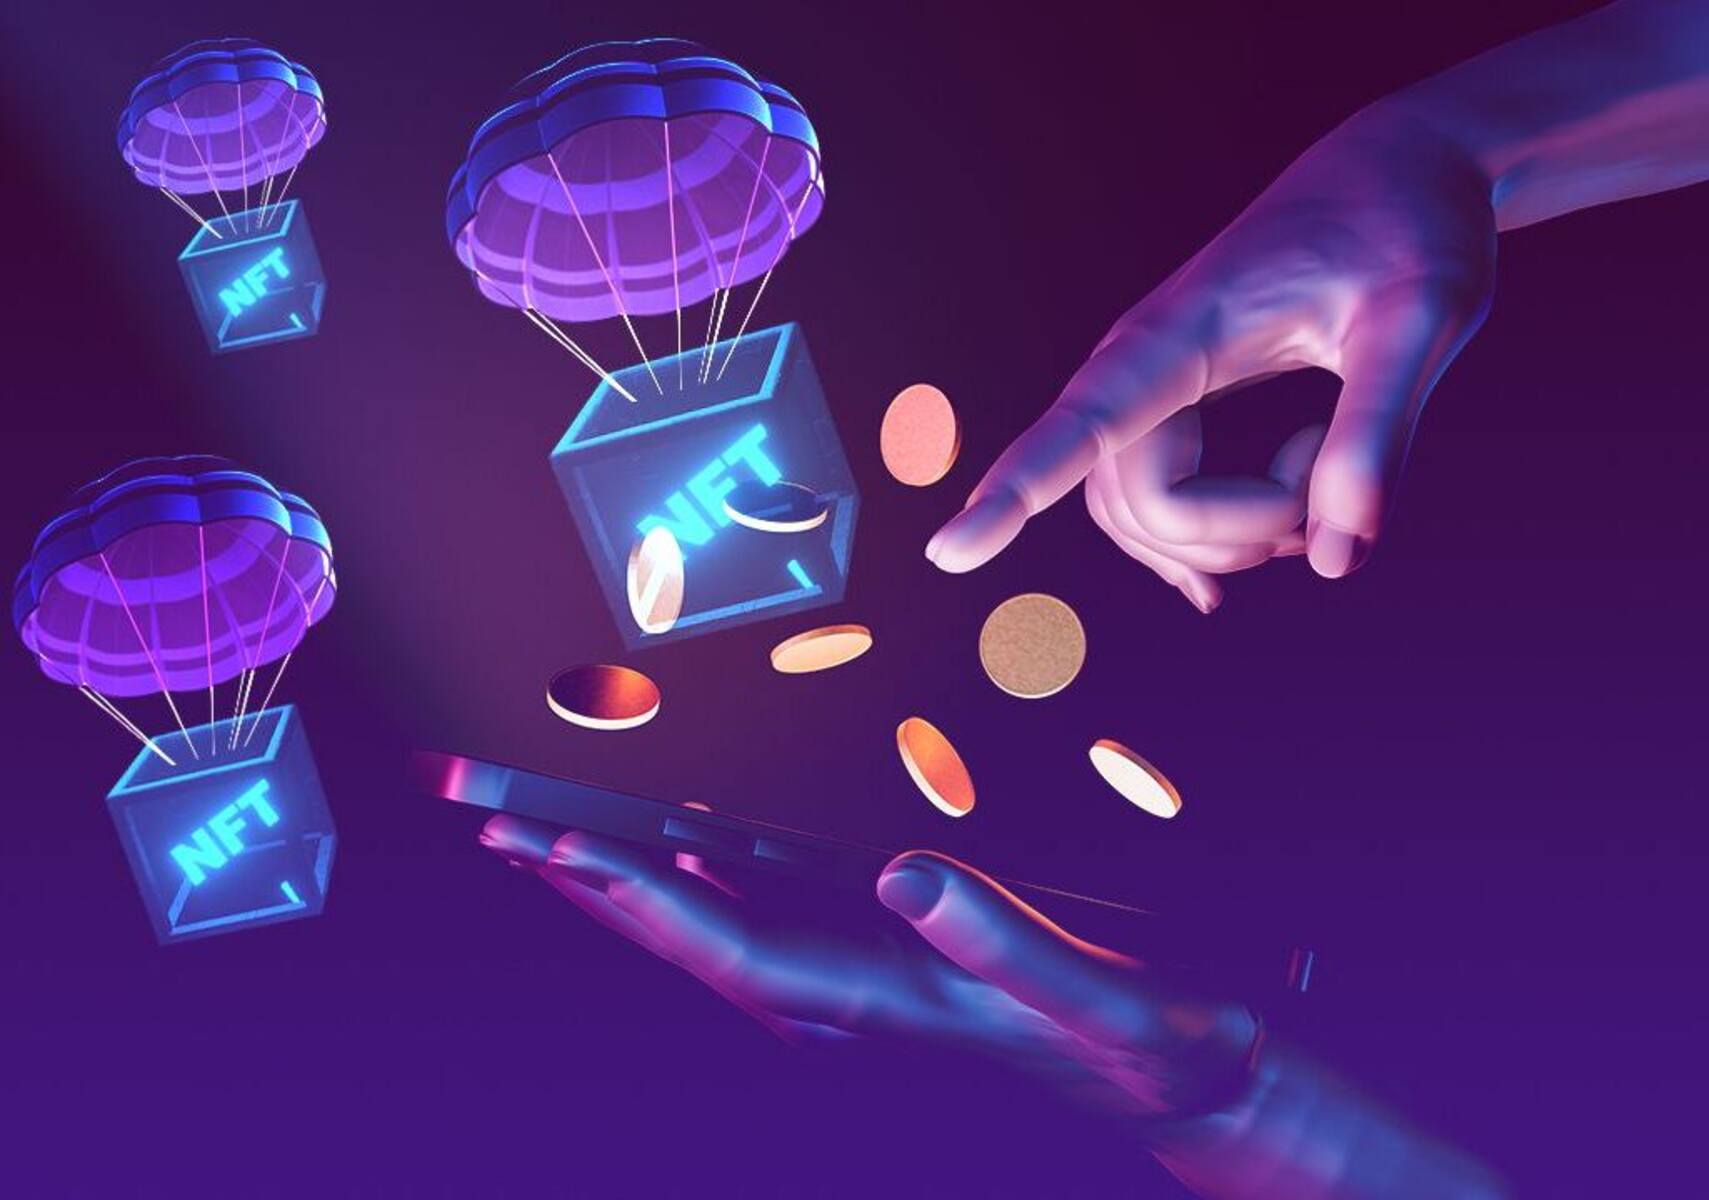
Welcome to the world of NFTs, where digital assets are revolutionizing the way we view and transact with art, collectibles, and even virtual real estate. You may have heard the term NFT thrown around a lot, but what exactly is it, and how can you create one for free?
NFT stands for Non-Fungible Token. Unlike cryptocurrencies such as Bitcoin or Ethereum, which are fungible and can be exchanged on a like-for-like basis, NFTs are unique and indivisible digital assets that are stored on a blockchain. This blockchain technology ensures the scarcity, ownership, and provenance of the NFTs, making them highly valuable in the digital world.
Now, you might be wondering why you would want to create an NFT. Well, the benefits are vast. For artists and creators, NFTs open up new opportunities to monetize their work, by selling digital art, music, videos, or even virtual items in video games directly to collectors and enthusiasts. NFTs also provide a means for artists to retain ownership of their creations and earn royalties on secondary sales, ensuring a more sustainable income stream.
For collectors and investors, NFTs offer a chance to own unique pieces of digital art or rare collectibles. These digital assets can appreciate in value over time, and the blockchain technology ensures their authenticity and provenance, eliminating the risk of counterfeits or forgeries.
Creating an NFT may sound daunting, but fear not, because in this guide, we will walk you through the process step by step. And the best part? We will show you how to create an NFT for free, without any upfront costs or fees!
So, whether you’re an artist looking to showcase your talent in the digital realm or an enthusiast ready to explore the world of NFTs, keep reading to learn how to create your very own NFT and join the exciting wave of digital ownership.
What is an NFT?
An NFT, short for Non-Fungible Token, is a digital asset that represents ownership or proof of authenticity of a unique item or piece of content. While cryptocurrencies like Bitcoin and Ethereum are fungible, meaning they can be exchanged on a one-to-one basis, NFTs are indivisible and cannot be exchanged on a like-for-like basis. Each NFT has a distinct value and cannot be replicated.
What sets NFTs apart is their association with blockchain technology, which enables the creation and tracking of digital assets in a secure and transparent manner. NFTs are typically built on blockchain platforms like Ethereum, using smart contracts to establish ownership, transferability, and provenance.
NFTs have gained significant attention and popularity in recent years, particularly in the world of digital art. Artists can now tokenize their digital creations, such as paintings, animations, or even virtual reality experiences, as NFTs. This allows them to establish provenance and monetize their work directly with buyers, without relying on traditional intermediaries like galleries or auction houses.
When you purchase an NFT, you are effectively buying a unique certificate of ownership. Even though anyone can access and view the digital content associated with the NFT, the buyer owns the authentic version of that specific item. This sense of ownership, rarity, and exclusivity is what drives the value of NFTs.
It’s important to note that NFTs can represent a wide range of digital assets beyond art. They can be used for virtual real estate, collectibles, virtual items in video games, music, videos, and much more. Essentially, any unique and digitally transferable item can be converted into an NFT.
While the concept of owning digital assets may be new to some, the concept of scarcity and value in the digital world is not. Think of it like owning limited edition physical collectibles, but in a digital form. The blockchain technology associated with NFTs ensures trust and authenticity, making them a game-changer for digital ownership and commerce.
Now that you have a good understanding of what NFTs are, let’s dive into the process of creating an NFT for free in the next section.
Why create an NFT?
Creating an NFT brings with it a multitude of benefits for both artists and collectors alike. Let’s explore some of the compelling reasons why you might want to dive into the world of NFTs.
1. Creative Freedom: NFTs offer artists unparalleled creative freedom and the ability to showcase their work to a global audience. With traditional art markets, artists often face gatekeepers and restrictions. NFTs eliminate these barriers, allowing artists to express themselves in diverse and innovative ways, without intermediaries dictating what is deemed valuable or saleable.
2. Ownership and Authenticity: One of the unique aspects of NFTs is the ownership and proof of authenticity they provide. By minting an NFT, artists can establish their ownership over their digital creations in a verifiable and transparent manner. This ensures that buyers and collectors can be confident in the authenticity and provenance of the artwork or item.
3. Direct Engagement with Collectors: NFTs enable artists to directly engage with collectors and fans, creating a closer and more personal relationship. Artists can interact with buyers, receive feedback, and even offer exclusive perks or experiences to their NFT holders. This direct connection fosters a sense of community and appreciation for the artist’s work.
4. Potential for Revenue Generation: NFTs have opened up new avenues for artists to monetize their work. By selling NFTs, artists can receive a percentage of the sale every time the NFT is resold in the secondary market. This provides ongoing revenue and a sustainable income stream that traditional art markets often lack.
5. Accessibility and Global Reach: The digital nature of NFTs allows artists to reach a global audience instantly. Any individual with an internet connection can access and collect NFTs, breaking down geographical barriers and expanding an artist’s reach beyond local art scenes.
6. Innovation in Collectibles: For collectors, NFTs offer exciting opportunities to own unique digital collectibles that can appreciate in value over time. The scarcity and proof of ownership provided by NFTs add a new dimension to the world of collecting, providing a digital version of the excitement and exclusivity found in traditional collectibles.
7. Technological Advancements: By immersing themselves in the world of NFTs, artists and collectors can stay at the forefront of technological advancements. NFTs leverage blockchain technology and smart contracts, offering a glimpse into the future of digital ownership, decentralized marketplaces, and innovative ways of transacting value.
These are just a few reasons why creating an NFT can be a game-changer for artists and collectors. The world of NFTs is constantly evolving, pushing the boundaries of creativity and redefining the concept of ownership in the digital age.
Now that you understand the benefits of creating an NFT, let’s delve into the process of actually creating one for free.
The process of creating an NFT
Creating an NFT may sound complex, but with the right tools and guidance, it can be a relatively straightforward process. Here, we will walk you through the step-by-step process of creating an NFT for free.
Step 1: Choose your digital asset: The first step in creating an NFT is to choose the digital asset that you want to tokenize. This can be a piece of artwork, a video, a music track, a virtual item, or any other unique digital content that you have created. Ensure that you have the necessary rights and permissions to tokenize and sell the asset as an NFT.
Step 2: Set up a crypto wallet: To create, buy, and sell NFTs, you will need to set up a cryptocurrency wallet that is compatible with the blockchain platform you choose. Popular wallets include MetaMask for Ethereum-based NFTs and Binance Wallet for Binance Smart Chain-based NFTs. Follow the instructions to create and secure your wallet, as it will store your digital assets and enable transactions.
Step 3: Choose a blockchain platform: There are several blockchain platforms that support NFT creation, but Ethereum is currently the most widely used and recognized. Ethereum-based NFTs conform to the ERC-721 or ERC-1155 standards. If you prefer low transaction fees and faster transaction times, you can explore other blockchain platforms like Binance Smart Chain or Flow. Research and choose a platform that aligns with your needs.
Step 4: Mint your NFT: Minting refers to the process of creating and uploading your digital asset onto the chosen blockchain platform as an NFT. Each blockchain platform has its own marketplace or minting platform where you can create and upload your NFT. Follow the instructions provided by the platform to mint your NFT, including providing details about the asset, such as its name, description, and any additional metadata.
Step 5: List your NFT for sale: Once your NFT is minted, it’s time to list it for sale. Depending on the blockchain platform you choose, you can list your NFT on popular NFT marketplaces like OpenSea, Rarible, or mintable. These marketplaces allow collectors to discover, buy, and sell NFTs. Set a price for your NFT or choose to auction it off to the highest bidder. Specify the royalty percentage you would like to receive on future sales, if applicable.
It’s important to note that while the above steps cover the basic process of creating an NFT, each blockchain platform may have its own specific requirements and variations in the process. Be sure to consult the documentation and resources provided by the platform and marketplaces to ensure you have all the necessary information.
Now that you know the process of creating an NFT, let’s explore some alternatives for minting NFTs for free.
Step 1: Choose your digital asset
When creating an NFT, the first step is to select the digital asset that you want to tokenize. This could be any unique piece of digital content that you have created, such as artwork, music, videos, or even virtual items in video games. The key is to choose something that holds value and is original.
If you’re an artist, you may already have a portfolio of digital artwork or creations that you can choose from. Consider selecting a piece that showcases your style and creativity, something that you believe will resonate with potential collectors. It can be a painting, a digital illustration, a 3D model, or any form of visual art.
For musicians and composers, you can choose a specific track or album that you have produced. This could be an original composition, a remix, or a unique arrangement. Music enthusiasts and collectors are increasingly embracing NFTs as a way to own exclusive digital music assets.
If you’re a content creator and YouTuber, you can tokenize your videos or even individual clips that gained popularity or went viral. These can hold sentimental value or be of interest to fans who want to own a piece of your online presence.
Virtual items in video games have also seen tremendous success as NFTs. If you’re a game developer or player, you can create and tokenize virtual assets like characters, weapons, skins, or even virtual real estate within the game’s virtual world.
When choosing your digital asset, consider its uniqueness, the emotional or aesthetic value it holds, and its potential market demand. Research similar NFTs in the marketplace to gauge the pricing and popularity of similar assets, which can help you make an informed decision.
Remember to only tokenize assets for which you have full rights and ownership. Intellectual property rights are crucial, so ensure that you have the necessary permissions, licenses, or are the original creator of the asset you want to tokenize.
Once you have decided on the digital asset, you’re ready to move on to the next step of setting up a crypto wallet, which will enable you to store, transact, and trade your NFTs securely.
Step 2: Set up a crypto wallet
Setting up a crypto wallet is an essential step when creating an NFT as it allows you to securely store, manage, and transact with your digital assets. A crypto wallet acts as a digital vault for your NFTs and provides you with a unique address on the blockchain.
There are various types of crypto wallets available, but the most commonly used for NFTs are software wallets known as “web wallets” or “browser extensions.” One popular option is MetaMask, which is compatible with multiple blockchain platforms, including Ethereum.
To set up a crypto wallet, follow these steps:
1. Install the wallet: Visit the official website of the chosen wallet and follow the instructions to install the wallet extension on your web browser. MetaMask, for example, is available as an extension for browsers like Google Chrome and Firefox.
2. Create a new wallet: Once the extension is installed, click on the wallet icon in your browser’s toolbar. You will be prompted to create a new wallet. Set a strong password and carefully record the recovery phrase provided. This recovery phrase is crucial for accessing your wallet if you ever forget your password or need to restore it on a different device.
3. Secure your wallet: After creating the wallet, take steps to enhance its security. Enable two-factor authentication, if available, and consider using a hardware wallet device for an added layer of protection.
4. Connect to the blockchain: Once your wallet is set up, you need to connect it to the blockchain platform you are planning to create your NFT on. In the case of MetaMask, open the extension and select the appropriate network (e.g., Ethereum or Binance Smart Chain) from the dropdown menu.
5. Fund your wallet: To create an NFT, you’ll need a small amount of cryptocurrency to cover the gas fees required for the transaction. Gas fees are the costs associated with processing transactions on the blockchain. Use a cryptocurrency exchange to convert fiat currency to the required cryptocurrency, such as Ethereum (ETH) for Ethereum-based NFTs, and transfer it to your wallet address.
Remember to keep your wallet password, recovery phrase, and private keys secure and never share them with anyone. Treat your crypto wallet like you would treat your physical wallet, safeguarding it from unauthorized access.
With your crypto wallet set up, you’re ready to proceed to the next step of choosing a blockchain platform to mint your NFT.
Step 3: Choose a blockchain platform
Choosing the right blockchain platform is crucial when creating an NFT, as it determines the ecosystem in which your NFT will exist. Each blockchain platform has its own set of features, capabilities, and community, so it’s important to make an informed decision based on your specific needs.
Ethereum is currently the most popular and widely used blockchain platform for creating NFTs. It offers a robust infrastructure, a large user base, and compatibility with popular marketplaces. NFTs built on Ethereum conform to the ERC-721 or ERC-1155 standards.
If you’re looking for lower transaction fees and faster transaction times, you can consider alternative blockchain platforms like Binance Smart Chain or Flow. Binance Smart Chain (BSC) has gained popularity due to its compatibility with the Ethereum Virtual Machine, making it easier to migrate Ethereum-based projects to BSC. Flow, on the other hand, focuses specifically on NFTs and aims to provide a scalable and user-friendly blockchain for digital assets.
When selecting a blockchain platform, consider the following factors:
1. Security and Reliability: Look for platforms with a proven track record of security and reliability. Consider the platform’s consensus mechanism and the level of decentralization it offers.
2. Community and Adoption: A vibrant and active community is essential as it provides support, collaboration, and exposure for your NFT. Look for platforms with a strong and engaged community.
3. Scalability: If you anticipate high-demand for your NFTs, consider a blockchain platform that offers scalability and can handle a large number of transactions without congestion.
4. Interoperability: Some platforms allow for cross-chain interoperability, enabling you to mint NFTs on one platform and potentially bridge them to other platforms, expanding your reach and audience.
5. Marketplaces and Integration: Check if the platforms have well-established NFT marketplaces where you can list your NFTs for sale. Also, consider the availability of developer tools and integrations that can enhance the functionality and visibility of your NFTs.
Research and explore the pros and cons of different blockchain platforms before making your decision. It’s worth noting that migrating NFTs between platforms can be complex, so choosing the right platform from the start can save you potential headaches in the future.
Once you have selected the blockchain platform that aligns with your requirements, you’re ready to dive into the next step, which is actually minting your NFT.
Step 4: Mint your NFT
Once you have chosen your digital asset and set up your crypto wallet on the appropriate blockchain platform, the next step is to mint your NFT. Minting an NFT means creating a unique token on the blockchain that represents your digital asset and establishes ownership and authenticity.
The process of minting an NFT may vary slightly depending on the blockchain platform you have chosen, but the general steps are as follows:
1. Connect your wallet: Open your crypto wallet (e.g., MetaMask) and ensure that it is connected to the chosen blockchain network (e.g., Ethereum or Binance Smart Chain). This allows the blockchain platform to recognize and verify your wallet’s address.
2. Select the asset to mint: Choose the digital asset that you want to turn into an NFT. Ensure that the file meets the platform’s requirements in terms of supported file types, sizes, and other specifications.
3. Provide information about the NFT: Fill in the necessary details about your NFT, such as its title, description, and any additional metadata that you want to include. This metadata can enhance the discoverability and value of your NFT, so take your time to provide accurate and engaging information.
4. Set a price or royalty: Decide whether you want to set a specific price for your NFT or set it as a fixed royalty percentage for future sales. This choice depends on your goals and strategies as an artist or creator. Keep in mind that price and royalty percentages may vary depending on the platform and marketplace you use.
5. Pay the minting fee: During the minting process, you will be charged a fee known as the gas fee. This fee covers the cost of processing the transaction on the blockchain network. The size of the fee depends on factors such as network congestion and the complexity of the transaction.
6. Confirm and wait for confirmation: Review all the details you have provided and confirm the minting process. Once confirmed, the blockchain network will process the transaction, and you will need to wait for it to be confirmed by the network. Confirmation times can vary depending on the blockchain platform and network congestion.
After the minting process is complete and the transaction is confirmed, congratulations! Your NFT is now officially minted and ready to be listed for sale or showcased in the marketplace. Remember to take note of the NFT’s unique identifier, known as its token ID or contract address, as it will be necessary for future management and transactions.
It’s important to note that the minting process may have additional features and options depending on the platform you choose. Some platforms offer the ability to create limited editions or unlockable content within your NFT. Explore the platform’s documentation and resources to fully understand the capabilities and possibilities of minting your NFT.
Now that your NFT is minted, let’s move on to the final step of listing it for sale and exploring alternative options for minting NFTs for free.
Step 5: List your NFT for sale
After minting your NFT, the next step is to list it for sale or auction so that potential buyers can discover and purchase it. By listing your NFT in a marketplace, you can reach a wide audience of collectors and enthusiasts who are actively seeking unique digital assets. Here’s how to list your NFT for sale:
1. Choose a marketplace: Select a marketplace that supports the blockchain platform you used to mint your NFT. Popular marketplaces include OpenSea, Rarible, SuperRare, and NBA Top Shot. Each marketplace may have its own unique features, community, and listing fees, so research and choose the one that aligns with your goals.
2. Create an account: Sign up or create an account on the marketplace of your choice. This typically involves connecting your crypto wallet and verifying your identity, if required.
3. Upload your NFT: Follow the instructions provided by the marketplace to upload your NFT. You will typically need to provide details such as the digital asset file, title, description, and any additional information or media that enhances the value and attractiveness of your NFT.
4. Set a price or auction: Choose whether you want to set a fixed price for your NFT or put it up for auction. If you set a fixed price, potential buyers can immediately purchase your NFT at that price. On the other hand, auctions allow collectors to bid on your NFT over a specified timeframe, with the highest bidder winning the NFT at the end of the auction.
5. Specify royalties: Some marketplaces allow you to specify royalties that you will receive on future sales of your NFT. For example, you can set a percentage of the sale value that you will earn whenever your NFT is resold in the secondary market. This can provide ongoing revenue and recognition for your work.
6. Review and publish: Review all the details of your NFT listing and ensure that everything is accurate and to your satisfaction. Once you’re ready, publish your listing and make it visible to potential buyers.
Remember that listing fees and platform fees may apply when selling your NFT, so familiarize yourself with the marketplace’s fee structure and terms of service. Additionally, it’s important to promote and market your NFT to attract potential buyers. Utilize your social media channels, engage with the NFT community, and leverage any existing following you have to create awareness about your NFT and drive interest.
By listing your NFT in a marketplace, you open up opportunities for it to be discovered, appreciated, and potentially sold to eager collectors in the ever-growing world of NFTs.
Now that you have successfully listed your NFT for sale, let’s explore some alternative options for minting NFTs for free.
Alternatives to minting for free
While creating an NFT for free is an attractive option, there are also alternative methods you can explore if you prefer not to pay upfront minting fees. These methods may involve different platforms or approaches that offer alternative paths to minting your NFT. Here are a few alternatives to consider:
1. Layer 2 solutions: Layer 2 solutions are scaling solutions built on top of existing blockchain platforms like Ethereum. These solutions aim to reduce transaction fees and increase scalability. By utilizing layer 2 solutions, you may be able to mint your NFT for lower fees or even for free. Examples of layer 2 solutions for NFTs include Polygon (previously Matic) and Loopring.
2. Free minting events or promotions: Keep an eye out for platforms or marketplaces that occasionally offer free minting events or promotions. During these special events, you may have the opportunity to mint your NFT without incurring any fees, or the fees may be heavily discounted. Stay connected with NFT communities, follow NFT-focused social media accounts and newsletters to stay updated on such opportunities.
3. Platform-specific incentives: Some blockchain platforms or NFT marketplaces offer incentives or grant programs to promote the creation of NFTs. These incentives may include free or discounted minting fees, grants, or other forms of support for artists and creators. Stay informed about platform-specific initiatives that can help you mint your NFT at reduced or no cost.
4. Collaborations and partnerships: Collaborating with established artists or creators already on a platform can provide an opportunity for a shared minting experience or cost-sharing. By partnering with an artist or creator who is already established on a platform, you may be able to leverage their resources and connections to mint your NFT at reduced or no cost.
5. Blockchain-based social platforms: Explore blockchain-based social platforms that provide free or low-cost NFT minting and hosting as part of their ecosystem. These platforms are specifically designed to support content creators and allow them to mint and share their work without burdensome fees. Examples include Hic et Nunc (Tezos-based) and Foundation (Ethereum-based).
While these alternatives may help you reduce or eliminate upfront minting costs, it’s important to consider the trade-offs. Some platforms may have lower transaction fees but may have limitations in terms of audience reach or marketplace liquidity. Evaluate the pros and cons of each alternative and choose the one that aligns best with your goals and aspirations as an artist or creator.
As the NFT space continues to evolve, new opportunities for free or cost-effective minting are likely to emerge. Stay up to date with the latest developments in the ever-changing world of NFTs to make informed decisions about minting your digital assets.
Now that you’re aware of some alternatives to free minting, you’re ready to embark on your NFT creation journey. Embrace the opportunities that the world of NFTs provides and enjoy the process of showcasing your unique digital creations to a global audience.
Conclusion
Creating an NFT for free has never been more accessible and straightforward. By following the step-by-step process of choosing a digital asset, setting up a crypto wallet, selecting a blockchain platform, minting your NFT, and listing it for sale, you can enter the exciting world of digital ownership and monetization.
NFTs offer a unique opportunity for artists, creators, and collectors to engage with digital assets in a secure, transparent, and decentralized manner. Artists can showcase their work, retain ownership rights, and earn royalties on secondary sales. Collectors can own unique digital pieces and participate in a burgeoning market that intertwines art and technology.
While the market for NFTs continues to evolve, it is important to stay informed, engaged, and vigilant. Research different blockchain platforms, explore various marketplaces, and consider alternative methods to minting for free or reduced costs.
Remember, the NFT space is ever-changing and dynamic. Embrace the innovative possibilities, nurture your creativity, and engage with the vibrant community that surrounds NFTs. Whether you’re an artist looking for new avenues to showcase your talent or a collector seeking unique digital assets, the world of NFTs offers boundless opportunities.
Now, armed with knowledge and a playful spirit, go ahead and create your own NFT, share your vision with the world, and embark on a digital journey that opens doors to new forms of self-expression, ownership, and connection.