Introduction
With the rise of digital currencies and blockchain technology, NFTs (Non-Fungible Tokens) have gained significant popularity in recent years. NFTs represent unique digital assets that can be bought, sold, and traded on various online platforms. One exciting aspect of NFTs is the ability to own and trade digital art, collectibles, and other virtual assets.
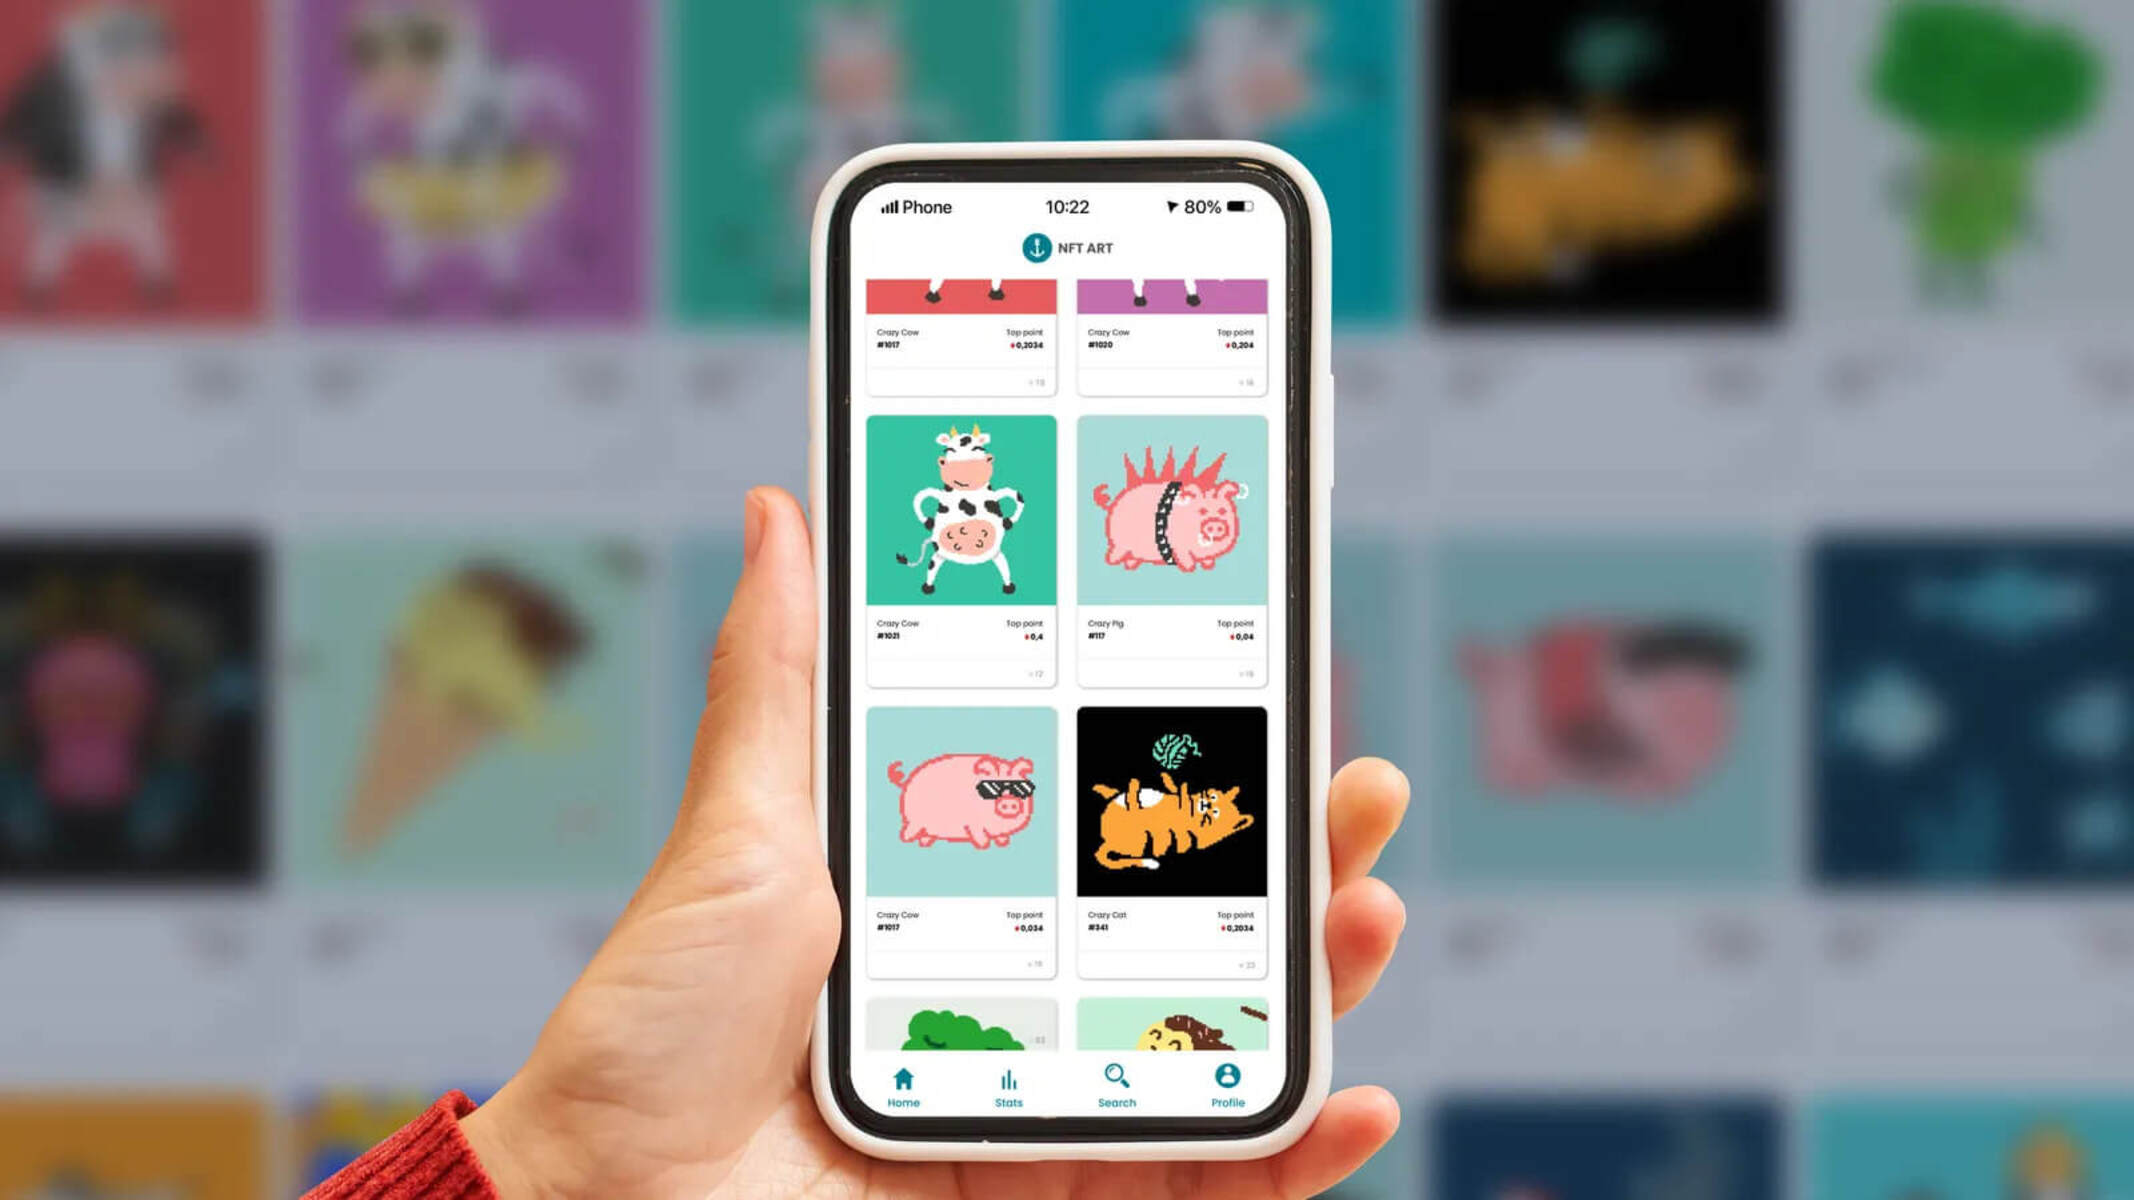
If you’re interested in the world of NFTs and want to create your own NFT minting website, you’re in the right place. In this article, we will guide you through the process of building a personalized NFT minting website from scratch. This will allow you to provide a space for artists, creators, and collectors to mint and showcase their unique digital assets.
Building an NFT minting website involves various steps, including choosing the right blockchain to power your NFTs, setting up a development environment, creating a database structure, developing the frontend interface, integrating smart contracts, deploying the website and smart contracts, testing and debugging, and implementing security best practices.
While the process may seem complex, this guide will break it down into manageable steps, providing guidance and insights to help you successfully create your own NFT minting website. Whether you’re a developer looking to expand your skill set or an art enthusiast looking to enter the world of NFTs, this article will equip you with the necessary knowledge and tools to get started.
By the end of this guide, you’ll have a solid understanding of the fundamental concepts behind NFTs, the technology required to build an NFT minting website, and the best practices to ensure its security and functionality. So, let’s dive in and embark on the journey of creating your very own NFT minting website!
Choosing the Right Blockchain
When it comes to building an NFT minting website, one of the first decisions you need to make is choosing the right blockchain to power your NFTs. A blockchain serves as the underlying technology that ensures the security, transparency, and immutability of your NFT transactions.
The most popular blockchain network for NFTs is Ethereum. It offers a robust infrastructure and a vibrant ecosystem for creating and trading NFTs. Ethereum’s ERC-721 and ERC-1155 token standards specifically cater to the unique requirements of NFTs. By leveraging Ethereum, you can tap into a large community of artists, collectors, and developers involved in the NFT space.
However, Ethereum is not your only option. With the rise of other blockchain networks such as Binance Smart Chain, Flow, and Tezos, you have several alternatives to consider. Each blockchain network has its own strengths and trade-offs, including transaction costs, scalability, and interoperability.
When choosing a blockchain for your NFT minting website, consider the following factors:
- Security: Ensure that the blockchain network has robust security measures in place to protect the integrity of your NFTs and the underlying smart contracts.
- Scalability: Evaluate the scalability of the blockchain network to handle a large number of transactions and accommodate the growing demand for NFTs.
- Cost: Consider the transaction fees associated with minting and trading NFTs on the blockchain. Higher fees can impact the accessibility and profitability of your NFT minting website.
- Community and Ecosystem: Look for a blockchain network with an active and engaged community that supports NFT development and adoption. A strong ecosystem can provide valuable resources and partnerships for your NFT minting website.
- Interoperability: Consider whether the blockchain allows for interoperability with other networks and protocols. This can enable cross-chain functionality and expand the reach of your NFT minting website.
Ultimately, the choice of blockchain will depend on your specific requirements and priorities. Ethereum’s established presence and wide adoption make it a popular choice for many NFT minting websites. However, it’s important to stay informed about emerging blockchain networks that may offer innovative features and better scalability.
Now that you understand the factors to consider when choosing the right blockchain, let’s move on to setting up the development environment for your NFT minting website.
Setting Up the Development Environment
Before diving into the development of your NFT minting website, it’s essential to set up the right development environment. This ensures a smooth workflow and enables you to leverage the necessary tools and frameworks for building your website.
Here are the key steps for setting up your development environment:
- Install Code Editor: Choose a code editor that suits your preferences and supports the programming languages and frameworks you plan to use. Popular options include Visual Studio Code, Sublime Text, and Atom.
- Set Up a Local Development Server: Install a web server, such as Apache or Nginx, to run your website locally during the development process. This allows you to test and debug your code before deploying it to a live server.
- Install Node.js and NPM: Node.js is a JavaScript runtime that allows you to run server-side code. It comes bundled with NPM, the Node Package Manager, which you’ll use to manage your project dependencies. Visit the official Node.js website to download and install the latest version.
- Choose a Web Framework: Select a web framework that simplifies the development process and provides useful features for building your NFT minting website. Some popular options include React, Angular, and Vue.js. Research each framework’s capabilities and choose the one that aligns with your experience and project requirements.
- Set Up a Version Control System: Implement a version control system like Git to track changes to your codebase and collaborate with other developers if needed. Platforms like GitHub, GitLab, or Bitbucket provide hosting and additional collaboration features.
With these steps completed, your development environment is ready to go. Make sure you have a solid understanding of the chosen web framework and familiarize yourself with its documentation and best practices.
Additionally, consider setting up a local development database to simulate real-world scenarios and test your website’s functionality. Tools like MySQL, PostgreSQL, or MongoDB can be used to create and manage your database locally.
Setting up the right development environment is crucial for the success of your NFT minting website project. It provides the foundation for efficient coding, collaboration, and testing. Now that you’ve set up your development environment, it’s time to move on to the next step: creating the database structure for your website.
Creating the Database Structure
One of the essential components of an NFT minting website is the database that stores and manages user data, NFT metadata, and transaction history. Creating a well-structured database is crucial for the proper functioning of your website.
Here are the steps to create the database structure for your NFT minting website:
- Identify Data Entities: Determine the main entities or objects that will be part of your database. These may include user accounts, NFT collections, individual NFTs, transactions, and any additional data you plan to store.
- Define Relationships: Establish the relationships between the different entities. For example, a user may have multiple NFT collections, and each collection can contain multiple NFTs. Transactions may be associated with both users and NFTs.
- Create Database Tables: Based on the identified entities and relationships, create the necessary database tables. Each table represents an entity or a relationship with columns that store specific data. Ensure proper indexing and primary key constraints to optimize performance.
- Design Data Fields: Determine the specific data fields or columns for each table. For example, user tables may include fields like username, email, and password. NFT tables may include fields like title, description, image URL, and ownership details.
- Set Up Constraints and Validation: Implement constraints and validation rules to enforce data integrity and ensure that only valid and consistent data is stored in the database. This includes defining data types, setting column constraints, and implementing any custom validation logic.
- Consider Scalability: Plan for future scalability by anticipating potential growth in data volume and user activity. Optimize the database structure and query performance to handle increased traffic and data storage requirements.
When designing your database structure, it’s essential to follow best practices such as normalization to minimize redundancy and ensure data integrity. Properly defining relationships and constraints will help maintain data consistency and prevent data anomalies.
Depending on the web framework you’re using, you can choose a database management system like MySQL, PostgreSQL, or MongoDB to implement your database structure. Each system has its own strengths and considerations, so choose the one that best suits your project requirements.
Now that you have a well-defined database structure, you’re ready to move on to the next step: developing the frontend interface of your NFT minting website.
Developing Frontend Interface
The frontend interface of your NFT minting website is what users interact with and forms the visual representation of your website. Developing an intuitive and visually appealing frontend is crucial for providing a seamless user experience.
Here are the steps to develop the frontend interface of your NFT minting website:
- Design Wireframes and UI/UX: Begin by creating wireframes or mockups that outline the layout and structure of your website. Consider user interface (UI) and user experience (UX) principles to ensure an intuitive and user-friendly design.
- Choose a Frontend Framework: Select a frontend framework that aligns with your project requirements and preferred programming language. Popular options include React, Angular, or Vue.js. These frameworks provide a foundation for building responsive and interactive user interfaces.
- Implement Component Structure: Break down your UI design into reusable components. These components can include navigation menus, form inputs, card layouts, and more. Having a well-structured component architecture ensures easy maintainability and scalability of your frontend code.
- Integrate with Backend APIs: Connect your frontend interface with the backend APIs that handle the logic and data retrieval. This includes functionalities such as user authentication, NFT minting and listing, and transaction processing. Ensure proper communication between the frontend and backend for a seamless user experience.
- Implement Responsive Design: Make your frontend interface responsive to different screen sizes and devices. Utilize CSS media queries and responsive design techniques to ensure your website is accessible and visually appealing on desktops, tablets, and mobile devices.
- Enhance User Experience: Consider additional features and functionalities that can enhance the user experience. This may include features like search and filtering options, social sharing capabilities, user profiles, and an intuitive and smooth browsing experience.
As you develop the frontend interface, keep the overall performance in mind. Optimize your code, minimize file sizes, and implement caching mechanisms to ensure fast-loading times and a smooth user experience.
Throughout the development process, test your frontend interface on different browsers and devices to identify any compatibility issues. Perform usability tests and gather feedback from users to make necessary improvements and refinements.
With a well-developed frontend interface, you’ll be able to provide users with an engaging and aesthetically pleasing experience while interacting with your NFT minting website. Now, let’s move on to the next step: integrating smart contracts to enable NFT functionality.
Integrating Smart Contracts
Integrating smart contracts is a crucial step in building an NFT minting website as they are responsible for the creation, ownership, and trading of NFTs on the blockchain. Smart contracts are self-executing contracts with the terms of the agreement directly written into the code.
Here are the steps to integrate smart contracts into your NFT minting website:
- Write the Smart Contract: Start by writing the smart contract code that represents the NFT functionality. This includes defining the NFT metadata structure, ownership transfer logic, and any custom functionalities such as royalties or special attributes.
- Compile and Deploy the Smart Contract: Use a development tool like Truffle or Hardhat to compile and deploy your smart contract to the chosen blockchain network. This generates the contract’s bytecode and its associated address on the blockchain.
- Interact with the Smart Contract: Use web3 or other blockchain development libraries to interact with the deployed smart contract from your frontend interface. This allows users to mint, list, and trade NFTs directly on the blockchain through your website.
- Implement Transaction Handling: Handle transactions related to minting, buying, and transferring NFTs following the logic defined in the smart contract. Ensure proper error handling and transaction monitoring to provide a seamless user experience.
- Display NFT Metadata: Retrieve and display NFT metadata such as title, description, and image on your frontend interface. This can be done by calling the appropriate methods on the smart contract to fetch the relevant data from the blockchain.
- Implement Wallet Integration: Integrate wallet providers like MetaMask or WalletConnect to enable users to connect their wallets and interact with the smart contract securely. This allows users to sign transactions and verify ownership of their NFTs.
During the integration process, it’s essential to thoroughly test your smart contract’s functionality and handle edge cases to ensure its security and reliability. Conduct security audits and engage with the community to identify and address any potential vulnerabilities.
Keep track of the blockchain transactions related to minting, buying, and transferring NFTs, and update the frontend interface accordingly to reflect the current state of ownership and availability.
Integrating smart contracts brings the NFT functionality to life on your website and allows users to seamlessly interact with the blockchain. The next step is to deploy your website and the associated smart contracts, which we’ll explore in the following section.
Deploying the Website and Smart Contracts
Once you have developed and integrated the frontend interface and smart contracts for your NFT minting website, the next step is to deploy your website and the associated smart contracts to make them accessible to users.
Here are the steps to deploy your website and smart contracts:
- Choose Web Hosting: Select a hosting provider that meets the scalability and performance requirements of your website. Popular options include shared hosting, virtual private servers (VPS), or cloud hosting providers like AWS, Google Cloud, or Azure.
- Configure Server Environment: Set up the server environment by installing any necessary dependencies, runtime environments, and web server configurations. Ensure that your server meets the minimum requirements of your chosen web framework.
- Build and Package Your Website: Compile and package your frontend code into a deployable format. This typically involves running build commands specific to your chosen frontend framework. This step generates optimized and minified code for faster loading times.
- Deploy Frontend Files: Upload the generated frontend files to your server or hosting provider using standard file transfer methods like FTP or SSH. Ensure that the files are placed in the appropriate directory where your web server can serve them publicly.
- Deploy Smart Contracts: Utilize your chosen blockchain development tools to deploy the compiled smart contracts to the chosen blockchain network. This will make the smart contracts available on the blockchain for interaction through your website.
- Configure Blockchain Integration: Update your frontend code to connect to the deployed smart contracts on the blockchain. This typically involves updating the contract addresses and ABI (Application Binary Interface) references in your frontend code.
- Test Website Functionality: Test your deployed website to ensure that all functionalities, such as minting, trading, and ownership transfers of NFTs, are working correctly. Perform end-to-end testing to validate the integration between the frontend, backend, and smart contracts.
- Monitor Performance and Security: Set up monitoring tools to track the performance and security of your deployed website. Monitor server uptime, bandwidth usage, and implement security measures like SSL certificates to protect user data and transactions.
Once your website and smart contracts are deployed, it’s important to regularly update and maintain them to address any issues, add new features, and improve performance. Stay active in the NFT community, gather user feedback, and iterate on your website to enhance the user experience.
With your NFT minting website and smart contracts deployed, users can now access and leverage the functionality seamlessly. The next section will delve into the crucial process of testing and debugging your website to ensure its stability and reliability.
Testing and Debugging
Testing and debugging are critical stages in the development process of an NFT minting website to ensure its stability, functionality, and reliability. These steps help identify and address any issues or bugs that may arise during usage.
Here are the key aspects to consider when testing and debugging your NFT minting website:
- Unit Testing: Write and execute unit tests for individual components, functions, and modules of your website. Unit testing allows you to verify the correctness of specific code segments and catch potential errors early in the development process.
- Integration Testing: Perform integration tests to verify the interactions and compatibility between different components, systems, and dependencies of your website. This ensures that all parts of your website work together as expected.
- End-to-End Testing: Conduct end-to-end tests to simulate user interactions and scenarios across the website. This type of testing validates the entire workflow, from user registration to NFT minting and trading, and helps identify any issues in the user experience and functionality.
- Browser Compatibility: Test your website thoroughly across different web browsers and browser versions to ensure compatibility. This helps identify and address any issues that may arise due to differences in browser rendering and behavior.
- Error Handling: Implement robust error handling mechanisms throughout your website to gracefully handle any unexpected errors or exceptions. Capture and log error messages to facilitate debugging and improve the overall user experience.
- Performance Testing: Evaluate the performance of your website by conducting load testing and stress testing. This helps identify potential bottlenecks, scalability issues, and performance degradation under heavy user traffic. Optimize the code and server configurations to ensure optimal performance.
- Usability Testing: Gather feedback from real users through usability testing. Observe how users interact with your website and collect their feedback on its user-friendliness, intuitiveness, and overall experience. Iterate on your design and functionality based on user feedback to enhance usability.
- Security Audits: Conduct regular security audits of your website and smart contracts to identify and address any vulnerabilities. Follow best practices for secure coding, authentication, and data protection to prevent issues such as unauthorized access, data breaches, and NFT hacking.
Throughout the testing and debugging process, maintain clear documentation of identified issues, solutions, and changes made to your website. This documentation will be useful for future reference and as a knowledge base for troubleshooting and maintenance.
Remember to update and retest your website after implementing any fixes or changes to ensure that all issues have been addressed satisfactorily.
By thoroughly testing and debugging your NFT minting website, you can ensure its stability, functionality, and a positive user experience. The next section will cover important security measures and best practices to implement in your website.
Security and Best Practices
Ensuring the security of your NFT minting website is crucial to protect user data, prevent unauthorized access, and maintain the integrity of the NFT ecosystem. Implementing best practices and following security guidelines helps mitigate risks and safeguard your website from potential threats.
Here are some key security measures and best practices to implement:
- Secure Authentication: Implement a secure authentication mechanism, such as password hashing and salting, to protect user login credentials. Consider adding additional layers of authentication, such as two-factor authentication (2FA), to enhance security.
- Data Encryption: Encrypt sensitive user data, including passwords and private keys, both at rest and in transit. Utilize industry-standard encryption algorithms and secure communication protocols, such as SSL/TLS, to protect data confidentiality.
- Access Control: Implement proper access control mechanisms to ensure that only authorized users can perform specific actions. Apply role-based permissions and restrict access to sensitive functionalities or administrative features.
- Audit Logs: Enable logging of user activities and critical events to track and monitor any suspicious or unauthorized actions. Regularly review audit logs to identify any potential security breaches or anomalies.
- Regular Updates and Patches: Keep your website framework, dependencies, and server software up to date with the latest security patches. Regularly update and apply security fixes to protect against known vulnerabilities.
- Secure Smart Contracts: Implement secure coding practices when writing your smart contracts. Follow guidelines such as input validation, secure variable access, and proper handling of external dependencies to prevent vulnerabilities such as reentrancy attacks and overflow/underflow issues.
- Third-Party Integrations: Be cautious when integrating third-party libraries or APIs into your website. Conduct thorough security assessments of any external dependencies and ensure they come from reputable sources.
- Secure Payments: If your NFT minting website involves transactions and payments, use secure payment gateways and follow industry standards for securing payment information.
- Regular Security Audits: Conduct regular security audits and penetration testing to identify and address any vulnerabilities in your website and smart contracts. Engage with security professionals and participate in bug bounty programs to leverage the expertise of the wider security community.
Additionally, educate your users about best security practices, such as using strong and unique passwords, avoiding phishing attempts, and securely storing private keys.
By implementing robust security measures and following best practices, you can provide a secure environment for users to mint, trade, and engage with NFTs on your website.
Now that you’ve covered the important aspects of security and best practices, it’s time to conclude this guide and reflect on the journey of building your own NFT minting website.
Conclusion
Congratulations! You have reached the end of this guide on how to create your own NFT minting website. Throughout this journey, we covered key steps and considerations for building a successful NFT minting platform.
We started by exploring the importance of choosing the right blockchain to power your NFTs, considering factors such as security, scalability, and community support. We then moved onto setting up the development environment, creating the database structure, and developing the frontend interface. Integrating smart contracts allowed us to enable NFT functionalities and bring the power of blockchain to our website.
We discussed the deployment process, testing and debugging, and the vital security measures and best practices needed to protect user data and ensure the smooth operation of the website. By following these best practices, you can create a secure and user-friendly environment for artists, collectors, and enthusiasts.
Building your own NFT minting website requires a combination of technical skills, creativity, and an understanding of the evolving NFT landscape. As you embark on this journey, remember to stay informed about the latest trends and developments in the world of NFTs. Engage with the community, gather feedback from users, and iterate on your website to enhance the user experience.
By creating a dynamic, secure, and intuitive NFT minting website, you provide a platform for artists to showcase their creativity, collectors to find unique digital assets, and users to engage with the exciting world of NFTs. Whether you’re a developer looking to expand your skill set or an art enthusiast keen to be part of the NFT revolution, this guide equips you with the knowledge and tools to get started.
Now it’s time for you to put your skills into action and turn your vision into reality. Good luck on your journey to create an exceptional NFT minting website, and may it bring success and innovation to the world of digital assets!