Introduction
Welcome to the exciting world of Non-Fungible Tokens (NFTs) and the opportunity to create your own digital assets on Coinbase! NFTs have taken the world by storm, revolutionizing the way creators, artists, and collectors engage with art, music, videos, and other digital content.
But what exactly is an NFT? A Non-Fungible Token is a unique digital asset that represents ownership or proof of authenticity for a specific item or piece of content. Unlike cryptocurrencies such as Bitcoin or Ethereum, which are fungible and interchangeable, NFTs are one-of-a-kind and cannot be replicated, making them valuable and collectible.
Now, you may be wondering why you should choose Coinbase as your platform for creating and selling NFTs. Well, Coinbase is one of the leading cryptocurrency exchanges and wallets, trusted by millions of users worldwide. Coinbase has recently expanded its services to include NFTs, providing a user-friendly and secure platform for creators to showcase and monetize their digital works.
With that in mind, this step-by-step guide will walk you through the process of creating NFTs on Coinbase, from setting up your account to minting and selling your digital assets. Whether you’re an artist looking to showcase your creations, a musician releasing limited edition albums, or just a digital enthusiast exploring this new frontier, creating NFTs on Coinbase can open up a world of opportunities.
So, let’s dive in and unlock the power of NFTs on Coinbase!
What is NFT?
If you’ve been following the latest trends in the digital world, chances are you’ve heard the term “NFT” buzzing around. But what exactly does it mean? NFT stands for Non-Fungible Token, a type of digital asset that represents ownership or proof of authenticity for a specific item or piece of content.
Think of an NFT as a digital certificate of ownership. It is built on the blockchain, a decentralized and transparent digital ledger that records all transactions and ensures the uniqueness and provenance of each NFT. Unlike cryptocurrencies like Bitcoin or Ethereum, which are fungible and can be exchanged on a one-to-one basis, NFTs are unique and cannot be interchanged.
One of the key features of NFTs is their ability to represent a wide range of digital content, including artwork, music, videos, virtual real estate, collectibles, and even in-game assets. Artists, musicians, creators, and collectors can tokenize their creations, making them scarce and valuable in the digital realm.
Each NFT contains metadata that stores information about the digital asset it represents, such as the artist’s name, title, description, and even additional files or links. This metadata ensures the authenticity, provenance, and ownership history of the digital asset, providing a level of transparency and trust in the NFT marketplace.
The value of an NFT is derived from a combination of factors, such as the reputation of the creator, the scarcity of the item, the demand from collectors, and the perceived cultural or artistic significance. NFTs have gained popularity among both art enthusiasts and investors, with high-profile sales grabbing headlines and pushing the boundaries of what is possible in the digital art world.
While some may argue that NFTs are purely digital and lack physical presence, their impact is not to be underestimated. NFTs democratize access to art, enabling creators to reach a global audience and monetize their work directly. They also offer collectors a unique and secure way to own and trade digital assets, opening up new avenues for creative expression and investment opportunities.
Now that you have a better understanding of what NFTs are, let’s explore why creating NFTs on Coinbase can be a game-changer for creators and collectors alike.
Why create NFTs on Coinbase?
If you’re considering venturing into the world of NFTs, you might be wondering why Coinbase is the ideal platform to bring your digital creations to life. Here are a few reasons why creating NFTs on Coinbase can be a game-changer:
- Trust and Reliability: Coinbase is one of the most trusted and reputable cryptocurrency exchanges and wallets in the industry. With millions of users and a strong track record in security, Coinbase provides a safe and reliable platform for creating, buying, and selling NFTs. You can have peace of mind knowing that your digital assets are in good hands.
- User-Friendly Interface: Coinbase offers an intuitive and user-friendly interface, making it easy for both beginners and experienced users to navigate the platform. The process of creating NFTs on Coinbase is streamlined and straightforward, allowing you to focus on showcasing your digital art or content without getting lost in complex technicalities.
- Built-in Wallet: Coinbase provides a built-in wallet for storing your digital assets and managing your NFT collection. This eliminates the need for separate wallets or third-party platforms, simplifying the management of your NFTs and ensuring they are secure and easily accessible whenever you need them.
- Large User Base: With its massive user base, Coinbase offers excellent exposure and visibility for your NFTs. You can tap into a global community of collectors, investors, and art enthusiasts who actively browse and engage with NFTs on Coinbase. This can greatly enhance the discoverability and potential sales of your digital creations.
- Marketplace Integration: Coinbase has an integrated marketplace where you can showcase and sell your NFTs. This eliminates the need to rely on third-party platforms or marketplaces, streamlining the process of monetizing your digital assets. Additionally, Coinbase provides useful tools and features to help you set pricing, manage listings, and track sales.
- Community and Support: Being part of the Coinbase ecosystem means you gain access to a vibrant community of creators, collectors, and industry professionals. This community offers networking opportunities, collaboration potential, and valuable insights into the ever-evolving NFT space. Coinbase also provides customer support to assist you with any questions or issues you may encounter along your NFT journey.
By creating NFTs on Coinbase, you can leverage these benefits to gain exposure, monetize your digital creations, and connect with a thriving community of NFT enthusiasts. Now that you understand why Coinbase is an excellent choice for NFT creation, let’s dive into the step-by-step process of creating NFTs on this platform.
Step-by-Step Guide to Creating NFTs on Coinbase
Creating your own NFTs on Coinbase is a straightforward process that allows you to showcase and monetize your digital creations. Follow this step-by-step guide to get started:
- Set up a Coinbase account: If you don’t already have an account on Coinbase, visit their website (coinbase.com) and sign up for a new account. Complete the verification process to ensure the security and legitimacy of your account.
- Connect your Coinbase wallet to your account: Once your account is set up, you’ll need to connect a cryptocurrency wallet to your Coinbase account. Coinbase offers its own built-in wallet, which you can access through the Coinbase Wallet mobile app or the Coinbase website. Connect the wallet to your Coinbase account to enable seamless NFT transactions.
- Purchase Ethereum (ETH) for transaction fees: NFTs on Coinbase are typically minted using the Ethereum blockchain, which requires transaction fees in the form of Ethereum (ETH). If you don’t have ETH in your Coinbase wallet, you’ll need to purchase some on the platform to cover these fees. Navigate to the Buy/Sell section on Coinbase and complete the ETH purchase using your preferred payment method.
- Choose the NFT platform on Coinbase: Coinbase offers multiple NFT platforms for minting and selling your digital assets. Explore the available options and choose the one that aligns with your needs and preferences. Each platform may have different features, requirements, and communities, so take your time to select the right fit for your NFT creations.
- Create your NFT: Once you’ve selected a platform, click on the “Create” or “Create NFT” button to start the process. Provide the necessary details for your NFT, such as the title, description, and any other pertinent information. Remember to make your NFT unique and compelling, as this will greatly impact its marketability and value.
- Upload your digital asset: After creating your NFT, you’ll be prompted to upload the digital asset that you want to tokenize. This can be an image, video, audio file, or any other supported format. Follow the instructions provided by Coinbase to ensure the file meets the necessary specifications and requirements.
- Set the desired price and details: Next, you’ll need to set the price for your NFT. Consider factors like the scarcity, unique qualities, and market demand for your digital asset when determining the price. You can also add additional details, such as a category, tags, and any relevant links or information to enhance the visibility and discoverability of your NFT.
- Confirm and mint your NFT: Review all the details of your NFT listing and ensure everything is accurate. Once you’re satisfied, click the “Confirm” or “Mint” button to finalize the minting process. This will create a unique token on the blockchain, representing your digital asset as an NFT.
- Promote and sell your NFTs: With your NFT successfully minted, it’s time to promote and sell your creations. Utilize your social media platforms, art communities, and online marketplaces to spread the word about your NFTs. Engage with potential buyers and collectors, and be proactive in marketing your digital assets to maximize their exposure and sales potential.
By following these steps, you can successfully create and sell NFTs on Coinbase, bringing your digital creations to a global audience and opening up exciting opportunities in the NFT world.
Set up a Coinbase account
The first step to creating NFTs on Coinbase is setting up an account on their platform. If you don’t already have one, follow these steps to get started:
- Visit the Coinbase website: Open your preferred web browser and navigate to coinbase.com.
- Click on “Get started” or “Sign up”: On the Coinbase homepage, you’ll find a “Get started” or “Sign up” button. Click on it to initiate the account creation process.
- Provide your email and password: Enter your email address and create a strong, secure password for your Coinbase account.
- Complete the verification process: Coinbase requires you to verify your identity to ensure the security and legitimacy of your account. Follow the provided instructions to complete the verification process. This may involve providing personal information, such as your name, address, and identification documents.
- Secure your account: Coinbase places a strong emphasis on account security. Enable two-factor authentication (2FA) to add an extra layer of protection to your account. This typically involves linking your Coinbase account to a 2FA app, such as Google Authenticator or Authy, to generate unique verification codes during login.
- Read and accept the terms of service: Familiarize yourself with Coinbase’s terms of service and privacy policy. Once you’ve reviewed them, indicate your acceptance to proceed.
- Set up your account preferences: Customize your account preferences, such as notifications, privacy settings, and communication preferences, according to your needs and preferences.
- Link your bank account or payment method: To fund your Coinbase account or make fiat withdrawals, you’ll need to link your bank account or add a payment method, such as a credit or debit card. Follow the provided instructions to complete this step.
- Start using your Coinbase account: With your account set up, you can now explore the various features and services offered by Coinbase. Familiarize yourself with the platform’s interface, navigate different sections, and get ready to create NFTs.
Setting up a Coinbase account is quick and straightforward, providing you with a secure and trusted platform for your NFT journey. Once your account is set up, you can proceed to the next steps of connecting your Coinbase wallet, purchasing Ethereum (ETH) for transaction fees, and creating your NFTs.
Connect your Coinbase wallet to your account
After successfully setting up your Coinbase account, the next step in creating NFTs is connecting your Coinbase wallet to your account. Here’s how you can do it:
- Download the Coinbase Wallet app (optional): If you prefer to manage your NFTs on a mobile device, you can download the Coinbase Wallet app from your device’s app store. This app serves as a decentralized wallet that integrates with your Coinbase account.
- Access your Coinbase account: Open your web browser and navigate to the Coinbase website (coinbase.com). Sign in to your Coinbase account using the email address and password you used during the account setup process.
- Navigate to the Settings page: Once you’re logged in, click on your profile icon in the top-right corner of the Coinbase dashboard. From the dropdown menu, select “Settings” to access the account settings page.
- Select the Wallets tab: Within the account settings page, click on the “Wallets” tab. This section allows you to connect external wallets to your Coinbase account.
- Add your Coinbase Wallet: In the Wallets tab, you’ll find an option to add a new wallet. Click on the “Add Wallet” button and select “Coinbase Wallet” from the list of available options.
- Authorize the connection: Coinbase will prompt you to authorize the connection between your Coinbase account and the Coinbase Wallet app. You may be asked to log into or authenticate your Coinbase Wallet app to complete the connection.
- Check your connection status: After authorizing the connection, Coinbase will confirm the successful linkage between your Coinbase account and Coinbase Wallet. You should see the status as “Connected” or a similar indication.
- Access your Coinbase Wallet: If you downloaded the Coinbase Wallet app, you can now open the app on your mobile device and sign in using your Coinbase account credentials. This will sync your Coinbase Wallet with your Coinbase account, allowing you to manage your NFTs across both platforms.
Connecting your Coinbase wallet to your account is essential for seamless NFT transactions. It ensures that your purchased and minted NFTs are visible and accessible within your Coinbase ecosystem. With your Coinbase wallet connected, you’re ready to proceed with purchasing Ethereum (ETH) to cover transaction fees and start creating your NFTs.
Purchase Ethereum (ETH) for transaction fees
To create and interact with NFTs on Coinbase, you’ll need to have some Ethereum (ETH) in your wallet to cover the transaction fees associated with minting and transferring NFTs. Here’s how you can purchase ETH on Coinbase:
- Log in to your Coinbase account: Open your web browser and navigate to the Coinbase website (coinbase.com). Sign in to your account using your email address and password.
- Access the Buy/Sell page: Once you’re logged in, click on the “Buy/Sell” tab in the Coinbase navigation menu. This will take you to the page where you can buy and sell cryptocurrencies.
- Select Ethereum (ETH) as the cryptocurrency: In the Buy/Sell page, locate the “Select a cryptocurrency” dropdown menu and choose Ethereum (ETH) from the list of available options. This will set up the purchase for ETH.
- Choose your payment method: Coinbase offers multiple payment methods, such as bank transfer, debit card, or credit card. Select the payment method you prefer and proceed to the next step.
- Enter the purchase amount: Specify the amount of Ethereum (ETH) you want to purchase. Coinbase provides the option to enter the amount in your desired currency, or you can specify the quantity of ETH directly. Make sure to review the transaction details and ensure they align with your purchase intention.
- Review and confirm your purchase: Before completing the transaction, Coinbase will display the total amount to be deducted from your selected payment method, including any fees or charges. Take a moment to review the details and make sure everything is accurate.
- Complete the purchase: Once you’ve reviewed and confirmed the transaction, click the “Buy” or “Confirm” button to execute the purchase. Coinbase will process the transaction and, upon successful completion, add the purchased Ethereum (ETH) to your Coinbase wallet.
- Verify your Ethereum (ETH) balance: After the purchase is complete, you can verify the presence of your Ethereum (ETH) in your Coinbase wallet. Access the “Wallets” section of your Coinbase account and locate the Ethereum (ETH) wallet to view your updated balance.
By purchasing Ethereum (ETH) on Coinbase, you’ll have the necessary cryptocurrency to cover transaction fees when minting, buying, or selling NFTs. It’s important to keep track of your Ethereum (ETH) balance to ensure you have sufficient funds for future NFT-related activities.
Choose the NFT platform on Coinbase
After setting up your Coinbase account, connecting your Coinbase wallet, and purchasing Ethereum (ETH), the next step in creating NFTs on Coinbase is choosing the NFT platform where you will showcase and sell your digital assets. Here’s what you need to know:
Coinbase offers multiple NFT platforms, each with its own unique features, community, and focus. Here are some of the NFT platforms available on Coinbase:
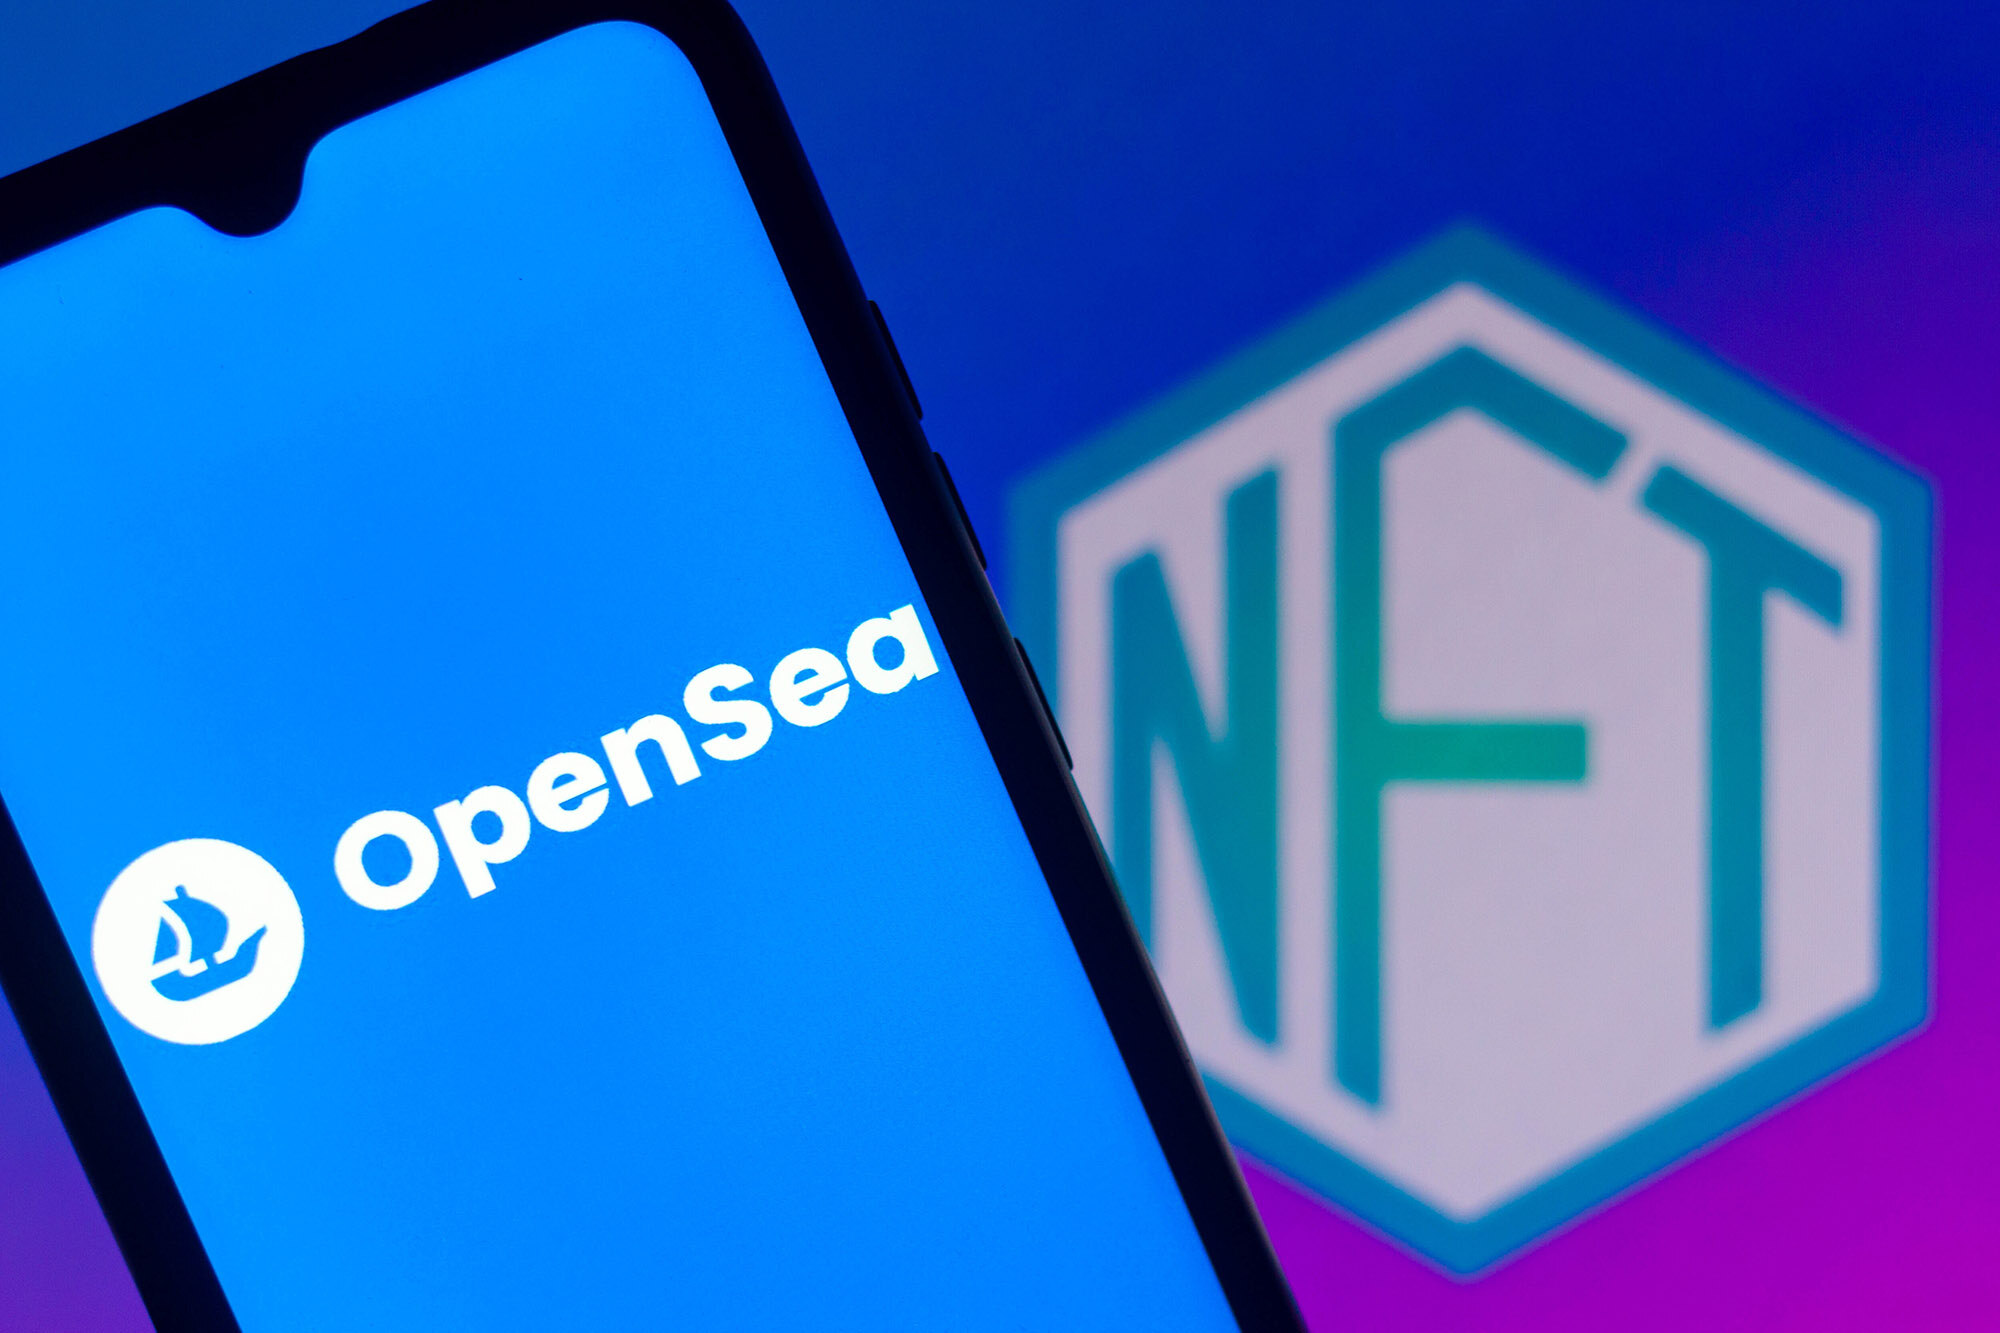
- OpenSea: OpenSea is a popular and decentralized NFT marketplace that allows creators to showcase and sell their digital assets. It offers a wide range of categories, including art, sports, gaming, and collectibles. OpenSea provides powerful tools to list, market, and manage your NFTs, along with various customization options for your storefront.
- Rarible: Rarible is an innovative NFT marketplace that focuses on empowering artists and creators, allowing them to issue and sell their own customizable NFTs. It gives artists complete control over their creative process and offers a unique social token called RARI, which can be used to gain access to exclusive benefits and features.
- Sorare: Sorare is a digital collectibles platform specifically designed for soccer (football) fans. It allows users to collect, trade, and manage digital player cards representing real-world football players. Users can participate in fantasy football games and compete against other Sorare players using their digital player cards.
- Foundation: Foundation is an exclusive and curated NFT marketplace focusing on art and creativity. It provides a platform for artists to showcase their unique and limited-edition digital artworks, and it emphasizes the importance of curation and reputation within the NFT community.
- Deku NFT: Deku NFT is a platform that caters to anime and manga fans, offering a space to collect and trade NFTs inspired by popular anime and manga titles. It allows creators to tokenize their artwork and provides fans with a dedicated marketplace to discover and acquire anime-inspired NFTs.
Take your time to explore each NFT platform available on Coinbase. Consider factors such as the type of digital assets you intend to showcase, the audience and community associated with each platform, and the features and tools they offer for listing and managing your NFTs.
It’s worth noting that you can choose more than one NFT platform on Coinbase. Some creators might find success by listing their NFTs on multiple platforms, expanding their reach and increasing their chances of sales and exposure.
Once you have decided on the NFT platform(s) that best align with your goals and creative vision, you’re ready to proceed with the specific platform to start minting and listing your NFTs.
Create your NFT
Now that you’ve chosen the NFT platform(s) on Coinbase, it’s time to start the exciting process of creating your own NFTs. Follow these steps to bring your digital assets to life:
- Access the chosen NFT platform: Login to your Coinbase account and navigate to the selected NFT platform where you want to create your NFTs. This can be OpenSea, Rarible, Sorare, Foundation, Deku NFT, or another platform of your choice.
- Click on “Create” or “Create NFT”: On the NFT platform, locate and click on the “Create” or “Create NFT” button. This will initiate the NFT creation process.
- Provide the necessary details: Fill out the required information for your NFT, including the title, description, and any other relevant details. Be creative and descriptive, capturing the essence of your digital asset to engage potential buyers.
- Choose the category and tags: Select the appropriate category for your NFT. This helps potential buyers find your artwork more easily. Additionally, add relevant tags that describe your digital asset in more detail. These tags can include keywords related to the subject matter, style, or inspiration behind your NFT.
- Set a royalty percentage (optional): Some NFT platforms allow you to set a royalty percentage for future sales. This means that if your NFT is resold in the future, you can earn a percentage of the sale price as a creator’s royalty. Consider whether you want to enable and set a royalty percentage for your NFT.
- Upload the digital asset: Upload the digital file that represents your NFT. This can be an image, video, audio file, or any other digital medium specified by the chosen NFT platform. Ensure that the file meets the platform’s requirements for format, size, and quality.
- Set the price for your NFT: Determine the price you want to set for your NFT. Consider factors such as the uniqueness, quality, and perceived value of your digital asset when determining the price. Be mindful of the current market trends and competitors’ pricing, as this can impact the attractiveness of your NFT.
- Preview and finalize your NFT listing: Review the details of your NFT listing and preview it before finalizing. Make sure all the information, including the title, description, category, tags, digital asset, and pricing, is accurate and visually appealing. Once you’re satisfied, click the “Create” or “Mint” button to finalize the creation of your NFT.
By following these steps, you’ll successfully create your NFT on the chosen platform. Congratulations! Your digital asset is now tokenized on the blockchain and ready to be showcased and sold to collectors and enthusiasts worldwide.
Remember, each NFT platform may have its own specific steps and requirements for creating NFTs. Stay familiar with the platform’s guidelines and follow any additional instructions provided to ensure a smooth and successful NFT creation process.
Upload your digital asset
After completing the initial steps of creating your NFT on the chosen platform, it’s time to upload the digital asset that represents your unique creation. Follow these steps to upload your digital asset:
- Select the “Upload” or “Add File” button: On the NFT creation page, locate the option to upload or add your digital asset. This is typically indicated by a button or an area where you can drag and drop your file.
- Choose the digital asset file: Click on the upload button to browse your computer or device for the file you want to tokenize as an NFT. Select the appropriate file from your local storage.
- Ensure your file meets the platform’s requirements: Each NFT platform may have specific requirements for the digital asset file, such as accepted formats, file size limits, or recommended dimensions. Make sure your file meets these requirements to ensure a smooth upload process.
- Wait for the upload to complete: Depending on the size of your digital asset and your internet connection, the upload process may take some time. Be patient and wait for the platform to fully upload the file.
- Provide additional information (optional): Some NFT platforms allow you to provide additional information about your digital asset during the upload process. This can include details about the creation process, the inspiration behind your work, specific techniques used, or any backstory that adds value to your NFT.
- Preview and confirm the upload: Once the file has finished uploading, you’ll typically see a preview of your digital asset. Take a moment to review the preview and ensure everything looks as expected. If necessary, you may have the option to make adjustments or re-upload the file.
- Submit the upload: After confirming that the uploaded digital asset is accurate and representative of your NFT, click the “Submit” or “Confirm” button to proceed. This will associate the uploaded file with your NFT listing.
It’s important to ensure that the digital asset you upload accurately represents your NFT and enhances its value. Take the time to select high-quality images, videos, or audio files that showcase the unique qualities and intricacies of your creation.
Remember, each NFT platform may have slight variations in the upload process. Pay attention to any specific instructions or guidelines provided by the platform to ensure a seamless upload experience.
With your digital asset successfully uploaded, you are one step closer to showcasing your NFT to the world and opening up opportunities for collectors to acquire your unique creation.
Set the desired price and details
Now that your digital asset is uploaded, it’s time to determine the price and set additional details for your NFT listing. Follow these steps to set the desired price and provide relevant information:
- Locate the price and details section: On the NFT platform, navigate to the section where you can set the price and provide additional information for your listing. This section is usually labeled as “Price” or “Details.”
- Set the price for your NFT: Determine the price you want to assign to your NFT. Consider factors such as the uniqueness, quality, and demand for your digital asset, as well as the current market trends. It’s important to strike a balance between setting a reasonable price and maximizing the value of your creation.
- Choose the currency: Specify the currency in which you want to list the price of your NFT. Most platforms offer various currency options, allowing you to cater to a global audience. Common options include USD, ETH, or the platform’s native currency.
- Provide additional details: Use the provided fields or sections to add additional information about your NFT. This can include a detailed description, the story behind your artwork, technical specifications, or any other relevant details that might interest potential buyers. Be creative and engaging in your descriptions to captivate the interest of collectors.
- Consider including extras or perks: Some NFT platforms allow you to offer extras or perks along with your NFT, enhancing its value. This can include bonus content, access to limited edition physical versions, or exclusive rights or privileges related to the NFT. Assess your options and consider if there are any extras you can provide to make your NFT more enticing to collectors.
- Set any additional settings: Depending on the platform, you may have the option to set additional preferences or settings for your NFT. This can include specifying whether the NFT is open for offers or negotiation, selecting a privacy option for your listing, defining the expiration date for a timed auction, or setting a limit on the number of editions available.
- Preview and review your listing: Before finalizing the price and details, take a moment to preview and review your NFT listing. Ensure that all the information provided is accurate, engaging, and aligned with your creative vision and intent. Make any necessary adjustments or edits to optimize the appeal and marketability of your NFT.
- Confirm and save the changes: Once you’re satisfied with the price and details of your NFT, click the “Confirm,” “Save Changes,” or similar button to finalize the listing. Your NFT will now be visible to potential buyers on the platform.
Setting the desired price and providing relevant details for your NFT is a crucial step in attracting potential buyers and conveying the value of your digital creation. Take the time to carefully consider these aspects to maximize the appeal and marketability of your NFT.
Remember, pricing and details can be adjusted and updated as needed, so you have the flexibility to refine your strategy based on market trends, buyer feedback, and the perceived value of your NFT over time.
Confirm and mint your NFT
Once you have set the desired price and provided all the necessary details for your NFT, the next step is to confirm and mint your NFT on the chosen platform. Minting an NFT essentially creates a unique token on the blockchain that represents your digital asset. Follow these steps to confirm and mint your NFT:
- Review your listing: Take a final look at your NFT listing to ensure that all the information is accurate and satisfactory. Double-check the title, description, price, and any additional details you provided.
- Confirm the listing: On the NFT platform, locate the “Confirm,” “Mint,” or similar button and click on it to confirm your listing. This action will create the NFT token on the blockchain.
- Wait for the confirmation: Depending on the NFT platform and the blockchain network’s congestion, the confirmation process may take some time. Be patient and wait until you receive confirmation that your NFT has been successfully minted. This confirmation may be shown as a transaction hash or a similar identifier.
- Verify the minted NFT: Once the minting process is complete, verify that your NFT is visible on the platform and accessible to potential buyers. Navigate to your profile or the section where your listings are displayed to confirm that your NFT is present.
- Ensure the metadata is correct: Pay attention to the metadata associated with your minted NFT. This metadata includes information such as the title, description, creator details, and any additional attributes you provided. Confirm that all the metadata accurately represents your NFT.
- Double-check the associated digital asset: Verify that the digital asset linked to your NFT is correct and properly connected. Click on the artwork, image, or media associated with your NFT to ensure it aligns with the intended representation of your creation.
- Celebrate and promote: Congratulations! Your NFT is now minted and live on the blockchain. Take a moment to celebrate this milestone and start promoting your NFT to your audience. Share it on social media, engage with communities, and explore marketing strategies to increase visibility and attract potential buyers.
With your NFT successfully minted, it becomes a unique and verifiable digital asset on the blockchain. It represents your creative work and represents an opportunity to connect with collectors and enthusiasts willing to invest in your creation.
Remember to keep track of your minted NFTs, monitor their performance, and stay involved in the NFT community to make the most of your journey as an NFT creator.
Promote and sell your NFTs
Now that your NFTs are minted and available for purchase, it’s time to focus on promoting and selling them to reach a wider audience and attract potential buyers. Here are some strategies to effectively promote and sell your NFTs:
- Utilize social media: Leverage the power of social media platforms to showcase your NFTs. Share captivating visuals, behind-the-scenes glimpses, and stories about your creative process. Engage with your audience, respond to comments, and leverage hashtags and relevant communities to maximize exposure.
- Engage with NFT communities: Explore online forums, Discord channels, and NFT-specific platforms to connect with the NFT community. Participate in discussions, share your work, and collaborate with like-minded creators. By building relationships within the community, you can gain visibility and potentially attract collectors who are passionate about NFTs.
- Collaborate with influencers and collectors: Identify influential figures in the NFT space, such as artists, collectors, and industry experts, and seek opportunities for collaboration. This can involve joint projects, cross-promotions, or having them showcase or endorse your NFTs. Building relationships with established names can significantly boost your visibility and credibility.
- Create scarcity and exclusivity: Consider offering limited editions or timed releases of your NFTs to create a sense of urgency and exclusivity. Scarcity can increase the perceived value of your digital assets and incentivize collectors to make a purchase sooner rather than later.
- Attend NFT events and conferences: Stay informed about NFT-related events, conferences, and exhibitions taking place online or in-person. Participate as a guest or speaker, network with industry professionals, and showcase your NFTs. These events can provide valuable exposure and connections within the NFT space.
- Collaborate with virtual galleries or marketplaces: Explore partnerships with virtual galleries or NFT marketplaces that align with your artistic style or the theme of your NFTs. By joining curated collections or exclusive showcases, you can leverage the platform’s reputation and audience to attract potential buyers.
- Offer incentives and rewards for collectors: Consider providing additional rewards or incentives to collectors who purchase your NFTs. This can include bonus content, exclusive access to future releases, or even physical merchandise related to your digital artworks. These added benefits can make your NFTs more enticing to potential buyers.
- Continuously market and update your listings: Stay active in promoting your NFTs even after their initial launch. Continuously update your listings with new information, fresh artwork previews, or limited-time offers. Engage with your community, seek feedback, and adapt your marketing strategies based on the response you receive.
- Keep an eye on market trends and adjust: Stay informed about the evolving trends and dynamics of the NFT market. Monitor the prices, preferences, and demands of collectors. This can help you adjust your pricing, marketing strategies, and artistic direction to align with the ever-changing landscape of the NFT space.
Promoting and selling your NFTs requires consistent effort, engagement, and adaptation. By actively participating in the NFT community, nurturing relationships, and leveraging various marketing channels, you can maximize the visibility of your NFTs and increase your chances of generating sales and building a loyal collector base.
Conclusion
Creating and selling NFTs on Coinbase opens up a world of opportunities for artists, creators, and collectors alike. Through the process of minting and listing your digital assets as unique tokens on the blockchain, you can showcase your creativity, monetize your work, and engage with a global community.
By following the step-by-step guide we’ve provided, you can successfully navigate the journey of creating NFTs on Coinbase. From setting up your account and connecting your Coinbase wallet to minting your NFTs and promoting them to potential buyers, each step is essential to maximize visibility and sales.
Remember to carefully consider the pricing and details of your NFTs, pay attention to market trends, and adapt your marketing strategies accordingly. Building relationships with the NFT community, collaborating with influencers, and staying active on social media are all important aspects of promoting your NFTs effectively.
It’s also vital to stay informed and updated about the ever-evolving NFT space. Monitor market trends, explore new platforms, and seek inspiration from fellow creators. Flexibility, creativity, and constant engagement will allow you to navigate this dynamic landscape successfully.
Creating NFTs on Coinbase is not just about selling digital assets; it’s about unleashing your creativity, connecting with a passionate community, and exploring new possibilities for artistic expression. Embrace the opportunities offered by NFTs and enjoy the journey of sharing your unique visions with the world.
So what are you waiting for? Start your NFT creation journey on Coinbase and let your digital creations make an impact in the exciting world of NFTs.