Introduction
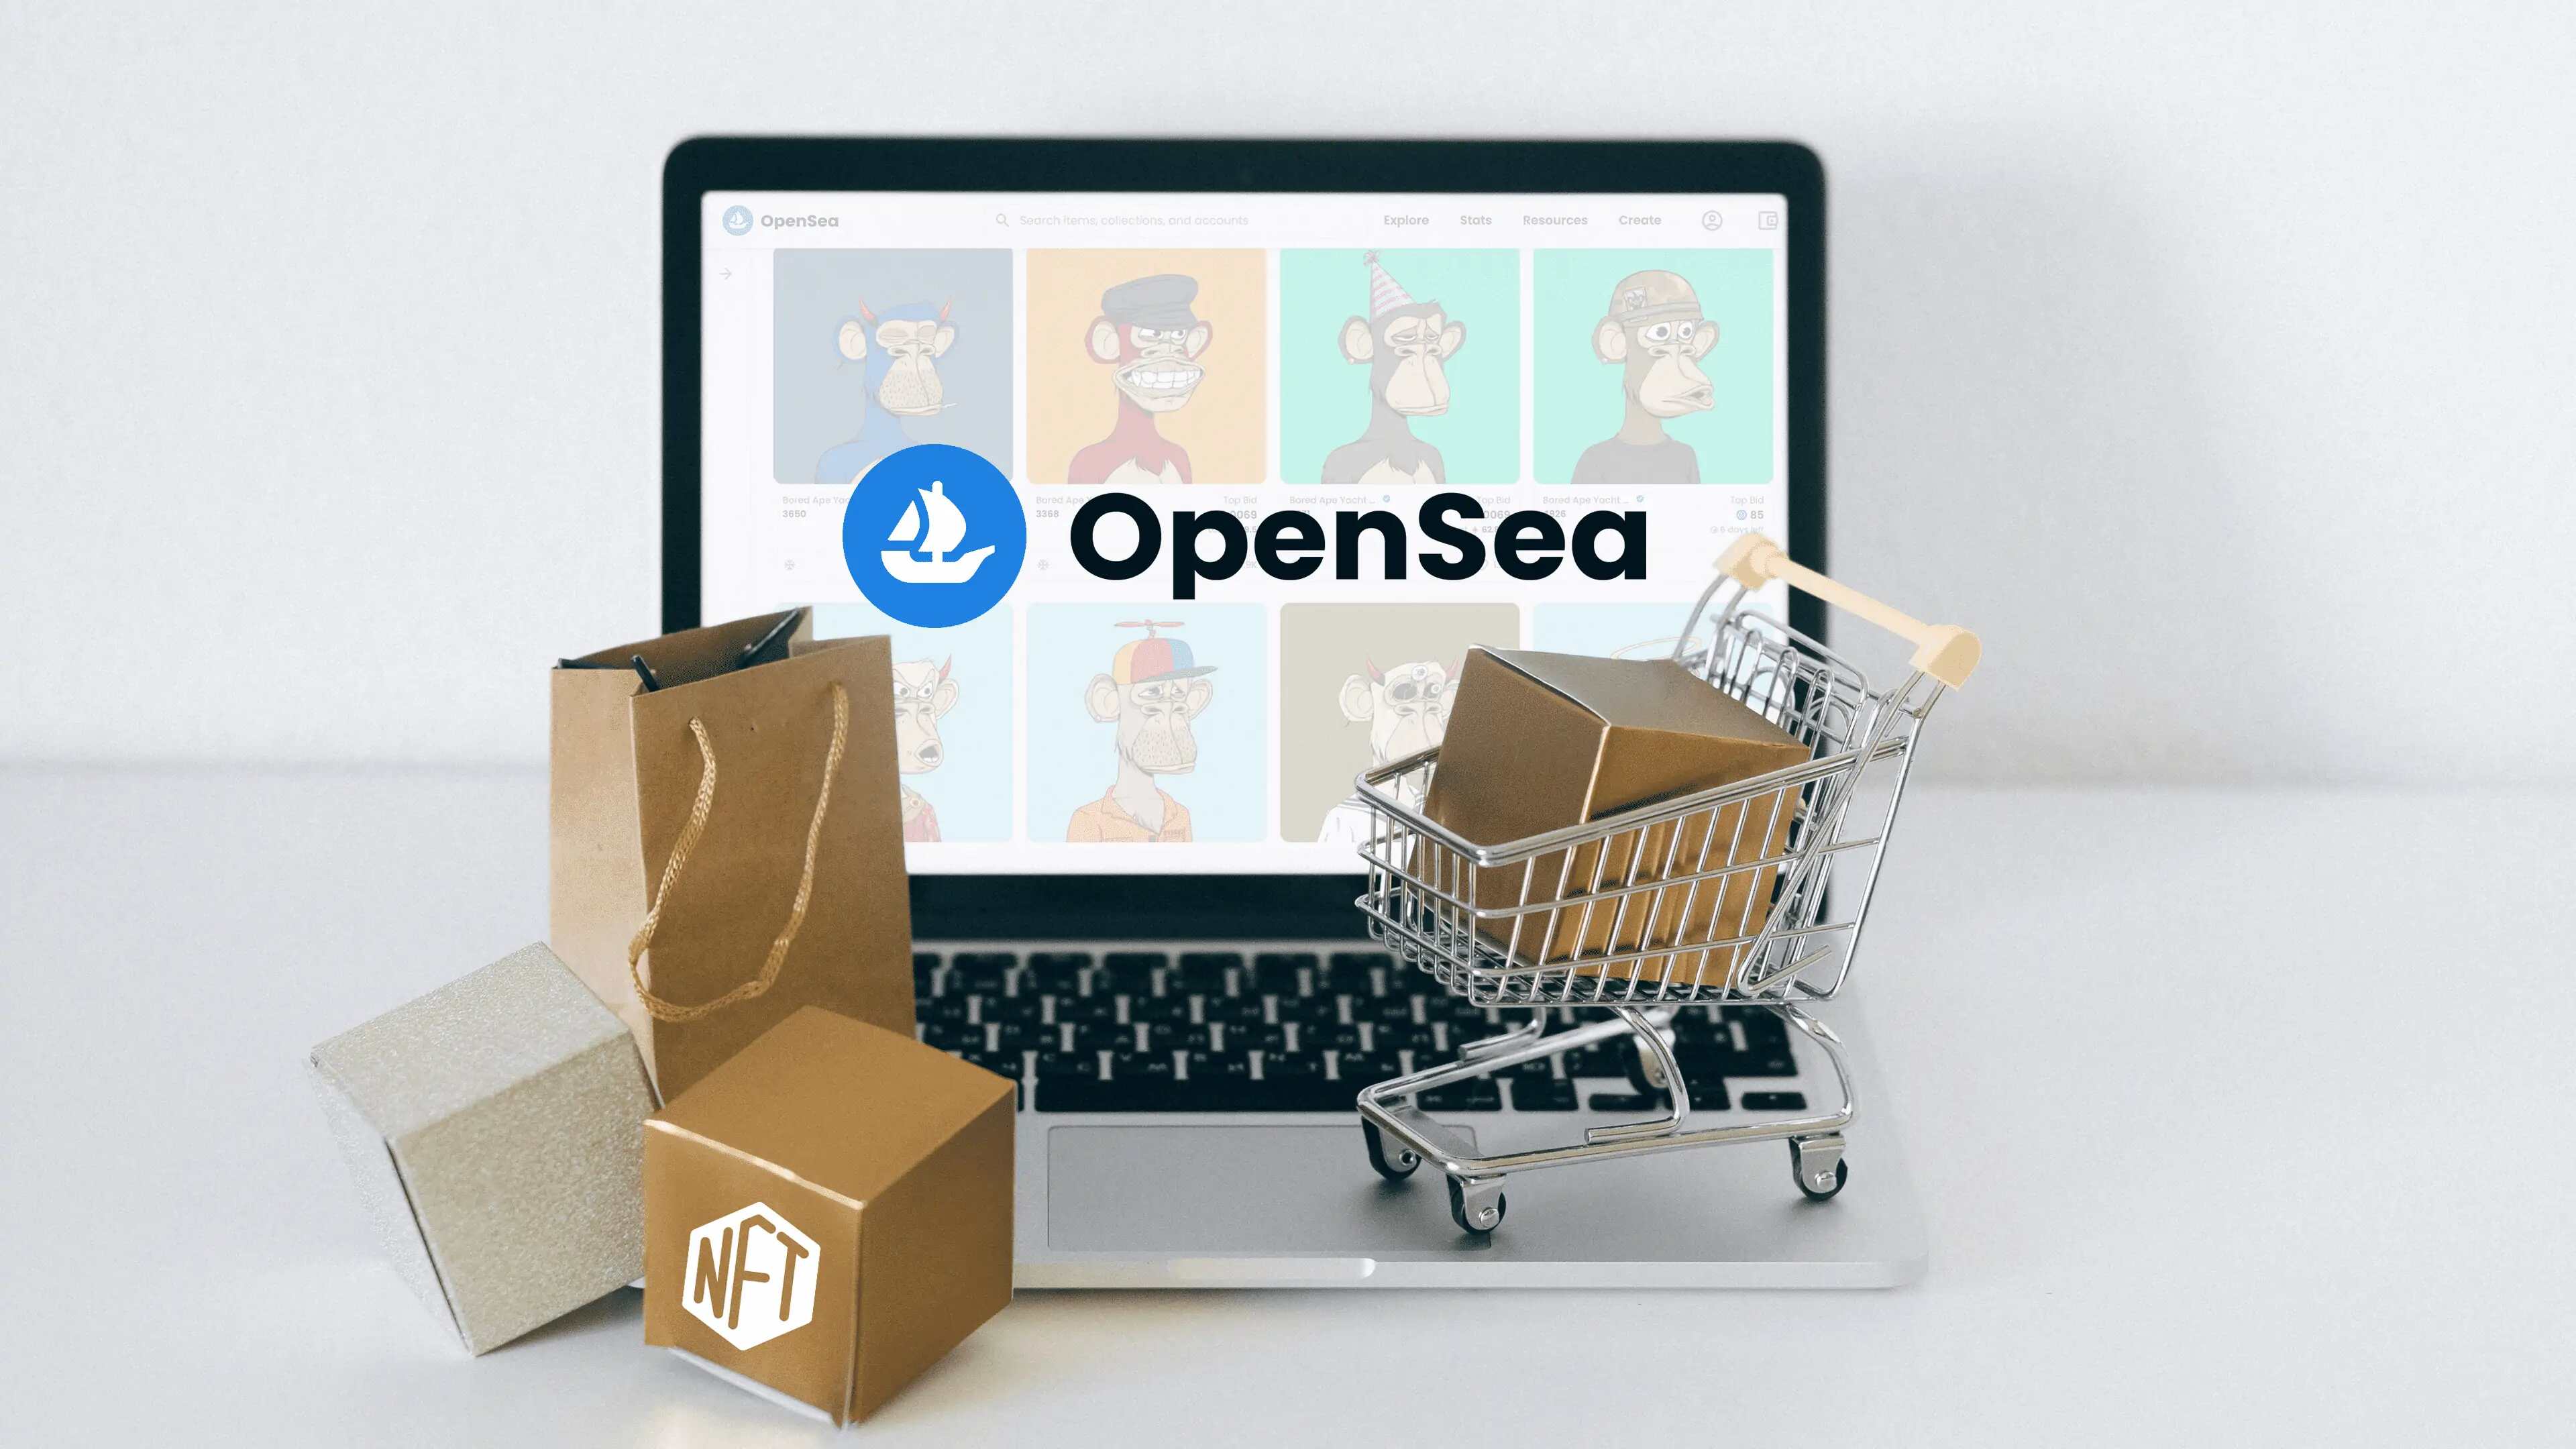
Welcome to the fascinating world of Non-Fungible Tokens (NFTs) and OpenSea. In recent years, NFTs have gained immense popularity in the digital marketplace, revolutionizing the way we buy and sell digital assets. OpenSea, a prominent NFT marketplace, provides a platform for creators and collectors to showcase, buy, and sell their unique digital items.
Whether you’re an art enthusiast, a collector, or simply curious about NFTs, this guide will walk you through the process of buying an NFT on OpenSea. From creating an account to understanding auctions and fixed price listings, we’ll cover all the necessary steps to help you navigate the platform with ease.
OpenSea is home to a vast array of digital assets, ranging from digital art and virtual real estate to game items and collectibles. As you explore the marketplace, you’ll encounter a multitude of exciting and unique NFTs that carry their own individual value and appeal.
Buying an NFT on OpenSea can be an exhilarating experience, granting you the opportunity to own one-of-a-kind digital assets. By following the steps outlined in this guide, you’ll gain the knowledge and confidence to confidently engage in the NFT ecosystem.
Whether you’re looking to enrich your digital collection, support your favorite artist, or engage with the thriving NFT community, OpenSea provides a user-friendly platform that caters to both beginner and experienced users alike. So let’s plunge into the world of NFTs and discover how you can acquire your own unique digital treasures on OpenSea!
What is OpenSea?
OpenSea is a decentralized marketplace and platform for buying, selling, and trading Non-Fungible Tokens (NFTs). NFTs are unique digital assets that are stored on the blockchain, allowing for verifiable ownership and scarcity. OpenSea acts as the intermediary between creators and collectors, providing a platform to showcase and exchange these digital assets.
One of the key features of OpenSea is its decentralized nature. Unlike traditional marketplaces, OpenSea operates on the Ethereum blockchain, which means that transactions are recorded and validated by a decentralized network of computers, rather than a central authority. This ensures transparency, security, and immutability for both buyers and sellers.
OpenSea hosts a vast and diverse range of NFTs, making it a hub for digital art, collectibles, game items, virtual real estate, and more. With its user-friendly interface and broad selection, OpenSea has become one of the leading marketplaces in the NFT space, attracting both established creators and newcomers to the world of NFTs.
As an open and inclusive platform, OpenSea allows anyone to create and sell NFTs. This means that artists, musicians, influencers, and content creators from various industries can mint and list their own digital assets for sale. It empowers creators to directly monetize their digital creations and engage with a global community of collectors.
OpenSea also provides a range of features and tools to enhance the buying and selling experience. These include auction functionality, fixed-price listings, and the ability to create collections or bundles of NFTs. Additionally, OpenSea allows users to explore and discover new NFTs through its curated collections and trending sections, making it easier to navigate the vast marketplace.
Overall, OpenSea plays a crucial role in the growing NFT ecosystem by providing a platform for creators to showcase their work and for collectors to acquire unique and valuable digital assets. Whether you’re an artist looking to sell your creations or an avid collector in search of one-of-a-kind NFTs, OpenSea offers an accessible and exciting marketplace to fulfill your digital desires.
Creating an Account on OpenSea
Before you can start buying NFTs on OpenSea, you’ll need to create an account. The process is simple and only takes a few minutes to complete. Follow these steps to get started:
- Visit the OpenSea website (www.opensea.io) on your web browser.
- Click on the “Sign In” button located at the top right corner of the page.
- You will be presented with two options: “Sign in with Coinbase” or “Sign in with MetaMask”. Choose the option that suits you best.
- If you choose to sign in with Coinbase, you will be redirected to the Coinbase login page. Enter your Coinbase credentials to proceed.
- If you choose to sign in with MetaMask, ensure that you have the MetaMask browser extension installed on your browser. Click on the “Sign in with MetaMask” button and the MetaMask extension will open.
- In the MetaMask extension, click on the account you wish to connect to OpenSea, then click “Next”.
- You will be asked to review and approve the connection between MetaMask and OpenSea. Click “Connect” to complete the process.
- Congratulations! You have successfully created an account on OpenSea.
By connecting your Coinbase or MetaMask wallet to OpenSea, you’ll be able to securely manage your NFTs and conduct transactions on the platform. It’s important to note that while MetaMask provides more flexibility and control over your wallet, Coinbase offers a user-friendly option for those new to cryptocurrency and NFTs.
Once you have created an account and connected your wallet, you’ll have access to features such as buying, selling, bidding, and managing your NFTs within the OpenSea platform. Now that you’re ready to explore and discover the vast world of NFTs, let’s move on to the next step: setting up your wallet.
Setting Up Your Wallet
Setting up your wallet is a crucial step in buying NFTs on OpenSea. Your wallet serves as your digital vault, where you store and manage your cryptocurrencies and NFTs. Two popular wallet options for OpenSea are MetaMask and Coinbase Wallet. Follow these steps to set up your wallet:
- MetaMask:
- Install the MetaMask browser extension on your preferred browser.
- Create a new wallet or import an existing one by following the prompts.
- Set up a strong password for your MetaMask wallet and securely store your seed phrase. This seed phrase is essential for recovering your wallet if you ever lose access to it.
- Once your MetaMask wallet is set up, connect it to OpenSea by clicking on the MetaMask extension and selecting the account you want to link with OpenSea.
- Coinbase Wallet:
- Create a Coinbase account if you don’t have one already.
- Download the Coinbase Wallet app on your mobile device from the App Store or Google Play Store.
- Open the Coinbase Wallet app and follow the prompts to set up your wallet.
- Securely store your wallet recovery phrase, as it will be necessary for accessing your wallet in case of loss or device change.
- After setting up your wallet, go to the OpenSea website and connect your Coinbase Wallet by clicking on “Sign In” and selecting the “Sign In with Coinbase” option.
Once your wallet is set up and connected to OpenSea, ensure that you have sufficient funds in your wallet to make purchases or place bids on NFTs. You’ll need to have the corresponding cryptocurrency (usually Ethereum or a compatible ERC-20 token) in your wallet to complete transactions on the platform.
Remember to be vigilant and take necessary security precautions to protect your wallet and digital assets. Use strong passwords, enable two-factor authentication, and keep your wallet recovery phrase secure.
Now that your wallet is set up and ready to go, let’s dive into the exciting world of browsing NFTs on OpenSea and discovering the perfect digital asset to add to your collection.
Browsing NFTs on OpenSea
Once you’ve created an account and set up your wallet on OpenSea, it’s time to start exploring the vast array of NFTs available on the platform. Here are some steps to help you browse and discover the perfect NFT for your collection:
- Visit the OpenSea website (www.opensea.io) and sign in to your account.
- At the top of the page, you’ll find a search bar where you can directly search for specific NFTs, collections, or artists. Use keywords or specific terms to narrow down your search.
- Alternatively, you can browse through the various categories showcased on the homepage. These categories include art, virtual worlds, domain names, collectibles, and more.
- Clicking on a category will take you to a dedicated page where you can explore NFTs specific to that category.
- Within each category, you can further refine your search by applying filters such as price range, token type, and attributes specific to the NFT.
- As you explore different NFTs, take the time to read the descriptions and view the associated artwork or media. This will help you assess the uniqueness and value of the NFT.
- Pay attention to the metadata associated with each NFT. This information can include details about the artist, edition number, rarity, and any additional benefits or perks associated with the NFT.
- OpenSea also allows you to create collections of NFTs. Explore curated collections or discover popular and trending NFTs within the platform.
- Take advantage of the “Explore” section on OpenSea, which showcases trending NFTs, recently added items, and collections being followed by other users.
- Bookmark or save NFTs that catch your interest, as you can revisit them later to make a purchase or place a bid.
Browsing NFTs on OpenSea is an exciting journey where you can immerse yourself in a variety of digital art, virtual collectibles, gaming items, and more. Take your time to explore different collections, read descriptions, and find NFTs that resonate with your personal interests and preferences.
Now that you’re familiar with browsing and discovering NFTs on OpenSea, let’s move on to understanding the different types of listings and auctions available on the platform.
Understanding Auctions and Fixed Price Listings
When navigating the OpenSea marketplace, you’ll come across two common types of listings: auctions and fixed price listings. Understanding how these listing types work is crucial in determining the buying strategy for the NFTs you’re interested in. Let’s take a closer look at auctions and fixed price listings:
- Auctions:
- Starting Price: The initial price set by the seller when the auction begins.
- Minimum Bid Increment: The minimum amount by which bidders must exceed the previous bid.
- Auction Duration: The timeframe during which bidding is open.
- Ending Price: The final bid price when the auction concludes.
- Fixed Price Listings:
- Listing Price: The price set by the seller for the NFT.
- Instant Buy: The option for buyers to purchase the NFT at the listed price without negotiation or bidding.
In an auction, sellers set a starting price for an NFT and specify a duration for bidding. Potential buyers then place bids on the NFT, and the highest bidder at the end of the auction period wins the item. Here are the key elements to consider:
Participating in an auction requires careful consideration of your budget, as well as monitoring the bidding activity to place effective bids that maximize your chances of winning the NFT. It’s important to note that some auctions may have reserve prices, meaning the NFT will only be sold if the bids surpass a certain minimum threshold set by the seller.
Fixed price listings, as the name suggests, involve sellers setting a fixed price for an NFT, providing buyers with the option to purchase it immediately without participating in an auction. Here are the key elements to understand:
Fixed price listings offer a straightforward buying experience, allowing buyers to acquire the desired NFT instantly without the uncertainties of an auction. Keep in mind that some NFTs may have multiple quantities available for immediate purchase, while others may have limited editions or be one-of-a-kind.
Whether you choose to participate in an auction or opt for a fixed price listing depends on your personal preferences, budget, and the rarity of the NFT you’re interested in. It’s essential to carefully evaluate the market, consider your budget, and assess the value of the NFT before making a decision.
Now that you have a clear understanding of auctions and fixed price listings on OpenSea, let’s move on to the next step: reading NFT descriptions and metadata to gain a deeper understanding of the NFTs you’re interested in.
Reading NFT Descriptions and Metadata
When browsing for NFTs on OpenSea, it’s important to not only examine the visual aspects but also dive into the descriptions and metadata associated with each item. This information provides valuable insights into the NFT’s background, creator, attributes, and more. By reading NFT descriptions and metadata, you can make more informed decisions about the NFTs you’re interested in. Here’s what to look for:
- Description:
- Metadata:
- Rarity and Edition:
- Token Type and Standard:
- Additional Benefits or Perks:
The NFT description provides a narrative or explanation of the NFT, its concept, or its significance. It often gives you a deeper understanding of the artwork, collectible, or virtual item you’re considering. It may include information about the artist, the inspiration behind the piece, or any additional context that enriches its value.
Metadata refers to the information embedded in an NFT that provides detailed attributes and specifications. This can include the name of the NFT, the artist’s name, edition numbers, creation date, and more. Metadata may also include information about any external links, collaborations, or related content associated with the NFT.
For collectible NFTs, such as trading cards or virtual items, the description and metadata often specify the rarity or edition of the NFT. This information can include the total number of editions, the specific edition number of the NFT you’re viewing, or any unique traits or properties that make it special. Understanding the rarity and edition of an NFT can greatly influence its value and desirability.
NFTs can be created using different token standards, such as ERC-721 or ERC-1155. The description and metadata usually indicate the token type and standard of the NFT. This information is important for understanding the interoperability and compatibility of the NFT with various platforms and wallets.
Some NFTs may offer additional benefits or perks to the owner. These can include exclusive access to events, membership in a community, or future airdrops of related assets. It’s worth reading the description and metadata to see if any additional benefits come with the NFT you’re considering.
By taking the time to read NFT descriptions and delve into the metadata, you can gain a deeper appreciation for the NFT’s value, rarity, and authenticity. This information allows you to make informed decisions when placing bids or purchases on OpenSea. Remember to explore various collections, compare different NFTs, and choose the ones that resonate with your interests and align with your collecting goals.
Now that you’re equipped with the knowledge of reading NFT descriptions and metadata, it’s time to proceed to the next step: making a bid or purchase on OpenSea.
Making a Bid or Purchase on OpenSea
Once you’ve found the perfect NFT on OpenSea, it’s time to make a bid or purchase. OpenSea provides a user-friendly platform that makes it easy to participate in auctions, place bids, and buy NFTs. Here’s a step-by-step guide on how to make a bid or purchase on OpenSea:
- Sign in to your OpenSea account and connect your preferred wallet (such as MetaMask or Coinbase Wallet).
- Find the NFT you want to bid on or purchase by browsing through collections, using the search bar, or exploring curated sections.
- Click on the NFT to view its details, description, images, and other relevant information.
- If the NFT is listed with a fixed price, you can click on the “Buy Now” button to proceed with the purchase. Follow the prompts and confirm the transaction through your connected wallet.
- If the NFT is listed in an auction, carefully review the auction details, including the starting price, bidding duration, and minimum bid increment.
- To place a bid in an auction, you can click on the “Place a Bid” button and enter the amount you wish to bid. Confirm the bid through your connected wallet.
- If you are outbid in an auction, you will receive a notification and have the option to increase your bid. You can continue participating in the auction until the bidding period ends.
- When the auction concludes, the highest bidder wins the NFT. If you are the winning bidder, you will be notified and prompted to finalize the transaction through your connected wallet.
- Confirm the transaction details, including the price, gas fees, and any other required information in your wallet. Proceed with the transaction to complete the purchase.
- After a successful purchase, the NFT will be transferred to your wallet, and you will have full ownership of the digital asset.
When making a bid or purchase on OpenSea, it’s important to consider your budget, the value of the NFT, and the current bidding activity. Take your time to assess the market, compare prices, and ensure that the NFT aligns with your collecting goals and preferences.
Remember to be mindful of transaction fees, also known as gas fees, which are required to complete transactions on the Ethereum network. Gas fees can vary depending on network congestion and can be higher during peak times. Make sure you have enough cryptocurrency in your wallet to cover these fees when making a bid or purchase.
Now that you know how to make a bid or purchase on OpenSea, let’s move on to the next step: confirming and finalizing your transaction.
Confirming and Finalizing Your Transaction
After placing a bid or making a purchase on OpenSea, it’s crucial to confirm and finalize your transaction to ensure a smooth and successful exchange of the NFT. Here are the necessary steps to confirm and complete your transaction:
- Once you have placed a bid or clicked “Buy Now” on an NFT, you will need to confirm the transaction through your connected wallet.
- A window or prompt will open in your wallet, displaying the transaction details, including the price, gas fees, and any additional information required by the wallet.
- Review the transaction details carefully to ensure accuracy. Take note of the gas fees, which cover the cost of processing the transaction on the Ethereum network.
- If the details are correct, click “Confirm” or a similar button in your wallet to initiate the transaction.
- Depending on network congestion and the gas fees you set, the transaction may take a few moments to process.
- During this time, it’s important to wait patiently and avoid closing or refreshing the browser or wallet extension.
- Once the transaction is confirmed and processed, you will receive a notification in your wallet and on OpenSea confirming the successful purchase or bid.
- If you were the highest bidder in an auction, the NFT will now belong to you. If you made an outright purchase, the NFT will be transferred to your wallet.
- Verify that the NFT has been added to your wallet. You can check the “Assets” or “Collectibles” section of your wallet to find and manage your newly acquired NFT.
- Congratulations! You have successfully confirmed and finalized your transaction on OpenSea.
It’s important to note that Ethereum network congestion and high gas fees can sometimes cause delays in transaction processing. In such cases, it’s recommended to be patient and allow for additional time for the transaction to complete. If you encounter any issues or have concerns about your transaction, you can reach out to OpenSea support for assistance.
With the transaction completed, you can now enjoy and showcase your newly acquired NFT. Consider exploring OpenSea for more exciting NFTs to add to your collection or participate in new auctions and listings that catch your interest.
Now that you know how to confirm and finalize your transaction on OpenSea, let’s move on to the next step: managing your NFTs in your OpenSea wallet.
Managing Your NFTs in Your OpenSea Wallet
Once you’ve acquired NFTs on OpenSea, it’s important to know how to manage and keep track of your digital assets within your OpenSea wallet. Here are some key steps to effectively manage your NFTs:
- Sign in to your OpenSea account and access your connected wallet.
- Click on “My Account” or a similar option to view your account settings and NFT collection.
- In your OpenSea wallet, you’ll find a list of all the NFTs that you own. This includes NFTs you have purchased, won in auctions, or transferred to your wallet.
- Organize your NFTs by creating collections or using tags. This will help you categorize and group your digital assets based on your preferred organization system.
- Explore the various sorting and filtering options available in your OpenSea wallet. You can sort your NFTs by newest, oldest, price, or other attributes to quickly find specific items.
- View detailed information about each NFT by clicking on its thumbnail. This will open a page displaying the NFT’s description, metadata, transaction history, and any associated documents or media.
- Consider showcasing your NFTs in your OpenSea profile or creating public and private collections to share your collection with others.
- Be aware of the ongoing maintenance and security of your collection. Keep your connected wallet secure, update your wallet software regularly, and back up your wallet recovery phrase in a safe place.
- Stay up to date with the latest news and developments in the NFT space, including changes to OpenSea’s features, wallet integrations, and best practices for managing NFTs.
Managing your NFTs in your OpenSea wallet ensures that you can easily access, track, and showcase your digital assets. Regularly reviewing your collection, organizing it based on your preferences, and staying vigilant about security will help you get the most out of your NFT ownership experience.
By effectively managing your NFTs, you can also take advantage of future opportunities, such as participating in secondary sales, participating in community events, or displaying your collection to potential buyers or enthusiasts.
Now that you know how to manage your NFTs in your OpenSea wallet, let’s move on to some tips and best practices for buying NFTs on OpenSea.
Tips and Best Practices for Buying NFTs
Buying NFTs on OpenSea can be an exciting and rewarding experience. However, it’s important to approach the process with caution and follow these tips and best practices to make informed decisions and maximize your NFT buying journey:
- Do Your Research: Take the time to research the artists, creators, and projects behind the NFTs you’re interested in. Learn about their reputation, previous works, and the value they bring to the NFT space.
- Set a Budget: Decide how much you are willing to spend on NFTs and stick to your budget. It’s easy to get caught up in the excitement and overspend, so be mindful of your financial limitations.
- Understand the Value: Assess the value proposition of the NFT you plan to purchase. Consider factors such as artistic quality, scarcity, utility, and the presence of an established community or ecosystem.
- Verify Authenticity: Ensure that the NFT you wish to buy is authentic and original. Look for verification symbols or certificates of authenticity provided by the creator or issuing platform.
- Monitor Market Trends: Stay updated on the latest trends and shifts in the NFT market. Pay attention to emerging artists, upcoming projects, and industry news to make informed decisions.
- Diversify Your Collection: Don’t limit yourself to a single type of NFT. Explore different categories, styles, and artists to diversify your collection and enjoy a broader range of digital assets.
- Engage with the Community: Participate in NFT communities and forums to connect with fellow collectors, artists, and enthusiasts. Engaging with the community can provide valuable insights and open doors to new opportunities.
- Be Mindful of Gas Fees: Gas fees are charges associated with processing transactions on the Ethereum network. Consider the impact of gas fees on your budget and transaction costs before placing bids or making purchases.
- Manage Security: Prioritize the security of your connected wallet and NFT holdings. Use hardware wallets, enable multi-factor authentication, and keep your wallet recovery phrase in a safe and secure location.
- Stay Informed on Legal Considerations: Stay updated on legal considerations surrounding NFTs, such as intellectual property rights, licensing, and any regional regulations that may impact your NFT activities.
Following these tips and best practices will help you navigate the NFT marketplace with confidence and make informed decisions when buying NFTs on OpenSea. Remember that the NFT market is evolving rapidly, so it’s important to adapt and adjust your strategies as needed.
Now that you’re equipped with knowledge to buy NFTs responsibly, let’s conclude this guide to buying NFTs on OpenSea.
Conclusion
Navigating the world of NFTs and buying on OpenSea can be an exciting and rewarding experience. With this guide, you now have a solid understanding of how to buy NFTs on OpenSea, from creating an account to browsing, bidding, and finalizing transactions.
OpenSea has emerged as a prominent marketplace, offering a diverse range of NFTs created by artists, creators, and collectors from various industries. Whether you’re an art enthusiast, a game enthusiast, or a collector looking to venture into the world of digital assets, OpenSea provides a user-friendly platform to discover, buy, and own unique digital treasures.
Remember, as you embark on your NFT buying journey, it’s important to do your research, set a budget, and understand the value and authenticity of the NFTs you’re interested in. Stay informed about market trends, engage with the community, and prioritize the security of your wallet and digital assets.
Buying NFTs on OpenSea opens up a world of possibilities, allowing you to own and appreciate digital art, collectibles, gaming items, and more. Embrace the thrill of discovering one-of-a-kind NFTs and building a collection that reflects your personal interests and passions.
With the knowledge and best practices gained from this guide, you are now well-equipped to navigate OpenSea confidently and make informed decisions when buying NFTs. So, delve into the world of NFTs and start exploring the unique digital assets waiting to be discovered on OpenSea!


